How to Install Solar on a Cabin Roof
Dreaming of powering your cozy cabin in the woods or that remote hunting retreat with clean, reliable energy? You’re not alone! Many folks face the challenge of bringing modern comforts to off-grid havens, often deterred by the perceived complexity and cost of solar installation. This comprehensive guide is here to demystify the process of installing solar panels directly onto your cabin roof, walking you through everything from assessing your roof’s readiness to the final connections, ensuring you can achieve energy independence with confidence.
Understanding Your Cabin Roof for Solar Installation
Before you even think about ordering panels or pulling out tools, the first crucial step is getting intimately familiar with the very surface that will host your power plant: your cabin roof. It’s not just a flat space; it’s a dynamic part of your home that needs careful consideration to ensure a safe, efficient, and long-lasting solar setup.
Assessing Roof Type and Condition
Different roofs have different personalities, and understanding yours is paramount. Most cabins feature asphalt shingles, metal roofing, or sometimes wood shakes or even slate. Each material has its own unique requirements for securely attaching solar mounting hardware.
- Asphalt Shingles: This is perhaps the most common roof type you’ll encounter. Installing on shingles involves finding the rafters beneath, drilling pilot holes, installing specialized flashing to prevent leaks, and then securing lag bolts through the flashing and into the rafters. The key here is meticulous sealing around every penetration to ensure your roof remains watertight for decades to come. Don't rush this part; a leak is far more trouble than it's worth.
- Metal Roofing: Metal roofs, whether standing seam or corrugated, often offer simpler installation options. Standing seam clamps can attach directly to the seams without penetrating the roof, making for a very clean and watertight installation. For corrugated metal, self-tapping screws with rubber washers are typically used, again requiring careful sealing. The rigidity of metal roofs can be a real advantage for solar.
- Wood Shakes or Slate: These are more delicate and require extra care. Wood shakes might necessitate cutting away sections to install flashing and mounts, while slate can be brittle and prone to cracking. In these cases, it might be advisable to consult with a roofing professional or consider a ground mount system to avoid potential damage and leaks. Always prioritize the integrity of your roof.
Beyond the material, the overall condition of your roof is critical. Are there soft spots? Missing shingles? Significant moss or lichen growth? If your roof is nearing the end of its lifespan, it makes far more sense to replace or repair it before installing solar panels. Removing and reinstalling panels for a roof repair down the line is a costly and time-consuming endeavor. You also need to consider the structural integrity of your roof. Solar panels add significant weight, especially when factoring in snow loads in winter. If you have any doubts, have a qualified structural engineer assess your cabin's roof to ensure it can handle the additional load.
Optimal Panel Placement and Tilt
Once you've given your roof a thorough health check, it's time to play detective and find the sunniest spots. This is where you maximize your solar investment. An ideal placement will capture the most sunlight throughout the day and across the seasons.
The first step is identifying south-facing roof sections. In the Northern Hemisphere, south-facing panels receive the most direct and consistent sunlight. However, if a perfectly south-facing aspect isn't available, southeast or southwest can still be highly effective. You'll want to observe your cabin's roof at different times of the day, and even ideally, different times of the year, to identify any significant shading from trees, chimneys, or other structures. Even a small amount of shade on one part of a panel can significantly reduce the output of the entire array, so minimizing shading is crucial for efficiency. Consider trimming back tree branches if possible, or using micro-inverters or power optimizers if shade is unavoidable on certain panels.
The tilt angle of your panels is another critical factor. For year-round off-grid living, many people opt for a fixed tilt angle that is roughly equal to their geographical latitude. For example, if your cabin is at 40 degrees latitude, a 40-degree tilt is a good compromise for capturing sun in both summer and winter. However, for seasonal use, you might adjust the tilt angle. If your cabin is primarily a summer retreat, a shallower angle (latitude minus 15 degrees) will be more productive. If it's a winter escape, a steeper angle (latitude plus 15 degrees) can help shed snow and capture lower winter sun. For a truly deep dive into this, you might explore resources on How to Design for Year-Round Off-Grid Power. While adjustable mounts exist, they add complexity and cost, and most cabin owners opt for a fixed mount to simplify maintenance.
Gathering Your Tools and Components for a Cabin Roof Solar System
Embarking on a DIY off-grid solar installation means you'll need to transform your cabin into a temporary worksite. Having the right tools at hand not only makes the job easier and safer but also ensures a professional-looking and robust installation. Just as important is selecting the correct components that form the heart of your power system.
Essential Tools for a DIY Installation
Don't underestimate the importance of having a well-stocked toolbox for this kind of project. You're not just screwing panels into place; you're working with electrical connections, roof penetrations, and structural considerations.
- Safety Gear: This is non-negotiable. A sturdy ladder, safety harness (especially if working on a steep roof), work gloves, safety glasses, and appropriate footwear are absolute must-haves. Working on a roof can be dangerous, so never compromise on safety.
- Basic Hand Tools: A good set of wrenches (ratcheting wrenches are a lifesaver), sockets, screwdrivers, a tape measure, a chalk line, and a trusty hammer are fundamental. You'll also need a pry bar if you're working with shingles or trying to remove old flashing.
- Power Tools: A cordless drill with various bits (for pilot holes, lag bolts, etc.) is essential. A circular saw can be useful for cutting plywood for flashing or modifying structural elements if necessary, but often isn't required for the panel mounting itself.
- Electrical Tools: Wire strippers, crimpers for MC4 connectors, a multimeter to test voltage and continuity, and possibly a voltage detector are crucial for making safe and correct electrical connections. You'll be dealing with direct current (DC) from the panels and alternating current (AC) from the inverter, so understanding how to use these tools safely is vital.
- Roofing Specifics: A caulk gun with high-quality, UV-resistant sealant (like a good quality exterior-grade silicone or urethane), roofing cement, and potentially a utility knife for cutting roofing materials are indispensable for ensuring watertight seals around all roof penetrations.
Many of these items, from a reliable drill to specialized MC4 crimpers, can be found readily on platforms like Amazon, offering convenience for the DIYer. For a more comprehensive checklist, check out our guide on Off-Grid Solar Installation Tools Needed.
Key Solar System Components
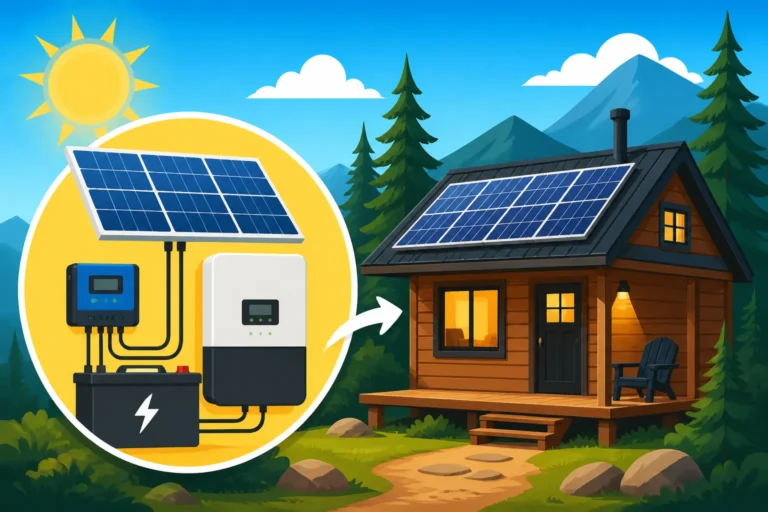
Your solar installation is more than just panels on a roof; it's an entire ecosystem working in harmony to provide power. Understanding each component helps you make informed choices and ensures compatibility.
- Solar Panels: These are your power generators, converting sunlight into electricity. Monocrystalline panels are generally preferred for off-grid systems due to their higher efficiency, especially in limited roof space. You’ll need to figure out How Many Solar Panels for Off-Grid Living based on your energy consumption. Brands like Renogy offer a wide range of reliable solar panels suitable for cabin installations.
- Mounting Hardware: This includes rails, L-feet or standoffs, clamps, and flashing. These components securely attach your panels to the roof structure and are critical for wind and snow resistance. Ensure the hardware is made of durable, weather-resistant materials like anodized aluminum or stainless steel.
- Charge Controller: This smart device regulates the power flow from your solar panels to your battery bank, preventing overcharging and optimizing charging efficiency. MPPT (Maximum Power Point Tracking) charge controllers are highly recommended for their superior efficiency, especially in varying light conditions, compared to older PWM (Pulse Width Modulation) controllers.
- Battery Bank: This is your energy storage, allowing you to use power when the sun isn't shining. Lithium Iron Phosphate (LiFePO4) batteries are increasingly popular due to their long lifespan, high efficiency, and deep discharge capabilities, though lead-acid options (AGM, Gel) are still viable for budget-conscious setups. Properly sizing your Off-Grid Solar Battery Bank is one of the most important steps.
- Inverter: This crucial component converts the DC power stored in your batteries into usable AC power, which is what most of your household appliances run on. You’ll want a pure sine wave inverter for sensitive electronics. Choosing the Best Off-Grid Solar Inverters depends heavily on your peak power needs and desired efficiency.
When considering your overall system, it's a good idea to think about how much power you'll need. For instance, How Much Solar to Run A Refrigerator might be a starting point for assessing your basic needs, but a full energy audit is essential for accurate system sizing.
Step-by-Step Guide to Installing Solar Panels on Your Cabin Roof
Alright, you've assessed your roof, gathered your gear, and understand the components. Now comes the exciting part: physically putting it all together! This section breaks down the actual installation process into manageable steps, focusing on precision, safety, and durability.
Securing the Mounting Hardware
This is arguably the most critical step for the long-term integrity of your solar system and your roof. A poorly installed mount can lead to leaks, structural damage, or even panels flying off in high winds.
First, you need to locate your roof rafters or trusses. These are the strong structural members underneath your roofing material. You can often find them by looking for nail lines, using a stud finder, or by measuring from known reference points (like the edge of the roof). Mark their locations clearly with a chalk line. Most mounting feet or L-feet need to be secured directly into these rafters for maximum strength.
Once the rafters are marked, determine the layout of your solar array and mark the positions for each mounting foot. Space them according to your panel and rail manufacturer’s recommendations, typically every 4-6 feet along the rail length, ensuring they align with the rafters.
Now, for the roof penetrations:
- For Asphalt Shingles: Carefully lift the shingle layer where your mount will go. Drill a pilot hole through the shingle, underlayment, and into the center of the rafter. Apply a generous bead of high-quality roofing sealant into the hole and around the base of the flashing plate. Slide the flashing (a metal plate designed to redirect water) under the shingle above and over the shingle below, ensuring it’s flat against the roof. Drive a lag bolt through the flashing's pre-drilled hole, through the pilot hole, and securely into the rafter. Apply more sealant over the head of the lag bolt. This multi-layered approach ensures robust How to Waterproof Roof Penetrations.
- For Metal Roofs (Corrugated): Drill a pilot hole through the high rib of the corrugated metal (this is important, drilling in the valley can lead to leaks) and into the purlin or decking below. Apply a good amount of sealant around the hole. Secure the mounting bracket using self-tapping screws with integrated rubber washers, tightening them just enough to compress the washer without deforming the metal.
- For Standing Seam Metal Roofs: These are the easiest. Special clamps attach directly to the standing seams without any roof penetration. Simply place the clamp over the seam, tighten the set screws, and then attach your rails to these clamps. This is often the preferred method when available.
After all the mounting feet are securely fastened, attach the aluminum rails to them using the provided hardware. Ensure the rails are perfectly straight and level (or at the desired tilt angle) across the roof, as this will affect how easily your panels sit and how visually appealing your array is.
Attaching Solar Panels and Wiring
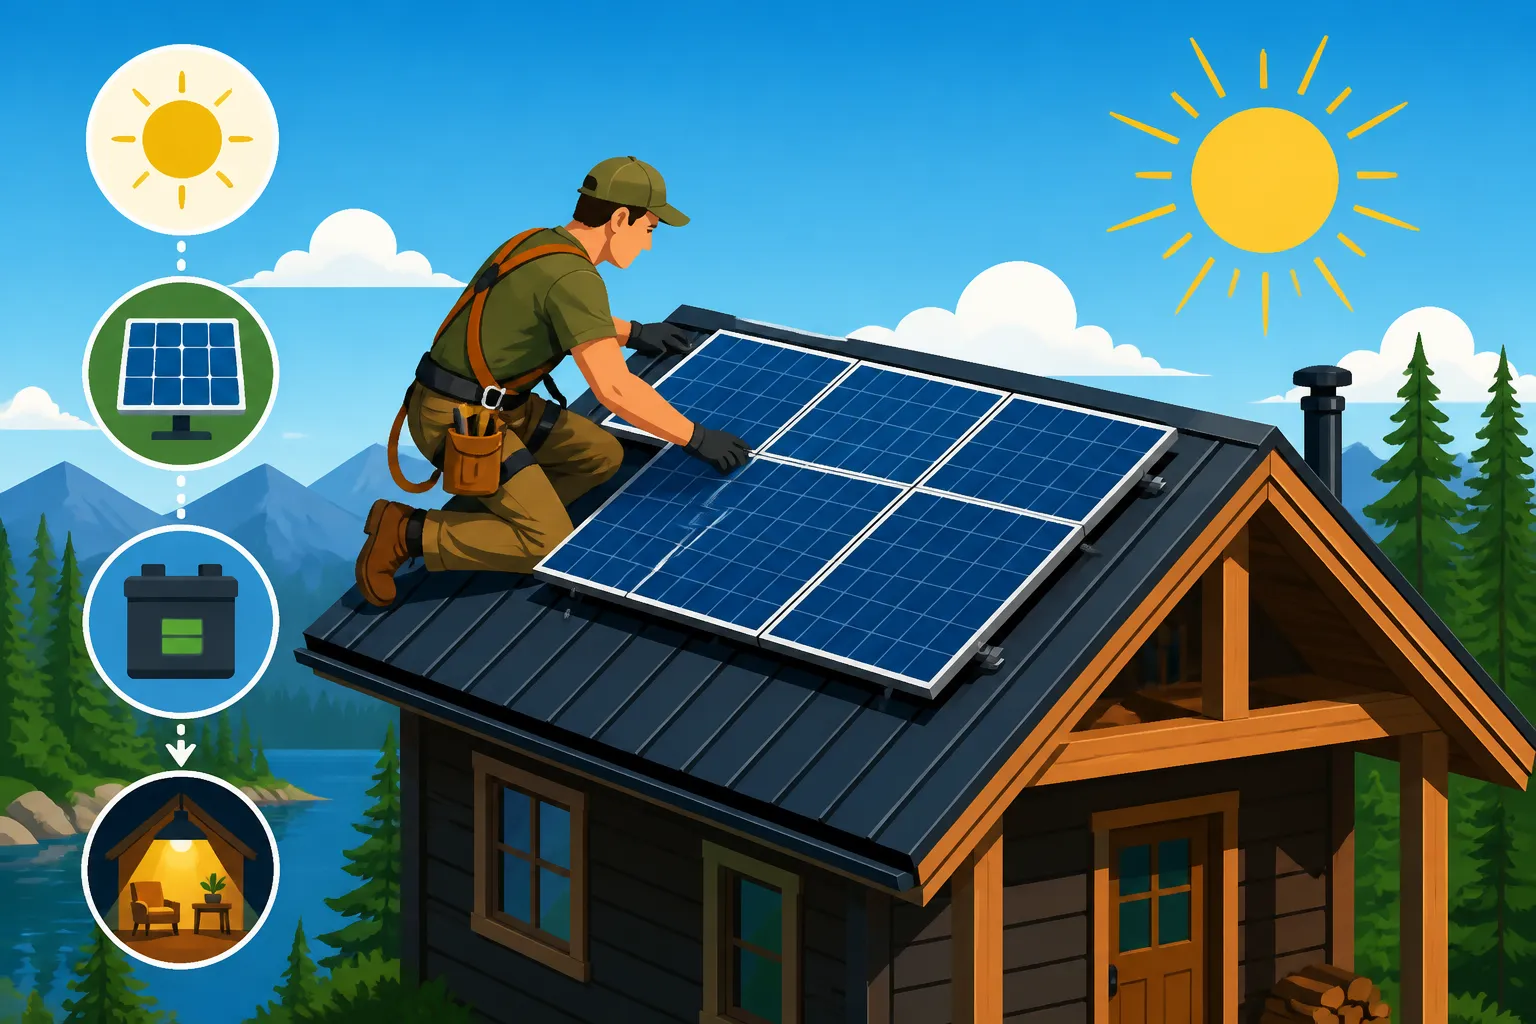
With your rails firmly in place, it’s time to get the panels up there! This often requires an extra pair of hands, as panels can be bulky and heavy. Carefully lift each panel onto the rails, aligning them according to your design.
Once a panel is on the rails, use mid-clamps (between panels) and end-clamps (at the ends of rows) to secure them. These clamps slide into channels on the rails and tighten down onto the panel frames, holding them firmly in place. Double-check that all clamps are tight and panels are evenly spaced.
Now for the wiring – this is where careful planning pays off. Solar panels come with MC4 connectors (often pre-attached cables with male and female ends). You’ll need to decide whether to wire your panels in series, parallel, or a combination (series-parallel) to achieve the desired voltage and amperage for your charge controller and battery bank. For larger systems, a higher voltage (e.g., 24V or 48V) is generally more efficient, requiring panels to be wired in series. Our guide on How to Wire Solar Panels in Series vs Parallel can give you a detailed breakdown.
- Series Wiring: Connect the positive (+) of one panel to the negative (-) of the next. This increases voltage.
- Parallel Wiring: Connect all positives together and all negatives together. This increases amperage.
After connecting the panels to each other, you'll have two main wires (positive and negative) coming from your entire solar array. These "home run" cables need to be routed neatly and safely down from the roof to your charge controller. Use UV-resistant cable ties and conduit to secure them, preventing them from flapping in the wind or being damaged by sun exposure or animals. It's crucial to use appropriately sized solar cable (often 10 AWG or 12 AWG) to minimize voltage drop and handle the current.
Connecting to the Balance of System
The final stage of installation involves integrating your solar array with the rest of your off-grid power system inside the cabin. This is where all the components come together to create a functional power supply. This crucial stage requires meticulous attention to detail to ensure safety and proper operation.
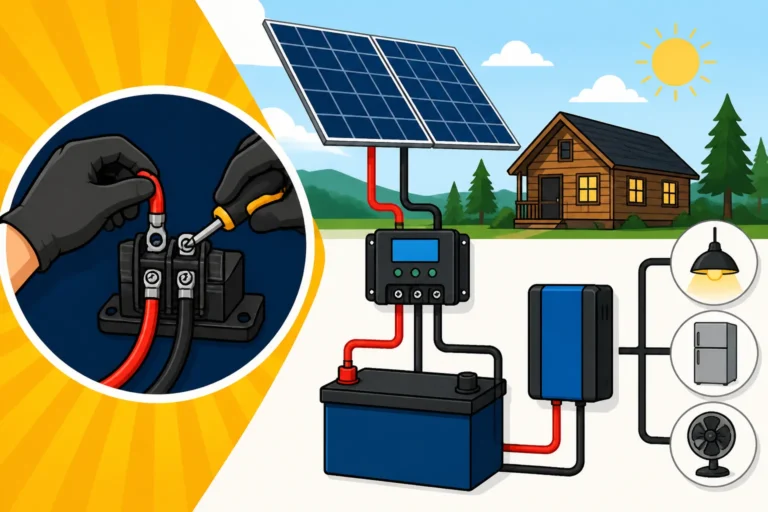
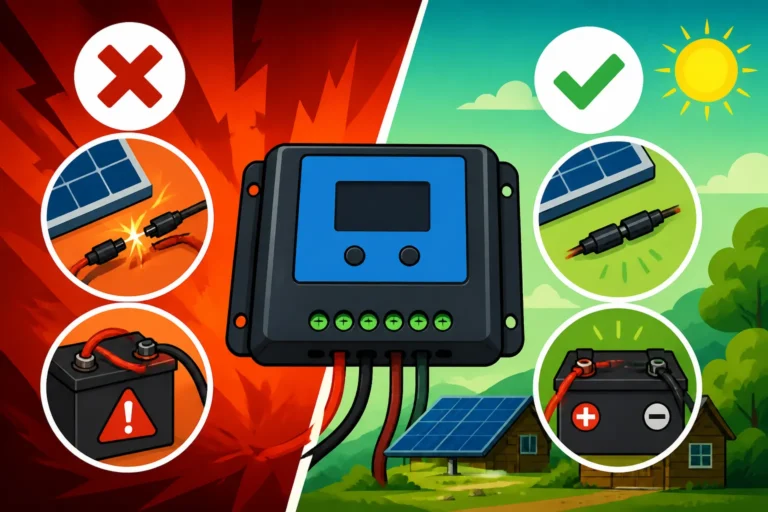
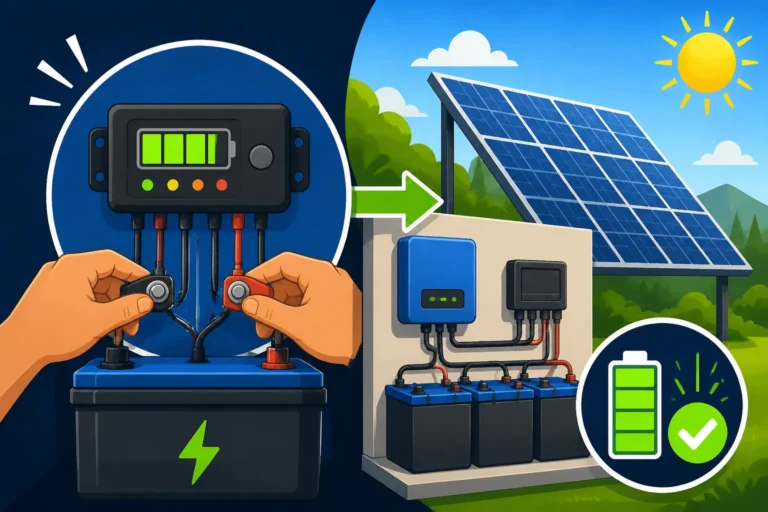
First, route the main positive and negative DC wires from your solar array into the cabin. These should pass through a waterproof entry gland or conduit fitting to maintain the integrity of your roof or wall. Inside, these wires will first connect to a DC disconnect switch and then to your charge controller. The disconnect switch acts as a safety measure, allowing you to completely cut off the power from the panels for maintenance or emergencies. Ensure the charge controller is mounted in a dry, well-ventilated area, away from direct sunlight and moisture. When connecting, always connect the battery bank to the charge controller first, then the solar panels. This sequence prevents damage to the charge controller. Renogy, for example, offers reliable charge controllers that often come with clear wiring diagrams.
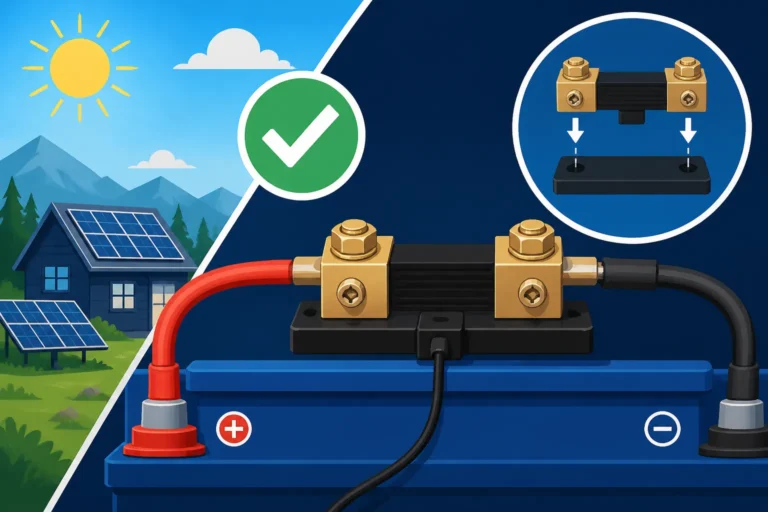
From the charge controller, another set of positive and negative DC wires runs to your battery bank. Again, these wires should pass through a DC circuit breaker or fuse before reaching the batteries. This protects the batteries and wiring from overcurrents. The battery bank itself should be housed in a safe, well-ventilated enclosure, especially if using lead-acid batteries that can off-gas hydrogen. Make sure all battery terminals are clean and connections are tight. Our comprehensive guide on How to Connect Batteries, Inverter, and Panels details these connections step-by-step.
Finally, connect your inverter to the battery bank. The inverter typically has large terminals for direct connection to the battery. Once again, a appropriately sized DC circuit breaker or fuse should be installed in the positive line between the battery bank and the inverter to protect the inverter and cables. After the inverter, you can connect your cabin's AC load center (breaker panel) to distribute power to your appliances and outlets. It's paramount to ensure proper grounding for the entire system, including the panels, mounting rails, and inverter, to prevent electrical hazards. For detailed information, consult our article on How to Ground an Off-Grid Solar System. After all connections are made, perform a final visual inspection, then cautiously energize your system, starting with the batteries, then the solar, and finally the inverter, monitoring all components for proper operation.
Overcoming Common Challenges and Ensuring Longevity
Going off-grid is a rewarding adventure, but it's not without its bumps in the road. Even the most meticulously planned cabin solar installation can face challenges, especially when dealing with the unpredictable whims of nature. Knowing how to anticipate and mitigate these issues, along with understanding ongoing maintenance, is key to a reliable and long-lasting system.
Dealing with Shade and Weather
Shade is the nemesis of solar power. Even a small shadow across a single panel can drastically reduce the output of an entire string of panels, especially with older string inverter setups.
- Tree Trimming: The most straightforward solution for tree-related shade is to trim or remove offending branches. Consider the growth rate of nearby trees and plan for future trimming.
- Optimal Placement: As discussed earlier, careful planning during the design phase to avoid known shade sources (chimneys, other structures) is paramount.
- Micro-inverters or Power Optimizers: If shade is unavoidable on certain panels, consider using micro-inverters or power optimizers. These devices manage each panel's output individually, ensuring that a shaded panel doesn't drag down the performance of the entire array. While they add to the initial Off-Grid Solar Cost: Complete Breakdown, the long-term gain in efficiency can be significant.
- Panel Selection: Some panels perform better in low-light conditions, so researching panel specifications can also help.
Weather poses another set of challenges.
- Snow and Ice: Heavy snow can completely cover panels, halting power production. While a steeper tilt angle (as mentioned in How Winter Affects Off-Grid Sizing) helps shed snow, manual clearing might be necessary after heavy snowfall. Be extremely careful when working on a snowy or icy roof. Some systems can include heating elements for extreme cold, but these consume power.
- High Winds: Proper mounting is essential here. Ensure all mounting hardware is securely fastened to the rafters and panels are tightly clamped to the rails. Follow manufacturer guidelines for wind load ratings. A good quality, robust mounting system is an investment in your cabin's safety and your system's longevity.
- Extreme Heat: While less of an issue for cabin roofs, panels do lose efficiency as they get hotter. Ensuring good airflow behind the panels can help dissipate some heat. This is generally more of a concern in desert climates.
Choosing durable, high-quality components from reputable brands for your system can go a long way in ensuring it stands up to the elements.
Maintenance and Troubleshooting
An off-grid solar system isn't a "set it and forget it" solution; it requires periodic attention to ensure optimal performance and longevity. Regular maintenance can prevent small issues from becoming costly problems. For a more detailed guide, check out our Off-Grid Solar Maintenance Guide.
- Panel Cleaning: Dust, pollen, bird droppings, and leaves can accumulate on your panels, reducing their efficiency. Periodically clean them with plain water and a soft brush or squeegee. Be cautious not to scratch the surface, especially if panels are hot. Cleaning them during cooler parts of the day is best.
- Battery Health: If you have lead-acid batteries, regularly check electrolyte levels and top up with distilled water if needed. For any battery type, monitor voltage and overall state of charge. Ensure terminals are clean and free of corrosion. A battery monitor is an invaluable tool for keeping tabs on your How to Calculate Battery Amp-Hours Needed and overall battery health.
- Connection Checks: Annually, inspect all electrical connections – from the panels to the charge controller, batteries, and inverter. Look for any signs of corrosion, loose wires, or damaged insulation. Tighten any loose connections. Pay particular attention to MC4 connectors, as they can sometimes degrade over time if not properly crimped or sealed.
- Component Monitoring: Regularly check the readings on your charge controller and inverter. Many modern units have displays that show current production, battery voltage, and load. Learn to recognize normal operating parameters and investigate any abnormal readings. This proactive approach can help you catch issues early.
- Environmental Checks: Keep vegetation trimmed around your panels to prevent new shading. Ensure your battery enclosure is well-ventilated and free of debris. Check for any pest infestations around wiring or equipment.
Basic troubleshooting often involves checking disconnect switches and circuit breakers first. If a component isn't working, check if its associated breaker has tripped or if a disconnect is open. A multimeter is your best friend for diagnosing electrical issues, helping you test voltage and current at various points in your system. While DIY vs Professional Off-Grid Solar Cost might be a factor, sometimes professional assistance is necessary for complex electrical diagnostics or repairs.
Cabin Roof Solar Mounting Considerations by Roof Type
| Roof Type | Primary Mounting Method | Key Considerations | Sealing & Waterproofing | Ease of DIY Installation |
|---|---|---|---|---|
| Asphalt Shingle | L-feet or standoffs secured to rafters | Locate rafters precisely, ensure proper flashing | Multi-layered flashing, liberal use of roofing sealant | Moderate |
| Standing Seam Metal | Clamps that attach to roof seams | No roof penetrations required, clamp compatibility | Inherently watertight | Easy |
| Corrugated Metal | Mounting brackets with self-tapping screws | Drill through high ribs, use rubber washers, apply sealant | Rubber washers, exterior-grade sealant | Moderate |
| Wood Shake | Similar to asphalt, may require cutting | Fragile material, risk of damage during installation | Careful cutting, extensive flashing and sealant | Challenging |
| Slate | Specialized slate hooks or clamps | Very fragile, high risk of breakage, specialized tools | Professional-grade sealing, may require roof repair | Very Challenging |
Disclaimer
The information provided in this guide is for general informational and educational purposes only and is not intended as professional advice. Off-grid solar installation involves working with electricity, heights, and structural components, which carry inherent risks. Always consult with qualified professionals (e.g., licensed electricians, structural engineers, roofing contractors) before undertaking any significant solar project. Adhere to all local building codes, electrical codes, and permitting requirements in your area. Failure to do so could result in property damage, personal injury, or legal issues. Proceed with caution and at your own risk.