How to Install a Cabin Solar System
Dreaming of that cozy cabin escape, nestled deep in the woods or high on a mountain, free from the hum of the city and, crucially, free from utility bills? It’s a wonderful vision, but the reality of powering such a retreat can feel a bit daunting. Fumbling with generators, dealing with fuel runs, or simply wishing for consistent electricity for your lights, fridge, or morning coffee can be frustrating. This comprehensive guide is designed to walk you through the entire process of installing a reliable off-grid solar system for your cabin, making that dream of true energy independence a tangible reality.
Understanding Your Cabin's Energy Needs
Before you even think about buying solar panels or batteries, the absolute first step—and honestly, the most critical one—is to figure out exactly how much electricity your cabin will actually consume. Many folks skip this, guesstimate, and then end up with a system that's either wildly undersized (leading to constant power outages and frustration) or significantly oversized (wasting precious money). Don't make that mistake!
Conducting a Load Analysis for Your Cabin
A load analysis is simply a detailed inventory of every single electrical device you plan to use in your cabin, how much power each one draws, and for how long you'll use it in a typical day. Think about it like creating a meticulous grocery list before a big feast – you wouldn't just guess how much food you need, right?
Start by walking through your cabin, room by room, making a list of every appliance. Don't forget the small stuff! Your list might include:
- Lighting: LED bulbs are a game-changer for off-grid, but still count them all. A typical LED bulb might draw 7-10 watts.
- Refrigerator/Freezer: This is often the biggest consumer. Look for Energy Star rated DC or highly efficient AC fridges. A common mini-fridge might use 80-150 watts while running, but consider its duty cycle (how often it actually cycles on).
- Water Pump: If you have a well or a pressurized water system, this can be a significant, albeit intermittent, load. A typical well pump can draw 500-1500 watts, but only for short bursts.
- Entertainment: TV, radio, streaming devices, laptop chargers.
- Small Appliances: Coffee maker, toaster, microwave, fan, hair dryer. These often have high wattage but are used for very short periods.
- Heating/Cooling: A small space heater or an efficient mini-split AC unit can be huge power drains, so consider your usage carefully here.
For each item, you need two pieces of information: its wattage (power draw) and the approximate number of hours per day you'll use it. You can usually find the wattage listed on the appliance's label, in its manual, or by using a kill-a-watt meter if the appliance is already in place. If you're unsure, a quick web search for "average wattage [appliance name]" can give you a good estimate.
Once you have your list, multiply the wattage by the hours of daily use to get "watt-hours per day" for each item. Then, sum all these up to get your total daily watt-hour consumption. Remember to think about peak usage, like when your well pump kicks on while the microwave is running. This peak draw will influence your inverter sizing. This thorough process is the foundation for avoiding unpleasant surprises later on. If you need a deeper dive into this, checking out a guide on How to Calculate Daily Energy Usage can be immensely helpful.
Sizing Your System Components
With your daily watt-hour consumption in hand, you can now accurately size the core components of your off-grid solar system. This is where your detailed load analysis truly pays off.
First, your solar panels (array size): You need enough panels to generate enough electricity to meet your daily needs, with some buffer for less-than-ideal weather. This calculation involves considering your peak sun hours – the equivalent number of hours per day your panels receive direct, unobstructed sunlight. This varies significantly by location and time of year. For instance, northern Minnesota in winter will have far fewer peak sun hours than Arizona in summer. Take your total daily watt-hours, divide by your average peak sun hours, and then add a buffer (typically 15-30%) to account for system inefficiencies, cloudy days, and degradation over time. This will give you your required daily Watt-peak (Wp) from your solar array.
Next, your battery bank: This is your cabin's energy storage, essential for keeping the lights on after the sun goes down or during extended cloudy periods. Your battery bank needs to be large enough to store your daily energy consumption and provide "days of autonomy," which is how many days your system can run without any solar input. If you want to confidently power your cabin through two or three cloudy winter days, you'll need significantly more battery capacity than if you're only using it for sunny summer weekends. The battery's voltage (12V, 24V, 48V) and chemistry (LiFePO4, AGM) will also factor into the sizing, but the core calculation starts with your daily watt-hours and desired autonomy. A comprehensive guide on How to Size an Off-Grid Battery Bank can walk you through the specifics.
Finally, your inverter: The inverter is the brain of your AC electrical system, converting the DC power from your batteries into the AC power that most of your cabin appliances use. Its size is determined by the total instantaneous wattage of all the AC appliances you anticipate running simultaneously. This includes those brief, high-draw appliances like a microwave or a well pump. Always account for "surge" wattage – the brief spike in power an appliance needs to start up. If your well pump draws 1000 running watts but 3000 starting watts, your inverter needs to handle that 3000-watt surge, even if only for a second or two.
Gathering Your Off-Grid Solar System Components
Once you know what you need, it's time to assemble your system. This involves sourcing the main components and all the supporting hardware to make it safe and functional.
Core Components of a Cabin Solar Setup
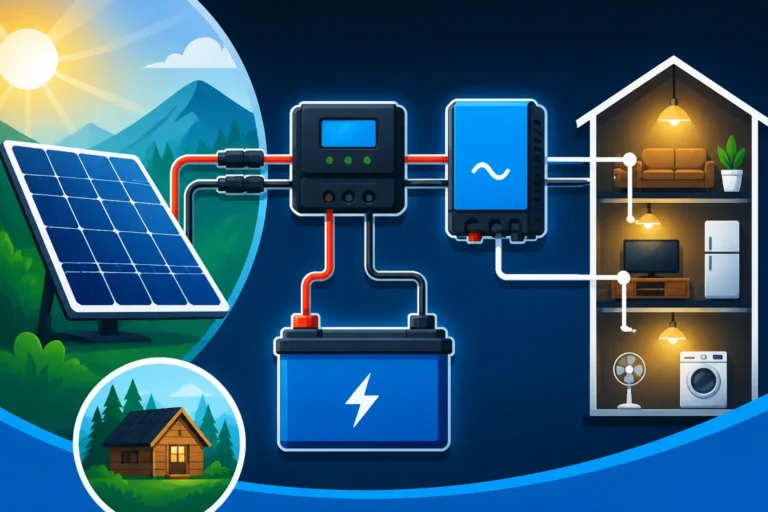
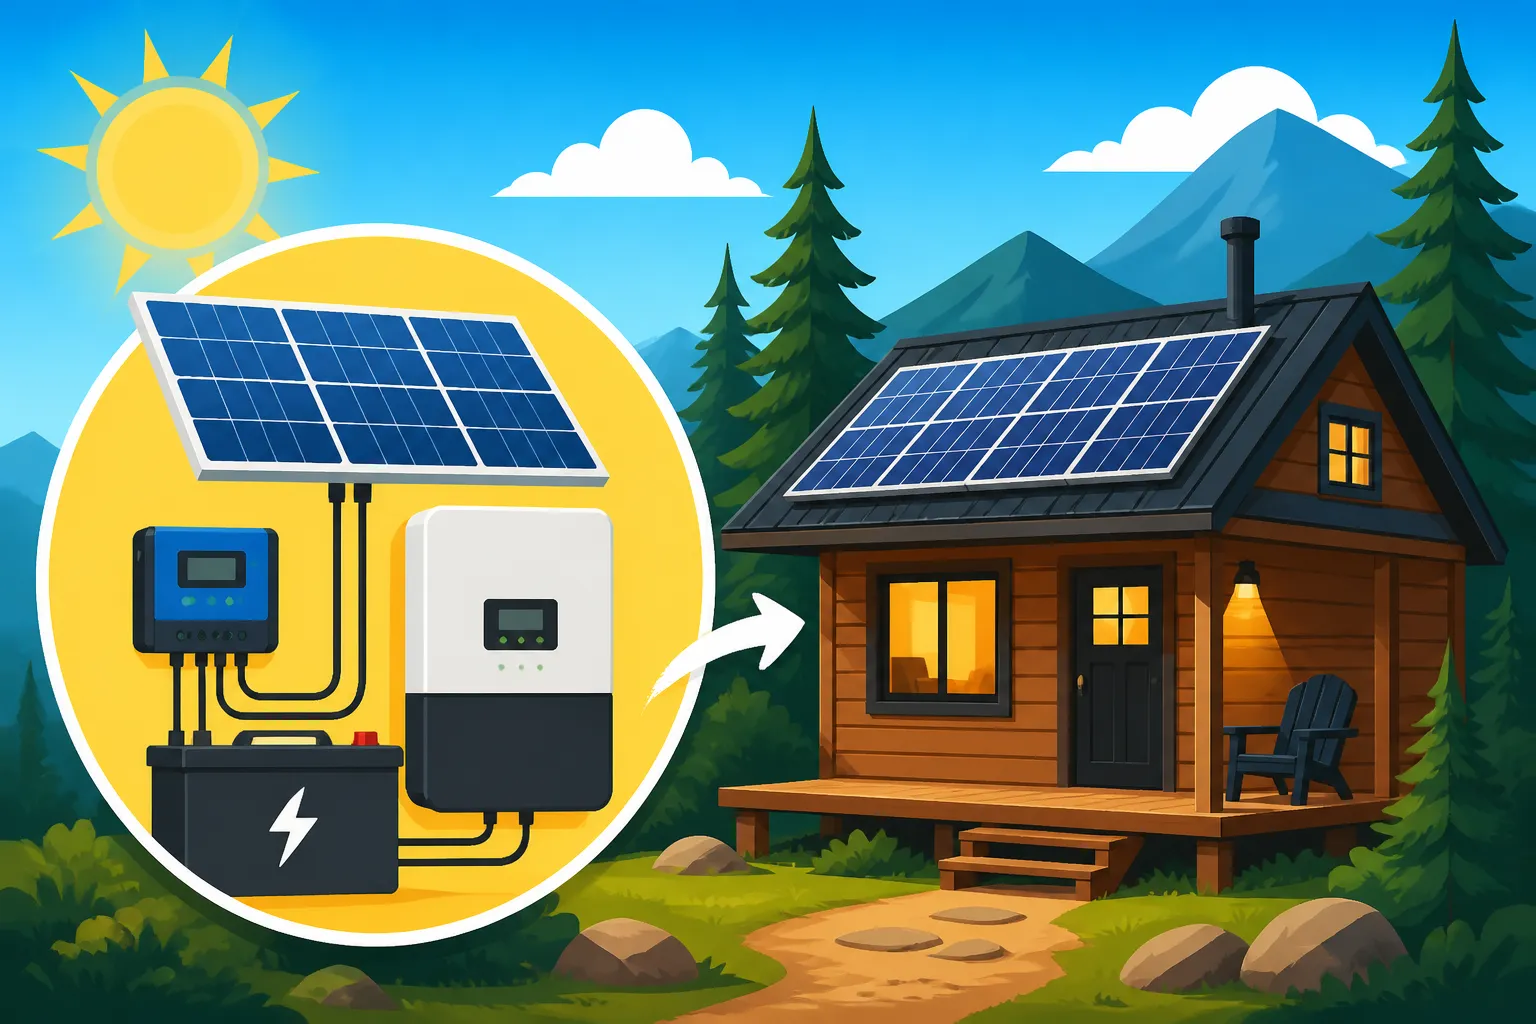
A typical off-grid solar system for a cabin, whether it’s a weekend getaway or a full-time residence, consists of several key elements working in concert:
- Solar Panels: These are the workhorses, converting sunlight into DC electricity. For cabins, rigid monocrystalline panels are generally preferred due to their higher efficiency and durability. Brands like Renogy and Rich Solar offer reliable options for various budgets and sizes. You'll typically mount them on your roof or a ground mount structure.
- Batteries: This is where your generated solar energy is stored for use when the sun isn't shining. The choice of battery technology significantly impacts cost, lifespan, and performance.
- LiFePO4 (Lithium Iron Phosphate): These are becoming the gold standard for off-grid systems due to their long cycle life, high depth of discharge (meaning you can use more of their stated capacity without damage), lightweight nature, and consistent power delivery. While the upfront cost is higher, their longevity often makes them more cost-effective over the system's lifetime.
- AGM (Absorbed Glass Mat) Lead-Acid: A more budget-friendly option, AGMs are sealed, maintenance-free lead-acid batteries. They offer good performance in colder temperatures and are robust, but have a shorter cycle life and shallower depth of discharge compared to LiFePO4.
- Charge Controller: This crucial device sits between your solar panels and your batteries, regulating the voltage and current coming from the panels to safely charge your batteries.
- MPPT (Maximum Power Point Tracking): Highly recommended for cabin systems, MPPT controllers are more efficient than their PWM counterparts, especially in varying light conditions and when panel voltage differs significantly from battery voltage. They maximize the power harvested from your panels, which means more energy for your batteries.
- Inverter: As mentioned earlier, the inverter converts the DC power from your batteries into AC power for your standard household appliances. Always opt for a pure sine wave inverter for your cabin. Modified sine wave inverters are cheaper but can damage sensitive electronics and cause motors to run inefficiently or noisily. For larger systems, an inverter/charger combination unit can streamline your setup by handling both solar charging and, if desired, charging from a backup generator.
- Balance of System (BOS) Components: This includes everything else that makes the system safe and functional. Think proper wiring (correct gauge for length and current), fuses and circuit breakers for overcurrent protection, manual disconnect switches (both DC and AC) for safety during maintenance, and a robust grounding system. Don't skimp on these safety components! You can often find comprehensive off-grid solar kits on platforms like Amazon that package many of these core components together, especially from brands like Renogy, which can simplify the buying process for beginners. However, always double-check that the kit's components meet your specific load analysis requirements. Exploring Off-Grid Solar System Components Explained can give you a deeper understanding of each part.
Essential Wiring, Protection, and Mounting Gear
Beyond the main electronics, you'll need a host of ancillary items to ensure your cabin solar system is installed correctly and safely. Neglecting these details can lead to inefficient performance or, more critically, dangerous electrical hazards.
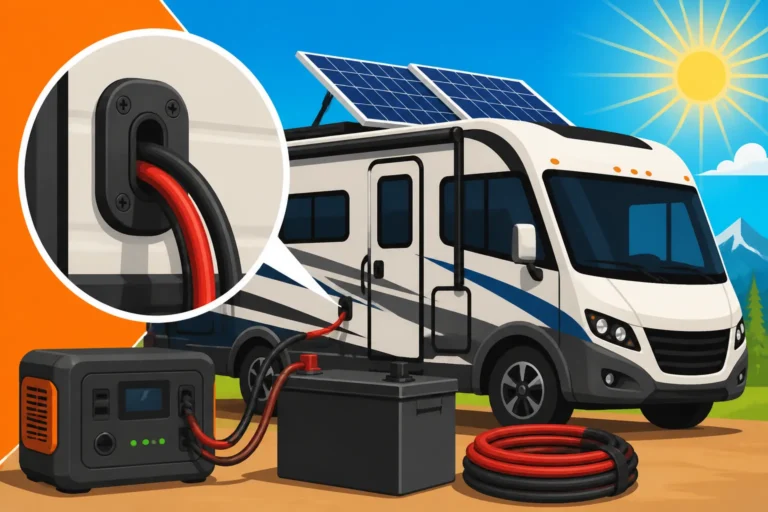
Firstly, wiring and cables: You’ll need specialized UV-resistant solar PV cable (often 10 AWG or 12 AWG) for connecting your solar panels, and much thicker battery cables (e.g., 2/0 or 4/0 AWG) for connecting your battery bank to your inverter and other DC components. The gauge of your wire is absolutely critical; undersized wires lead to voltage drop and power loss, while oversized wires are an unnecessary expense. You might want to refer to How to Size Wire and Cables to ensure you're using the correct gauges. Ensure all cables are rated for outdoor use if exposed to the elements.
Secondly, fuses, circuit breakers, and disconnects: These are your system's guardians.
- DC Fuses/Breakers: Required between the solar panels and the charge controller, and between the charge controller and the battery bank. These protect components from overcurrents.
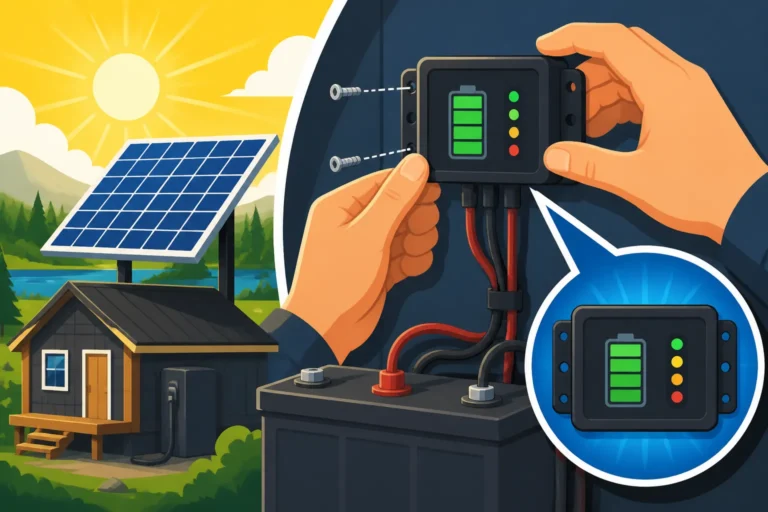
- Battery Disconnect Switch: A heavy-duty DC switch placed between your battery bank and your inverter/charge controller. This allows you to completely isolate the battery bank for maintenance or emergencies.
- AC Breakers: If your inverter connects to an AC subpanel in your cabin, you'll need standard AC circuit breakers to protect your household circuits.
- PV Disconnect: An external DC disconnect switch near your solar array, allowing you to shut off power from the panels for safety.
Thirdly, grounding equipment: Proper grounding is not optional; it’s a critical safety measure that protects you and your equipment from lightning strikes and electrical faults. This includes copper grounding wire, grounding rods driven into the earth, and bonding strips or lugs to connect all metal enclosures and panel frames to the ground system.
Finally, mounting hardware:
- Roof Mounts: If you're installing panels on your cabin roof, you'll need appropriate racking, L-feet, and flashing to securely attach the panels while preventing water leaks. Ensure the racking system is compatible with your roof type (e.g., asphalt shingle, metal, corrugated).
- Ground Mounts: For those with ample open space, a ground mount offers flexibility in orientation and tilt angle, which can be adjusted seasonally for optimal sun exposure. These typically involve setting poles in concrete and assembling a sturdy frame. Ensure your chosen mount can withstand local wind and snow loads.
Considering brands for these smaller components, reliable options for wiring often include companies like WindyNation for bulk cables, while electrical safety components can be sourced from well-known manufacturers found readily on platforms like Amazon, such as Blue Sea Systems for robust DC components or MidNite Solar for specialized off-grid enclosures and breakers.
Step-by-Step Installation Process for Your Cabin
Now for the hands-on part! Installing an off-grid solar system for your cabin is a rewarding project, but it requires careful planning and adherence to safety protocols. If you're new to electrical work, consider consulting a qualified electrician for the AC side or for a final inspection.
Installing Your Solar Panels on the Cabin Roof or Ground Mount
The first major task is physically getting those solar panels into position. This isn't just about putting them wherever they fit; optimal placement and orientation are key to maximizing energy harvest.
Site Assessment and Preparation:
Before anything, double-check your chosen location for panels. For a roof mount, ensure your cabin's roof can handle the weight of the panels and racking, especially considering snow loads. For ground mounts, make sure the area is clear of future shading from trees or buildings.
The ideal orientation for solar panels in the Northern Hemisphere is facing true south. If true south isn't possible, orienting them southwest or southeast is generally acceptable, though you might see a slight reduction in output. The tilt angle is also crucial; a common rule of thumb for year-round production is to set the tilt angle equal to your geographical latitude. For seasonal use, you might adjust it: steeper in winter (to catch lower sun angles) and shallower in summer.
Mounting the Panels:
- Roof Mount:
- Locate Rafters: Use a stud finder to locate roof rafters. Your mounting feet must be securely attached to these structural elements.
- Attach L-Feet/Standoffs: Drill pilot holes and secure your L-feet or standoff mounts directly into the rafters. Crucially, apply sealant (like Dicor Self-Leveling Lap Sealant for RVs or a high-quality silicone for homes) around the penetration points and under the flashing to prevent any water intrusion into your cabin. This is not a step to rush!
- Install Rails: Attach the mounting rails to the L-feet. Ensure they are level and properly spaced according to your panel dimensions.
- Place and Secure Panels: Carefully lift and place each solar panel onto the rails. Use mid-clamps to secure panels to the rails and end-clamps for the panels at the ends of each row. Double-check all bolts and connections.
- Ground Mount:
- Dig and Pour Footings: Dig holes for your ground mount poles to the depth recommended by the manufacturer, typically below the frost line in colder climates. Pour concrete footings, ensuring the poles are plumb and properly spaced.
- Assemble Frame: Once the concrete cures, assemble the rest of the ground mount frame according to instructions.
- Attach Panels: Mount the panels to the frame using the appropriate clamps. Ground mounts often offer easier access for cleaning and seasonal tilt adjustments.
Once your panels are securely in place, you’ll need to run the solar PV cables from the array to where your charge controller will be located, usually inside your cabin or a dedicated shed. Use conduit to protect exposed wiring from physical damage and UV degradation, especially where it enters the cabin. For a more detailed walkthrough, consider checking out How to Install Off-Grid Solar Panels.
Wiring the Solar Array to the Charge Controller
With your panels mounted, the next step is to connect them electrically to your charge controller. This involves configuring your panels in series, parallel, or a combination of both (series-parallel) to achieve the desired voltage and current for your system.
Series vs. Parallel Wiring:
- Series Wiring: Connecting panels in series increases the total voltage of the array while keeping the current the same. This is often preferred for MPPT charge controllers and longer wire runs, as higher voltage reduces current, minimizing voltage drop and allowing for thinner (cheaper) wire. For example, two 12V panels wired in series will produce 24V.
- Parallel Wiring: Connecting panels in parallel increases the total current of the array while keeping the voltage the same. This is useful for charging a 12V battery bank with 12V panels or when you need more amperage. For example, two 12V panels wired in parallel will produce 12V but double the current.
For most modern off-grid cabin systems using MPPT charge controllers and 24V or 48V battery banks, a series or series-parallel configuration is usually optimal. It allows the charge controller to operate more efficiently. A great resource for understanding these configurations is How to Wire Solar Panels in Series and How to Wire Solar Panels in Parallel.
Connecting to the Charge Controller:
- Install Combiner Box (Optional but Recommended): For larger arrays with multiple strings of panels, a PV combiner box is highly recommended. It houses individual string fuses or breakers and combines the outputs into a single pair of cables (positive and negative) running to the charge controller. This simplifies wiring and provides a central point for overcurrent protection.
- Run Cables: Route the main positive (+) and negative (-) PV cables from your solar array (or combiner box) to the location of your charge controller. Ensure these cables are properly sized and protected within conduit.
- Install PV Disconnect: Before connecting to the charge controller, install a DC PV disconnect switch inline with the positive PV cable. This allows you to safely shut off power from the panels for maintenance or troubleshooting.
- Connect to Charge Controller: With the PV disconnect in the "off" position, connect the positive and negative PV cables to the designated "PV Input" terminals on your MPPT charge controller. Double-check polarity (positive to positive, negative to negative) – reversing polarity can damage the controller.
Connecting the Battery Bank and Inverter
This is where the power really comes together, ready to be stored and then converted for your cabin's use. It’s crucial to wire these components correctly and safely.
Battery Bank Wiring:
Your battery bank will be wired to achieve your system voltage (e.g., 12V, 24V, or 48V). For most cabins, 24V or 48V systems are more efficient as they allow for smaller wires and handle larger loads better.
- Prepare Batteries: Ensure all batteries are at a similar state of charge before wiring them together, especially if using lead-acid batteries. If using LiFePO4 batteries with internal Battery Management Systems (BMS), they typically manage this for you, but it’s still good practice.
- Series/Parallel Wiring: Connect your batteries in series, parallel, or series-parallel to achieve the desired voltage and capacity. For example, to create a 48V system from four 12V batteries, you would wire them in series (positive of one to negative of the next). For more capacity, you might create multiple 48V strings and then wire those strings in parallel. Always use appropriately sized, short battery cables. You can find detailed diagrams and explanations in a guide on How to Wire a Battery Bank.
- Install Battery Disconnect: Install a heavy-duty DC battery disconnect switch and appropriate DC fuses (often a T-fuse or ANL fuse) between your battery bank and the charge controller/inverter. This allows for safe isolation.
- Connect to Charge Controller: Connect the positive and negative battery cables from your battery bank (via the disconnect and fuse) to the "Battery" terminals on your MPPT charge controller. Again, verify polarity.
Connecting the Inverter:
- Connect Inverter to Batteries: Connect the main positive and negative battery cables from your battery bank (after the battery disconnect and fuse) to the DC input terminals of your pure sine wave inverter. These cables will be very thick due to the high currents involved.
- Inverter Grounding: Most inverters require a separate chassis ground connection. Connect this to your cabin's main grounding bus bar.
- AC Output Wiring:
- For smaller, simpler cabins, you might have a few dedicated AC outlets wired directly from the inverter's output.
- For larger cabins, or if you want standard household wiring, the inverter's AC output will connect to a small AC subpanel. This subpanel will then distribute AC power through circuit breakers to various lights, outlets, and appliances throughout your cabin.
- Install AC disconnects between the inverter and any AC loads or subpanel, as required by local codes.
Careful attention to these connections will ensure the heart of your off-grid system functions efficiently and safely. A resource like How to Connect an Inverter to Batteries can provide additional clarity on these critical steps.
Grounding, Safety, and First Power-Up
Safety is paramount in any electrical installation, especially with high-voltage DC and AC systems. Proper grounding protects your equipment and, more importantly, prevents potentially fatal electrical shocks.
Grounding Your System:
Every major metallic component of your solar system—from the panel frames and mounting rails to the inverter chassis and any metal conduit—needs to be properly grounded.
- Grounding Rods: Drive one or more copper-clad steel grounding rods into the earth near your battery bank and main electrical panel. These rods should be driven deep enough to make good contact with moist soil, typically 8 feet.
- Grounding Wire: Run bare copper grounding wire (e.g., 6 AWG or 8 AWG, check local codes) from the grounding rods to a main grounding bus bar in your electrical enclosure.
- Bonding: Connect all metallic non-current-carrying parts of your system to this grounding bus bar. This includes:
- Solar panel frames (using special grounding lugs or bolts).
- Metal mounting rails.
- The chassis of your charge controller.
- The chassis of your inverter.
- Any metal electrical boxes or conduit.
- The main AC subpanel's ground bar.
- For the DC side, you might bond the negative terminal of your battery bank to ground (if your inverter requires it and it's permitted by your system's design and local codes, often the case for 48V systems).
This creates a safe path for fault currents or lightning strikes to dissipate into the earth, rather than passing through you or damaging your valuable equipment. Always consult Off-Grid Solar Safety and Grounding for detailed, code-compliant grounding practices.
The Moment of Truth: First Power-Up
With all components wired, fused, and grounded, it's time to bring your cabin solar system to life. Follow this sequence carefully:
- Verify All Connections: Before flipping any switches, take one last, thorough walk-through of your entire system. Check every wire connection for tightness, proper polarity, and correct sizing. Ensure all fuses and breakers are in place.
- Close Battery Disconnect: Engage the main DC battery disconnect switch. Your charge controller should now power on (if it has a display) and detect the battery voltage.
- Close PV Disconnect: Engage the DC PV disconnect switch. Your charge controller should now detect incoming power from the solar panels and begin its charging sequence. You'll likely see battery voltage rising or a "charging" indicator.
- Engage Inverter DC Disconnect: Turn on the DC disconnect or breaker feeding your inverter from the batteries.
- Turn On Inverter: Power on your inverter (there's usually a main power button or switch on the unit itself). Wait for it to complete its self-test and indicate that AC power is available.
- Engage AC Breakers: If you have an AC subpanel, one by one, flip on the individual AC circuit breakers for your cabin's lights and outlets.
- Test Loads: Start with a small load, like a single light bulb, and ensure it works. Then, gradually test other appliances. Listen for any unusual noises, or check for strange smells.
Congratulations! Your cabin is now powered by the sun. Monitor your system's performance closely for the first few days, observing battery charge levels and how well the panels are meeting your daily demands.
Overcoming Common Cabin Solar Challenges
Even with a perfectly installed system, off-grid living comes with its own set of challenges. Knowing how to anticipate and address these issues can save you a lot of headaches and ensure your cabin remains a comfortable, powered sanctuary.
Dealing with Shading and Suboptimal Conditions
One of the biggest adversaries of any solar power system is shade. Even a small shadow from a tree branch or chimney can drastically reduce the output of an entire string of panels, especially with older string inverter setups.
Mitigating Shading:
- Careful Placement: During your initial site assessment, prioritize locations with the least amount of shading throughout the day and across seasons. Trees that are bare in winter can still cast long shadows.
- Tree Trimming: This is often the simplest and most effective solution. Trim back any branches that will create shadows during peak sun hours.
- Microinverters or Power Optimizers: If shading is unavoidable and impacts individual panels, consider using microinverters or power optimizers. These devices manage the output of each panel independently, meaning if one panel is shaded, it won't drag down the performance of the entire array. While they add cost and complexity, they can be a lifesaver in challenging environments.
- Panel Spacing: Sometimes, simply increasing the space between rows of panels on a roof can prevent one row from shading another during low sun angles.
Handling Cloudy Days and Winter:
Cabin life means you'll inevitably encounter periods of reduced sunlight. Whether it's a stretch of cloudy days or the shorter, lower sun angles of winter, your solar production will drop.
- Oversizing Your Array: A common strategy for off-grid systems is to "oversize" your solar array beyond your minimum daily needs. This extra capacity helps to charge your batteries more quickly on partially sunny days and provides a buffer during cloudy periods.
- Increased Battery Autonomy: During your sizing phase, prioritize sufficient days of autonomy for your battery bank, especially if your cabin is used year-round in an area with unpredictable weather. How to Account for Cloudy Days delves deeper into these considerations.
- Energy Conservation: Become a vigilant energy manager. Turn off lights when not needed, unplug phantom loads, and run high-draw appliances like washing machines or well pumps only during peak sunlight hours.
- Backup Generator: For ultimate reliability, especially for full-time cabin dwellers, a backup generator is a wise investment. It can automatically kick on to charge your batteries when solar input is low and battery levels drop below a certain threshold. Some inverter/chargers, like those from Victron Energy or Sol-Ark, have advanced features to manage generator integration seamlessly.
Maintenance and Troubleshooting Your Cabin System
An off-grid solar system, while robust, isn't entirely "set it and forget it." Regular maintenance is key to maximizing its lifespan and ensuring reliable power. Knowing how to identify and address common issues can also prevent minor glitches from becoming major problems.
Routine Maintenance:
- Panel Cleaning: Periodically clean your solar panels, especially after dusty periods or heavy pollen seasons. A soft brush and water are usually sufficient. Keep an eye out for bird droppings, which can create persistent hot spots.
- Battery Inspection:
- LiFePO4: Generally low maintenance. Monitor your battery monitor's readings for voltage, current, and state of charge. Ensure connections are tight.
- AGM: Check terminals for corrosion (though less common than flooded batteries) and ensure all connections are secure. Avoid over-discharging these batteries, as it significantly shortens their lifespan.
- Wiring and Connections: At least once a year, visually inspect all wiring, connections, fuses, and breakers. Look for any signs of wear, corrosion, loose connections, or rodent damage. Tighten any loose terminals.
- Ventilation: Ensure your battery compartment (especially for AGM batteries) and inverter area are well-ventilated to prevent heat buildup, which can degrade performance and shorten component life.
- Monitor System Performance: Keep an eye on your charge controller and inverter displays. Many modern units provide real-time data on solar input, battery state of charge, and load output. Noticing a sudden drop in solar production or frequent low-battery warnings can indicate an issue. For more detailed maintenance tips, explore a guide on Off-Grid Solar Maintenance Guide.
Basic Troubleshooting:
- No Power/Low Power:
- Check Disconnects: Ensure all DC and AC disconnect switches are in the "on" position.
- Breakers/Fuses: Check all circuit breakers and fuses (PV, battery, AC) to see if any have tripped or blown.
- Inverter Error Codes: Most inverters have diagnostic codes. Consult your inverter's manual for explanations.
- Battery Voltage: Check your battery voltage. If it's very low, your system might have shut down to protect the batteries.
- Solar Input: Check if your panels are receiving sunlight. Is the charge controller showing any solar input?
- Batteries Not Charging Fully:
- Shading: Re-check for any new or increased shading on your panels.
- Charge Controller Settings: Ensure your charge controller settings (especially for battery type and charging parameters) are correct for your specific batteries.
- Panel Issues: Inspect panels for damage. Loose connections or faulty bypass diodes within panels can reduce output.
- Inverter Tripping:
- Overload: Are you trying to run too many high-wattage appliances at once? Disconnect some loads and restart the inverter.
- Low Battery Voltage: If battery voltage drops too low under load, the inverter will often shut down to protect the batteries.
Many off-grid systems, especially those using brands like Renogy, come with excellent manuals and customer support forums that can be invaluable for troubleshooting. Don't hesitate to reach out to the manufacturer if you encounter persistent problems you can't solve.
| Component | Typical Cabin Load Examples | Peak Wattage (W) | Est. Daily Use (Hrs) | Daily Watt-Hours (Wh) |
|---|---|---|---|---|
| LED Light Bulb | Reading, general lighting | 8 | 4 | 32 |
| Mini-Fridge | Food storage | 100 | 8 (duty cycle) | 800 |
| Laptop | Charging, basic use | 60 | 3 | 180 |
| Phone Charger | Charging mobile devices | 10 | 2 | 20 |
| Water Pump (small) | Pumping water for sink/shower | 500 | 0.5 | 250 |
| Coffee Maker | Morning brew | 1000 | 0.25 | 250 |
| Small TV | Entertainment | 50 | 3 | 150 |
| TOTALS (Example) | 1728 | 1682 | ||
| Note: Peak wattage is for simultaneous use, daily watt-hours accounts for run-time. |
Disclaimer
The information provided in this guide is for general informational purposes only and does not constitute professional advice. Off-grid solar system installation involves working with electricity and high voltages, which can be dangerous. Always exercise extreme caution, follow manufacturer instructions, and adhere to all local electrical codes and regulations. If you are unsure about any aspect of the installation, it is highly recommended to consult with a qualified and licensed electrician or solar professional. We are not responsible for any injury, damage, or loss that may result from the use of this information.