How to Wire Panels to a Combiner Box
So you're diving into the world of off-grid solar, and suddenly, you're faced with a tangled mess of wires coming off your solar panels. It can feel overwhelming, like trying to untangle a hundred fishing lines at once, and figuring out how to neatly and safely connect all those panels to your system is a big headache. This guide is here to walk you through the essential process of wiring your solar panels to a combiner box, making it less intimidating and more manageable for your off-grid adventure.
What is a Solar Combiner Box and Why You Need One
When you start adding more than a couple of solar panels to your off-grid setup, you quickly realize that managing all those individual wires becomes a challenge. Each panel has its own positive and negative lead, and imagine trying to connect ten or twenty sets of these directly to your charge controller or inverter! That’s where a solar combiner box comes in. Think of it as the central nervous system for your solar array, gathering all those panel outputs into a streamlined, safe, and manageable set of main wires. It’s a critical component in almost any serious off-grid solar system, simplifying wiring and offering crucial protection. For a broader overview, you might want to check out our Off-Grid Solar Installation Guide.
Protecting Your Investment and Ensuring Safety
Safety is paramount in any electrical system, and off-grid solar is no exception. Solar panels can produce significant amounts of current, and without proper protection, faults like short circuits or overcurrents can lead to serious damage, including fires. A combiner box is designed to house protective devices like fuses or circuit breakers for each individual string (group) of panels. If one string experiences a fault, its dedicated fuse or breaker trips, isolating the problem while the rest of your array continues to operate. This not only safeguards your expensive panels and downstream equipment but, more importantly, protects you and your property from electrical hazards. It’s an essential part of a reliable and safe How to Wire an Off-Grid Solar System.
Simplifying Wiring and Future Expansion
Beyond safety, the combiner box brings a much-needed sense of order to your solar wiring. Instead of running multiple heavy gauge wires from each panel or series string all the way back to your charge controller, you run smaller gauge wires from each string to the combiner box, which is typically located close to the array. From the combiner box, only one main positive and one main negative cable then run to your charge controller or inverter. This significantly reduces the amount of wiring needed over long distances, saving on cable costs and making installation cleaner. Furthermore, if you decide to expand your system later by adding more panels, you can simply add new strings to spare terminals within the combiner box, rather than overhauling your entire wiring setup.
Understanding the Key Components of a Solar Combiner Box
A solar combiner box isn’t just an empty plastic or metal box; it’s a carefully designed enclosure that houses several critical components. Understanding each part helps you appreciate its role in safeguarding and optimizing your off-grid solar power system. Many reputable brands like Renogy offer complete combiner boxes with these components pre-installed, or you can purchase individual parts from retailers like Amazon and assemble your own.
Fuses or Circuit Breakers: The Overcurrent Guardians
At the heart of any good combiner box are the overcurrent protection devices – fuses or circuit breakers. Their job is simple but vital: to break the circuit if the current flowing through it exceeds a safe limit, preventing damage to wires, panels, and other components.
* **Fuses**: These are one-time use devices. If an overcurrent event occurs, the metallic filament inside the fuse melts, permanently breaking the circuit. You then have to replace the fuse. They are generally reliable and cost-effective.
* **Circuit Breakers**: These are resettable. When an overcurrent occurs, a mechanism within the breaker trips, opening the circuit. Once the fault is cleared, you can simply flip the switch back to “on.” Breakers offer convenience, especially if you anticipate needing to disconnect individual strings for maintenance or troubleshooting, but they tend to be a bit more expensive than fuses.
The type and rating of fuses or breakers you choose are crucial and depend on the maximum current your individual solar panel strings can produce. You’ll want to choose DC-rated components, as solar arrays operate on direct current. For a deep dive into selecting these, refer to our guide on How to Size Fuses and Breakers.
Busbars and Terminal Blocks: Making Connections Secure
Once your panel strings are protected by fuses or breakers, their outputs need a common connection point before heading to the charge controller. That’s where busbars and terminal blocks come into play.
* **Busbars**: These are typically thick strips of conductive metal (often copper or aluminum) that serve as a common connection point for multiple circuits. In a combiner box, you’ll usually have a positive busbar and a negative busbar. All the positive outputs from your fused/breakered strings connect to the positive busbar, and similarly for the negative.
* **Terminal Blocks**: These are insulated modular blocks that provide a safe and organized way to connect individual wires. Each block has a conductive metal strip with screws or clamps to secure wires. They are often used to connect the individual panel string wires to the fuses/breakers, and then the outputs of the fuses/breakers to the busbars.
These components ensure all connections are tight, secure, and have minimal resistance, which is important for efficient power transfer and to prevent heat buildup.
Surge Protection Devices SPD: Shielding Against Electrical Spikes
Even in an off-grid setup, your solar array is exposed to environmental factors that can cause damaging electrical spikes. Lightning strikes, even those occurring some distance away, can induce powerful surges in your wiring. Without protection, these surges can fry your expensive charge controller, inverter, and even damage your batteries.
A Surge Protection Device (SPD) is designed to shunt these excessive voltages to ground, safely dissipating them before they can reach your sensitive equipment. SPDs are typically wired in parallel to your main DC lines within the combiner box. If a surge occurs, the SPD diverts the excess energy, often sacrificing itself in the process, to protect your system. Replacing an SPD is far cheaper than replacing a charge controller or inverter.
Here's a quick comparison of common overcurrent protection types:
| Feature | DC Fuse | DC Circuit Breaker |
|---|---|---|
| Function | Melts to break circuit | Trips to break circuit |
| Resettable? | No (must be replaced) | Yes (can be reset manually) |
| Cost | Lower per unit | Higher per unit |
| Maintenance | Requires spare fuses for replacement | No replacement needed unless damaged internally |
| Troubleshooting | Requires testing to find blown fuse | Visual indicator (tripped state) makes fault finding easier |
| Common Use | Fixed installations, set-and-forget | Systems requiring frequent disconnections or easier fault clearing |
Step-by-Step Guide to Wiring Your Panels to a Combiner Box
Wiring your solar panels to a combiner box is a fundamental skill for any off-grid enthusiast. Taking your time, planning carefully, and following each step will ensure a safe and efficient system.
Planning Your Solar Array and Combiner Box Placement
Before you even pick up a wire stripper, a solid plan is essential. You need to determine how many solar panels you have, their individual voltage and current ratings, and how you’ll connect them to form “strings.” Panels can be wired in How to Wire Solar Panels in Series to increase voltage or in How to Wire Solar Panels in Parallel to increase current, or often a combination of both. Your system voltage (12V, 24V, 48V) and your charge controller’s specifications will dictate your string configuration.
Once you know your string configuration, you'll know how many individual positive and negative wires will be entering the combiner box. Calculate the maximum short-circuit current (Isc) for each string and the total maximum current of your array. This will inform your choice of fuses/breakers, wire gauge, and the combiner box itself.
Consider the physical placement of your combiner box. It should ideally be located as close to your solar array as possible to minimize voltage drop and cable costs, but also in an accessible location for maintenance and troubleshooting. Ensure it's protected from direct weather, though most outdoor combiner boxes are rated for harsh conditions. Thinking about an overall Off-Grid Solar Wiring Diagram Explained at this stage can save you a lot of headaches later on.
Connecting Individual Solar Panels to the Combiner Box
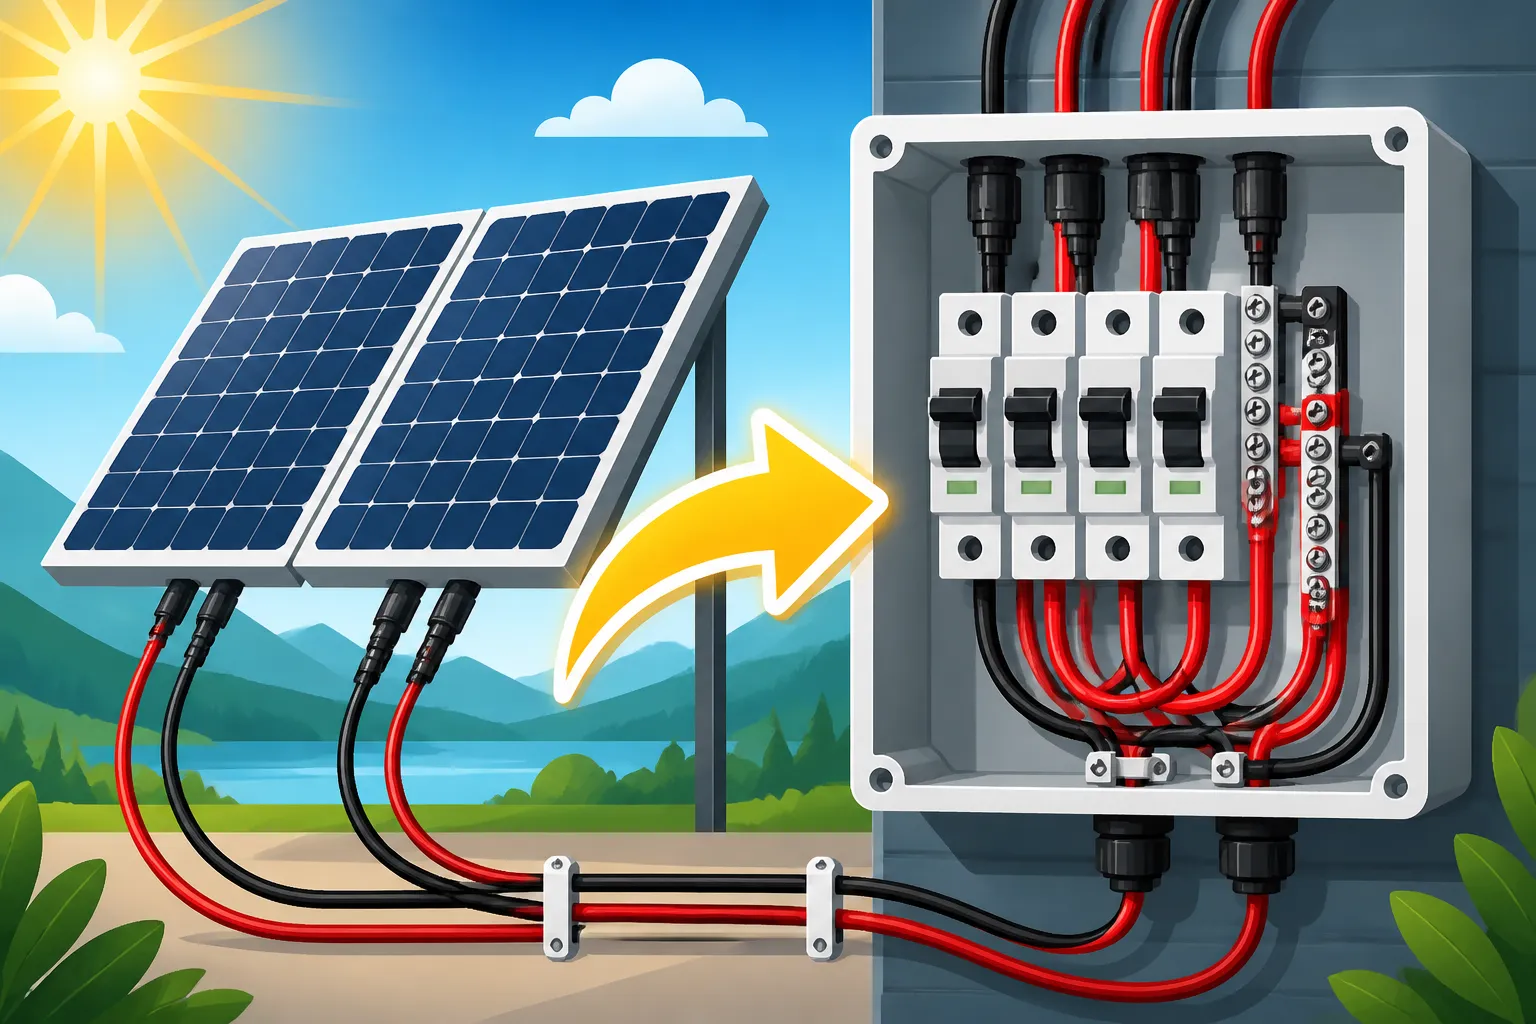
This is where the actual wiring begins. Each string of solar panels will have a final positive and negative output cable. These are typically equipped with MC4 connectors, which are standard in the solar industry for their ease of use and weather resistance.
- Prepare the Cables: If your panels come with MC4 connectors, you'll either connect them directly to input cables on the combiner box (if it's a pre-wired unit) or cut the MC4 ends off your panel string wires to terminate them inside the box. When cutting, always ensure the panels are completely covered or disconnected to prevent current flow and potential shocks. Use appropriate tools to strip about half an inch of insulation from the ends of the wires.
- Connect to Overcurrent Protection: Inside your combiner box, you'll connect the positive wire from each solar panel string to the input side of its dedicated fuse or circuit breaker. The negative wire from each string will typically connect directly to the negative busbar or a negative terminal block. Ensure all connections are tight and secure. Double-check polarity – connecting positive to negative can cause serious damage! Many professional-grade combiner boxes, like those offered by MidNite Solar, make these connections straightforward.
- Secure Wires: Use cable glands or strain reliefs where wires enter and exit the combiner box to prevent water ingress and protect the cables from chafing. Once inside, neatly route the wires and secure them with zip ties if necessary to prevent them from interfering with other components. For more details on panel installation, see our guide on How to Install an Off-Grid Solar Panels.
Wiring the Combiner Box Output to Your Charge Controller
Now that all your panel strings are safely combined and protected, you need to get that power to the rest of your system. The combiner box will have one main positive output terminal and one main negative output terminal.
- Select Proper Wire Gauge: The cables running from your combiner box to your charge controller will carry the total current from your entire solar array. This means they need to be a much heavier gauge than the wires from individual panel strings. You must correctly How to Size Wire and Cables to prevent overheating and voltage drop. Consult wire gauge charts based on the total current and the distance to your charge controller.
- Connect Output Cables: Connect the appropriately sized positive cable to the main positive output terminal (which is connected to your positive busbar) and the negative cable to the main negative output terminal (connected to your negative busbar).
- Route to Charge Controller: Carefully route these main DC cables to your charge controller. Ensure they are protected from physical damage and extreme weather. Use conduit if running them through walls or underground.
- Connect to Charge Controller: Finally, connect these main positive and negative cables to the designated "PV Input" or "Solar Input" terminals on your charge controller. Again, verify polarity before making the final connection. Many charge controllers, like those from Victron Energy, are designed for easy and safe connection. For a step-by-step, review How to Connect a Charge Controller. This connection completes the circuit, allowing your panels to start sending power to your batteries through the charge controller.
Essential Safety Measures and Best Practices for Wiring
Working with electricity always carries risks, especially with high-current DC systems like off-grid solar. Prioritizing safety through proper techniques and adherence to best practices isn’t just a suggestion; it’s a non-negotiable requirement.
Proper Grounding, Disconnects, and Code Compliance
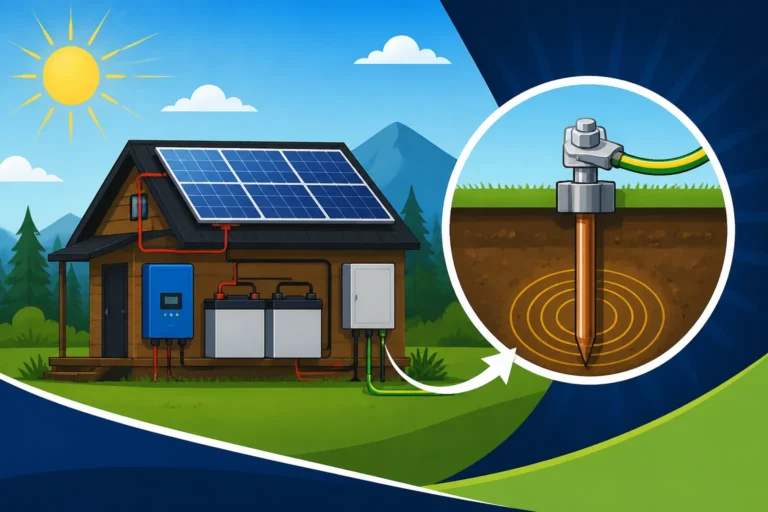
One of the most critical safety measures for any electrical installation, including your off-grid solar system, is proper grounding. The combiner box, along with your solar panel frames and other metal components of your array, must be safely grounded. Grounding provides a safe path for fault currents (like those from a lightning strike or a short circuit) to dissipate into the earth, protecting equipment and preventing severe electrical shocks. Ensure you use appropriately sized grounding wire and follow local electrical codes, even if you’re off-grid. Often, a dedicated grounding rod is installed for the solar array and tied into the overall system ground. For more information, read our detailed guide on Off-Grid Solar Safety and Grounding.
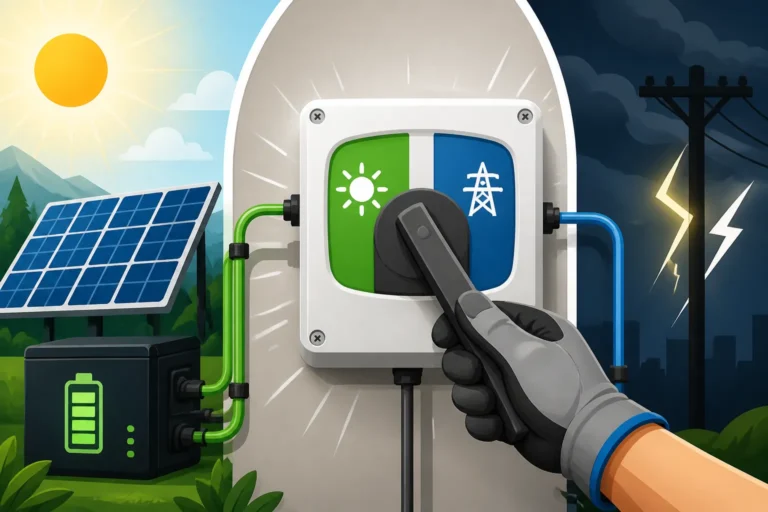
In addition to grounding, easily accessible disconnect switches are vital. A DC disconnect switch allows you to completely de-energize your solar array from the rest of your system, which is crucial for maintenance, troubleshooting, or in case of an emergency. Many combiner boxes include a built-in DC disconnect, or you may need to install one separately between the combiner box and the charge controller.
While you might be off-grid, understanding and aiming to comply with National Electrical Code (NEC) standards, even if not strictly enforced, is a smart move. The NEC provides robust guidelines for wire sizing, overcurrent protection, grounding, and general wiring practices that are designed for safety.
Pre-Installation Checks and Testing Your Connections
Before you ever turn on your system or even connect the final wires, conduct thorough checks. This often overlooked step can save you from costly mistakes or dangerous situations.
- Visual Inspection: Look for any damaged wires, loose connections, or improperly stripped insulation. Ensure all terminals are tightened securely.
- Continuity Tests: Use a multimeter to check for continuity on all circuits. This helps identify any breaks in the wiring.
- Voltage Checks: Before connecting the combiner box output to your charge controller, use your multimeter to verify the open-circuit voltage (Voc) of your combined array output. This ensures your strings are wired correctly (not reversed polarity) and that the voltage is within the operating range of your charge controller.
- Polarity Check: This is perhaps the most important pre-check. Confirm that your main positive output from the combiner box is indeed positive, and the negative is negative. A reversed polarity connection can instantly damage your charge controller or inverter.
Never rush these checks. It's much better to spend an extra hour verifying everything than to suffer the consequences of a quick, careless connection.
Labeling and Documentation for Future Maintenance
Once your system is wired, labeling might seem like a small detail, but it makes a huge difference down the road. Clearly label all cables, fuses, and breakers within the combiner box. For example, label “Panel String 1 Positive,” “Panel String 1 Negative,” “Main Array Output to Charge Controller,” etc. This makes future troubleshooting, maintenance, or expansion infinitely easier. Imagine trying to figure out which fuse goes to which panel string a year from now without labels!
Beyond labeling, create simple documentation for your system. A basic wiring diagram of your solar array and combiner box connections, along with the ratings of your panels, fuses, and breakers, will be an invaluable resource. Keep it in a safe, accessible place, perhaps even laminated and stored near your main electrical panel. This documentation is not just for you; it's also incredibly helpful for anyone else who might need to work on your system in the future.
Disclaimer
_The information provided in this guide is for general informational purposes only and does not constitute professional electrical advice. Working with electricity can be dangerous. Always consult with a qualified electrician or solar professional before undertaking any electrical work. Ensure you comply with all local electrical codes and safety regulations. The author and publisher are not liable for any personal injury or property damage resulting from the use of this information._