How to Install a PV Disconnect
Let's be honest, few things are more unsettling than seeing sparks fly or needing to work on your solar system with live wires, especially when you're relying on it for all your power. The thought of accidentally shorting something or, worse, getting a shock, can make anyone hesitant to perform maintenance or upgrades. This guide is here to walk you through exactly how to install a PV disconnect in your off-grid solar system, ensuring your safety and the longevity of your setup.
Understanding the Importance of a PV Disconnect
When you’re dealing with an off-grid solar system, safety isn’t just a suggestion; it’s an absolute necessity. Unlike grid-tied systems that might automatically shut down during a power outage, your off-grid setup is *always* live when the sun is shining on your panels, feeding power into your charge controller and batteries. This constant flow of electricity means you need a reliable way to completely cut off the power, not just for your own peace of mind, but for critical maintenance and in case of emergencies.
Why You Absolutely Need a PV Disconnect
Imagine needing to replace a faulty charge controller or perhaps upgrade your existing inverter. Without a proper PV disconnect switch, you’d be forced to deal with wires that are actively carrying electricity from your solar panels. This is incredibly dangerous. A PV disconnect, sometimes called a solar array disconnect or DC disconnect, provides a clear, physical break in the circuit between your solar panels and the rest of your system. It’s essentially an emergency stop button for your solar array, allowing you to safely isolate the panels and de-energize the downstream components. This protects not only you but also your expensive equipment from potential damage during troubleshooting or repair. It’s a fundamental safety component that should be considered non-negotiable for any off-grid solar installation.
Common Scenarios Where a Disconnect is Crucial
Think about a few common situations. Perhaps you’re seeing an error code on your charge controller, or maybe you’re planning to expand your system by adding more panels. In either case, you’ll need to work with the wiring. If you don’t have a PV disconnect, your only option would be to cover your panels completely to stop power production – which isn’t always practical or foolproof – or disconnect wires under load, which can create dangerous arcs and damage components.
Another critical scenario is an electrical fire or other emergency. Being able to quickly and safely shut down the power coming from your solar array can prevent further damage or injury. Even simply working on other parts of your electrical system, like your battery bank or inverter, requires you to know that there's no unexpected power surge coming from the panels. This is why understanding Off-Grid Solar Safety and Grounding is so important; the PV disconnect is a major part of that safety strategy. Without it, you're leaving yourself and your investment vulnerable.
Types of PV Disconnects for Off-Grid Systems
When you’re looking at PV disconnects, you’ll find a few main types. Each serves the same fundamental purpose – to safely cut off power from your solar array – but they do so with slightly different mechanisms and features. Knowing the difference will help you choose the right one for your specific off-grid setup, whether you’re powering a tiny home or a full-time RV.
Manual Disconnect Switches
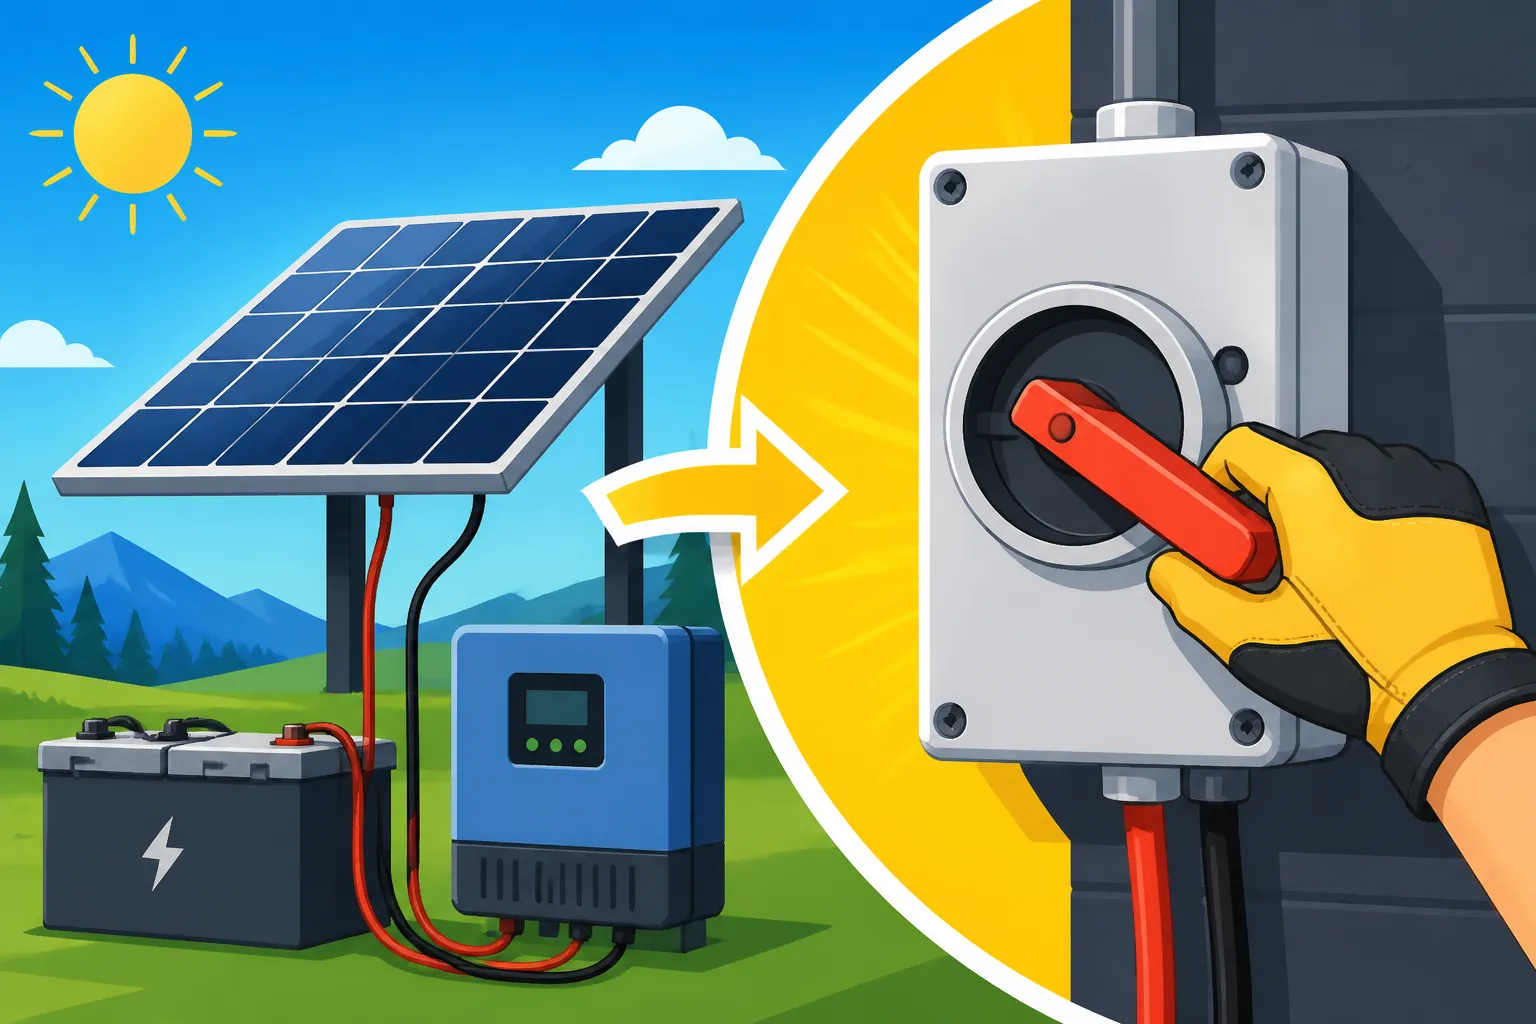
The most common type you’ll encounter is the manual disconnect switch. These are usually robust, weather-resistant boxes that contain a physical switch or lever. You simply flip the lever, and it opens the circuit, breaking the connection between your solar panels and your charge controller. They come in various amperage and voltage ratings, so you’ll need to match them to your solar array’s specifications. For instance, if you have a 48V system with a 60A charge controller, you’d want a disconnect switch rated for at least 60A DC and suitable for your system voltage.
Many popular solar equipment manufacturers, like Renogy, offer reliable manual DC disconnect switches. You'll often see them mounted right next to the solar array or near the point where the solar wiring enters your home or RV. Their simplicity is a huge advantage; there are no complex electronics to fail, and the visual indication of the switch's position (on or off) makes it very clear whether the power is flowing. This type of disconnect is essential for any DIY Off-Grid Solar Installation Guide, as it provides a tangible point of control.
Automatic and Integrated Disconnects
While manual switches are the standard, some more advanced off-grid systems incorporate automatic or integrated disconnect features. These aren’t always standalone PV disconnects in the traditional sense, but they serve similar functions for system protection. For example, some high-end charge controllers or inverter-chargers have built-in overcurrent protection and may include remote shutdown capabilities. These features can technically stop the flow of power, but they don’t always provide the same clear, physical air gap as a dedicated manual PV disconnect.
You might also find certain solar generators or all-in-one power stations, often sold on platforms like Amazon, that have integrated PV input breakers or switches. While convenient, it’s crucial to understand their limitations. They typically protect the device itself rather than providing a comprehensive disconnect for an entire larger array connected through separate components. For larger, more complex off-grid installations, relying solely on integrated features might not meet electrical codes or provide sufficient safety. A dedicated external PV disconnect is almost always recommended, even if other components have their own internal protection. If you're wondering How to Choose an Off-Grid Charge Controller or inverter, check if they offer remote disconnect capabilities, but still plan for a manual disconnect for primary safety.
Step-by-Step Installation Guide for a PV Disconnect
Alright, let’s get down to brass tacks. Installing a PV disconnect isn’t overly complicated, but it *must* be done correctly to ensure safety. This isn’t a step you want to rush or cut corners on. Taking your time and following these steps meticulously will pay off in the long run.
Essential Tools and Safety Precautions
Before you even think about touching wires, gather your tools and prioritize safety. You’ll need:
* **The PV Disconnect Switch:** Make sure it’s rated for your system’s voltage and amperage.
* **Wire Strippers:** For safely stripping insulation from your solar cables.
* **Crimpers:** To attach lugs or ferrules to your wires for secure connections.
* **Screwdrivers (Phillips and Flathead):** For opening the disconnect box and tightening terminals.
* **Multimeter:** Absolutely crucial for checking voltage and ensuring circuits are dead.
* **Gloves:** Insulated electrical gloves are a good idea, especially if you’re working with higher voltage systems.
* **Safety Glasses:** Protect your eyes from stray sparks or debris.
* **Heat Shrink or Electrical Tape:** For insulating connections.
* **Conduit and Fittings (if applicable):** To protect wiring, especially outdoors.
* **Wire:** Appropriately sized DC-rated solar cable.
Safety Precautions:
- Work on a Cloudy Day or Cover Panels: The absolute first rule. If it's sunny, your panels are producing power. Cover them with opaque tarps or blankets so no light reaches them. This is your primary way to de-energize the array.
- Verify De-energization: Always use your multimeter to check for voltage at every step where you're about to make a connection or disconnection. Assume wires are live until you've proven otherwise.
- Proper PPE: Wear your gloves and safety glasses.
- Read Instructions: Always consult the specific installation manual for your PV disconnect switch. Every model might have slight variations.
- No Loose Connections: Loose connections are a fire hazard. Ensure all terminals are tightened securely.
Wiring Your PV Disconnect to Your Off-Grid System
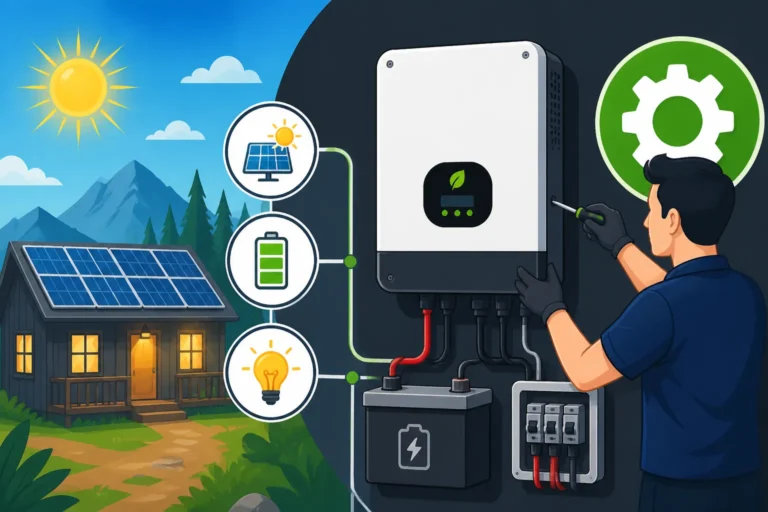
The PV disconnect will be installed between your solar panel array and your charge controller. It’s a series connection, meaning the power *must* flow through it.
- Choose Your Mounting Location: Select a location that is easily accessible, protected from the elements (if not already weatherproof), and close enough to both your solar array and your charge controller to minimize long wire runs. Many people choose to mount it outside near the array or where the wires enter a structure, but it can also be indoors, close to the other equipment. Ensure you follow local codes for placement and weatherproofing.
- Mount the Disconnect Box: Securely mount the PV disconnect enclosure to a solid surface using appropriate hardware.
- Route Your Solar Cables:
- From Panels to Disconnect: Run your positive (+) and negative (-) solar cables from your solar array (or combiner box, if you have one) to the "INPUT" side of your PV disconnect. If you're unsure how to wire multiple panels, refer to a guide on How to Wire Solar Panels in Series or How to Wire Solar Panels in Parallel. Use proper conduit and cable glands to protect the wires and maintain the disconnect box's weather rating.
- From Disconnect to Charge Controller: Run another set of positive (+) and negative (-) solar cables from the "OUTPUT" side of your PV disconnect to the "PV Input" terminals on your charge controller.
- Make the Connections:
- Ensure the disconnect switch is in the "OFF" position.
- Carefully strip about 1/2 to 3/4 inch of insulation from the ends of each cable.
- Connect the positive cable from the panels to the "PV IN +" terminal on the disconnect.
- Connect the negative cable from the panels to the "PV IN -" terminal on the disconnect.
- Connect the positive cable going to the charge controller to the "PV OUT +" terminal on the disconnect.
- Connect the negative cable going to the charge controller to the "PV OUT -" terminal on the disconnect.
- Double-check all connections for polarity (positive to positive, negative to negative). This is absolutely critical.
- Tighten all terminal screws firmly. A common issue is loose terminals, which can lead to arcing and overheating.
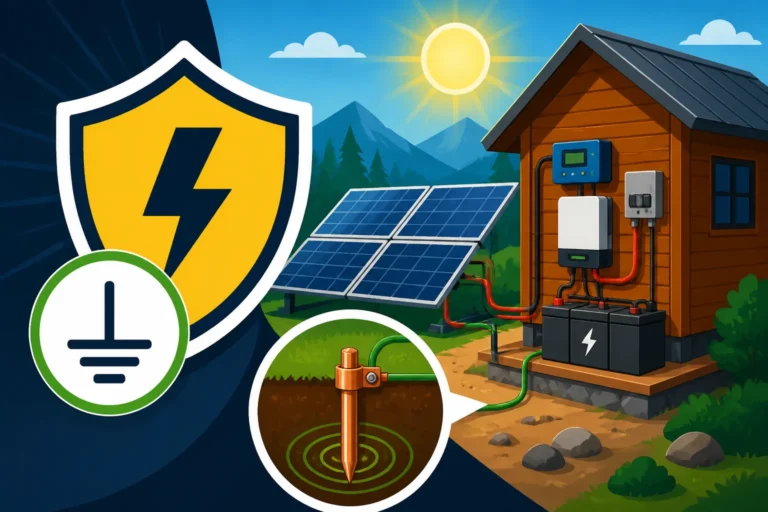
- Grounding (If Required): Most PV disconnects will have a grounding lug. Connect a properly sized grounding wire from this lug to your system's main ground bus or grounding rod. This helps protect against electrical surges and lightning strikes. Off-Grid Solar Grounding and Bonding Explained can offer more insights here.
Testing and Finalizing Your Installation
Once all the wires are connected, it’s time to bring the system back online carefully and test your work.
- Initial Checks (Disconnect OFF):
- Before uncovering your panels, ensure the PV disconnect switch is still in the "OFF" position.
- Use your multimeter to check for voltage at the "OUTPUT" terminals of the disconnect. It should read 0V DC. If you see voltage, immediately re-check your wiring and ensure panels are fully covered.
- Uncover Panels: Once you're certain there's no voltage at the output with the switch off, you can safely uncover your solar panels.
- Check Input Voltage: With the panels uncovered and the disconnect still OFF, use your multimeter to check for voltage at the "INPUT" terminals of the disconnect. You should see the open-circuit voltage (Voc) of your solar array. This confirms your panels are producing power and correctly wired to the disconnect.
- Activate the Disconnect: Now, slowly flip the PV disconnect switch to the "ON" position.
- Verify Output Voltage: Immediately check the voltage at the "OUTPUT" terminals of the disconnect again. It should now show the same voltage as your input, confirming that power is flowing through the switch.
- Check Charge Controller: Your charge controller should now be receiving power from the solar array and begin its charging cycle (assuming your batteries are connected and need charging). Observe your charge controller for proper operation.
- Final Enclosure: Secure the cover of the PV disconnect box, ensuring all seals are properly seated to maintain its weatherproof rating. This concludes the physical installation.
Remember, this disconnect is not just a nice-to-have; it's a fundamental safety device that should be well-labeled and easily accessible.
Choosing the Right PV Disconnect for Your Setup
Selecting the correct PV disconnect isn’t just about grabbing the first one you see. It involves a bit of understanding of your system’s electrical characteristics and environmental factors. Making the right choice ensures maximum safety and compliance.
Key Factors to Consider
When you’re shopping for a PV disconnect, keep these critical points in mind:
- Voltage Rating: This is paramount. The disconnect switch must be rated for a voltage higher than the maximum open-circuit voltage (Voc) of your solar array. If you have multiple panels wired in series, their voltages add up. For example, a system with two 24V panels in series will have a Voc approaching 48V or more, so you'd need a disconnect rated for at least 60V, but often higher for safety margin (e.g., 150V or 250V DC are common ratings). You need to know How Many Watts of Solar You Need and the voltage of your array to properly match your disconnect.
- Amperage Rating: The disconnect's continuous current rating needs to be higher than the maximum short-circuit current (Isc) of your solar array. A good rule of thumb is to size it at 125% of your array's maximum current output. So, if your array can produce 40 amps, you'd want at least a 50-amp rated disconnect. This prevents overheating and premature failure.
- DC vs. AC: Ensure you're buying a DC-rated disconnect. AC disconnects look similar but are designed for alternating current and cannot safely break a DC circuit under load. Using an AC disconnect for DC applications can lead to dangerous arcing and fires.
- NEMA Enclosure Rating: If your disconnect will be installed outdoors, it needs to have an appropriate NEMA rating for weather protection. NEMA 3R is common for outdoor use, providing protection against rain, sleet, and external ice formation. NEMA 4X offers even greater protection against corrosion and hosedown conditions.
- Number of Poles: Most standard off-grid systems use single-pole (for positive) or double-pole (for positive and negative) disconnects. For multiple strings or more complex setups, you might need a disconnect with more poles.
- Certifications: Look for disconnects that are UL listed or have other recognized electrical safety certifications. This indicates they've been tested to meet specific safety standards.
- Lockout/Tagout Capability: This is a safety feature that allows you to padlock the switch in the "OFF" position, preventing accidental activation while maintenance is being performed. It's an excellent feature for enhanced safety.
Recommended Brands and Where to Buy
When it comes to crucial safety components like PV disconnects, investing in quality from reputable brands is always a smart move. You’re buying peace of mind, after all.
Brands like MidNite Solar are highly regarded in the off-grid community for their robust and reliable DC-rated disconnects and combiner boxes, often featuring surge protection. Their MNDC series of disconnects are popular for larger systems. Schneider Electric (formerly Xantrex, now part of Schneider) also offers high-quality electrical components, including disconnects suitable for solar applications. For those on a tighter budget or building smaller systems, companies like Renogy and BougeRV also offer competent DC disconnect switches that are widely available. When purchasing a kit, such as a Best Off-Grid Solar Kit for a Cabin, ensure a suitable disconnect is included or plan to purchase one separately.
You can typically find these essential components at specialized solar equipment suppliers online. Major online retailers like Amazon also carry a wide selection of PV disconnects from various manufacturers. When buying from Amazon, make sure to carefully check the product specifications, reviews, and seller reputation to ensure you're getting a genuine, appropriately rated product. Don't just assume a switch labeled "solar disconnect" is suitable for your exact voltage and current. Always verify those crucial electrical ratings before making a purchase.
Remember, the initial investment in a quality PV disconnect is negligible compared to the potential costs of electrical damage, equipment failure, or, worst of all, personal injury.
| Feature | Manual DC Disconnect Switch (Standard) | Integrated Breaker (e.g., in a Solar Generator) |
|---|---|---|
| Primary Function | Physical break for entire PV array | Overcurrent protection for specific device input |
| Typical Location | Between PV array and charge controller | On the solar generator/power station itself |
| Safety Level | High – visible disconnect, air gap | Moderate – protects device, not full array |
| Voltage/Amp Rating | Scalable, dedicated ratings | Specific to the device, may be limited |
| Weatherproof | Often NEMA rated for outdoor use | Device housing may offer protection |
| Lockout/Tagout | Common feature for maintenance | Rarely available |
| Installation | Requires wiring into main PV circuit | Plug-and-play for device's input |
| Emergency Use | Isolates entire array from system | Isolates device from array |
Disclaimer
The information provided in this guide is for general informational and educational purposes only. While we strive to offer accurate and up-to-date advice, off-grid solar installation involves working with electricity, which can be dangerous if not handled properly. Always consult with a qualified electrician or solar professional and adhere to all local electrical codes and regulations before undertaking any electrical work. The author and publisher are not liable for any loss, damage, or injury resulting from the use of this information.