How to Install a DC Breaker Box
Dealing with the electrical side of an off-grid solar system can feel like deciphering a secret code, and for many, the DC breaker box is one of those components that raises more questions than answers. It's totally understandable to feel a bit daunted, wondering if you're getting the wiring right or if you're truly protecting your precious investment. This comprehensive guide is here to walk you through the essential steps of installing a DC breaker box, ensuring your off-grid power system is both safe and reliable for the long haul.
The Indispensable Role of a DC Breaker Box in Off-Grid Systems
When you're building an off-grid solar setup, every single component serves a critical purpose. But if there's one piece of equipment that often gets overlooked in its importance, it's the DC breaker box. Think of it as the gatekeeper and guardian for all the direct current (DC) flowing through your system. Without one, you're not just risking equipment damage; you're creating potential safety hazards that no off-grid dream should ever include. It’s far more than a "nice-to-have"; it’s absolutely non-negotiable for anyone serious about off-grid living.
Why Safety Starts with DC Breakers
Imagine a scenario: you've got your solar panels soaking up the sun, sending power to your charge controller, which then feeds your battery bank. From there, your inverter pulls power to run your AC appliances, and maybe you have some direct DC loads too. What happens if a wire frays, or an appliance suddenly draws too much current, or heaven forbid, a short circuit occurs? Without proper protection, that surge of electricity could fry your expensive inverter, ruin your batteries, or, in the worst case, spark an electrical fire. This is where DC breakers step in.
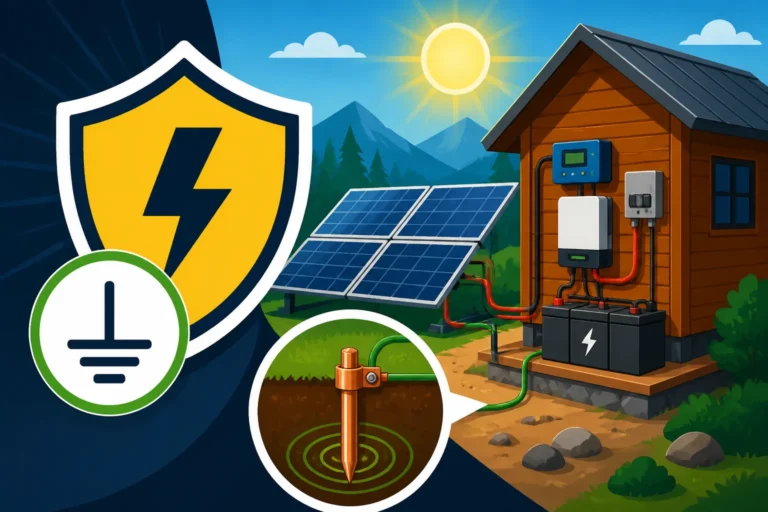
Each breaker within the box acts like a smart fuse. When it senses an overcurrent condition – essentially, too much electricity trying to flow through a circuit – it instantly "trips," cutting off the power. This quick action isolates the fault, preventing damage to downstream components and, most importantly, protecting you and your property. It’s a peace-of-mind investment that truly pays off, potentially saving you thousands in replacement costs and countless hours of troubleshooting. It also makes maintenance and future expansion much safer, allowing you to easily de-energize specific circuits without shutting down your entire system. This layer of protection is why understanding "Off-Grid Solar Safety and Grounding" is so crucial.
Protecting Your Valuable Off-Grid Components
Let's talk specifics. Your solar panels, charge controller, battery bank, and inverter are the heart and soul of your off-grid system. They're also significant investments. A DC breaker box strategically places protective devices between these components, guarding them from electrical anomalies. For instance, you'll want a breaker between your solar charge controller and your battery bank. If something goes wrong with the batteries, or the charge controller, this breaker will trip, preventing a runaway current that could cause severe damage or even a battery explosion, especially with high-capacity lithium batteries.
Similarly, a breaker between your battery bank and your inverter safeguards the inverter from excessive current draw or internal faults within the battery system. Some systems also integrate breakers or fuses directly at the battery terminals, but the DC breaker box offers a centralized, organized, and often more accessible point of control and protection for your main DC circuits. This kind of systematic protection is detailed in guides like "How to Connect Batteries, Inverter, and Panels", ensuring every part of your system is accounted for.
Deconstructing the DC Breaker Box and Its Role
Before we grab any tools, let's get intimately familiar with what a DC breaker box actually is and how it integrates into the broader ecosystem of your off-grid solar setup. It's more than just a metal box with switches; it's a carefully designed component that centralizes your DC power distribution and protection. Understanding its anatomy and function will not only make installation easier but also empower you to troubleshoot effectively down the line.
What is a DC Breaker Box?
At its core, a DC breaker box, also sometimes called a DC combiner box (though that term more accurately refers to a box for combining multiple solar panel strings), is an enclosure that houses multiple DC circuit breakers. These breakers are specifically designed for direct current applications, which operate differently than the alternating current (AC) found in grid-tied homes. DC arcs (when a circuit is broken) are much harder to extinguish than AC arcs, so DC breakers have a unique internal design to handle this challenge safely.
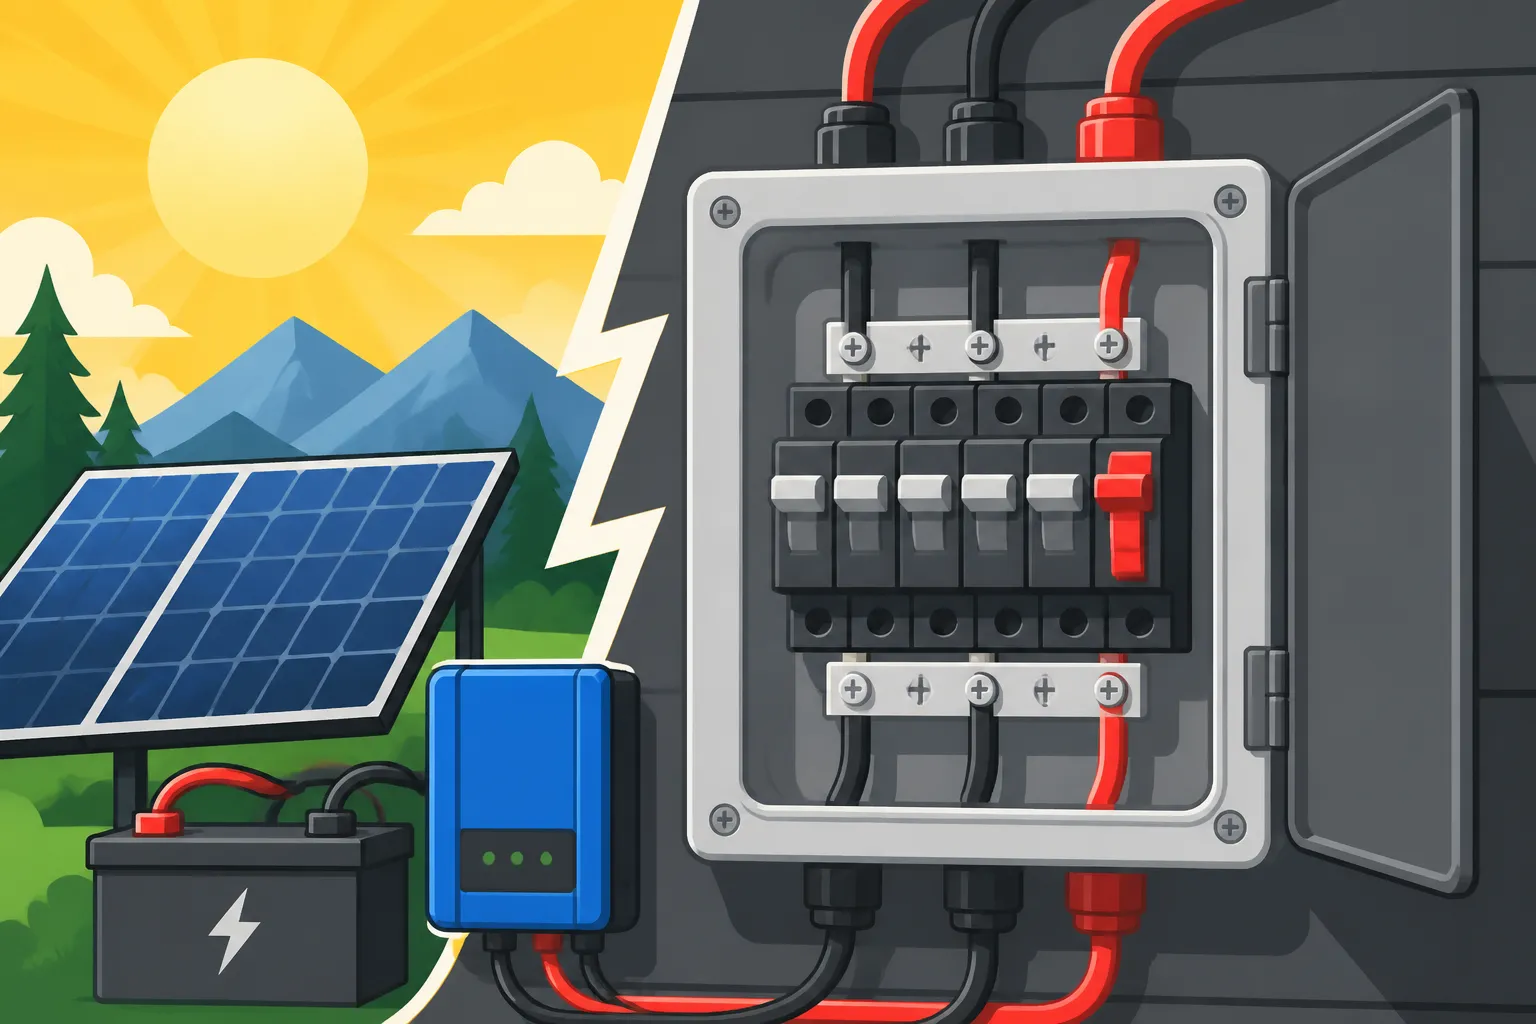
Inside the box, you'll typically find busbars – conductive metal strips that distribute power. One busbar will be for the positive connections and another for the negative. Each individual circuit breaker is connected to these busbars on one side, and your outgoing load or component wire on the other. A ground bar is also usually present, providing a common connection point for grounding all metallic components for safety. The DC breaker box essentially serves as the central hub for managing the flow of direct current from your solar charge controller to your battery bank, and from your battery bank to your inverter and any direct DC loads. This integration is a fundamental part of a comprehensive "Off-Grid Solar System Design Basics".
Where it Fits in Your Off-Grid Power Flow
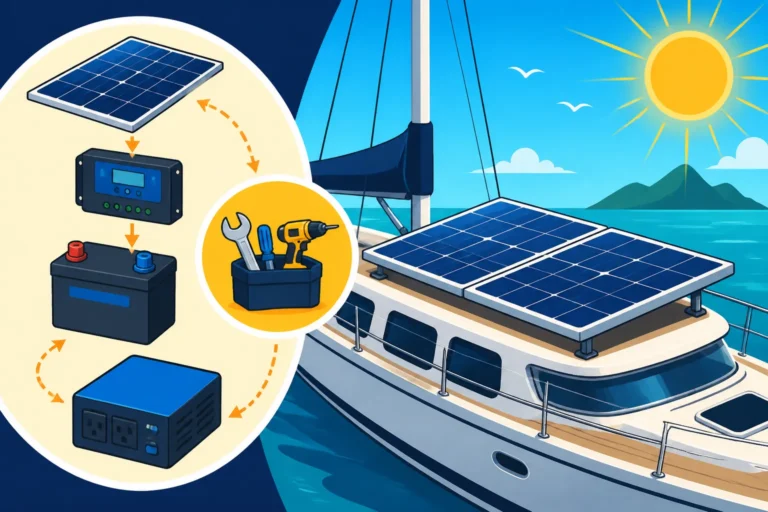
Let's trace the path of electricity in a typical off-grid solar system to see exactly where the DC breaker box fits:
- Solar Panels: These are your energy collectors. They generate DC power.
- Charge Controller: This device takes the variable DC power from your panels and regulates it to safely charge your battery bank. This is the first critical point of connection to your DC distribution system.
- DC Breaker Box (Input Side): The output from your charge controller, carrying regulated DC power, will typically feed into a main breaker or a dedicated breaker within your DC breaker box. This is its input.
- Battery Bank: The DC power, now protected by the breaker, flows from the DC breaker box to charge your batteries. The battery bank then stores this energy.
- DC Breaker Box (Output Side): From the battery bank, the power flows back to the DC breaker box. Here, it branches out to different circuits, each protected by its own breaker.
- Inverter: A major consumer of DC power. A dedicated, appropriately sized breaker in your DC box will protect the circuit running from the battery bank (via the DC box) to your inverter, which then converts DC to AC for your household appliances.
- DC Loads: If you have any appliances that run directly on DC (like some LED lights, USB chargers, or specific 12V/24V appliances in an RV or cabin), they will also draw power from dedicated breakers in your DC box.
Essentially, the DC breaker box sits between your charge controller and batteries, and then again between your batteries and your main loads (inverter, DC appliances). It’s the central nervous system for DC power. Getting the right components is key, so research on "Best Off-Grid Solar Charge Controllers" and "Best Off-Grid Solar Batteries" goes hand-in-hand with this installation.
Step-by-Step Installation of Your Off-Grid DC Breaker Box
Alright, it's time to roll up our sleeves. Installing a DC breaker box is a manageable DIY project if you approach it systematically and prioritize safety. Remember, we're dealing with electricity, so taking your time, double-checking your work, and using the right tools are paramount. Always ensure your power sources are disconnected before making any electrical connections.
1. Planning and Component Selection
Before you even think about drilling holes, a solid plan is essential. This stage involves mapping out your system, selecting the right breaker box, and gathering all necessary materials.
- System Layout and Sizing: Understand your entire off-grid solar setup. What's the maximum current output from your charge controller? What's the maximum input current for your inverter? What are your major DC loads? These figures will dictate the amperage ratings for your main breakers and wire gauges. For instance, if your inverter has a 3000W output at 12V, it will draw a significant amount of DC current – roughly 250 amps (3000W / 12V). You'll need a breaker rated for this surge and appropriate heavy-gauge wire. You can learn more about this in our guide on "How to Size Fuses and Breakers".
- Choosing the Right DC Breaker Box: You'll need a DC-rated breaker box, not an AC household panel. Look for models designed for solar or RV applications. Consider how many circuits you'll need now, plus a couple of spares for future expansion. Ensure it's appropriately rated for the voltage of your system (e.g., 12V, 24V, 48V). Brands like Renogy offer various DC breaker boxes and components designed for solar systems, often readily available on platforms like Amazon.
- Breaker Selection: Each circuit within your DC system needs its own breaker, sized correctly for the specific load and wire gauge it protects. For example, a 100A breaker for your main battery to inverter line, a 60A breaker for your charge controller input, and smaller breakers (e.g., 10A, 20A) for individual DC loads. The breaker should always be sized to protect the wire, not necessarily the load itself.
- Wire Gauge: This is critical. Undersized wire is a fire hazard. Use appropriate heavy-gauge copper wire for your main battery and inverter runs (often 2/0, 4/0 AWG), and smaller gauges for less demanding DC loads. Consult wire gauge charts based on current, voltage, and length of the run to minimize voltage drop.
- Tools and Materials:
- DC breaker box and appropriate DC circuit breakers
- Heavy-gauge copper wire (red for positive, black for negative, green for ground)
- Wire strippers/crimpers capable of handling heavy gauge wire
- Lugs and terminals (correct size for wire gauge and bolt size on busbars/components)
- Heat shrink tubing for insulation
- Battery crimper (hydraulic crimpers are best for large lugs)
- Multimeter for testing voltage and continuity
- Screwdrivers, wrenches, mounting hardware
- Cable ties for organization
- Personal Protective Equipment (PPE): safety glasses, insulated gloves.
2. Mounting the Breaker Box
Location, location, location! Where you mount your DC breaker box matters for safety, accessibility, and performance.
- Placement: Mount the box as close as practically possible to your battery bank and inverter. Shorter wire runs reduce voltage drop and material cost. Choose a dry, well-ventilated, and easily accessible location. Avoid areas prone to extreme temperatures or direct sunlight, which can impact component performance and lifespan.
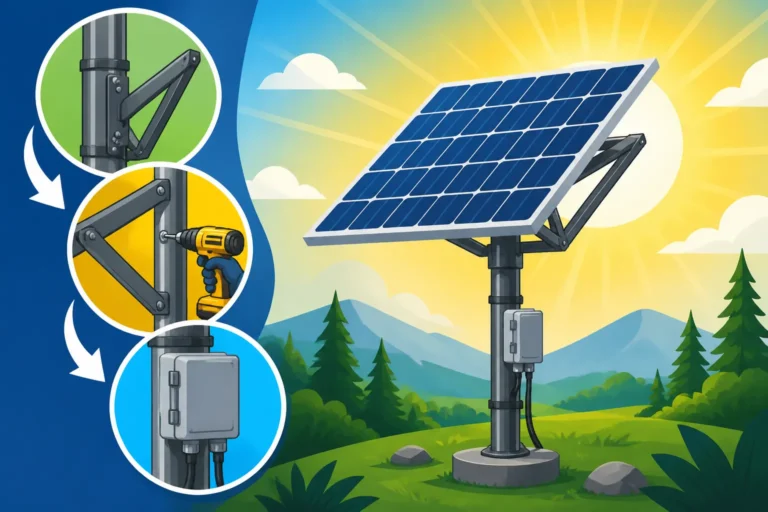
- Secure Mounting: Use appropriate hardware (screws, bolts, anchors) to securely fasten the breaker box to a sturdy surface. It needs to be stable and able to withstand any vibrations, especially in mobile applications like RVs or vans. Ensure it's level and flush. If you're tackling a full system installation, our "How to Install an Off-Grid Solar System" guide has broader mounting tips.
- Cable Entry: Plan your cable entry points carefully. Use appropriate strain reliefs and cable glands to protect wires from chafing and to maintain any desired weather resistance of the enclosure.
3. Wiring the DC Breaker Box
This is the most critical part. Take your time, double-check every connection, and follow the positive and negative conventions meticulously.
- Disconnect Power: ABSOLUTELY ESSENTIAL. Before touching any wires, ensure all power sources are disconnected. This means covering your solar panels to prevent them from producing power (or disconnecting them at the array and turning off any array-side breakers), and disconnecting your battery bank. Treat every wire as if it's live.
- Battery Bank to Breaker Box:
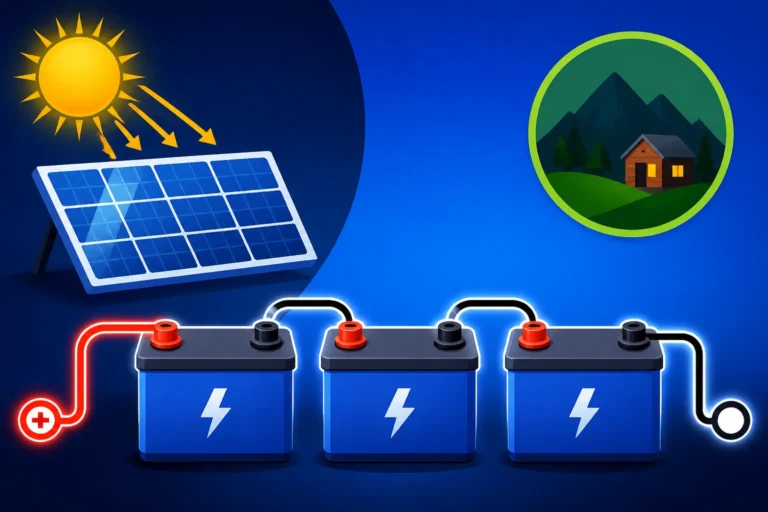
- Start by running the main positive and negative cables from your battery bank to the main input terminals (or busbars) of your DC breaker box. These will likely be your heaviest gauge wires.
- Cut the positive cable to length, strip the ends, crimp on appropriate lugs, and connect it to the main positive busbar or main input breaker. Ensure a clean, tight connection.
- Repeat for the negative cable, connecting it to the main negative busbar. Many DC breaker boxes do not have a negative busbar for breakers, but rather a direct connection to the battery negative busbar for the whole system, while the breakers are all on the positive side. Confirm your specific box's diagram.
- This is typically where you’d find a main battery disconnect switch before the breaker box, allowing you to de-energize the entire system. Learning "How to Wire a Battery Bank" is a prerequisite here.
- Charge Controller to Breaker Box:
- Route the positive and negative output cables from your solar charge controller into the DC breaker box.
- Connect the positive wire to its dedicated breaker.
- Connect the negative wire to the negative busbar in the DC breaker box (if present for load negatives) or directly back to the system's main negative busbar if the breaker box only handles positive distribution. Refer to your specific charge controller's manual and the breaker box's diagram.
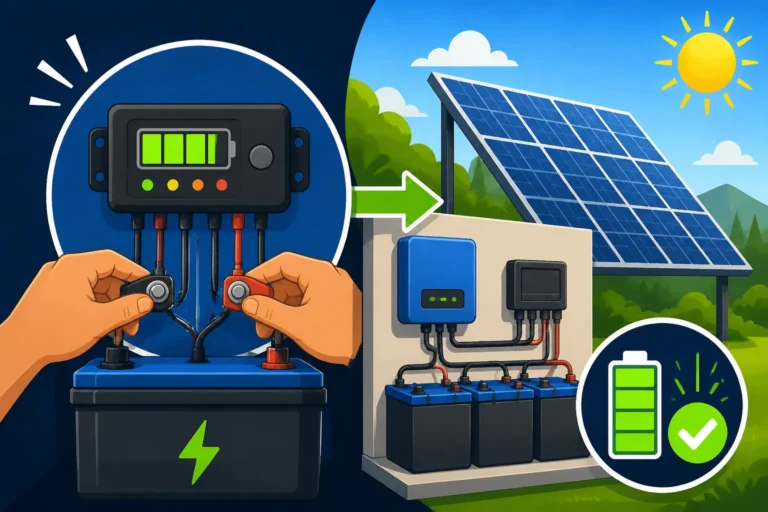
- When connecting a charge controller, remember to connect the battery side first, then the solar panel side. This ensures the controller properly senses battery voltage before being hit with raw panel power. More details can be found in "How to Connect a Charge Controller".
- Breaker Box to Inverter:
- Run heavy-gauge positive and negative cables from a dedicated, appropriately sized breaker in the DC box to your inverter's DC input terminals.
- Connect the positive wire to the output side of its breaker.
- Connect the negative wire to the negative busbar in the DC breaker box, or directly to the main system negative.
- Again, ensure all connections are tight and secure. When connecting to the inverter, pay close attention to the positive and negative terminals, as reversing polarity can cause severe damage. Our guide on "How to Connect an Inverter to Batteries" covers this in depth.
- Breaker Box to DC Loads:
- For any direct DC loads (like specific lights, fans, water pumps), run their positive wires to individual, smaller breakers in the DC box.
- Connect their negative wires to the negative busbar (if applicable for loads) or the main system negative.
- Label each breaker clearly so you know exactly what it protects. This will save you headaches during troubleshooting.
- Grounding:
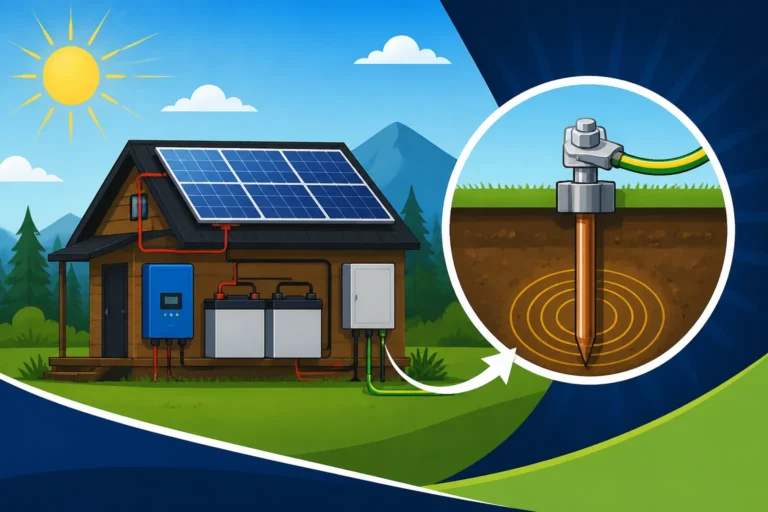
- Connect a heavy-gauge green grounding wire from the ground bar in your DC breaker box to your system's main grounding point (e.g., a grounding rod or the vehicle chassis in an RV).
- Ensure all metallic enclosures, including the breaker box itself and your inverter chassis, are properly bonded to this common ground. This is a critical safety step to prevent electrical shock.
- A good resource for this is "Off-Grid Solar Grounding and Bonding Explained".
4. Testing and Commissioning
Once all connections are made, don't just flip the switches! A methodical testing process is crucial.
- Visual Inspection: Before applying power, thoroughly inspect all wiring. Are all connections tight? Are positive and negative wires correctly identified and connected? Is all insulation intact? Are there any stray wire strands?
- Continuity and Polarity Check: Use your multimeter.
- Check for continuity between the negative and positive busbars (or terminals) with no breakers installed and no power connected. You should read infinite resistance. If you read a short, re-check your wiring immediately.
- Once power is applied to the main busbars (e.g., from the batteries, with all load breakers off), use your multimeter to confirm correct voltage and polarity at the input side of each individual breaker before connecting the load side.
- Energize System Gradually:
- Connect your battery bank (or turn on its main disconnect).
- Turn on the main breaker(s) in your DC breaker box.
- Monitor voltage.
- If connecting solar panels, uncover them or turn on their array disconnect, then turn on the charge controller's input breaker in the DC box.
- One by one, flip on the individual load breakers, starting with your inverter. Observe how each component powers up.
- Check for any unusual smells, sounds, or hot spots.
- Labeling: Once everything is confirmed working, label each breaker clearly with what it protects (e.g., "Inverter," "12V Lights," "Water Pump," "Solar Input"). This will be invaluable for future maintenance or troubleshooting.
Common Pitfalls and Pro Tips for a Bulletproof DC Breaker Box Installation
Even with the best intentions, it's easy to make mistakes, especially when you're dealing with something as critical as your off-grid power system. Knowing the common pitfalls can help you avoid them, and a few pro tips can elevate your installation from functional to truly robust. This knowledge is essential for a safe and reliable system, and it also informs discussions about "Off-Grid Solar Installation Mistakes to Avoid".
Avoiding Typical Installation Mistakes
- Undersized Wires: This is probably the most common and dangerous mistake. Too-small wires act like resistors, heating up under load, wasting energy through voltage drop, and presenting a serious fire risk. Always use wire gauges that exceed the expected maximum current draw for that circuit, considering the length of the run. When in doubt, go a size larger.
- Incorrect Breaker Sizing: Breakers are there to protect the wire, not the appliance. A breaker that's too large won't trip when the wire is overloaded, leading to overheating. A breaker that's too small will nuisance-trip constantly. Always match the breaker's amp rating to the ampacity of the wire it protects, usually referring to the National Electrical Code (NEC) or similar local standards for DC applications.
- Loose Connections: Vibrations (common in RVs or mobile setups) and temperature fluctuations can loosen connections over time. Loose connections create resistance, generate heat, and can lead to intermittent power issues or even arcing. Use proper crimp tools, torque connections to specifications, and periodically check them.
- Reversed Polarity: Connecting positive where negative should be, or vice-versa, can instantly destroy sensitive electronics like charge controllers and inverters. Always double-check polarity with a multimeter before making final connections, especially when dealing with the inverter.
- Improper Grounding: Failing to properly ground your system creates a shock hazard. All metallic enclosures and frames should be bonded together and connected to a single, effective earth ground.
- Neglecting System Voltage: Mixing components or breakers not rated for your system's voltage (e.g., using 12V breakers in a 48V system) can lead to catastrophic failure. Ensure all components, including the breaker box and individual breakers, are rated for your specific DC voltage. Our guide on "How to Choose System Voltage" can help clarify this.
Expert Advice for a Smooth Installation
- Use High-Quality Components: Don't skimp on your breaker box, breakers, wire, or lugs. Cheap components can fail prematurely and compromise safety. Invest in reputable brands known for quality. Many DIYers find reliable components on Amazon or from specialized solar suppliers.
- Measure Twice, Cut Once: This old adage applies perfectly to electrical wiring. Carefully measure wire lengths before cutting to minimize waste and ensure neat runs.
- Color-Code and Label Everything: Use red for positive, black for negative, and green for ground. Label every wire at both ends and every breaker in the box. This makes troubleshooting a breeze and is essential for anyone else working on your system.
- Use a Hydraulic Crimper for Large Lugs: For heavy-gauge wires (like 2/0, 4/0 AWG), a hand crimper often won't provide a strong enough connection. A hydraulic crimper ensures a solid, low-resistance connection that won't fail under heavy loads.
- Organize Your Wires: Use cable ties and wire loom to keep your wiring neat and tidy within the breaker box and along cable runs. This not only looks professional but also helps prevent chafing, makes inspection easier, and improves airflow.
- Consider Future Expansion: When selecting your DC breaker box, choose one with a few extra slots for breakers. It's almost guaranteed you'll want to add another DC load or component down the road, and having spare capacity makes expansion much simpler. Think about this upfront, as discussed in "How to Design an Expandable System".
- Consult the Experts: If you're unsure about any step, don't guess. Consult licensed electricians specializing in off-grid systems or experienced solar installers. Online communities and forums can also be great resources, but always cross-reference information. For complex setups or full home integration, knowing "When to Hire an Electrician for Off-Grid Solar" is crucial.
| Component / Circuit | Typical Breaker Type & Amperage Range | Wire Gauge (Approximate for 12V) | Key Function |
|---|---|---|---|
| Solar Panel Input | DC Breaker, 30-60A (per string) | 10-6 AWG | Protects charge controller from panel overcurrent |
| Charge Controller Output | DC Breaker, 40-100A | 8-2 AWG | Protects batteries from controller fault |
| Battery Bank Main Output | DC Breaker, 100-400A | 2/0-4/0 AWG | Protects entire system from battery fault |
| Inverter Input | DC Breaker, 150-500A | 2/0-4/0 AWG | Protects inverter from overcurrent/fault |
| DC Loads (e.g., Lights) | DC Breaker, 5-20A | 18-12 AWG | Protects specific DC appliances |
| DC Loads (e.g., Water Pump) | DC Breaker, 20-50A | 12-8 AWG | Protects higher-draw DC appliances |
Note: Wire gauges are highly dependent on voltage, length of run, and specific load. Always consult a wire gauge chart and local electrical codes.
Installing a DC breaker box is a critical step in building a safe and efficient off-grid solar system. By understanding its purpose, carefully planning your installation, and meticulously following the wiring steps, you'll be well on your way to reliable, worry-free off-grid power.
Disclaimer
The information provided in this guide is for educational and informational purposes only and is not intended as professional electrical advice. Off-grid solar system installation involves working with high voltage and currents, which can be dangerous. Always consult with a qualified, licensed electrician or solar professional for specific design, installation, and compliance with local codes and regulations. Proceed with caution and at your own risk.