How to Troubleshoot Off-Grid Solar
There's nothing quite like the feeling of self-sufficiency that comes with off-grid living, but let's be real: sometimes your carefully constructed solar system decides to throw a wrench in the works. One day you're enjoying your powered retreat, and the next you're staring at a blank inverter screen or dim lights, wondering what on earth went wrong. It's frustrating, often confusing, and can leave you feeling powerless. This comprehensive guide is here to walk you through the most common off-grid solar problems, helping you diagnose the issue and get your power back on track without pulling your hair out.
Understanding Common Off-Grid Solar Issues
When your off-grid solar system isn't performing as it should, it can feel like a daunting mystery. But the truth is, most problems boil down to a few core categories. Before you dive into specific components, it's helpful to understand the general symptoms and what they might indicate. Thinking systematically here can save you a lot of time and headache.
No Power or Intermittent Power
This is often the most alarming symptom: suddenly, you have no power at all, or the power flickers on and off, teasing you with its presence. If your lights are out, your refrigerator isn't humming, or your tools won't start, a complete power loss indicates a severe interruption in your system. This could range from a tripped breaker or blown fuse to a complete inverter shutdown or a critically low battery bank. Intermittent power, on the other hand, might point to loose connections, an overloaded inverter that's constantly tripping, or a battery bank struggling to hold a charge under load. For instance, if your inverter kicks off every time your well pump tries to start, you might be looking at an undersized inverter or a weak battery bank unable to handle the surge.
Low Power Output
You still have some power, but it's just not enough. Maybe your lights are dim, or only a few small appliances work, but anything larger causes the system to groan and fail. This usually suggests that your panels aren't generating sufficient power, your batteries aren't storing enough, or there's a bottleneck somewhere in the system. Common culprits include shaded or dirty solar panels, an underperforming charge controller, or batteries that are degrading and losing capacity. You might notice this more acutely during certain times of the day, like early morning or late afternoon, or during periods of heavy cloud cover, which can exacerbate an already marginal system. If you've recently added new appliances and suddenly your old setup can't keep up, it's a clear sign your current output isn't meeting your increased demand.
Battery Charging Problems
Your solar panels are soaking up the sun, but your batteries just aren't filling up like they should. This is a critical issue because without healthy batteries, your off-grid system is essentially just a daytime generator. Symptoms include batteries that never reach full charge, charge very slowly, or rapidly discharge even with minimal use. This could be due to a faulty charge controller, issues with the battery itself (like sulfation in lead-acid batteries or a failing Battery Management System in LiFePO4), or simply not enough solar input for the battery bank size. Improperly configured charge settings can also lead to undercharging or overcharging, both of which are detrimental to battery health and longevity. Understanding your battery type and its specific charging requirements is key here, as you'll often learn in guides like how to maintain an off-grid battery bank.
Step-by-Step Troubleshooting for Each Component
Now that we've covered the common symptoms, let's roll up our sleeves and tackle the individual components of your off-grid solar system. Remember, safety first! Always disconnect power at the appropriate breakers or fuses before inspecting or working on any electrical components.
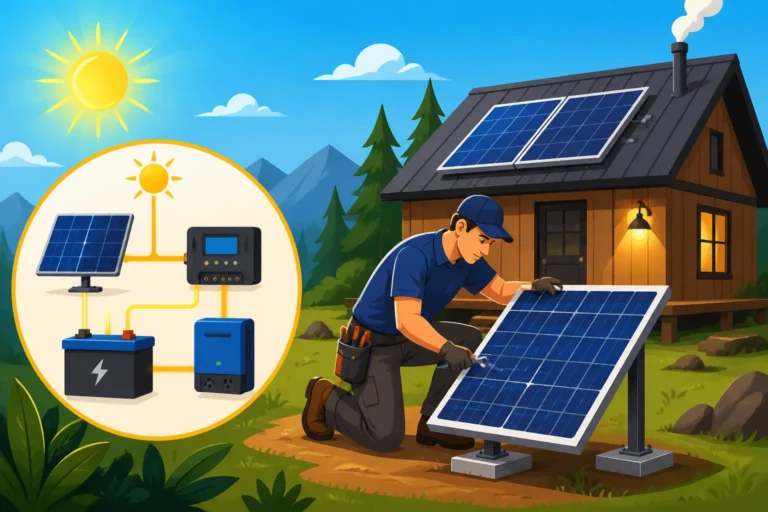
Troubleshooting Solar Panels
Your solar panels are the workhorses, converting sunlight into electricity. If they're not doing their job, the entire system suffers.
- Visual Inspection for Damage and Dirt: Start by taking a good look at your panels. Are they covered in dust, pollen, bird droppings, or leaves? A thick layer of grime can significantly reduce efficiency. A simple cleaning might be all you need. Look for any physical damage: cracks in the glass, delamination, or signs of rodent damage to the wiring. Even a small crack can allow moisture in, causing corrosion over time.
- Checking for Shading Issues: Even partial shading can drastically impact panel output, especially with older panels or strings wired in series. Observe your array throughout the day. Are trees, buildings, or even new antennas casting shadows on your panels? A small shadow on one cell of a series-connected string can bring the entire string's output down. Sometimes, trimming a branch or relocating a minor obstruction is all it takes.
- Testing Panel Output with a Multimeter: If visual checks don't reveal anything obvious, it's time to get technical. You'll need a multimeter to test the open-circuit voltage (Voc) and short-circuit current (Isc) of individual panels or strings. Disconnect the panels from the charge controller before testing. Compare your readings to the manufacturer's specifications (usually found on a sticker on the back of the panel or in the manual). A significant drop in voltage or current indicates a problem with the panel itself or its wiring. For example, if your 100W Renogy panel is rated for 18V Voc, and you're only getting 10V, something is definitely amiss. This type of diagnostic work is crucial to truly understanding how to test an off-grid solar system.
Diagnosing Charge Controller Issues
The charge controller is the brain between your panels and your batteries, regulating power flow to prevent overcharging and optimize battery health.
- Verifying Indicator Lights and Display: Most modern charge controllers, like those from Victron or Outback Power, have indicator lights or a digital display that can give you immediate clues. Do the lights indicate charging, float, or an error code? Consult your owner's manual for what each indicator means. A common "fault" light might point to issues like over-voltage from the solar array, reverse polarity, or a battery over-discharge warning.
- Checking Input and Output Voltages: With your multimeter, carefully test the voltage coming into the charge controller from the solar panels and the voltage going out to the battery bank. The input voltage should be consistent with your panel array's specifications (e.g., higher than battery voltage for MPPT controllers). The output voltage should match the current charge stage of your battery (bulk, absorption, float). If you have good input voltage but no output, or erratic output, your charge controller might be faulty. Many issues here can lead to a How to Fix a Charge Controller Error situation.
- Reviewing Settings and Configuration: Sometimes, the problem isn't a malfunction but a misconfiguration. Ensure your charge controller settings (battery type, charging voltages, temperature compensation) match your specific battery bank's requirements. For example, charging a LiFePO4 battery with lead-acid settings can severely damage it. Access the controller's menu, often via a display or a dedicated app, to verify everything is set correctly. This is particularly important after a new installation or if you've recently swapped battery types.
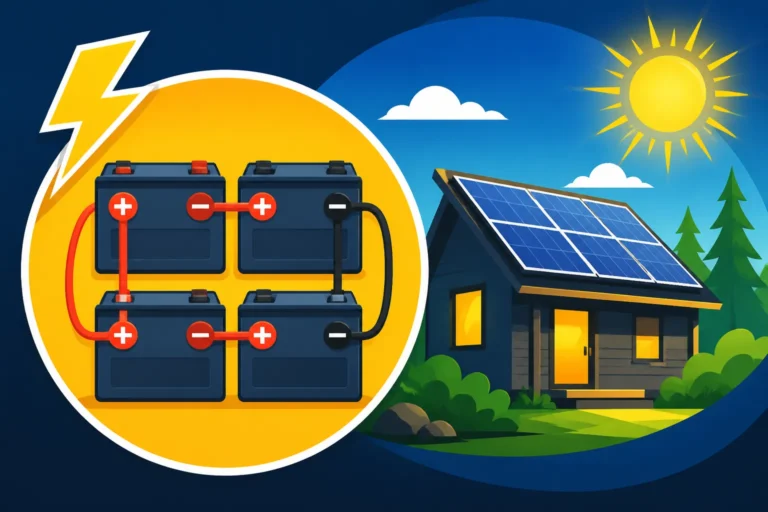
Addressing Battery Bank Problems
Your batteries are the heart of your off-grid system, storing energy for when the sun isn't shining. Issues here are often the most costly and frustrating.
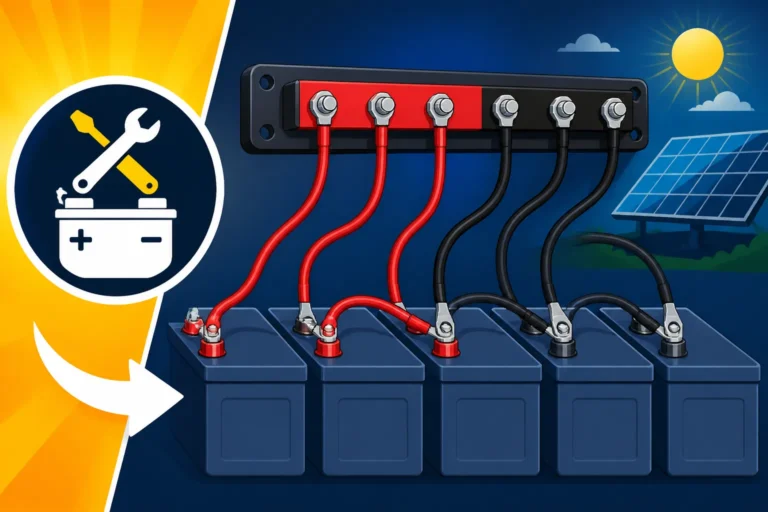
- Inspecting for Physical Damage and Corrosion: Just like panels, batteries can suffer physical damage. Look for swollen cases (especially with lead-acid or older lithium batteries), leaks, or severe corrosion on terminals. Corrosion increases resistance and can prevent proper charging and discharging. Clean any corrosion with a baking soda paste for lead-acid batteries, and ensure terminals are tight and clean.
- Testing Individual Battery Voltage and Specific Gravity: For lead-acid batteries, use a hydrometer to check the specific gravity of each cell (if applicable). Significant variations between cells or low readings indicate a problem. For all battery types, measure the voltage of individual batteries within the bank. In a 12V system made of two 6V batteries, for example, ensure each 6V battery is pulling its weight. A single weak battery can drag down the performance of the entire bank. This is crucial for properly understanding how to balance a battery bank.
- Understanding Battery Age and Cycle Life: Batteries have a finite lifespan. Lead-acid batteries typically last 2-7 years, while LiFePO4 batteries can last 10-15 years or more. If your batteries are old and have seen many discharge cycles, their capacity naturally degrades. If you've been noticing declining performance over time, it might be time to consider the Cost to Replace Off-Grid Solar Batteries. Even with excellent maintenance, batteries won't last forever.
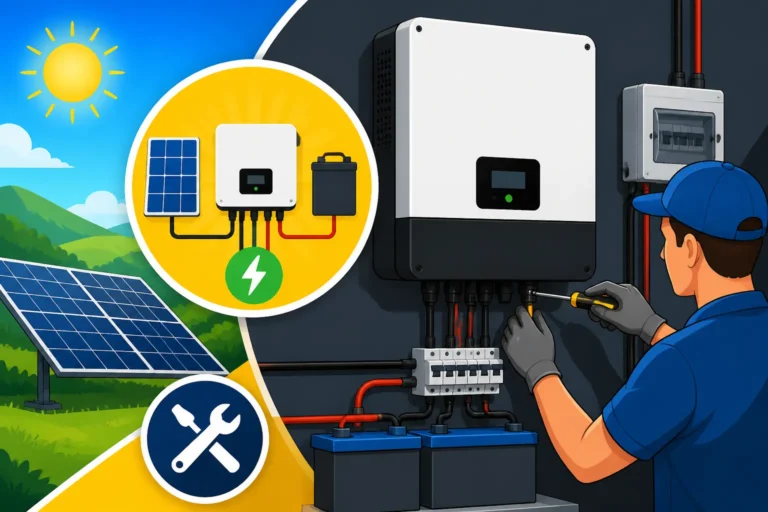
Resolving Inverter Malfunctions
The inverter converts your battery's DC power into the AC power that most of your household appliances use. When it acts up, your AC loads are impacted.
- Checking Inverter Status Lights and Error Codes: Like charge controllers, inverters come with diagnostic lights and codes. A "fault" light, an audible alarm, or a specific error code on the display (if it has one) will tell you a lot. Common errors include low battery voltage, overload, over-temperature, or a short circuit. Refer to your inverter's manual for the specific meaning of each code. Brands like Victron Energy and Outback Power have excellent diagnostics built into their inverter-chargers.
- Testing AC Output and DC Input: Using your multimeter, check the DC voltage coming into the inverter from your batteries. It should be within the inverter's specified operating range (e.g., 48V for a 48V system). Then, carefully test the AC output at the inverter's terminals or AC output breakers. If you have proper DC input but no AC output, or very low/erratic AC, the inverter itself may be faulty. Be extremely cautious when testing AC voltage.
- Identifying Overload Situations: A very common issue for off-grid inverters is overloading. If your inverter shuts down whenever a large appliance (like a microwave, well pump, or air conditioner) starts up, it's likely hitting its surge or continuous wattage limit. Check the wattage ratings of your appliances and compare them to your inverter's specifications. Remember that motor-driven appliances have a high "starting wattage" or "surge" that can be several times their running wattage. This highlights why proper How to Size an Off-Grid Inverter is so important during initial system design.
Checking Wiring and Connections
Often, the simplest issues are the hardest to find, and wiring problems fall squarely into that category. A loose wire, corroded terminal, or tripped breaker can stop your whole system.
- Tightening All Connections: Over time, vibrations, temperature changes, and general wear and tear can loosen electrical connections. Go through your entire system, from solar panel junction boxes to battery terminals, charge controller inputs/outputs, and inverter connections. Gently but firmly tighten every screw terminal and lug. A loose connection creates resistance, generates heat, and can lead to voltage drops or complete power loss. This is a common point for Common Off-Grid Wiring Mistakes.
- Inspecting Fuses and Breakers: Fuses and breakers are your system's safety valves. If your power suddenly goes out, check these first. Locate all fuses and circuit breakers throughout your system:
- PV array breakers/fuses: Between panels and charge controller.
- Battery bank fuses/breakers: Between batteries and charge controller, and batteries and inverter.
- AC output breakers: On the inverter itself, or in your main AC distribution panel.
- DC load fuses/breakers: For any direct DC appliances.
A blown fuse will often have a visible break in the wire, and a tripped breaker will be in the "off" or middle position. Replace blown fuses with new ones of the exact same rating, and reset tripped breakers.
- Checking for Voltage Drop: Long or undersized wires can cause significant voltage drop, leading to less power reaching your devices and inefficient charging. Use a multimeter to measure voltage at the source (e.g., battery terminals) and then at the load (e.g., inverter input or appliance). A noticeable difference indicates a voltage drop issue. This is especially relevant in larger systems or those with long cable runs. If you suspect voltage drop, you might need to consult a guide on how to prevent voltage drop in off-grid wiring. For components purchased from places like Amazon, always ensure you're using adequately sized cables for the specified amperage.
| Component | Common Symptoms | Potential Causes | Troubleshooting Steps |
|---|---|---|---|
| Solar Panels | Low power, no charging | Dirt, shading, damage, faulty wiring | Inspect, clean, check for shadows, test Voc/Isc with multimeter |
| Charge Controller | Batteries not charging, error lights | Incorrect settings, faulty unit, wiring issues | Check display/lights, verify input/output voltages, review settings |
| Battery Bank | Rapid discharge, low capacity, no power | Age, damage, loose connections, unbalanced cells | Inspect, test individual battery voltage/specific gravity, tighten terminals |
| Inverter | No AC power, tripping, error codes | Overload, low battery voltage, internal fault, loose connections | Check status lights, test DC input/AC output, reduce load, tighten connections |
| Wiring & Fuses | Intermittent power, no power, localized issues | Loose connections, blown fuses, tripped breakers, voltage drop | Tighten all connections, inspect/test all fuses/breakers, check for voltage drop |
Preventative Maintenance and System Monitoring
An ounce of prevention is worth a pound of cure, especially with off-grid solar. Regular maintenance and diligent monitoring can prevent most major issues before they even start. This proactive approach ensures reliability and extends the life of your expensive equipment.
Regular System Checks
Think of your off-grid system like a vehicle – it needs routine check-ups to run smoothly. These checks don't have to be exhaustive, but consistency is key.
- Scheduled Cleaning of Solar Panels: Aim to clean your solar panels every few months, or more frequently if you live in a dusty area or one with lots of bird activity. A soft brush or cloth with water is usually sufficient. Avoid harsh chemicals or abrasive scrubbers. Clean panels simply perform better, ensuring you're getting the most out of your investment.
- Battery Maintenance and Equalization: For lead-acid batteries, regular maintenance means checking electrolyte levels (if flooded type) and topping up with distilled water. Equalization charges, if your battery type allows and your charge controller supports it, can help prevent sulfation and extend battery life. For LiFePO4 batteries, ensure they are not routinely discharged too deeply and that their temperature is within optimal operating ranges. Detailed information can be found in a good Off-Grid Solar Maintenance Guide.
- Inspecting Wiring and Connections Periodically: Make it a habit to go through your system every six months to a year, gently checking and tightening all electrical connections. Look for signs of corrosion, wear, or rodent damage to cables. Ensure all conduit and cable entries are sealed against weather and pests. This simple step can prevent countless headaches and potential fire hazards.
Monitoring Tools and Practices
Modern technology makes monitoring your off-grid system easier than ever, giving you real-time insights into its health and performance.
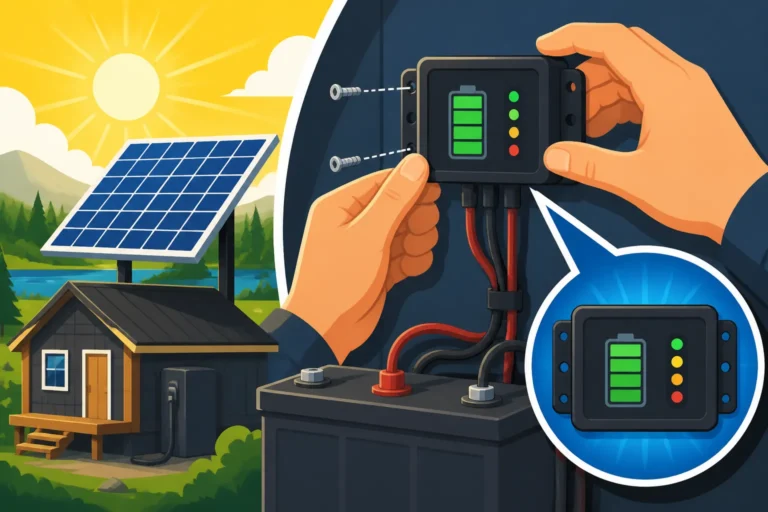
- Using Battery Monitors and Shunts: A quality battery monitor, often paired with a shunt (a precise current sensor), is an invaluable tool. It tells you your battery's state of charge (SOC) with accuracy, how much power is going in and out, and key voltage and current readings. Brands like Victron Energy offer sophisticated battery monitors that connect via Bluetooth to your smartphone, providing detailed historical data. This allows you to spot subtle changes in battery performance before they become major problems.
- Leveraging Smart Charge Controllers and Inverters: Many contemporary charge controllers and inverters come with built-in monitoring capabilities. They can often log data, display historical performance, and even send alerts to your phone if something is amiss. Investing in components from reputable brands like Renogy or Sol-Ark often means you get access to these advanced monitoring features, which greatly simplify system management. Reviewing this data regularly helps you understand your power consumption patterns and identify any dips in solar production or battery efficiency.
- Observing Daily and Seasonal Performance: Keep a general eye on your system's performance. Do your batteries consistently reach full charge by midday? How does production change with the seasons? If you notice a sudden, unexplained drop in power generation or battery charging over a few days, it’s a red flag to investigate further. This kind of observational awareness is crucial for truly understanding your system's rhythm and catching problems early. Consider keeping a simple log of daily battery SOC readings and maximum panel output.
When to Call in the Pros
While many off-grid solar issues can be resolved with a bit of DIY troubleshooting and a multimeter, there are definitely times when it's best to call in a qualified professional. Knowing your limits isn't just about saving time; it's about safety and ensuring your system is correctly diagnosed and repaired.
Safety Concerns and Complex Diagnostics
Electricity is unforgiving, especially the DC voltage from large solar arrays and battery banks, and the AC voltage from inverters. Never take risks if you're uncomfortable or unsure.
- Dealing with High Voltage and Amperage: Large off-grid systems, particularly those operating at 48V or higher, carry substantial electrical energy. The DC current from a large solar array, even without a fault, can be dangerous. The AC output from your inverter can be lethal. If you're dealing with issues that require delving into high-voltage wiring, opening up complex components like inverters, or if you're just not confident in your electrical knowledge, please step back. A professional electrician specializing in solar will have the proper safety equipment, training, and experience to work safely with these power levels. They understand the intricacies of Off-Grid Solar Safety and Grounding and how to prevent accidents.
- Persistent or Unidentified Issues: You've gone through all the troubleshooting steps, checked every connection, consulted your manuals, and still, your system isn't working right. Or, worse, you're getting error codes that don't make sense or appear to be internal component failures. This is when a professional's specialized diagnostic tools and deeper knowledge become invaluable. They can often pinpoint problems much faster using advanced equipment that isn't typically available to the average DIYer, saving you hours (or days) of frustration. This might involve complex testing of internal inverter components or battery management systems.
Specialized Equipment and Expertise
Some problems simply require tools and knowledge beyond what's practical or safe for a homeowner.
- Replacing Major Components: While you might swap a fuse or clean a panel, replacing a large inverter, a string of solar panels, or a significant portion of your battery bank can be a complex job. These components are heavy, expensive, and require precise wiring and configuration to integrate correctly. For example, if your Cost of an Off-Grid Solar Inverter analysis shows you need a new high-power unit, the installation should ideally be handled by someone with expertise. Incorrect installation can damage new equipment or, even worse, create significant hazards.
- System Expansion or Significant Reconfiguration: If you're looking to expand your existing system – adding more panels, increasing battery capacity, or integrating a new type of charge controller – it’s a good idea to consult a professional. They can help you with proper How to Size an Off-Grid Solar System calculations, ensure all new components are compatible with your existing setup, and handle the integration safely and efficiently. Mistakes during expansion can lead to unbalanced systems, overloads, or compromised safety. This is especially true if you are modifying your Off-Grid Solar Wiring Diagram Explained significantly. A professional can ensure everything complies with electrical codes, even for off-grid systems.
Disclaimer
The information provided in this guide is for general informational purposes only and should not be considered professional electrical advice. Working with electricity, especially high-voltage DC and AC systems, can be extremely dangerous and can result in serious injury or death. Always exercise extreme caution, follow manufacturer instructions, and consult with a qualified electrician or solar professional for any installation, troubleshooting, or repair beyond your skill level or comfort. We are not responsible for any damage, injury, or loss that may result from following this information.