How to Install an Off-Grid Inverter
Setting up an off-grid solar system can feel like a monumental task, especially when you get to the heart of it all: the inverter. You’ve diligently planned your panels and battery bank, but that critical step of turning raw battery power into usable AC electricity for your home or RV can seem daunting. Many worry about making a wrong connection or choosing the wrong settings, but it doesn’t have to be a source of stress. This guide will meticulously walk you through installing your off-grid inverter, ensuring you understand each crucial step for a safe and effective power system.
Understanding Your Off-Grid Inverter and Core Components
Before you even think about grabbing tools, it's absolutely vital to understand what an inverter does and how it fits into your larger off-grid setup. An inverter is the component that takes the DC (direct current) power stored in your batteries and converts it into AC (alternating current) power, which is what most of your household appliances, electronics, and power tools use. Without it, your powerful solar array and battery bank are just sitting there, unable to run your coffee maker or charge your laptop.
There are different types of inverters, mainly distinguished by their waveform output: pure sine wave and modified sine wave. Pure sine wave inverters are generally preferred for off-grid living because they produce a cleaner, more reliable power output, identical to what you get from the utility grid. This is crucial for sensitive electronics, appliances with motors, and anything that requires precise voltage. Modified sine wave inverters are cheaper, but they can cause issues like humming in audio equipment, overheating in motors, and may not work with certain devices at all. For most permanent or semi-permanent off-grid setups, investing in a good pure sine wave inverter is a non-negotiable step for reliability and longevity of your appliances.
Key Components Interacting with the Inverter
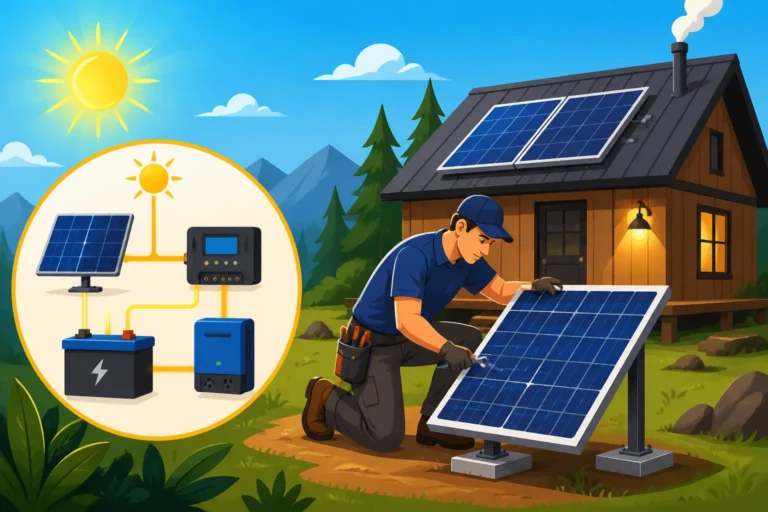
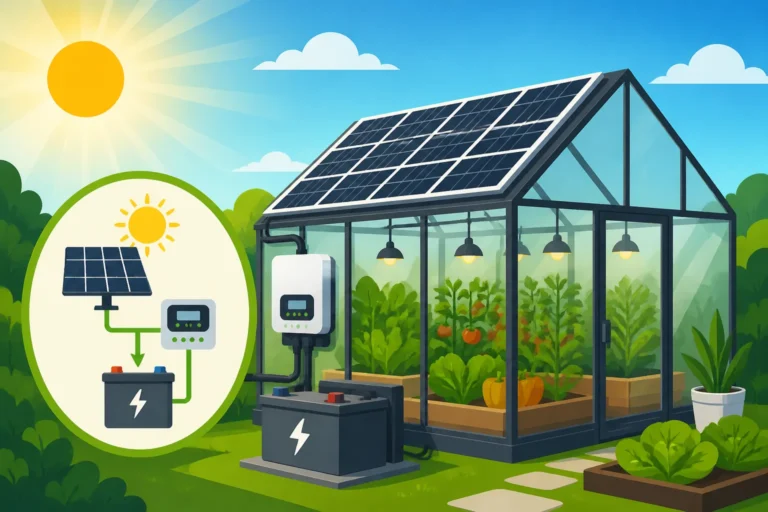
Your inverter isn't a standalone hero; it's part of a team. It relies heavily on other components to function safely and efficiently. First and foremost are your batteries. The inverter draws power directly from your battery bank, so ensuring you have a robust and appropriately sized battery bank is paramount. Think of it like the engine of your car; it needs fuel from the gas tank to run. Your solar panels, managed by a charge controller, are what replenish that "fuel" in your batteries. The charge controller ensures your batteries are charged safely without overcharging or undercharging, which can severely impact their lifespan.
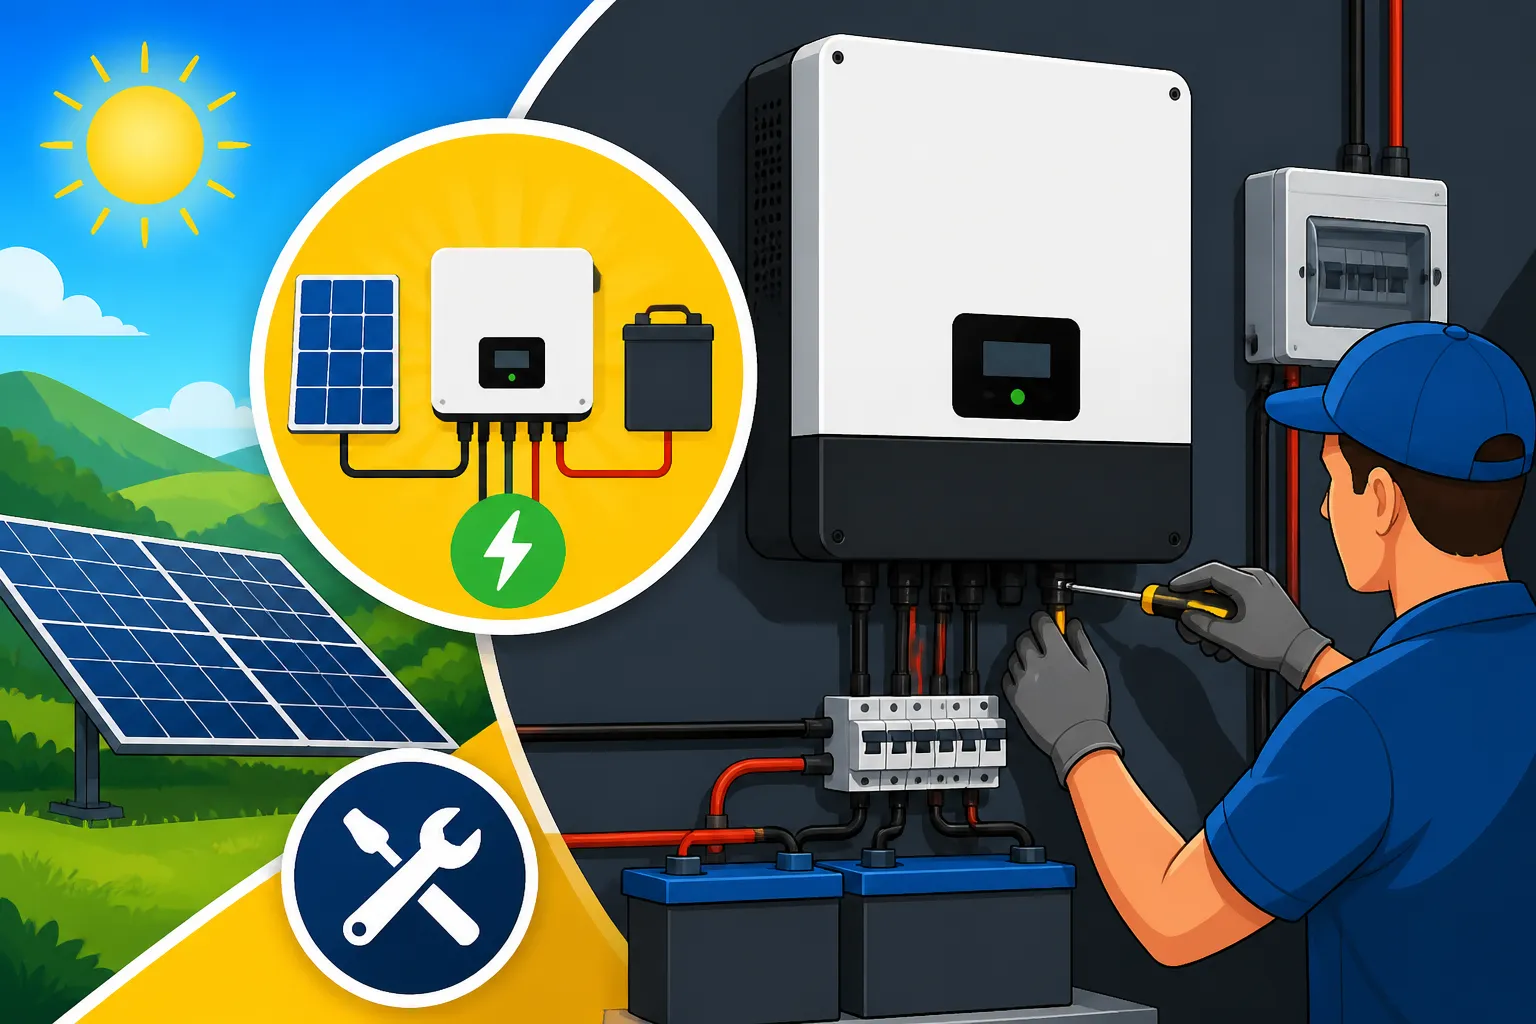
Beyond the power source, your inverter also connects to your AC distribution panel (breaker box) if you're wiring it into a cabin or tiny home, or directly to your AC loads (appliances) in a smaller setup like an RV or van. You'll also need appropriate wiring and fusing to protect all these components from overcurrents and short circuits. Understanding how these pieces fit together is the first real step in learning How to Install an Off-Grid Solar System]. You need to consider the voltage of your system (12V, 24V, or 48V), as your inverter must match this voltage. Larger systems tend to gravitate towards 24V or 48V systems to minimize current and wire size, leading to greater efficiency and fewer losses.
Safety First: Essential Precautions
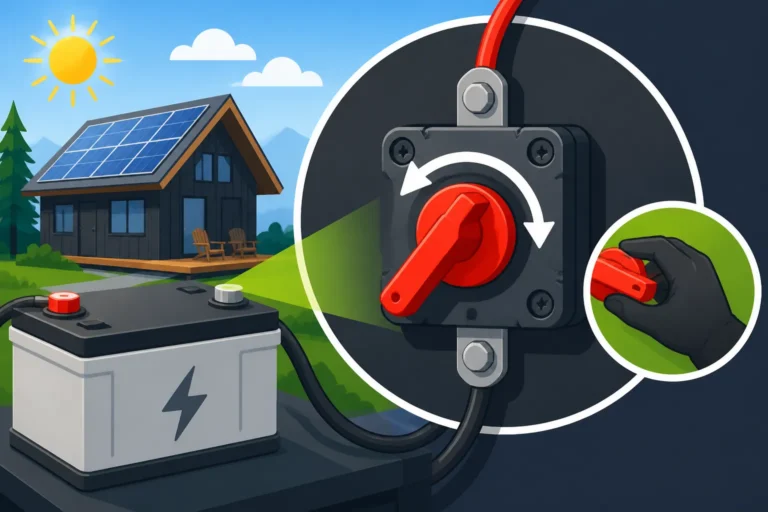
Working with electricity, especially high-current DC power from a battery bank, is inherently dangerous. A single misstep can result in serious injury, fire, or damage to expensive equipment. Always, and I mean always, prioritize safety. Before you begin any wiring, ensure all power sources are disconnected. This means covering your solar panels with a blanket or tarp to stop them from producing power, and disconnecting your batteries. You should always disconnect the negative terminal of your battery bank first when decommissioning, and connect it last when bringing the system online. This practice minimizes the risk of accidental short circuits.
Wear appropriate personal protective equipment (PPE), including insulated gloves and safety glasses. Have a fire extinguisher designed for electrical fires (Class C) readily available. Use properly insulated tools, and double-check every connection before applying power. It's not about being overly cautious; it's about being responsible. If you're ever unsure about a step, pause, consult an expert, or refer to your inverter’s manual. Never guess when it comes to electrical work. Many reputable brands like Renogy include very clear safety guidelines in their product documentation, which you should always review thoroughly.
Preparing for a Smooth Inverter Installation
Before you connect a single wire, adequate preparation is key to a successful and safe inverter installation. This involves selecting the right location, ensuring proper ventilation, and gathering all your necessary tools and materials. Skipping these preliminary steps can lead to inefficiencies, hazards, or frustrating delays down the line.
Choosing the Ideal Location for Your Inverter
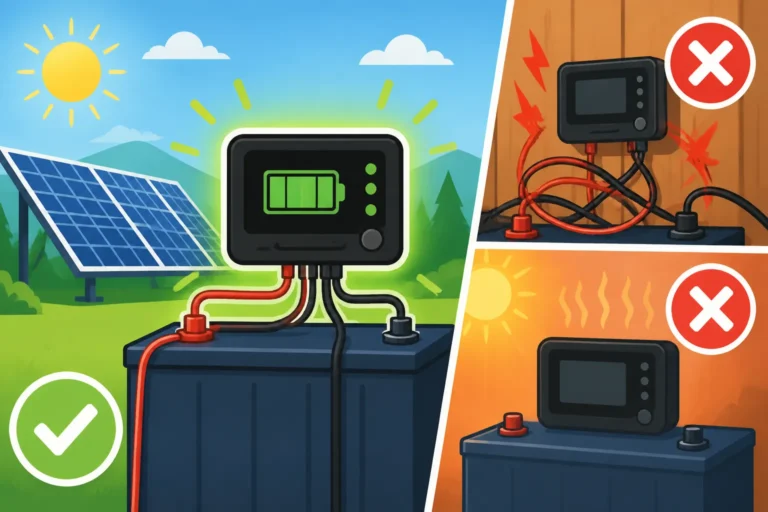
The placement of your off-grid inverter is more critical than you might think. Inverters generate heat, especially when operating under heavy loads, so proper ventilation is paramount to prevent overheating and extend its lifespan. Look for a cool, dry, and well-ventilated area, away from direct sunlight, corrosive fumes (like those from flooded lead-acid batteries), or excessive dust. Garages, utility rooms, or dedicated battery enclosures often make excellent spots.
Consider the length of your battery cables. Inverters should be mounted as close as possible to your battery bank to minimize voltage drop and power loss. Long battery cables, especially for high-current DC systems, require thicker gauge wires to compensate for resistance, which can get expensive quickly. Aim for the shortest practical cable run between your batteries and inverter. Additionally, think about accessibility for maintenance and future upgrades. You'll want to be able to easily read indicators, check connections, and perform any necessary troubleshooting without having to contort yourself into awkward positions.
Gathering Tools and Essential Materials
Having all your tools and materials organized before you start will save you a lot of headache and trips to the hardware store. You don't want to be halfway through a critical connection only to realize you're missing a specific crimper or a length of cable.
Here's a checklist of common items you'll need:
| Item | Description | Importance |
|---|---|---|
| Inverter | The star of the show! | Essential |
| Battery Cables | High-gauge, flexible copper wire to connect inverter to batteries. | Critical for power transfer and safety |
| Fuses/Breakers | DC-rated fuses (e.g., ANL or Class T) or breakers for battery-to-inverter. | Absolutely Critical for overcurrent protection |
| Fuse Holder | For the DC fuse. | Essential for fuse installation |
| Cable Lugs/Terminals | To connect cables securely to inverter, battery, and fuse holder. | Ensures solid, low-resistance connections |
| Hydraulic Crimper | For securely attaching large cable lugs to battery cables. | Professional-grade, essential for large gauges |
| Wire Strippers | Heavy-duty, capable of stripping large gauge wires. | Clean wire preparation |
| Heat Shrink Tubing | To insulate crimped connections and prevent corrosion. | Improves safety and longevity |
| Multimeter | To check voltage, continuity, and troubleshoot. | Essential for testing and safety checks |
| Insulated Wrenches/Sockets | To tighten battery and inverter terminals safely. | Prevents accidental short circuits |
| Mounting Hardware | Screws, bolts, washers appropriate for your inverter and mounting surface. | Secure installation |
| Drill and Bits | For mounting the inverter and routing cables. | Installation convenience |
| Safety Glasses/Gloves | Personal protective equipment. | Absolutely Critical for personal safety |
| Fire Extinguisher | Class C for electrical fires. | Emergency preparedness |
You can often find high-quality wiring, fuses, and tools from online retailers like Amazon, or specialized solar suppliers. Remember, using undersized cables or cheap fuses is a false economy that can lead to system failure or, worse, a fire. When in doubt about How to Size Wire and Cables], always err on the side of caution and go for a slightly larger gauge.
Pre-Mounting and Wiring Pathway Planning
Once you've chosen your location and gathered your materials, it's time to visualize the installation. Hold the inverter in its intended spot (or measure its dimensions) to mark mounting points. Ensure there’s enough clearance around it for airflow, as specified by the manufacturer. If you're mounting it to a wall, ensure the wall can support its weight, especially if you have a larger, heavier inverter.
Think about the path your DC and AC cables will take. Plan to keep DC cables (from batteries to inverter) separate from AC cables as much as possible to minimize electromagnetic interference. Consider using conduit for protection, especially if cables are exposed to potential damage or external elements. This planning phase allows you to preemptively identify any obstacles or challenges and ensure a clean, professional-looking, and safe installation. It also helps in determining the exact lengths of cable you'll need, preventing waste or multiple splices.
Connecting Your Off-Grid Inverter Safely
Now for the hands-on part! With all the preparation done, connecting your inverter involves a sequence of deliberate steps to ensure safety and functionality. Remember the safety precautions mentioned earlier – no shortcuts.
Step 1: Mounting the Inverter
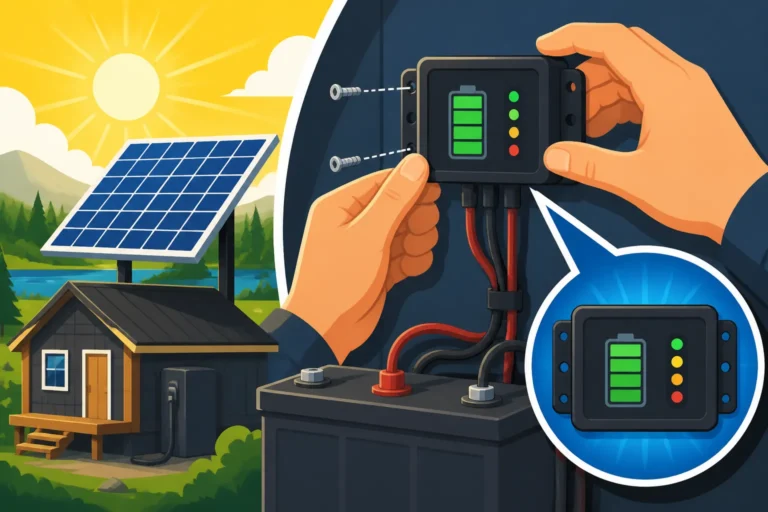
Carefully position the inverter against the wall or mounting surface according to your pre-planned marks. Use the appropriate mounting hardware (screws, bolts) to secure it firmly. Ensure it's level and stable. A wobbly inverter is not only unprofessional but could also put strain on electrical connections over time. Check your inverter's manual for specific mounting instructions, as some may require particular orientations or minimum clearances. For instance, some inverters are designed for vertical mounting to facilitate heat dissipation.
Step 2: Wiring the DC Side (Battery Connections)
This is perhaps the most critical part, as you're dealing with high-current DC power directly from your battery bank.
- Install the DC Disconnect/Fuse Holder: Before connecting any cables to the inverter, you must install a DC-rated fuse or breaker between your battery bank and the inverter. This component is your primary protection against overcurrents and short circuits. Mount the fuse holder or DC breaker as close as possible to the battery bank, ideally within 18 inches of the positive battery terminal. This ensures maximum protection for the entire DC circuit, including the battery itself. For larger systems, you might be looking at fuses rated for 200-400 amps or more.
- Cut and Crimp Battery Cables: Measure the shortest possible length for your positive and negative battery cables from your battery bank to your fuse holder/breaker, and then from the fuse holder/breaker to your inverter. Cut the heavy-gauge battery cables. Using a hydraulic crimper (don't skimp here; poor crimps are fire hazards), securely attach the appropriate cable lugs to both ends of your positive and negative cables. After crimping, slide heat shrink tubing over the lug and cable junction, then shrink it with a heat gun to provide insulation and strain relief.
- Connect to Batteries: With all power off (panels covered, all other breakers off, and battery bank isolated), connect one end of your negative battery cable to the negative terminal of your battery bank. Connect one end of your positive battery cable to the positive terminal of your battery bank. Do not connect the other ends to the inverter yet. For detailed steps on connecting multiple batteries, refer to our guide on How to Wire a Battery Bank].
- Connect to Fuse Holder/Breaker: Connect the other end of your positive battery cable to the input side of your DC fuse holder or breaker. Install the fuse or ensure the breaker is in the "off" position. Connect another positive cable from the output side of the fuse holder/breaker to the positive terminal of your inverter.
- Connect to Inverter DC Terminals: Finally, connect the other end of your negative battery cable (from the battery bank) to the negative DC input terminal of your inverter.
- Grounding: Do not forget to ground your inverter chassis! This is an essential safety step to protect against electrical shock in case of a fault. Connect a ground wire (typically green insulated wire) from the inverter's designated ground lug to your system's main ground busbar or earth ground. This often involves a sturdy copper wire connected to a ground rod driven deep into the earth. Proper Off-Grid Solar Safety and Grounding] is non-negotiable.
Step 3: Wiring the AC Side (Output Connections)
Once the DC connections are secure, you can move to the AC output.
- AC Output Wiring: Your inverter will have AC output terminals. These are usually labeled as AC Hot (or Line), Neutral, and Ground. For smaller systems, you might connect directly to a single outlet. For larger systems powering a home or cabin, the AC output will connect to your main AC breaker panel.
- Connect to Breaker Panel: Route your AC wires (typically black for hot, white for neutral, green/bare for ground) from the inverter's AC output terminals to a dedicated main breaker in your AC distribution panel. Ensure the breaker is appropriately sized for your inverter's output. For example, a 3000W 120V inverter has a maximum continuous output of 25 amps (3000W / 120V = 25A). You would use a 30A breaker.
- Double-Check All Connections: Before proceeding, visually inspect every single connection: DC cables, fuses, battery terminals, inverter terminals, and AC wiring. Tug gently on each cable to ensure it's firmly seated. Ensure no stray wire strands are exposed that could cause a short circuit. Many accidental short circuits happen because of loose connections or untidy wiring. This is also a good moment to review your Off-Grid Solar Wiring Diagram Explained].
Step 4: Connecting the Remote Panel or Monitoring (Optional)
Many modern inverters, especially those from brands like Victron or Growatt, come with options for a remote monitoring panel or Bluetooth connectivity to a smartphone app. If your inverter has these features, now is a good time to connect them. This usually involves running a data cable (e.g., RJ45 Ethernet cable) from the inverter to the remote panel or ensuring Bluetooth is enabled. These features allow you to monitor your system's performance, battery status, and even change settings without being physically next to the inverter.
Testing and Troubleshooting Your Inverter System
You've done the hard work of installation, but the job isn't complete until you've thoroughly tested your system. This crucial step ensures everything is working as intended and helps you catch any potential issues before they become major problems.
Initial Power-Up Sequence
This is the moment of truth. Follow this sequence carefully:
- Ensure All AC Loads are Off: Disconnect or turn off all appliances and devices that would draw power from the inverter. You want to start with a minimal load.
- Activate DC Power: With all connections double-checked and secured, connect your main battery negative terminal (if it was disconnected). Then, turn on your DC breaker or insert your DC fuse. You should hear a faint hum or click from the inverter, and its status lights should illuminate.
- Check Inverter Display: Observe the inverter's display or indicator lights. It should show battery voltage and indicate that it's operating normally, perhaps in "standby" or "search" mode if no AC loads are active.
- Activate AC Output: If your inverter has a separate AC output breaker, switch it on.
- Test a Small Load: Plug in a small, non-critical AC appliance, like a phone charger or a small lamp, directly into an inverter-fed outlet or a circuit from your AC panel. Verify that it works. This is a gentle way to confirm AC power output.
- Gradually Increase Load: Once you confirm the small load works, you can slowly start introducing more significant loads. Monitor the inverter's display for any error codes, excessive fan noise, or unusual behavior. This gradual approach helps identify issues without overwhelming the system.
If the inverter doesn't power up, or throws an error, immediately shut down the DC power. Recheck all your connections, paying close attention to polarity (positive and negative) and ensuring all terminals are tight. Consult your inverter's manual for specific error codes and troubleshooting steps. Sometimes, a simple loose connection is the culprit. A multimeter is invaluable here to check voltages at different points in your system. This whole process is key to understanding How to Commission an Off-Grid System].
Monitoring and Fine-Tuning Your System
Once your inverter is operational, continuous monitoring is vital. Pay attention to how your inverter performs under various loads. Does it consistently provide stable power? Does it seem to struggle or overheat with certain appliances? An Off-Grid Solar System Sizing Guide] will help you ensure your inverter matches your actual power consumption. You might find that some high-surge appliances, like well pumps or refrigerators, push your inverter to its limits.
Adjusting settings, such as low-voltage disconnect (LVD) thresholds or charger settings (if it's an inverter-charger), might be necessary based on your battery type and usage patterns. For instance, if you have a lithium iron phosphate (LiFePO4) battery bank, you'll want to ensure your inverter's charging parameters (if applicable) are set correctly for these batteries to maximize their lifespan. This might require digging into the advanced settings of your specific inverter model. For many, the ability to tweak settings via an app or remote display is a huge benefit, making fine-tuning much easier.
Common Troubleshooting Scenarios
Even with careful installation, issues can arise. Here are a few common scenarios and how to approach them:
- Inverter Not Turning On:
- Check DC Voltage: Use a multimeter to verify that the correct DC voltage is reaching the inverter's input terminals. Ensure the battery bank is fully charged and that the main DC fuse or breaker is not tripped or blown.
- Polarity Check: Double-check that positive and negative connections are correct. Reversed polarity can cause severe damage.
- Tight Connections: Loose connections are a frequent cause of no power. Retighten all battery and inverter terminals.
- Inverter Powers On but No AC Output:
- AC Output Breaker: Ensure the inverter's internal AC output breaker (if present) or the external AC breaker in your panel is in the "on" position.
- Load Sense Setting: Some inverters have a "load sense" or "power save" mode. If the load is too small, the inverter might not detect it and won't turn on its AC output. Try a slightly larger load, or temporarily disable this feature.
- Overload/Fault: The inverter might be in a fault state due to a previous overload or short circuit on the AC side. Check for tripped breakers in your AC panel and reset the inverter if possible (power cycle).
- Appliances Not Working Correctly / Humming:
- Inverter Type: If you're using a modified sine wave inverter, this is a common symptom for sensitive electronics or motors. Upgrading to a pure sine wave inverter is usually the solution.
- Voltage Drop: For long AC runs, you might experience voltage drop. Use a multimeter to check the AC voltage at the appliance itself.
- Interference: Ensure AC and DC cables are routed separately to minimize electromagnetic interference.
- Inverter Overheating:
- Ventilation: Check that the inverter's vents are not blocked and that there's adequate airflow around the unit.
- Ambient Temperature: Is the inverter in an excessively hot environment? Consider relocating it or adding active cooling (fans).
- Overload: The inverter might be regularly overloaded. Reduce your power consumption or consider if you need a larger inverter. Review your How to Size an Off-Grid Inverter] calculations.
Remember, patience and systematic troubleshooting are your best friends. Don't rush into making changes, and always disconnect power before working on connections. A properly installed and maintained inverter will be the workhorse of your off-grid power system, providing reliable electricity for years to come.
Disclaimer
This guide provides general information for installing an off-grid inverter. Electrical work can be dangerous. Always consult local codes, the manufacturer's instructions for your specific inverter model, and if necessary, a qualified electrician or solar professional. The author and publisher are not responsible for any injury or damage resulting from the use of this information.