How to Wire Batteries to a Busbar
Trying to build out an off-grid solar system can feel like you're wrestling an octopus sometimes, especially when you get to the battery bank. All those wires, terminals, and connections can quickly become a tangled, confusing mess, not to mention a potential fire hazard. This comprehensive guide will walk you through the process of how to wire your off-grid solar batteries to a busbar, transforming that spaghetti junction into a clean, efficient, and much safer power hub.
Why a Busbar is Essential for Your Off-Grid Battery Bank
Before we dive into the nitty-gritty of wiring, let's talk about why a busbar is such a game-changer for an off-grid battery setup. Many folks, especially when starting out, think they can just connect everything directly to their battery terminals. While technically possible for very small systems, it's a recipe for headaches and potential dangers as your system grows.
Avoiding the Spaghetti Junction Dilemma
Imagine you have two or three batteries, a charge controller, an inverter, and maybe a few direct DC loads. If you connect everything directly to the battery posts, you'll end up with multiple ring terminals stacked on each post. This creates a few significant problems. Firstly, it's incredibly messy and hard to trace which wire goes where, making troubleshooting a nightmare. Secondly, these stacked connections can lead to poor contact, increasing resistance and generating heat, which isn't just inefficient—it's dangerous. Poor connections can cause voltage drops, meaning your appliances aren't getting the full power they need, and they can even lead to arcing and fires.
The Clear Advantages of a Busbar System
A busbar, at its core, is a simple concept: a metallic strip or bar, usually copper or aluminum, that conducts electricity within a switchboard, distribution board, substation, or in our case, an off-grid battery bank. It provides a common connection point for all your positive connections and another for all your negative connections.
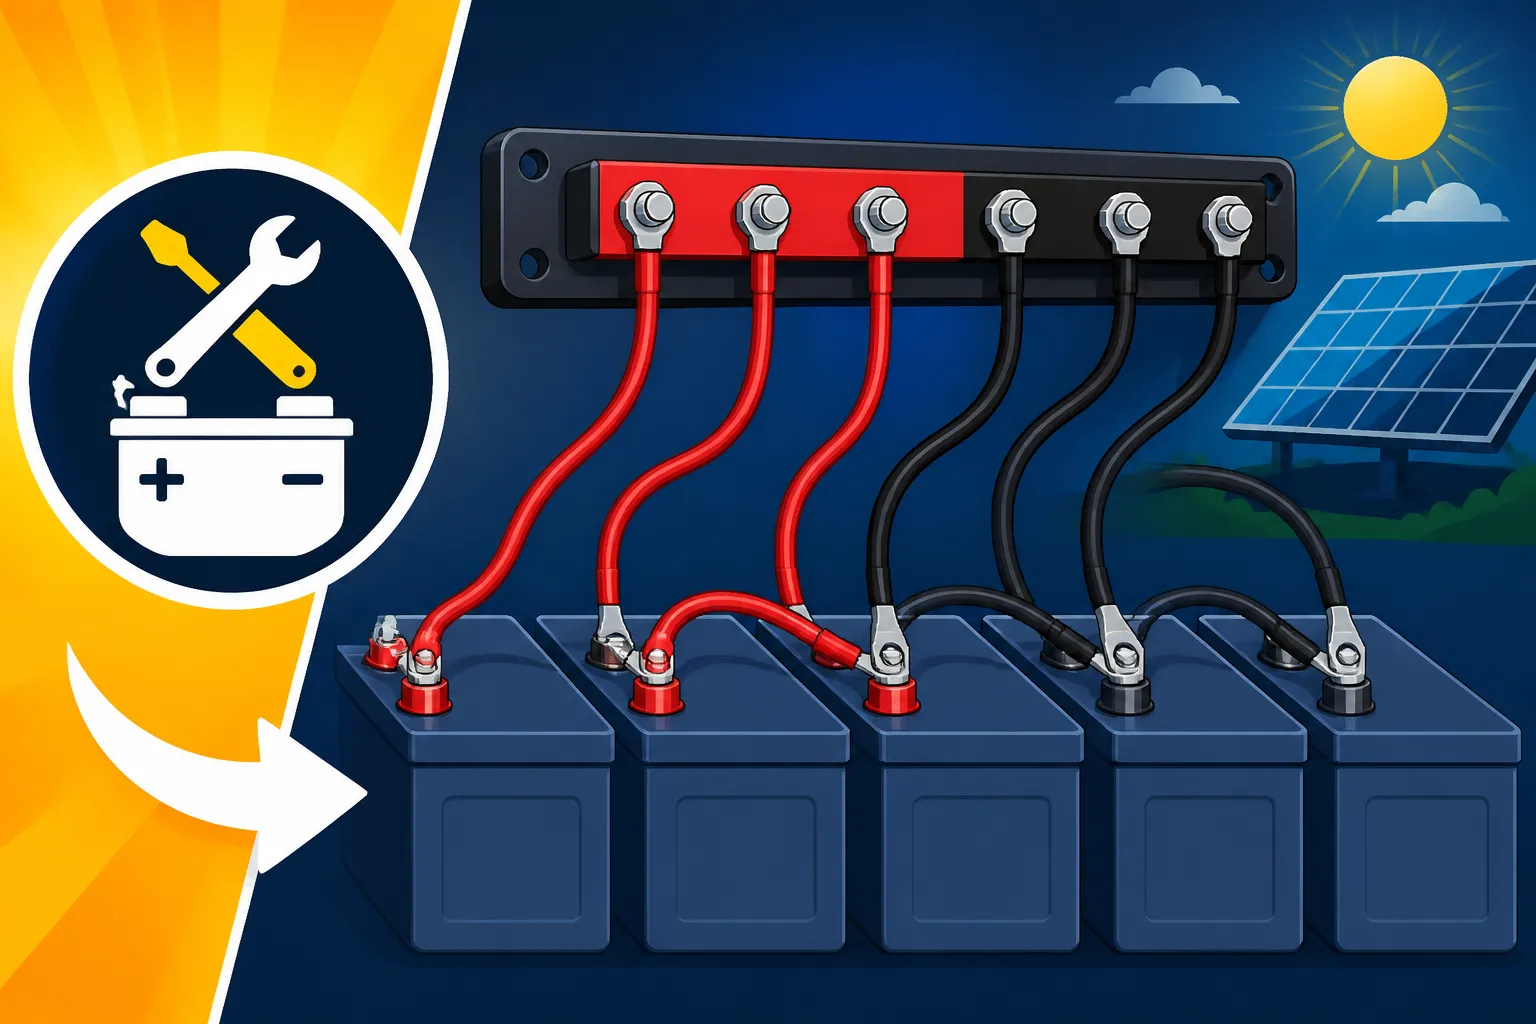
Think of it like a power strip for your heavy-duty DC connections. Instead of crowding the battery terminals, you run a single, appropriately sized cable from each battery to its respective busbar (positive to positive busbar, negative to negative busbar). Then, your charge controller, inverter, and any DC loads connect directly to the busbars. This immediately declutters your battery terminals, making for a much cleaner and more organized setup. It also ensures that each connection point on the busbar has excellent contact, which minimizes resistance and maximizes current flow. This improved efficiency means less power loss and a cooler, safer system overall. When you consider the importance of a well-maintained battery bank, understanding How to Maintain an Off-Grid Battery Bank becomes crucial, and a busbar simplifies this process immensely.
Beyond cleanliness, busbars significantly enhance safety. With proper terminal covers, the risk of accidental short circuits is drastically reduced. They also make expanding your system easier. If you decide to add more batteries or additional loads down the line, you simply connect them to an available terminal on the busbar rather than trying to squeeze more onto already crowded battery posts. This modularity is invaluable for a growing off-grid lifestyle.
Choosing the Right Busbar and Related Components
Selecting the appropriate busbar is critical for the safety and efficiency of your off-grid system. It's not a one-size-fits-all situation, and getting this wrong can lead to costly and dangerous issues.
Understanding Busbar Types and Materials
There are a few common types of busbars you'll encounter for off-grid applications. The most basic is a common DC busbar, which simply provides multiple terminal studs for connections. You'll need two of these: one for all your positive connections and one for all your negative connections. Some busbars come with an insulating base, which is highly recommended for safety. You might also find fused busbars, where each individual connection point has a fuse, offering an extra layer of protection for individual circuits. While these are excellent for smaller DC loads, your main battery connections to the inverter typically won't be fused directly at the busbar due to the very high current.
Material-wise, you'll generally choose between copper and tin-plated copper. Copper is an excellent conductor, but tin-plated copper offers superior corrosion resistance, especially in humid or marine environments, which can be a real concern for battery terminals. Given the longevity and reliability you want from an off-grid system, tin-plated copper is often the preferred choice.
Sizing Your Busbar and Cables for Optimal Performance
The most crucial factor in choosing a busbar is its current rating. This rating indicates the maximum amperage it can safely handle. To determine what you need, you'll first need to calculate the maximum continuous current your battery bank can deliver, particularly considering your inverter's maximum draw. A good rule of thumb is to look at your inverter's continuous watt rating and divide it by your system voltage (e.g., a 3000W inverter on a 12V system could draw up to 250 amps, but you also need to factor in efficiency losses and surge ratings). Always oversize your busbar's current rating for a safety margin and potential future expansion. If you're pondering How Many Batteries for an Off-Grid System, remember that a larger bank often means higher currents, requiring more robust busbars.
You'll also need to consider the number of terminals. Count how many batteries you have, plus your inverter, charge controller, and any other heavy DC loads you plan to connect directly. Make sure your chosen positive and negative busbars have enough studs. It's always a good idea to have a few spares for future additions.
Selecting the right battery cables to connect your batteries to the busbar, and then the busbar to your inverter and charge controller, is equally vital. Undersized cables can overheat, leading to significant power loss and fire risk. The cable gauge (thickness) needed depends on the current it will carry and the length of the run. Shorter, thicker cables are always better to minimize voltage drop. For high-current applications, like connecting a 48V battery bank to a large inverter, you'll often be looking at 2/0, 4/0 AWG, or even larger cables. Resources like How to Size Wire and Cables can provide detailed guidance on this, but a good rule of thumb is to refer to AWG wire gauge charts that specify current carrying capacity for various lengths. You can often find pre-made battery cables with crimped lugs, or you can buy bulk cable and crimp your own.
When purchasing components, reputable brands are key. Companies like Renogy offer a range of busbars, battery cables, and related accessories specifically designed for off-grid solar systems. You can also find a wide selection of quality marine-grade busbars and heavy-duty battery cables on Amazon, but always double-check the specifications and reviews to ensure they meet the rigorous demands of a solar setup.
Step-by-Step Guide to Wiring Your Batteries to a Busbar
Now that you understand the "why" and "what," let's get into the "how." Wiring your batteries to a busbar is a meticulous process that demands attention to detail and, above all, safety.
Prioritizing Safety Before You Begin
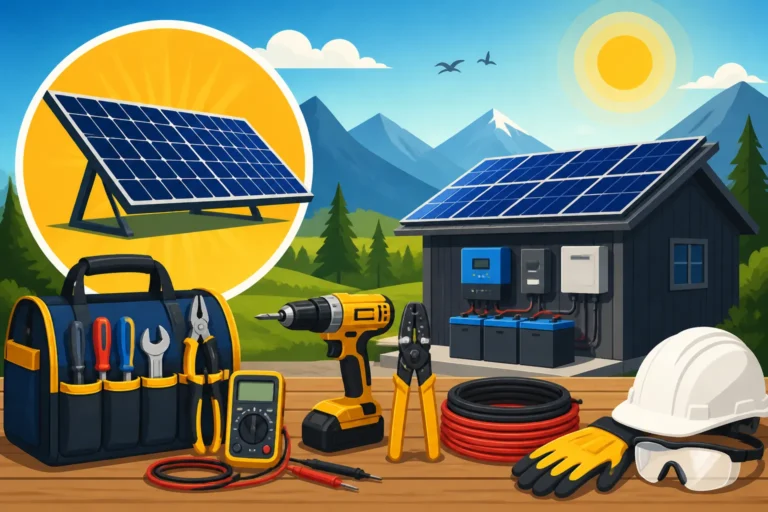
This cannot be stressed enough: safety first. Before you touch any wires, ensure all power sources are disconnected. This means your solar panels should be covered or disconnected from the charge controller, and your inverter should be turned off and disconnected from its power source. Wear appropriate personal protective equipment (PPE), including insulated gloves and safety glasses. Have the right tools ready: a quality crimping tool (if making your own cables), a wire stripper, a multimeter, terminal wrenches, heat shrink tubing, and a fire extinguisher nearby, just in case. High-capacity battery banks can deliver enormous amounts of current, capable of causing severe burns, electrical shock, or fire if shorted. Reviewing Off-Grid Solar Safety and Grounding is always a good idea before starting any electrical work.
Preparing Your Battery Cables
If you're making your own battery cables, you'll need to cut them to the correct lengths. Keep the runs from your batteries to the busbar as short and equal in length as possible to ensure balanced charging and discharging. Strip about ½ to ¾ inch of insulation from the ends of your cables. Now comes the critical part: crimping the ring terminals. Use a high-quality crimping tool and ensure a solid, secure crimp. A poor crimp is a common point of failure, causing resistance and heat. After crimping, slide heat shrink tubing over the crimped joint and heat it with a heat gun until it shrinks tightly, providing insulation and strain relief. You want these connections to be robust; they are the arteries of your power system.
Connecting Your Batteries to the Busbar
This step varies slightly depending on whether you're wiring your batteries in series, parallel, or a series-parallel configuration. For simplicity, let's assume a parallel 12V system using multiple 12V batteries, where all positive terminals connect to the positive busbar and all negative terminals connect to the negative busbar. If you are building a higher voltage system, like a 24V or 48V system, you'll first wire batteries in series to achieve the desired voltage (e.g., two 12V batteries in series for 24V) and then connect these series strings to your busbars. Understanding How to Wire a Battery Bank is foundational here.
- Mount Your Busbars: Securely mount your positive and negative busbars. Keep them relatively close to your battery bank, but far enough apart to prevent accidental contact. Many recommend mounting them on an insulated surface within a battery box or enclosure.
- Connect Battery Negatives: Start with the negative side. Connect a properly sized battery cable from the negative terminal of each battery (or each negative terminal of a series string) to a separate stud on the negative busbar. Use a star-shaped washer and lock washer, then tighten the nut to the manufacturer's specified torque. Overtightening can strip threads; undertightening causes poor contact.
- Connect Battery Positives: Repeat the process for the positive side. Connect a properly sized battery cable from the positive terminal of each battery (or each positive terminal of a series string) to a separate stud on the positive busbar. Again, use washers and tighten to spec.
- Connect Main System Components:
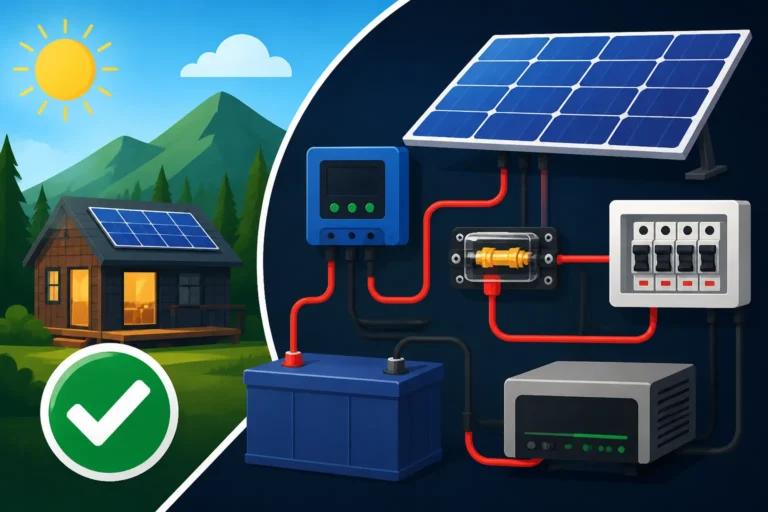
- Charge Controller: Run appropriately sized cables from the "battery" terminals of your solar charge controller to the positive and negative busbars. The positive charge controller wire goes to the positive busbar, and the negative charge controller wire goes to the negative busbar.
- Inverter: Your inverter is likely the largest load. Run heavy-gauge battery cables from the inverter's positive input terminal to the positive busbar and from its negative input terminal to the negative busbar. Ensure these cables are rated for the inverter's maximum surge current.
- DC Loads/Fuse Box: If you have direct DC loads or a DC fuse box, connect their main positive and negative feeds to the respective busbars.
Double-Checking and Initial Power Up
Once all connections are made, perform a thorough visual inspection.
- Are all cables neatly routed and secured, preventing strain?
- Are there any loose connections or exposed wire strands?
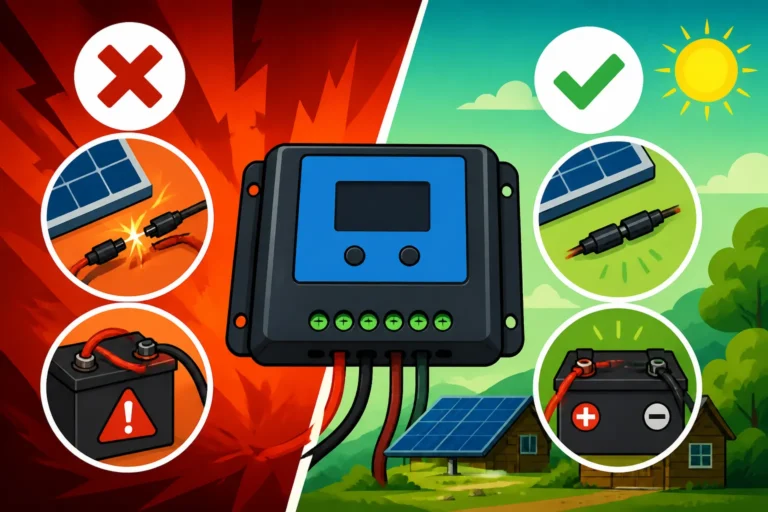
- Is the polarity correct (positive to positive, negative to negative) throughout the entire system? This is crucial to prevent damage to your components.
- Are all connections tight? You might consider using a torque wrench for consistency, especially on larger terminals.
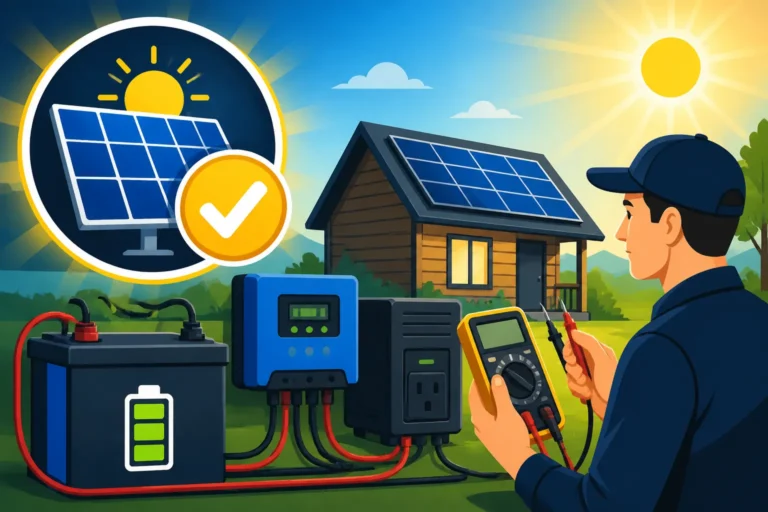
Now, with extreme caution, you can begin the initial power-up. Connect your batteries, then turn on your charge controller and inverter. Use your multimeter to check voltage at various points in the system to ensure everything is working as expected. Start by measuring voltage across the main battery terminals, then across the busbars, and then at the input of your charge controller and inverter. Everything should match the nominal voltage of your battery bank.
Best Practices and Troubleshooting Tips for Busbar Systems
Even with careful planning and installation, proper maintenance and a little troubleshooting know-how can go a long way in ensuring the longevity and reliability of your off-grid solar system.
Maintaining Your Busbar Connections
Good practices extend beyond the initial installation. Regular inspection is paramount. At least once or twice a year, or if you notice any performance issues, take the time to inspect your busbar connections. Look for:
- Corrosion: Especially in humid environments, corrosion can build up on terminals. Clean any signs of corrosion with a wire brush and a baking soda/water solution, then rinse with distilled water and dry thoroughly. Consider applying a dielectric grease to prevent future corrosion.
- Loose Connections: Vibrations (in an RV or boat setup) or temperature fluctuations can sometimes loosen terminal nuts. Gently re-torque all connections to their specified values.
- Signs of Overheating: Discoloration of cables, melted insulation, or a burning smell are all indicators of excessive heat due to poor connections or undersized wiring. Address these immediately.
Proper cable management isn't just for aesthetics; it's a safety feature. Use cable ties and clamps to secure wires, preventing them from chafing against sharp edges or putting strain on the terminal connections. Always use appropriate terminal covers on exposed studs to prevent accidental shorts. These covers are inexpensive and provide crucial protection. For a deeper dive into optimizing your system, read up on Off-Grid Solar Wiring Best Practices.
Common Issues and Diagnostic Approaches
Even the most meticulously installed systems can encounter issues. Here's what to look out for and how to approach diagnostics:
- Voltage Drop: If your inverter or appliances aren't performing optimally, or you notice a significant difference in voltage between your battery terminals and your inverter input, you might be experiencing voltage drop. This is typically caused by undersized cables, long cable runs, or poor connections. Check your cable gauge against current draw and length. Ensure all crimps are solid and connections are tight.
- Overheating Components: If your busbar or cables feel hot to the touch, it's a serious problem. Disconnect power immediately. This almost always indicates an undersized component (busbar or cable) or a loose, high-resistance connection. Re-evaluate your sizing calculations and check every connection point.
- No Power/Intermittent Power: This could be due to a tripped breaker, blown fuse, or a completely disconnected wire. Start by checking all circuit breakers and fuses. If those are fine, grab your multimeter. Use it to check for continuity in cables and voltage at various points. For instance, if you have voltage at the battery terminals but not at the busbar, you know the issue lies in the cable connecting the battery to the busbar. For more general troubleshooting, consult a guide on How to Troubleshoot Off-Grid Solar.
A multimeter is your best friend for diagnosing electrical issues. Learn how to use it to test for voltage, continuity, and amperage (if it has a clamp meter function). By systematically checking each part of your system, you can pinpoint the problem quickly and safely.
The Role of Busbars in System Expansion
One of the often-underestimated benefits of using busbars is how they facilitate future expansion. As your off-grid power needs grow, you might decide to add more solar panels, more batteries, or even upgrade to a larger inverter. A busbar system makes this process much smoother.
Instead of trying to find space on crowded battery terminals, you simply connect new battery strings or larger charge controllers to available terminals on your existing busbars. If your original busbar's current rating is sufficient, and you planned for extra terminals, expansion is relatively straightforward. If you're adding significantly more capacity, you might need to upgrade your busbars to higher-rated ones, but the overall architecture remains cleaner and easier to manage than a direct-connect system. This forward-thinking design can save you a lot of hassle and expense down the road, making it well worth the initial investment.
| Component | Primary Function | Key Sizing Consideration | Common Materials | Maintenance Tip |
|---|---|---|---|---|
| Busbar | Common connection point for multiple battery cables/loads | Max continuous current (Amps) | Copper, Tin-plated Copper | Inspect for corrosion/tightness annually |
| Battery Cables | Connect batteries to busbar and busbar to inverter/controller | Current & Length (AWG gauge) | Copper (stranded) | Ensure proper crimps and insulation |
| Ring Terminals | Connect cable ends to busbar studs and battery posts | Cable gauge & Stud size | Copper (tin-plated) | Check for secure crimp to cable |
| Heat Shrink Tubing | Insulates crimped cable-terminal connections | Cable diameter | Polyolefin | Ensure full coverage and tight seal |
| Terminal Covers | Insulates exposed busbar studs and battery posts | Busbar/terminal dimensions | Rubber, Plastic | Ensure they remain in place |
Disclaimer
The information provided in this guide is for general informational purposes only. Off-grid solar systems involve high voltages and currents that can be dangerous. Always exercise extreme caution, follow all manufacturer instructions, and consult with a qualified electrician or solar professional if you are unsure about any aspect of installation or troubleshooting. Working with electricity carries inherent risks, and improper installation can lead to property damage, injury, or death.