Off-Grid Solar Wiring Best Practices
Stepping into the world of off-grid solar can feel incredibly empowering, but let's be honest, the thought of wiring everything up often brings a cold sweat to even the most seasoned DIY enthusiast. It's not just about connecting red to red and black to black; it's about doing it safely, efficiently, and reliably so your hard-earned system actually performs when you need it most. This guide is here to cut through the confusion and give you the foundational knowledge and practical tips for off-grid solar wiring best practices, ensuring your system is robust and safe for years to come.
The Foundation of Safe Wiring: Understanding Electrical Principles
Before we even touch a wire, it's crucial to grasp a few fundamental electrical concepts. Wiring isn't magic; it's a science, and understanding the basics will not only make your installation safer but also help you troubleshoot down the road. Many folks jump straight into buying components without truly understanding how electricity flows, and that's where things can get dicey.
DC vs. AC: Knowing Your Current Types
The first hurdle for many newcomers is distinguishing between direct current (DC) and alternating current (AC). Your solar panels produce DC power, and your batteries store it as DC. This is a one-way flow of electricity, like water flowing down a river. Most smaller, specialized devices designed for vehicles or campers, like LED lights or USB chargers, also run on DC, typically 12V or 24V.
However, almost all your standard household appliances – your refrigerator, microwave, laptop charger, or power tools – operate on AC power. This is the type of electricity supplied by the utility grid, and it constantly reverses direction, hence "alternating" current. To convert the DC power from your batteries into usable AC power for these appliances, you need an inverter. Knowing which type of current you're dealing with at each stage of your system is paramount because the wiring, connectors, and safety devices are often specific to one or the other. Mixing them up can lead to damaged equipment or, worse, dangerous situations.
Voltage Drop and Why It Matters
Imagine trying to drink water through a very long, very thin straw. It's tough, right? That's a bit like what happens with electricity when you have undersized wires over a long distance – you experience voltage drop. Voltage drop is simply the loss of electrical pressure (voltage) as current flows through a wire. The longer the wire and the smaller its gauge (thinner it is), the more resistance it has, and thus, the more voltage is "lost" along the way.
Why does this matter for your off-grid system? Well, excessive voltage drop means less power actually reaches your appliances or charges your batteries, leading to inefficiencies and reduced performance. For example, if your solar panels are far from your charge controller, significant voltage drop on the DC input side can mean your batteries aren't getting the full charge they should. Similarly, if your inverter is far from your main AC panel, your appliances might not run optimally. This wasted energy manifests as heat in the wires, which can be a fire hazard if severe enough. Learning How to Prevent Voltage Drop in Off-Grid Wiring is essential for both efficiency and safety, ensuring your system operates at its peak.
Amperage, Wattage, and Wire Sizing Fundamentals
These three terms – amperage (current), wattage (power), and voltage (electrical pressure) – are intricately linked and dictate how you size your wires. Watts are the total power, volts are the "push," and amps are the "flow." The formula W = V x A (Watts = Volts x Amps) is your best friend here.
When sizing wires, the critical factor is amperage. Wires have a maximum current rating they can safely handle before overheating. If you try to push too many amps through a wire that's too thin, it will heat up, melt its insulation, and potentially cause a fire. This is why properly sizing your wire gauge is non-negotiable. For instance, a circuit running at 50 amps will require a much thicker wire than one running at 5 amps. Always err on the side of caution; a slightly thicker wire is always safer and more efficient than one that's barely adequate. We'll dive into more specific sizing in the table below, but always remember that safety starts with understanding how much current is flowing and selecting a wire that can handle it with room to spare.
Essential Components for Robust Off-Grid Wiring
A successful off-grid solar system isn't just about the big-ticket items like panels and batteries; it's also about the often-overlooked components that ensure everything connects properly and safely. Skimping on these small but mighty parts is a common oversight that can lead to big headaches.
Choosing the Right Wires and Cables
The wires and cables are the arteries of your off-grid solar system, carrying vital power from one component to the next. Not all wires are created equal, and selecting the correct type for each application is crucial.
- Solar Panel (PV) Wire: For connecting your solar panels, you absolutely need dedicated PV wire (also known as solar cable). This isn't just regular electrical wire; it's specifically designed for outdoor use, resistant to UV degradation, extreme temperatures, and moisture. It's often stranded for flexibility and comes in red (positive) and black (negative).
- Battery Cables: For the high-current runs between your batteries, and from your battery bank to your inverter, you need very thick, flexible, and often marine-grade cables. These are typically fine-stranded copper wires to handle significant amperage without excessive voltage drop or overheating. Their insulation is usually robust to withstand the environment within a battery box or enclosure.
- AC Wiring: For the AC side of your system, from the inverter to your household breaker panel, you'll use standard household electrical wiring (like Romex or THHN in conduit), sized according to the inverter's output and the loads it will serve, following local electrical codes.
Always check the temperature rating and insulation type. For outdoor runs, ensure the cables are rated for direct burial or protected by conduit if applicable. High-quality cables, though sometimes more expensive upfront, are an investment in the longevity and safety of your entire system. Many reliable component sellers, including those found on platforms like Amazon, offer a wide range of suitable wires and cables, but always double-check specifications against your system's needs.
Fuses, Breakers, and Disconnects: Your Safety Net
These components are your system's guardians, protecting against overcurrents, short circuits, and faults. Never, ever skip them. They are non-negotiable safety devices.
- Fuses: Fuses are single-use devices that contain a metal wire designed to melt and break a circuit if the current exceeds a certain level. They're typically used for protecting individual components, like a solar panel string or a specific DC load. You'll often find them in fuse holders or combiner boxes.
- Circuit Breakers: Breakers serve the same purpose as fuses but can be reset after tripping. They're commonly used for main disconnects, battery bank protection, and AC distribution. When sizing breakers, you need to match them to the wire gauge they're protecting and the maximum current of the component.
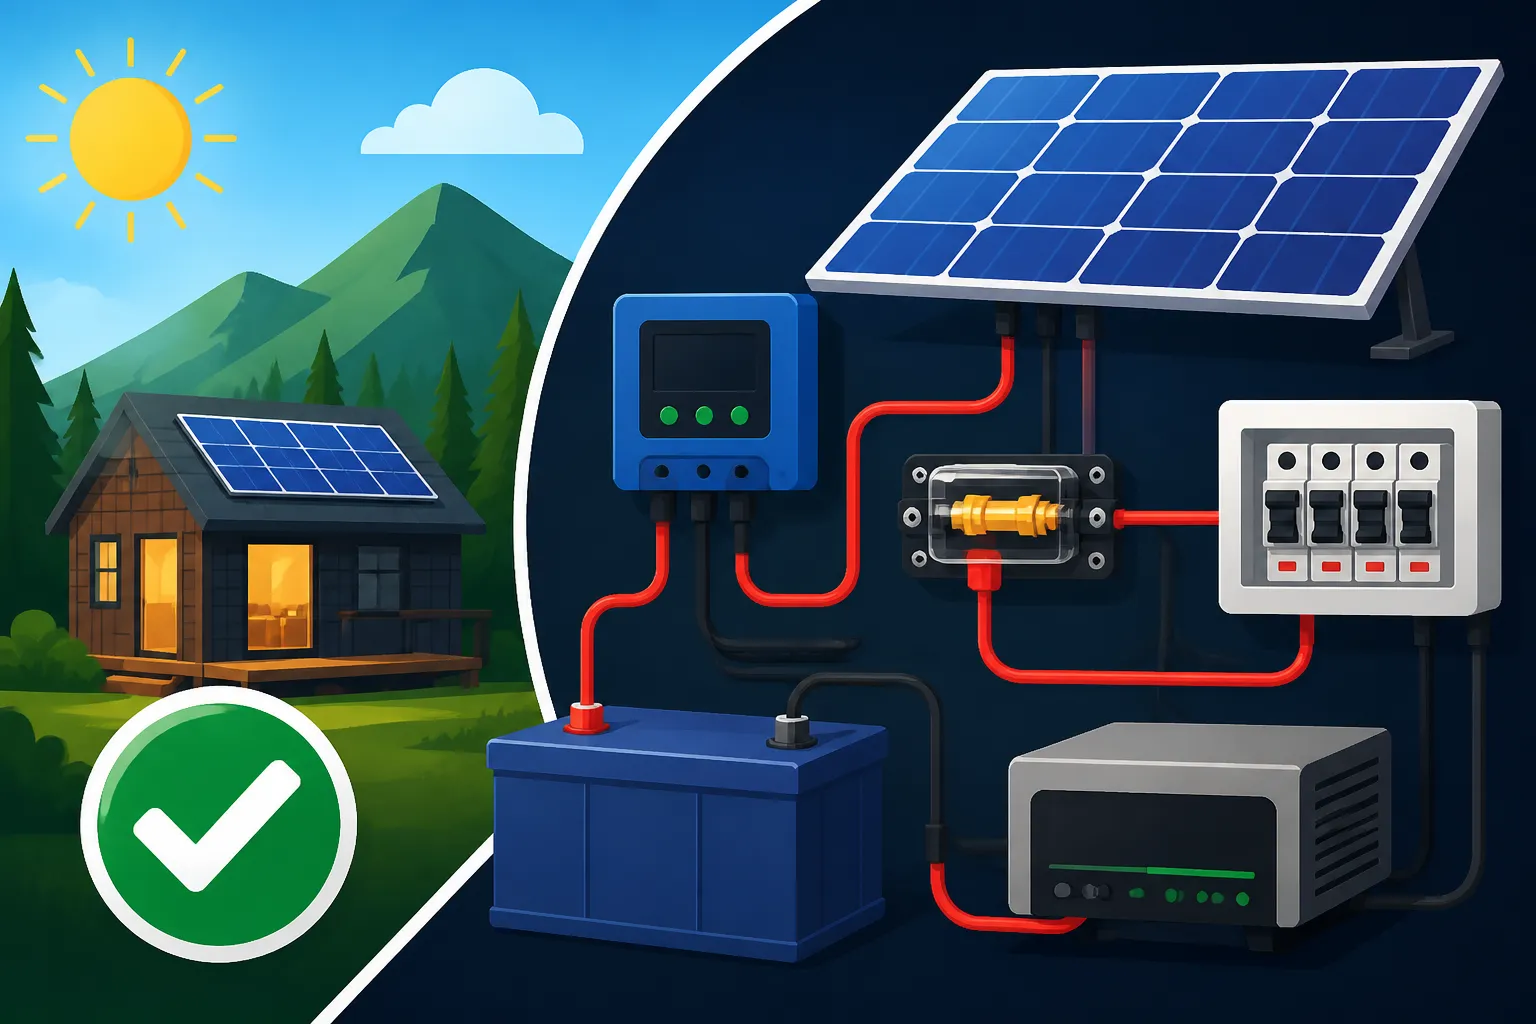
- Disconnect Switches: These manual switches are vital for safely isolating components for maintenance or in an emergency. You should have a DC disconnect between your solar array and charge controller, and another between your battery bank and inverter. On the AC side, a main breaker at your subpanel acts as a disconnect. Having clear, accessible disconnects can literally be a lifesaver. You can learn more about How to Install Fuses and Breakers to ensure maximum safety.
Connectors, Busbars, and Combiner Boxes
Clean, secure connections are just as important as correctly sized wires. Loose connections can cause resistance, heat buildup, and system failure.
- MC4 Connectors: These are the industry standard for connecting solar panels. They're weatherproof, latch securely, and are designed for high DC voltage. Proper crimping with a dedicated MC4 crimping tool is essential for a reliable and safe connection. Never just twist wires together; use appropriate connectors.
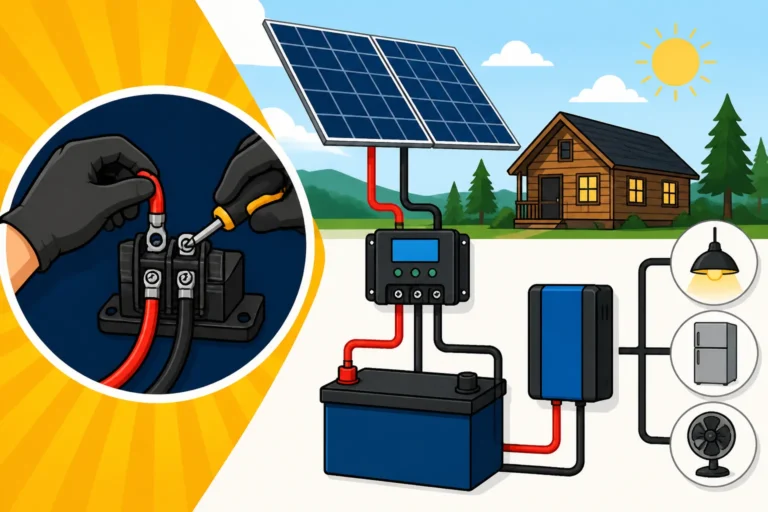
- Lugs and Terminal Blocks: For connecting thick battery cables to batteries, inverters, and busbars, you'll use copper lugs, crimped securely onto the cable ends. Terminal blocks are useful for organizing multiple smaller wires, often found in combiner boxes or inside control panels.
- Busbars: A busbar is essentially a common connection point where multiple cables can be terminated, providing a clean and organized way to distribute power. For instance, a DC busbar might collect all the positive battery cables, and another for all the negative ones, before connecting to the inverter. This avoids stacking multiple ring terminals on a single battery post, which is a big no-no for safety and reliability.
- Combiner Boxes: For larger solar arrays with multiple strings of panels, a combiner box brings all those strings together. It typically houses string fuses or breakers and acts as a single point of connection to the charge controller, providing protection and simplified wiring. Many reputable solar component manufacturers, like Renogy, offer reliable combiner boxes and connection accessories.
| Component | Function | Wire/Cable Type | Key Considerations |
|---|---|---|---|
| Solar Panels | Generate DC power | PV Wire (Solar Cable) | UV resistant, weatherproof, MC4 connectors, proper crimping. |
| Batteries | Store DC power | Thick Battery Cables | Fine-stranded, flexible, corrosion-resistant lugs, proper terminal torque, busbars for multiple batteries. |
| Charge Controller | Regulates DC charging | PV Wire (input), Battery Cable (output) | Sized to handle max array current (input) and battery charge current (output). |
| Inverter | Converts DC to AC | Battery Cable (DC input), AC Household Wire (AC output) | Very thick, short runs for DC input; AC wiring sized for output load, proper grounding. |
| Fuses/Breakers | Overcurrent protection | Matched to wire size | Essential for all circuits: PV, battery, inverter, AC loads. |
| Disconnect Switches | Manual isolation | Matched to circuit | Mandatory for PV array, battery bank, and AC output. |
| Grounding Wire | Safety & fault protection | Bare or Green Insulated Copper | Sized according to NEC or local code, proper connection to earth ground. |
Practical Wiring Best Practices for Each System Section
Now that we've covered the individual components, let's look at how they all come together. The order and method of connection are just as critical as the components themselves.
Solar Panel Array Wiring
Your solar panels are the first link in your off-grid power chain. How you wire them can significantly impact your system's voltage and current, directly affecting your charge controller's efficiency.
- Series Wiring: When you wire panels in series, you connect the positive terminal of one panel to the negative terminal of the next. This adds up the voltage while the current (amperage) remains the same. For example, two 12V panels in series become a 24V array. This is often beneficial for longer wire runs, as higher voltage reduces current, which in turn reduces voltage drop and allows for thinner wiring. However, if one panel is shaded, it can significantly affect the output of the entire string.
- Parallel Wiring: In parallel wiring, you connect all the positive terminals together and all the negative terminals together. This adds up the current (amperage) while the voltage remains the same. For instance, two 10A panels in parallel deliver 20A at the same voltage. Parallel wiring is often preferred when voltage needs to remain low, like for 12V RV systems, or to mitigate the impact of partial shading. However, it requires thicker cables to handle the increased current. You can find detailed guides on How to Wire Solar Panels in Series and How to Wire Solar Panels in Parallel.
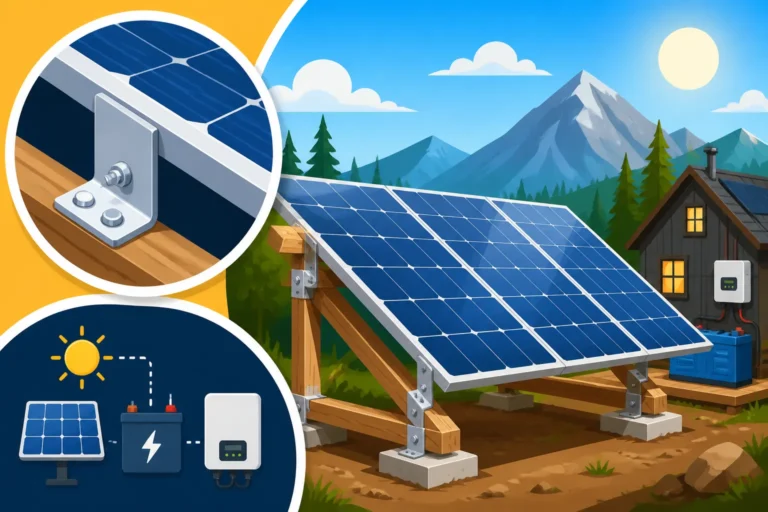
Always ensure all connections are tight, secure, and weatherproof. Use proper MC4 connectors and seal any penetrations into your roof or mounting structure. Labeling your cables at both ends can save you a lot of headache during troubleshooting!
Battery Bank Wiring and Management
The battery bank is the heart of your off-grid system, storing the power for when the sun isn't shining. Wiring your batteries correctly is paramount for their longevity, safety, and performance.
- Series, Parallel, or Series-Parallel: Just like panels, batteries can be wired in series to increase voltage, in parallel to increase capacity (amp-hours) while maintaining voltage, or a combination of both (series-parallel) to achieve a desired voltage and capacity. For example, two 6V batteries in series make a 12V battery. Two 100Ah 12V batteries in parallel make a 200Ah 12V bank. Most modern off-grid homes opt for 48V systems, which means wiring multiple 12V or 24V batteries in series to achieve that voltage.
- Cable Sizing and Connections: Battery cables are high-current pathways, so they must be extremely thick to prevent voltage drop and excessive heat. Use identical cable lengths for all parallel connections within your battery bank to ensure even charging and discharging, which is vital for battery health. Crimped copper lugs with heat shrink tubing are the gold standard for secure, corrosion-resistant connections to battery terminals and busbars. Overtightening or undertightening terminals can lead to issues, so use a torque wrench to ensure manufacturer-specified tightness. Don't forget to study How to Wire a Battery Bank and consider How to Balance Batteries Before Wiring for optimal performance.
Remember to install appropriate fuses or breakers for your battery bank as close to the battery terminals as possible. This protects the entire system from a short circuit within the battery bank itself.
Inverter and Charge Controller Connections
These two components are your system's brain and muscle, managing power flow and conversion. Getting their connections right is essential for safe and efficient operation.
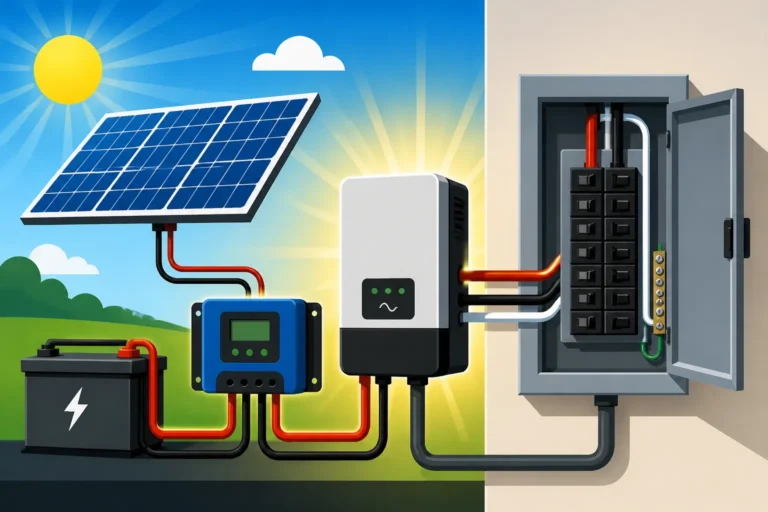
- Charge Controller Connection Sequence: The correct sequence for connecting your charge controller is critically important. First, connect the charge controller to your battery bank. This allows the controller to sense the battery voltage. Only after the batteries are connected should you connect your solar panels to the charge controller. Reversing this order can damage the charge controller, especially MPPT (Maximum Power Point Tracking) units, as they can be overwhelmed by high voltage from the panels without a battery load to regulate. You can dive deeper into How to Connect a Charge Controller for more specifics.
- Inverter Connection: The inverter is typically connected directly to your battery bank, ideally through a dedicated DC disconnect and fuse/breaker. These cables will carry a very high current, especially for large inverters, so they need to be extremely thick and as short as possible to minimize voltage drop. From the inverter's AC output, you'll run standard AC wiring to your main distribution panel, usually through another AC breaker or transfer switch. Proper grounding of both the charge controller and the inverter is non-negotiable for safety. For detailed instructions, check out How to Connect an Inverter to Batteries. Many integrated units, like inverter-chargers from brands such as Renogy, simplify these connections by combining multiple functions into one device, but the principles of safe and properly sized wiring remain the same.
Safety, Compliance, and Longevity in Off-Grid Wiring
Wiring an off-grid solar system isn't just about making things work; it's about making them work safely and reliably for the long haul. Overlooking safety standards or protecting your investment from the elements can lead to dangerous situations or costly repairs.
Grounding and Bonding Your System
This is arguably the most critical safety aspect of any electrical installation, off-grid or otherwise, and it's often the most misunderstood by DIYers. Grounding and bonding protect you from electric shock and your equipment from damage in the event of a fault or lightning strike.
- Equipment Grounding: All metallic, non-current-carrying parts of your solar system (panel frames, mounting racks, inverter chassis, charge controller enclosure, metal conduit, etc.) must be bonded together and connected to an earth ground. This provides a safe path for fault current to travel to the earth, tripping a breaker or blowing a fuse, rather than electrifying a metal component that someone might touch.
- System Grounding: Depending on your system voltage and setup, you'll also have a system grounding electrode conductor connecting a neutral point in your electrical system (e.g., the negative busbar in a DC system, or the neutral bar in an AC subpanel) to an earth ground.
- Earth Ground: This is typically achieved by driving one or more ground rods deep into the earth and connecting them to your system's grounding bus using heavy gauge copper wire. Proper grounding is a complex topic, but understanding its importance is the first step. For a deeper dive, explore How to Ground an Off-Grid Solar System. Don't cut corners here; consult a qualified electrician if you're unsure.
Code Compliance and Permitting Considerations
Even though you're "off-grid," that doesn't necessarily mean you're off-code. Local jurisdictions, especially in populated areas, often have specific electrical codes (like the National Electrical Code, or NEC, in the United States) that apply to all electrical installations, including off-grid solar.
- Why Code Matters: Following electrical code ensures your system is installed safely and minimizes risks of fire or electric shock. Even if you're in a remote area without direct code enforcement, adhering to best practices outlined in the NEC is a smart move for your own safety and peace of mind.
- Permits and Inspections: Many areas, even for off-grid properties, require permits for electrical work. This usually entails submitting detailed plans of your system, including wiring diagrams and component specifications. An inspector will then review your installation to ensure it meets safety standards. While it can feel like a bureaucratic hurdle, a successful inspection provides an invaluable stamp of approval on your work. Ignoring permits can lead to fines, difficulties with insurance, or even forced removal of your system. It's always best to check with your local authority about Off-Grid Solar Permit Requirements before starting construction.
Protection from Elements and Pests
Your off-grid solar system is an outdoor, rugged installation, but it still needs protection from the harsh realities of nature and local wildlife.
- Environmental Protection: All outdoor wiring needs to be UV-resistant and waterproof. Exposed wires will degrade rapidly in sunlight, leading to cracks, shorts, and system failure. Use proper conduit (PVC for underground or schedule 40/80 PVC or metal for exposed runs) to protect cables from physical damage, moisture, and UV exposure. Ensure all junction boxes and enclosures are NEMA rated for outdoor use to keep moisture and dust out.
- Pest Control: Rodents love to chew on wires, and they can cause devastating damage. Running wires in conduit is one of the best deterrents. If wires must be exposed, consider wire mesh or other barriers in areas where pests are prevalent. Regular inspections can also catch early signs of damage before it becomes a major problem.
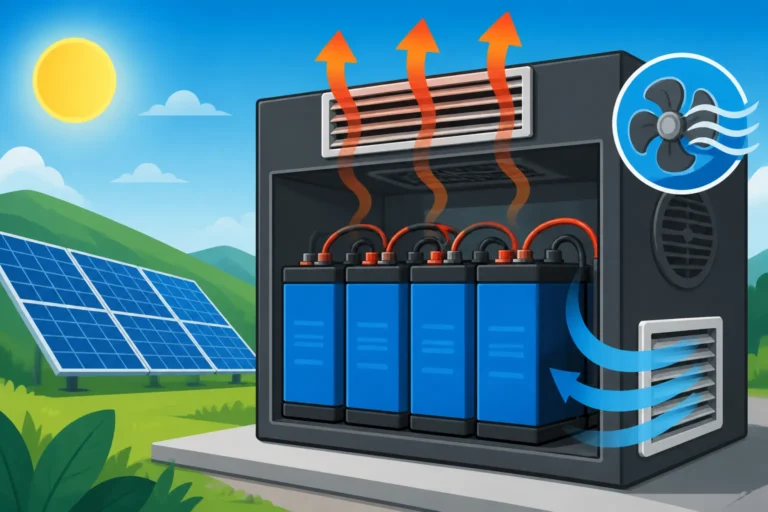
- Temperature Considerations: Wires need to be rated for the expected ambient temperatures. Extreme heat can reduce a wire's current-carrying capacity, while extreme cold can make some insulation brittle. Ensure proper ventilation around inverters and battery banks to prevent overheating. Regular cleaning of panels and checking connections are part of a good Off-Grid Solar Maintenance Guide to ensure longevity.
Common Mistakes and How to Avoid Them
Even with the best intentions, errors can creep into an off-grid solar wiring project. Being aware of the most common pitfalls can help you avoid them, saving you time, money, and potential hazards.
Undersizing Wires and Overlooking Voltage Drop
This is, hands down, one of the most frequent and impactful mistakes DIYers make. It's tempting to use thinner, cheaper wire, especially for long runs, but the consequences are severe.
- The Problem: As discussed earlier, undersized wires lead to excessive voltage drop. This means your panels aren't efficiently charging your batteries, or your inverter isn't delivering full power to your appliances. The wasted energy turns into heat, increasing fire risk and dramatically shortening the lifespan of your components. Imagine running your well pump, which needs a solid surge of power, through a wire that's too thin. It might barely start, or worse, struggle and burn out the pump motor or the wire itself.
- The Solution: Always consult wire sizing charts or use online calculators, which are readily available. These tools take into account your voltage, current, and the distance of the wire run to recommend the minimum safe wire gauge. When in doubt, go one size larger. For crucial high-current paths, like between your battery bank and inverter, always use the largest practical gauge wire and keep the runs as short as possible. Renogy and other reputable brands often provide clear specifications and recommendations for wire sizing with their kits and components.
Here's a simplified table for common DC wire sizing at 12V and 24V, assuming a maximum 3% voltage drop over common distances. Always consult a detailed wire sizing chart or an electrician for your specific scenario.
| Current (Amps) | Distance (Feet, One Way) | Recommended AWG (12V) | Recommended AWG (24V) |
|---|---|---|---|
| 5 | 10 | 16 AWG | 18 AWG |
| 5 | 25 | 12 AWG | 14 AWG |
| 10 | 10 | 12 AWG | 14 AWG |
| 10 | 25 | 8 AWG | 10 AWG |
| 20 | 10 | 8 AWG | 10 AWG |
| 20 | 25 | 4 AWG | 6 AWG |
| 50 | 10 | 2 AWG | 4 AWG |
| 50 | 25 | 00 AWG (2/0) | 0 AWG (1/0) |
| 100 | 10 | 00 AWG (2/0) | 0 AWG (1/0) |
| 100 | 25 | 0000 AWG (4/0) | 00 AWG (2/0) |
Note: This table is for illustrative purposes only. Actual requirements vary based on cable type, temperature, and specific code requirements.
Improper Connections and Crimping
Electricity is like water – it will find the path of least resistance. A shoddy connection is a hotspot waiting to happen, literally.
- The Problem: Loose, corroded, or poorly crimped connections are significant points of resistance. This resistance generates heat, which can melt insulation, cause arcing (electrical sparks), or even lead to fires. It also degrades the efficiency of your system, much like voltage drop in an undersized wire. I've seen countless photos in forums where melted terminals and charred battery posts were the result of a hurried or improper connection.
- The Solution: Invest in the right tools. A good quality wire stripper, a heavy-duty crimper for large gauge lugs, and proper wrenches are essential. Always use appropriate connectors for the job (e.g., MC4s for solar panels, tinned copper lugs for battery cables). Ensure all connections are clean, free of corrosion, and tightened to the manufacturer's specifications. For large lugs, using a hydraulic crimper ensures a professional, durable crimp that won't fail under heavy load. A little dielectric grease on battery terminals can also help prevent corrosion. You might find many of these specialized tools and components on Amazon, but ensure you're buying quality products.
Neglecting Safety Devices and Proper Grounding
It's tempting to cut corners when budget constraints tighten, but safety devices are not the place to skimp.
- The Problem: Skipping fuses, circuit breakers, and disconnect switches leaves your system vulnerable to catastrophic failure. A short circuit in your solar array or battery bank without proper protection can lead to severe damage, fire, or personal injury. Similarly, neglecting proper grounding means that in a fault condition, metal components can become energized, posing an extreme shock hazard.
- The Solution: Integrate fuses and breakers into every critical circuit: solar panel input, charge controller output to batteries, battery bank output to inverter, and all AC circuits. Install manual disconnect switches at key points so you can safely shut down sections of your system for maintenance or emergencies. For example, knowing How to Wire an Off-Grid Solar System thoroughly includes understanding where these critical safety components fit in. Ensure all metallic components are properly bonded and grounded to a robust earth ground. If you're unsure about any aspect of grounding or overcurrent protection, please, for your safety and the safety of your property, consult a licensed electrician. This is one area where expert advice is invaluable.
Disclaimer
The information provided in this guide is for general informational and educational purposes only and is not intended as professional electrical advice. Working with electricity can be dangerous and should only be performed by qualified individuals. Always consult with a licensed electrician or certified solar professional before attempting any electrical work, especially with high-voltage or high-current systems. Ensure all installations comply with local electrical codes and safety regulations. The author and publisher are not liable for any injuries, damages, or losses resulting from the use or misuse of this information.