How to Prevent Voltage Drop in Off-Grid Wiring
There’s nothing quite as frustrating as meticulously setting up your off-grid solar system, only to find your lights are a bit dim, your appliances aren't performing as they should, or your battery charging feels sluggish. You’ve got panels soaking up the sun and batteries ready to go, so what gives? Often, the sneaky culprit behind these woes is voltage drop in your wiring. This guide will walk you through exactly what voltage drop is, why it matters for your hard-earned independence, and most importantly, how to prevent it from stealing your precious power.
Understanding Voltage Drop and Its Silent Sabotage
When we talk about off-grid living, every single electron counts. Voltage drop is one of those invisible forces that can quietly siphon away your system's efficiency and power, leading to all sorts of headaches you might initially blame on other components.
The Physics of Power Loss in Wires
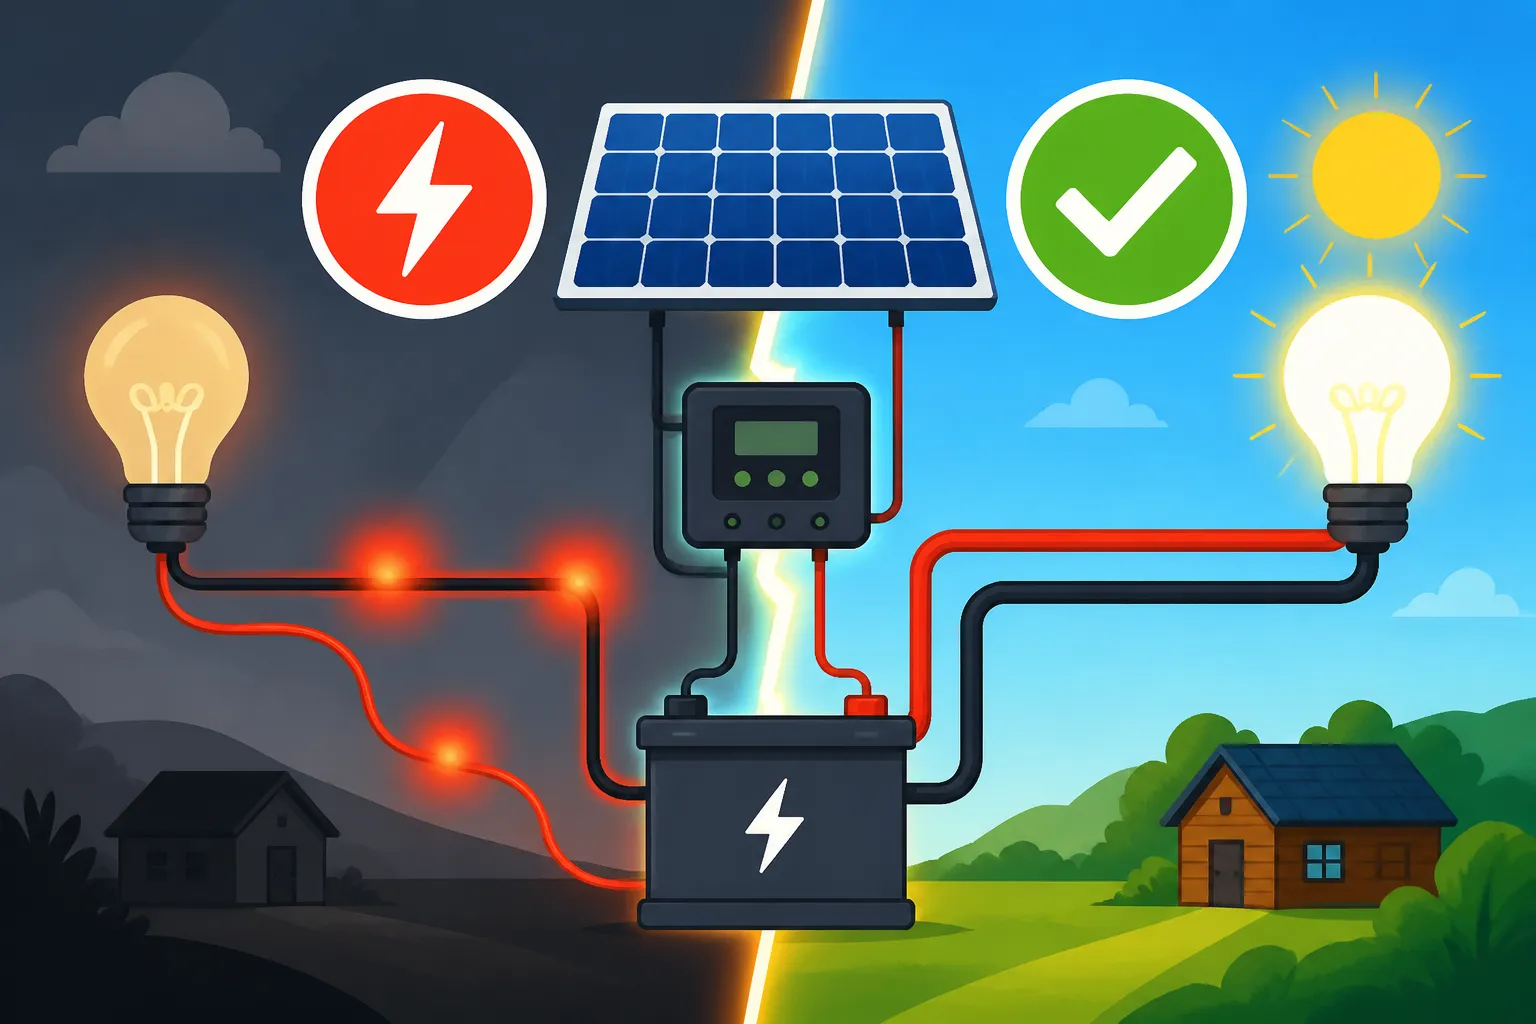
Think of electricity flowing through a wire much like water flowing through a hose. The longer the hose, and the narrower its diameter, the more resistance the water encounters, and the less pressure (voltage) you get at the other end. In electrical terms, wires aren't perfect conductors; they have a certain amount of electrical resistance. When current flows through this resistance, some of the electrical energy is converted into heat – effectively lost – and this manifests as a reduction in voltage by the time the power reaches your appliances or batteries.
It’s a fundamental principle of physics, but in an off-grid setup, where you're often dealing with lower voltages (like 12V or 24V systems) and potentially long runs of wire from your solar panels to your charge controller, or from your battery bank to your inverter, these losses can become significant. A small percentage drop that might be negligible in a high-voltage grid-tied system can cripple a low-voltage off-grid application. We're not talking about a catastrophic failure, but a slow, steady drain on your system's vitality.
Why Even a Small Drop Matters for Off-Grid Systems
You might think, "What's a volt or two?" but in an off-grid world, it can be a massive deal. Imagine your 12-volt refrigerator, designed to run efficiently at, say, 12.5 volts. If voltage drop means it's only receiving 11.5 volts, it's not just running less efficiently; it might draw more current to compensate, overheat, or simply fail to operate correctly over time. For sensitive electronics, this can lead to malfunctions or even permanent damage.
More broadly, voltage drop directly impacts your system’s overall performance. If your solar panels are sending power to a charge controller, and there's significant voltage drop along that path, your batteries won't charge as effectively. The charge controller might see a lower voltage than what the panels are truly producing, potentially entering different charging stages incorrectly or simply not maximizing the available solar harvest. Similarly, if your inverter isn't receiving adequate voltage from your battery bank due to undersized cables, it might struggle to convert DC to AC efficiently, leading to reduced output or even shutting down under load. Over time, these inefficiencies translate into wasted energy, shorter battery life, and a less reliable power supply for your cabin or RV. Understanding "How to Calculate Daily Energy Usage" is a great first step, but ensuring that energy actually reaches its destination is just as vital.
Key Factors Amplifying Voltage Drop
Several factors conspire to cause voltage drop, and understanding them is your first line of defense in preventing power loss. It's like knowing the weak points in a fortress you need to defend.
The Critical Roles of Wire Gauge and Length
This is arguably the most significant factor. Wire gauge refers to the thickness of the conductor – usually measured by the American Wire Gauge (AWG) system. Counterintuitively, a smaller AWG number means a thicker wire. For instance, 10 AWG wire is much thicker than 14 AWG. Thicker wires have less resistance because there's more cross-sectional area for the electrons to flow through. Think back to our water hose analogy: a wider hose offers less resistance to water flow.
The problem arises when people try to save money or space by using wires that are too thin for their application. Especially in DC systems, which off-grid solar predominantly uses for panel-to-charge controller and battery-to-inverter connections, resistance is a huge factor. The general rule is: the longer the wire run, the thicker the wire needs to be to maintain an acceptable voltage drop. If you're running cables from a ground-mounted solar array 50 feet away to your cabin, you'll need significantly thicker wire than if your panels are mounted directly on the roof above your equipment. For detailed guidance, exploring resources like "How to Size Wire and Cables" can be incredibly helpful.
Current Flow and System Voltage: A Balancing Act
This is where Ohm's Law (V = I * R, or Voltage = Current * Resistance) comes into play. The 'I' stands for current. The more current (amperes) flowing through a wire, the greater the voltage drop (assuming resistance 'R' stays constant). This is why battery cables, which can carry very high currents, need to be exceptionally thick and as short as possible. For example, a 12-volt inverter drawing 100 amps to power an appliance will experience a much higher voltage drop than a 48-volt inverter drawing only 25 amps for the same power output (since Power = Voltage * Current).
This brings us to system voltage. Choosing a higher system voltage (like 24V or 48V instead of 12V) is a powerful strategy to combat voltage drop, especially for larger systems or longer distances. By doubling the voltage, you halve the current required to deliver the same amount of power. Halving the current reduces voltage drop by a factor of four for a given wire size and length. This is a game-changer for folks looking to power a whole house with off-grid solar or those with distant panel arrays. It's why larger off-grid systems almost universally opt for 48V. If you're pondering your system's architecture, delving into "12V vs 24V vs 48V: Which to Choose" is highly recommended for clarity on this critical decision.
Practical Steps to Mitigate Voltage Drop
Now that we understand the 'why', let's dive into the 'how' to keep those electrons flowing freely and efficiently in your off-grid sanctuary.
Optimal Wire Sizing for Every Segment
The single most effective way to prevent excessive voltage drop is to use appropriately sized wires. This isn't a "one size fits all" situation; different parts of your system will have different current requirements and acceptable voltage drop tolerances.
- Solar Panel to Charge Controller: This DC run often involves moderate current but can sometimes be quite long. Aim for a voltage drop of no more than 2-3% here. Using a proper solar wire (like PV cable, which is UV-resistant and rated for outdoor use) with the correct gauge is crucial. Many off-grid solar suppliers, including Renogy, provide helpful wire sizing charts or recommendations in their system manuals or on their product pages, which can be a lifesaver for DIYers.
- Battery Bank to Inverter/Busbar: These cables carry the highest currents in your system, especially from lower voltage battery banks (12V or 24V). Here, voltage drop must be minimal – ideally under 1% – because even a tiny drop at such high currents can lead to significant power loss and heat generation. These cables need to be very thick (often 00 AWG, 2/0 AWG, or even larger) and as short as physically possible. When planning "How to Install an Off-Grid Solar System", pay extra attention to these critical battery connections.
- DC Loads (12V/24V): For individual DC appliances like lights, fans, or a refrigerator, consider the current draw and the length of the run. A dedicated wire sizing calculator, which takes into account your voltage, current, length, and desired voltage drop percentage, is your best friend here.
Always err on the side of oversizing your wires slightly if you're in doubt. The added cost of slightly thicker wire upfront is minimal compared to the long-term efficiency losses, potential equipment damage, and frustration of an underperforming system.
Strategic System Voltage Selection
As we touched on earlier, choosing a higher system voltage (24V or 48V) can dramatically reduce voltage drop by lowering the current. For smaller systems, like those for a single camping trip or a very basic shed setup, a 12V system might suffice, especially if all your loads are 12V DC. However, as soon as you start adding more significant loads, plan for longer wire runs, or want to power standard AC appliances through an inverter, seriously consider moving to 24V or 48V.
A 48V system, for example, allows you to use much thinner wires for the same power delivery compared to a 12V system, or to run power over much greater distances with the same wire gauge while maintaining efficiency. This not only saves on copper costs (though the initial cost for higher voltage components can sometimes be more) but significantly simplifies wiring, reduces heat generation, and improves the overall reliability and efficiency of your setup. This is particularly relevant when you look into "Off-Grid Solar System Sizing Guide" for a whole home or a substantial cabin setup, where high voltage is almost a necessity.
Minimizing Cable Run Lengths and Connections
This might seem obvious, but it's often overlooked in the excitement of getting everything connected. Every extra foot of wire adds resistance, and every connection point introduces a potential point of resistance and failure.
- Strategic Layout: When designing your system, prioritize placing your major components (charge controller, battery bank, inverter) as close to each other as possible. This minimizes the length of those critical, high-current battery cables. Similarly, try to situate your solar array as close as reasonably possible to your power center.
- Fewer Connections: Use proper crimp connectors and avoid unnecessary splices. Each splice adds resistance and a potential weak point for corrosion or loose connections over time, both of which contribute to voltage drop. If you absolutely need to extend a wire, ensure the splice is properly made, sealed, and uses the correct gauge wire. Good quality busbars can help consolidate connections efficiently and reduce overall wire lengths to individual components. Following "Off-Grid Solar Wiring Best Practices" will emphasize these points.
Tools, Calculations, and Real-World Scenarios
Knowledge is power, and when it comes to voltage drop, a little bit of calculation can save you a lot of headache (and money) down the road.
Harnessing Voltage Drop Calculators
You don't need to be an electrical engineer to correctly size your wires. There are numerous free online voltage drop calculators available – a quick search for "DC voltage drop calculator" will yield many options. These tools typically ask for:
- Voltage: Your system voltage (e.g., 12V, 24V, 48V).
- Current: The maximum current (amps) that will flow through the wire.
- Length: The one-way length of the wire run in feet or meters.
- Desired Voltage Drop Percentage: Typically 1-3% for critical runs, 5% for less critical ones.
Based on these inputs, the calculator will recommend the minimum required wire gauge (AWG). Always round up to the next thicker gauge if you're on the edge, or if you anticipate future expansion. For example, if the calculator suggests 6 AWG, but you have a long run, stepping up to 4 AWG might be a wise investment.
Let's look at a quick example: You have a 12V system and want to power a 50W LED light (drawing about 4.2A) 20 feet away.
- Voltage: 12V
- Current: 4.2A
- Length: 20 feet
- Desired drop: 3% (0.36V max drop)
A calculator would likely recommend 12 AWG wire. However, if that same light was 50 feet away, you'd need 8 AWG wire to stay within that 3% drop. The difference in wire thickness for the same load over distance is profound at lower voltages.
| System Voltage | Current (Amps) | Cable Length (Feet, One Way) | Recommended AWG (for ~2% Drop) |
|---|---|---|---|
| 12V | 10 | 10 | 10 AWG |
| 12V | 10 | 25 | 6 AWG |
| 12V | 20 | 10 | 6 AWG |
| 12V | 20 | 25 | 2 AWG |
| 24V | 10 | 25 | 10 AWG |
| 24V | 10 | 50 | 8 AWG |
| 48V | 10 | 50 | 10 AWG |
| 48V | 10 | 100 | 8 AWG |
Note: This table is for illustrative purposes only. Always use a dedicated calculator for precise sizing based on your specific parameters and local electrical codes.
Voltage Drop in Real-World Off-Grid Applications
Different off-grid scenarios present unique challenges for voltage drop.
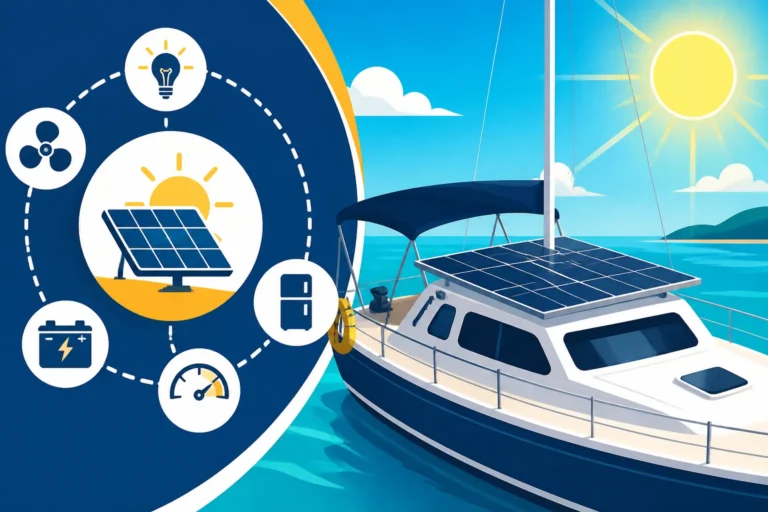
- RV and Van Life: Space is at a premium, and often, components are spread out to fit. RVers commonly experience voltage drop with their solar panels mounted on the roof, sending power down to a charge controller and battery bank often located in a storage compartment. Shortening these runs where possible and using the thickest gauge wire you can practically route is vital. For many van builds, 12V is common, making wire sizing even more critical. Many DIY kits available on Amazon might come with standard wiring, but always double-check if it's adequate for your specific run lengths.
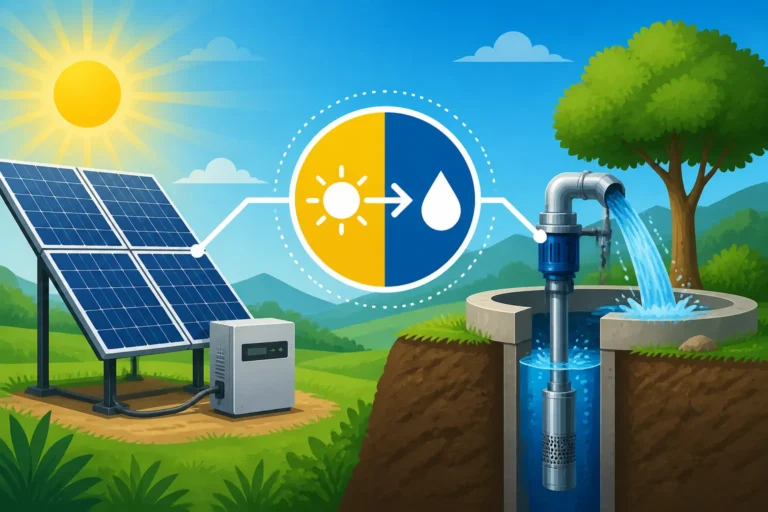
- Remote Cabins and Homesteads: Here, panels might be in a sunny clearing, far from the cabin's power center. You might have a well pump drawing significant surge current located a distance from the main power. This is where higher system voltage (24V or 48V) truly shines. For example, sizing solar for a well pump involves considering its high starting current, which creates a momentary, but intense, voltage sag. If the voltage drops too much during this surge, the pump might not start, or its motor could be damaged over time. Ensuring "How Much Solar to Run A Well Pump" is adequately sized for both peak power and proper wire gauge is critical.
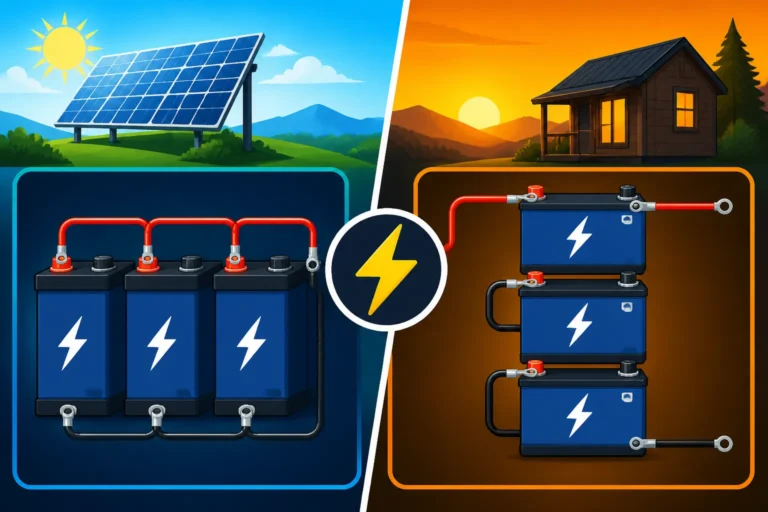
- Battery Bank Wiring: Whether it's a DIY battery bank or a pre-built unit, the cables connecting individual batteries (in series or parallel) and the main cables going to your inverter are subjected to immense current. These need to be short, thick, and utilize high-quality lugs and crimps. Poor battery cable connections are a notorious source of heat and voltage drop. Learning "How to Wire a Battery Bank" correctly will save you from future headaches.
The Role of Quality Components and Installation
It's not just about the wire; the components that interact with the wire also play a crucial role.
- Quality Wire: Invest in high-quality, full-gauge copper wire. Some cheaper wires might be "CCA" (Copper Clad Aluminum), which has higher resistance than pure copper and can be brittle. Always opt for stranded copper wire, especially for flexible applications like RVs, as it handles vibration better and is easier to work with.
- Connectors and Terminals: Use robust, properly sized connectors (lugs). Always crimp them with a proper hydraulic crimper for a secure, low-resistance connection. Soldering can be an option for smaller wires, but for larger battery cables, a good crimp is often superior for conductivity and mechanical strength.
- Tight Connections: Regularly check and tighten all electrical connections. Loose connections generate heat, increase resistance, and contribute to voltage drop. This is part of general "Off-Grid Solar Maintenance Costs" but is vital for preventing passive power loss.
- Fuses and Breakers: While not directly preventing voltage drop, properly sized fuses and breakers protect your system from overcurrents, which can cause excessive heat and damage to wires. They are essential safety components that work in tandem with correctly sized wiring.
By taking these proactive steps, you can ensure your off-grid solar system delivers consistent, efficient power, letting you enjoy the freedom and reliability you sought in the first place.
Disclaimer
The information provided in this guide is for educational purposes only and should not be considered professional electrical advice. Working with electricity can be dangerous. Always consult with a qualified electrician or solar professional and ensure all installations comply with local and national electrical codes.