How to Balance Batteries Before Wiring
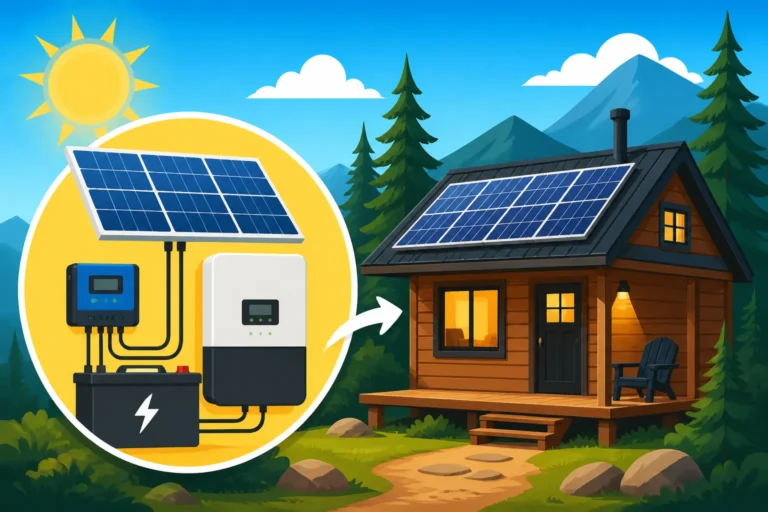
One of the most frustrating things about setting up an off-grid solar system is thinking you've got all your fancy new batteries ready to go, only to find out they're not quite playing nice together once everything's hooked up. You might experience reduced capacity, shortened battery life, or even early failure, all because the individual batteries weren't on the same page from the start. This comprehensive guide will walk you through the essential process of balancing your batteries before you wire them into your off-grid system, ensuring a healthy, long-lasting power bank right from day one.
Why Battery Balancing is Critical for Off-Grid Systems
It might seem like a small detail, but ensuring your batteries are balanced before you connect them into a larger bank is one of the most important steps you can take for the longevity and efficiency of your off-grid solar system. Ignoring this step is like trying to build a house on an uneven foundation – eventually, things are going to crack.
Understanding Voltage and State of Charge Differences
Even brand-new batteries, fresh off the shelf, aren't perfectly identical. They might have slight variations in their manufacturing, their initial charge state, or even how long they've been sitting in storage. When you're dealing with a single battery, these tiny differences don't really matter. But when you start wiring multiple batteries together, especially in series to increase voltage (like going from a 12V system to a 24V or 48V system), these minor discrepancies become significant.
Imagine you have four identical 12-volt batteries, and you want to wire them in series to create a 48-volt battery bank. If one battery starts at, say, 12.6V, another at 12.8V, one at 12.5V, and the last at 12.7V, they're already out of sync. As the system charges and discharges, the battery with the lowest initial voltage will hit its low-voltage cutoff point sooner, or the one with the highest voltage will hit its high-voltage cutoff sooner. This creates a bottleneck for the entire bank. The system only sees the "weakest link" and will perform based on that, essentially "losing" capacity from the stronger batteries that still have more to give. For folks who rely entirely on their power system, this kind of hidden capacity loss can be a real headache when you need every bit of juice.
The Dangers of Unbalanced Batteries
The consequences of running an unbalanced battery bank go far beyond just lost capacity. Over time, these imbalances can lead to serious damage and premature failure, which nobody wants when investing in a robust off-grid setup.
For lead-acid batteries, an unbalanced state can lead to individual batteries being consistently overcharged or undercharged. An overcharged battery can boil its electrolyte, leading to corrosion and plate damage, while an undercharged one can suffer from sulfation – a buildup of lead sulfate crystals on the plates that severely reduces its ability to hold a charge. Both scenarios drastically shorten the lifespan of the affected battery, meaning you'll be replacing individual units much sooner than anticipated, impacting your Off-Grid Solar Maintenance Costs.
With lithium iron phosphate (LiFePO4) batteries, the dangers manifest differently. While they are more tolerant than lead-acid, an unbalanced LiFePO4 cell pack can experience internal cell voltage variations. If one cell consistently charges higher than others, it can accelerate degradation. If it discharges lower, the battery's internal Battery Management System (BMS) might prematurely shut down the entire battery to protect that low cell, even if other cells still have plenty of charge. In extreme cases, severe overcharging of a single cell could, theoretically, lead to thermal runaway, although LiFePO4 chemistry is inherently very safe. The main practical risk is severely reduced lifespan and usable capacity, leading to a much higher Cost to Replace Off-Grid Solar Batteries down the line. It really pays to get it right from the beginning.
How to Identify Unbalanced Batteries
Before you can balance your batteries, you need to know if they're actually unbalanced and to what extent. Luckily, checking for imbalances is a fairly straightforward process that any off-grid enthusiast can handle with a few basic tools.
Simple Voltage Readings
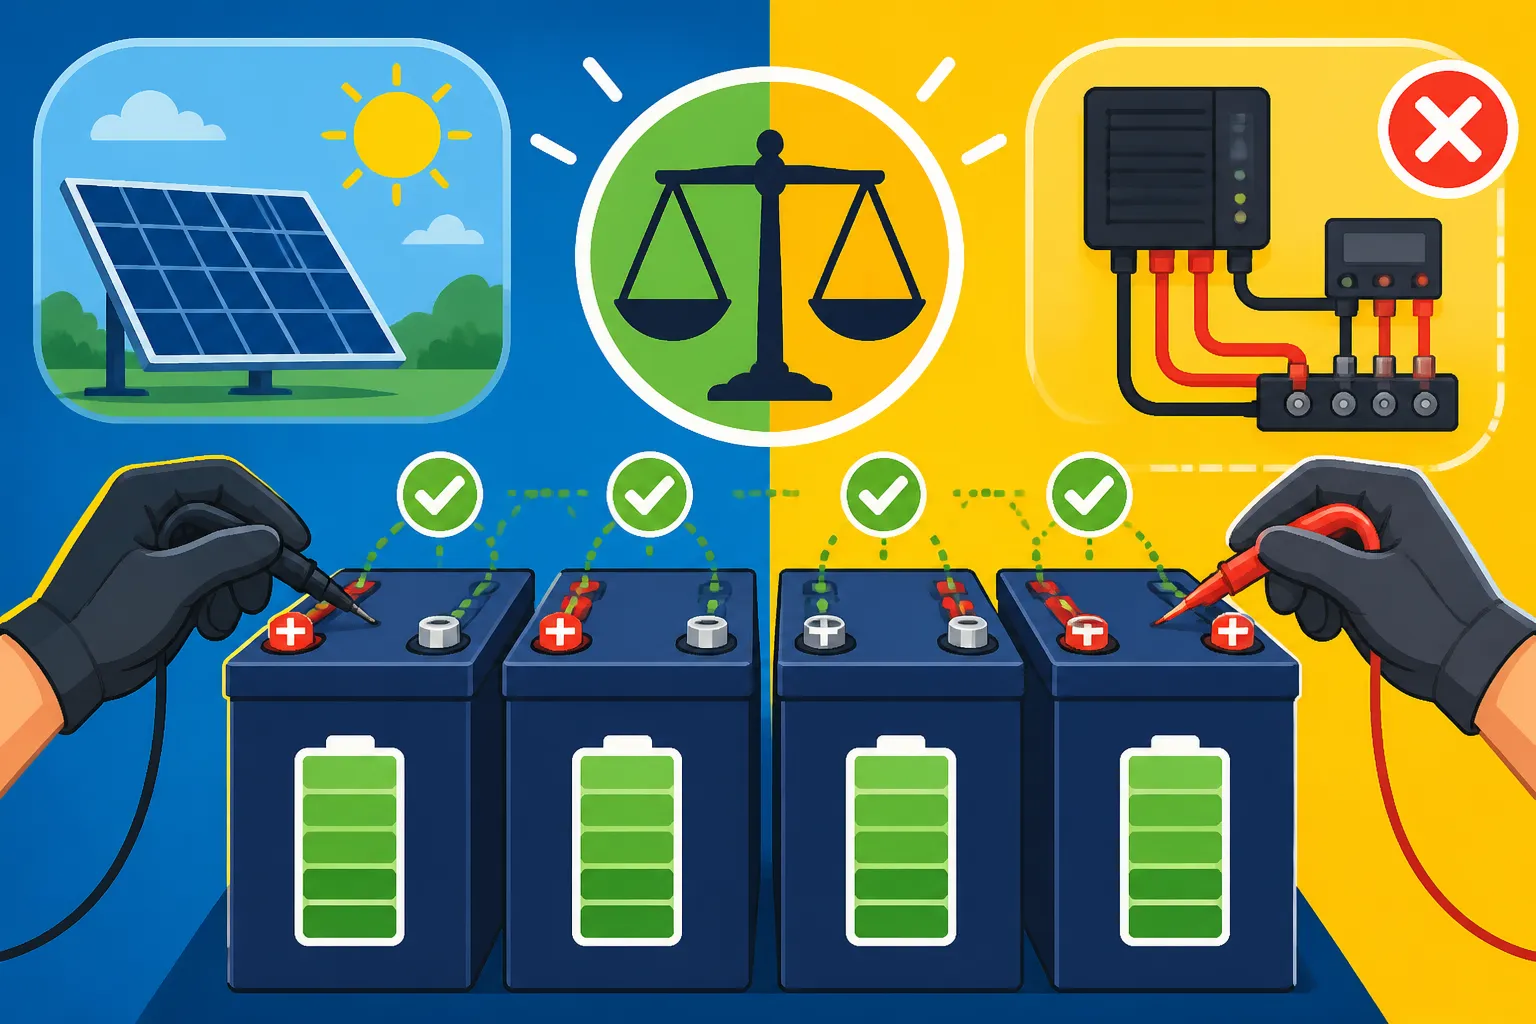
The most common and accessible way to check for imbalances is by simply measuring the voltage of each individual battery in your potential bank. For this, all you need is a reliable multimeter, which you can easily find on Amazon or at any hardware store.
Here's how to do it:
- Isolate Each Battery: Ensure each battery is completely disconnected from any other batteries, chargers, or loads. You want an accurate reading of its individual resting voltage.
- Wait for Stabilization: Give each battery some time to rest after any charging or discharging activity. For lead-acid batteries, waiting a few hours (or even overnight) will give you a more accurate "surface charge" free reading. LiFePO4 batteries stabilize much faster, usually within 15-30 minutes.
- Take Readings: Using your multimeter, set it to measure DC voltage. Touch the positive probe to the positive terminal and the negative probe to the negative terminal of each battery. Record the voltage for each one.
- Compare Results: Look for any significant discrepancies. For 12V batteries, a difference of more than 0.1-0.2 volts between batteries, especially after they've rested, indicates an imbalance that should be addressed before wiring them together. For instance, if you have four 12V batteries reading 12.8V, 12.7V, 12.6V, and 12.8V, that 12.6V battery is the outlier and needs attention.
This simple voltage check gives you a good baseline. It's an easy step to include in your initial setup, or even if you're planning to expand your existing system with Cost of Expanding an Off-Grid System.
Advanced Monitoring Tools
While a multimeter is great for basic checks, more advanced monitoring tools can provide a deeper insight into the health and balance of your batteries, especially for larger, more complex off-grid systems with LiFePO4 batteries that often feature internal cell balancing.
- Battery Monitors: Devices like the Victron BMV series or various other battery monitors give you real-time data on your entire battery bank's voltage, current, state of charge (SOC), and even historical data. While these typically monitor the entire bank, some higher-end systems or external add-ons can monitor individual battery voltages within a series string, giving you a clearer picture of internal balance.
- LiFePO4 BMS Data: Many modern LiFePO4 batteries from brands like Renogy, Battle Born, or EG4 come with sophisticated internal Battery Management Systems (BMS). Some of these BMS units can communicate via Bluetooth or a dedicated display, allowing you to see the voltage of each individual cell within that 12V, 24V, or 48V battery. This is incredibly useful because true balancing happens at the cell level. If you see a significant voltage difference between cells within a single battery, that battery itself might have an issue, or its internal balancing system needs more time to work. Checking this data before wiring is paramount to understanding the true state of your investment.
Investing in good monitoring equipment, though an added Off-Grid Solar Cost: Complete Breakdown, can save you a lot of grief and money in the long run by helping you proactively identify and address battery imbalances before they become major problems.
Step-by-Step Guide to Balancing Batteries Before Wiring
Now that you understand why balancing is crucial and how to check for imbalances, let's dive into the practical steps for getting your batteries harmonized before you connect them into your off-grid system. The process differs slightly depending on whether you're using lead-acid or LiFePO4 batteries.
Preparing for the Balancing Process
Before you even touch a battery, safety should be your absolute priority. These are powerful energy storage devices, and mishandling them can lead to injury or damage.
- Gather Your Safety Gear: Always wear appropriate Personal Protective Equipment (PPE). This includes safety glasses to protect your eyes from splashes or sparks, and insulated gloves to prevent electrical shocks. If working with flooded lead-acid batteries, a face shield and old clothes are also a good idea due to the potential for acid splashes.
- Ensure Proper Ventilation: Especially when working with lead-acid batteries, ensure you're in a well-ventilated area. Lead-acid batteries can off-gas hydrogen and oxygen during charging, which can be explosive if concentrated.
- Clear the Area: Remove any metallic objects, jewelry, or tools that could accidentally short across battery terminals.
- Gather Your Tools:
- Multimeter: As discussed, for voltage checks.
- Battery Charger: You'll need one capable of charging individual batteries (often a smart charger with different battery chemistry modes). For LiFePO4, ensure it has a dedicated lithium profile.
- Jumper Cables (optional but helpful): Short, heavy-gauge cables might be useful for parallel charging or discharging if you're balancing multiple batteries simultaneously. Make sure they are rated for high currents.
- Load (for discharging): A simple 12V incandescent bulb, a small inverter with a light load, or a resistive load bank can be used to slowly discharge a high battery.
- Hydrometer: Only for flooded lead-acid batteries, to check specific gravity.
Remember, the goal is to bring all batteries to the same state of charge, usually a full charge, so their resting voltages are identical.
Balancing Lead-Acid Batteries
Lead-acid batteries (flooded, AGM, Gel) have different characteristics than lithium, and thus require a slightly different balancing approach.
- Full Charge Each Battery Individually: The primary method for balancing lead-acid batteries is to fully charge each one independently using a dedicated smart charger.
- Connect your charger to one battery at a time.
- Ensure the charger is set to the correct battery type (e.g., AGM, Gel, Flooded).
- Charge until the charger indicates a full charge (float stage).
- Repeat this for every battery in your bank.
- Equalization Charge (Flooded Lead-Acid Only): For flooded lead-acid batteries, an equalization charge can be very effective in bringing all cells within a battery, and all batteries within a bank, to a uniform state. This is a controlled overcharge at a higher-than-normal voltage for a short period, which helps remove sulfation and brings all cells to 100% capacity.
- Crucial Warning: Only perform equalization on flooded lead-acid batteries. Never equalize sealed AGM or Gel batteries, as this can damage them by gassing out electrolytes they can't recover.
- Consult your battery manufacturer's specifications for the correct equalization voltage and duration.
- Monitor the battery temperature and electrolyte levels closely.
- Check Specific Gravity (Flooded Lead-Acid Only): After charging and equalizing flooded batteries, use a hydrometer to check the specific gravity of the electrolyte in each cell of each battery. Ideally, all cells should have a very similar specific gravity (e.g., 1.265 to 1.280 fully charged, depending on battery type). If one cell consistently reads low, it indicates a problem with that cell or battery.
- Allow to Rest and Re-check Voltage: After charging (and equalization, if applicable), disconnect the charger and let each battery rest for several hours, or even overnight. Then, re-measure the individual resting voltages with your multimeter. They should now be much closer to each other, ideally within 0.05V for optimal balance. If you're building a 48V system with 12V lead-acid batteries, ensuring each 12V unit is perfectly balanced is key to the overall health of your How Many Batteries for an Off-Grid System.
If you still have one battery that's stubbornly higher or lower, you might need to gently discharge the higher one (e.g., with a small 12V load) or give the lower one another round of charging, then re-test.
Balancing Lithium (LiFePO4) Batteries
LiFePO4 batteries have a flatter discharge curve and a more efficient charge cycle, making their balancing process a bit different, primarily focused on "top balancing."
- Top Balancing Each Battery Individually: This is the most common and effective method for balancing LiFePO4 batteries before wiring them. The goal is to bring each battery to a full state of charge, allowing its internal Battery Management System (BMS) to perform its cell-level balancing.
- Connect each LiFePO4 battery to its own dedicated charger (or charge them one at a time if you only have one charger).
- Ensure the charger has a LiFePO4 specific charging profile, typically charging to 14.4V-14.6V for a 12V battery, then holding at that voltage for a period.
- Important: Charge each battery until the charger indicates it's full AND has entered a "balancing" or "float" phase. This "float" time is critical for the internal BMS to bring all the individual cells within that battery to the same voltage. For some batteries, this can take several hours after reaching full voltage. For example, a Renogy Smart Lithium Battery might need to sit at its full charge voltage for an extended period for its internal BMS to properly balance all its cells.
- Monitor the individual battery voltages with your multimeter during this process. You'll likely see the voltage hold steady at the peak charge voltage while the internal balancing circuit does its work.
- Confirm Resting Voltage Consistency: Once each battery has completed its full charge and balancing cycle, disconnect the chargers and let them rest for at least 30 minutes to an hour. Then, use your multimeter to measure the resting voltage of each individual LiFePO4 battery. They should be very close, ideally within 0.01V to 0.03V of each other. A good indicator would be all 12V batteries resting around 13.4V to 13.6V.
Some advanced users might consider "bottom balancing" where batteries are discharged to a very low, consistent voltage before charging, but top balancing is generally simpler and more common for new LiFePO4 installations using batteries with integrated BMS. For those building a large capacity system, understanding How Battery Choice Affects Off-Grid Cost and balancing methods is key.
Best Practices for Maintaining Battery Balance Over Time
Getting your batteries balanced before wiring them is a fantastic start, but it's not a set-it-and-forget-it situation. To ensure your off-grid system continues to perform optimally and your batteries last as long as possible, you need ongoing strategies for maintaining that balance.
Proper System Design and Component Selection
A well-designed off-grid solar system inherently helps maintain battery balance. It’s about building a robust foundation that reduces stress on individual components.
- Correct Sizing: Oversizing or undersizing components can inadvertently put undue stress on your battery bank. For example, if your solar array is too small for your battery bank, or your charge controller isn't powerful enough, the batteries may never reach a full charge, especially during periods of low sunlight. This means the internal balancing systems (especially in LiFePO4 batteries) won't have the opportunity to work properly. A thorough How to Size an Off-Grid Solar System ensures all components are matched.
- Quality Components: Investing in high-quality batteries with reliable internal Battery Management Systems (BMS) for LiFePO4 or consistent cell quality for lead-acid can make a huge difference. Brands like Victron Energy or Battle Born are known for robust electronics and reliable performance. Similarly, a high-quality MPPT charge controller will manage the charging process much more efficiently and gently than cheaper alternatives, preventing overcharging or undercharging that could lead to imbalances.
- System Voltage Choice: The choice between 12V, 24V, or 48V systems also impacts how easily balance is maintained. Higher voltage systems (e.g., 48V) generally have lower current flows for the same amount of power, which can lead to less stress on individual battery connections and components, helping maintain balance. Our guide on 12V vs 24V vs 48V: Which to Choose can help you decide.
Regular Monitoring and Maintenance
Even with the best initial setup, continuous vigilance is key. Think of it like tuning up your car – regular checks keep everything running smoothly.
- Routine Voltage Checks: Even after initial balancing, make it a habit to periodically check the individual voltages of your batteries with your multimeter, especially if they are wired in series. Do this when the system is not actively charging or discharging heavily. A good time is early morning before the solar panels start producing significant power. If you notice a battery consistently drifting out of sync, you can address it proactively.
- Scheduled Full Charges (LiFePO4): For LiFePO4 batteries, ensuring they reach a 100% state of charge regularly (at least once a month, or more frequently if possible) allows their internal BMS to activate and perform cell balancing. If your daily usage patterns or solar input prevent frequent full charges, consider using a shore power charger to periodically top off the bank and allow the balancing to occur.
- Equalization for Lead-Acid: For flooded lead-acid batteries, schedule periodic equalization charges as recommended by the manufacturer (typically every 1-3 months, or when cell specific gravity differences become significant). This actively helps restore balance and prevent sulfation. Remember, this is NOT for AGM or Gel batteries.
- Specific Gravity Checks (Flooded Lead-Acid): Continue to use your hydrometer for flooded batteries. Discrepancies between cells within a battery or between batteries in the bank will tell you if an imbalance is developing.
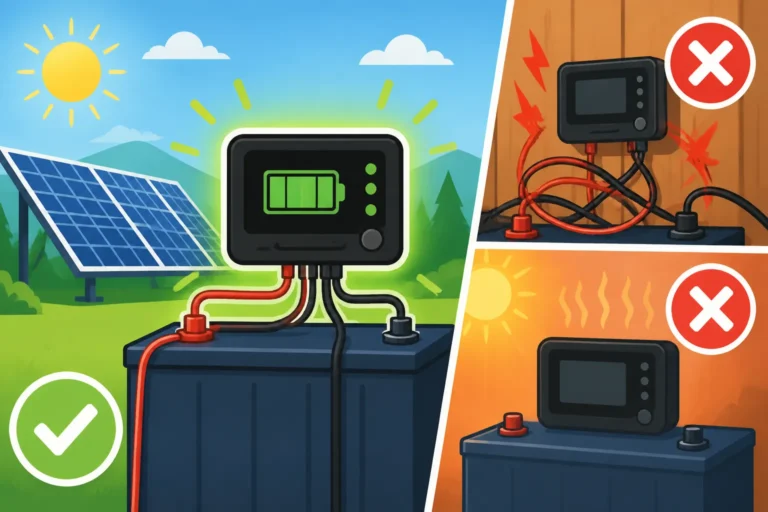
- Battery Terminal Inspection: Regularly inspect battery terminals and connections for corrosion or looseness. Poor connections can create resistance, leading to uneven charging and discharging, which contributes to imbalance.
Wiring Considerations
Believe it or not, how you wire your battery bank can significantly impact its long-term balance. Even if your individual batteries are perfectly balanced at the start, poor wiring can cause them to drift apart.
- Proper Cable Sizing: Use appropriately sized cables for all your battery connections. Undersized cables can lead to voltage drop and uneven current distribution, causing some batteries to work harder or charge less efficiently than others. Our guide on How to Size Wire and Cables is a must-read for this.
- Consistent Cable Lengths: When wiring batteries in parallel, or in series-parallel configurations, strive to use identical lengths of cable for each battery connection. This helps ensure that the resistance from each battery to the common busbar (or other batteries) is as equal as possible, promoting even charge and discharge.
- Central Connection Points (Parallel Banks): For parallel battery banks, consider using a "cross-over" or "diagonal" wiring method where the main positive connection is at one end of the bank, and the main negative connection is at the opposite end. This helps distribute current more evenly across all parallel batteries, rather than favoring the ones closest to the main connections.
- Fuse and Breaker Sizing: Proper fuses and breakers, as detailed in How to Size Fuses and Breakers, protect your system but also ensure that current flows as intended, without creating bottlenecks that could affect balance.
By adopting these best practices, you're not just installing an off-grid solar system; you're building a reliable, resilient power solution that will serve you faithfully for years to come.
Balancing Methods for Common Off-Grid Battery Types
To make things a bit clearer, here's a quick comparison of the primary balancing methods for the two main types of batteries you'll encounter in off-grid solar setups.
| Feature / Battery Type | Lead-Acid (Flooded, AGM, Gel) | Lithium Iron Phosphate (LiFePO4) |
|---|---|---|
| Primary Goal | Bring all batteries to consistent specific gravity (flooded) or full resting voltage. | Bring all individual cells within each battery to the same voltage (internal BMS function). |
| Method Before Wiring | Individually full charge each battery. For flooded, perform equalization charge. | Individually full charge each battery until its internal BMS completes cell balancing. |
| Tools Needed | Smart charger, multimeter, hydrometer (for flooded). | Smart LiFePO4 charger, multimeter, (BMS monitoring if available). |
| Ongoing Maintenance | Periodic equalization (flooded), regular full charges, specific gravity/voltage checks. | Regular full charges (to activate BMS balancing), voltage checks (especially for series banks). |
| Key Safety | Ventilation (hydrogen gas), PPE, avoid over-equalization (non-flooded). | Use LiFePO4-specific charger, monitor for heat (rare but possible). |
| Typical Resting Voltage (12V) | ~12.6V – 12.8V (after rest) | ~13.4V – 13.6V (after rest and internal balancing) |
Disclaimer
The information provided in this guide is for general educational purposes only and should not be taken as professional electrical advice. Working with electricity and battery systems can be dangerous. Always consult with a qualified electrician or solar professional before installing or maintaining any off-grid solar system. Follow all manufacturer instructions and local electrical codes. We are not responsible for any injury, damage, or loss incurred as a result of following this information.