How to Connect Off-Grid Solar to a Subpanel
Thinking about going off-grid, even if it's just for a portion of your home or property, often conjures images of complex wiring diagrams and the daunting task of completely overhauling your electrical system. Many people dream of powering their workshop, a remote cabin, or just critical loads like a refrigerator and lights independently, but the idea of integrating solar power with existing infrastructure, like a subpanel, can feel overwhelming. This guide is here to demystify the process, walking you through how to safely and effectively connect your off-grid solar system to a subpanel, allowing you to harness solar energy for specific areas without tearing out your entire house wiring.
Understanding the Role of a Subpanel in Off-Grid Systems
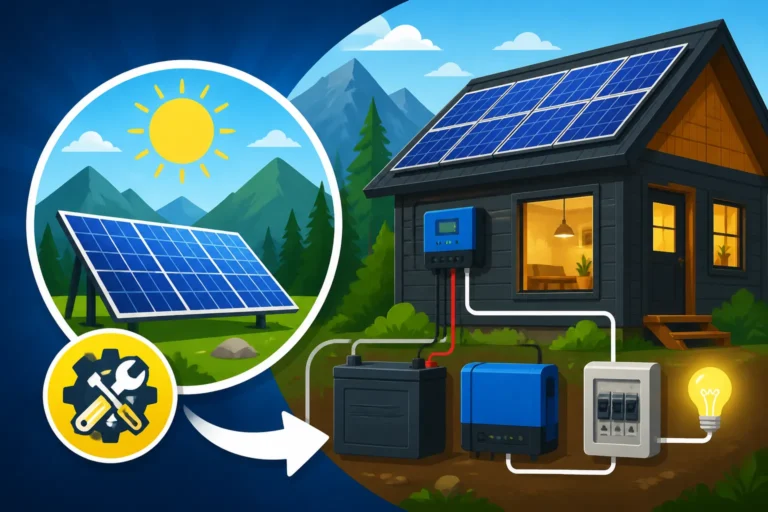
When you're looking to bring off-grid solar power into a specific area or for a dedicated set of loads, a subpanel can be your best friend. It acts as a smaller distribution point for electricity, allowing you to isolate certain circuits from your main electrical panel and power them directly from your off-grid inverter. This method offers incredible flexibility and control, preventing you from having to electrify an entire structure if your off-grid system isn't sized for it, or if you simply prefer to keep certain loads separate.
Why a Subpanel is Ideal for Partial Off-Grid Living
Let's be real, going entirely off-grid for a modern home can be a massive undertaking and a significant investment. For many, the goal isn't to disconnect from the utility grid entirely, but rather to gain energy independence for specific needs or to create a reliable backup power source. Maybe you have a detached garage where you do woodworking and want to power your tools without utility bills. Or perhaps you've got a shed out back with a freezer and some lights, and you want to ensure those essential items are always powered, even during grid outages. This is precisely where a subpanel shines. By connecting your off-grid solar system to a subpanel, you create a dedicated power zone. This means you can power selected circuits – lights, outlets, specific appliances – without needing to calculate the entire energy consumption of your whole property. It's a stepping stone to greater energy independence, allowing you to scale your off-grid aspirations without the immediate pressure of a full-house conversion.
Consider the practical scenario: you have a family home, but you want to ensure your chest freezer, a few essential lights, and the internet router stay on during a power outage. Instead of getting a huge, expensive whole-house off-grid system, you can set up a smaller, more manageable solar array, battery bank, and inverter, and feed only those critical circuits into a new subpanel. This way, your off-grid system only needs to be sized to handle those specific loads, making it much more affordable and easier to implement. It’s also a fantastic setup for workshops, art studios, or remote cabins where running new utility lines is prohibitively expensive, as detailed in articles like Off-Grid Solar Cost vs Utility Extension Cost Rather than powering everything, you power what you need to be off-grid.
Key Components of Your Off-Grid System Before the Subpanel
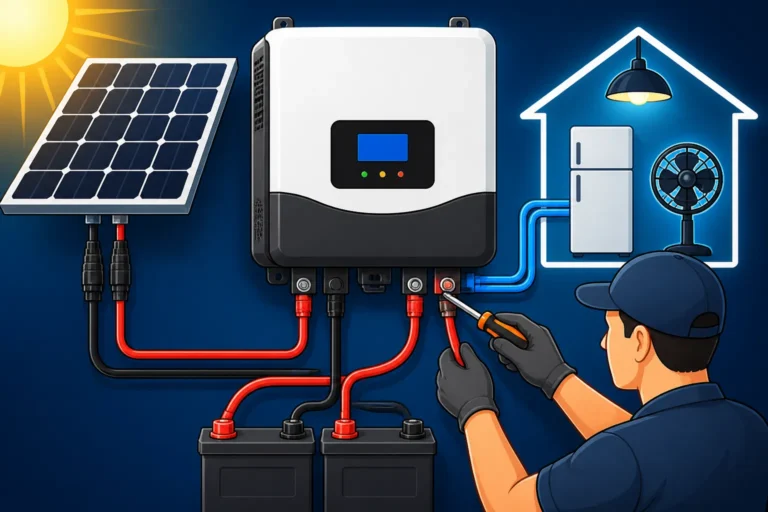
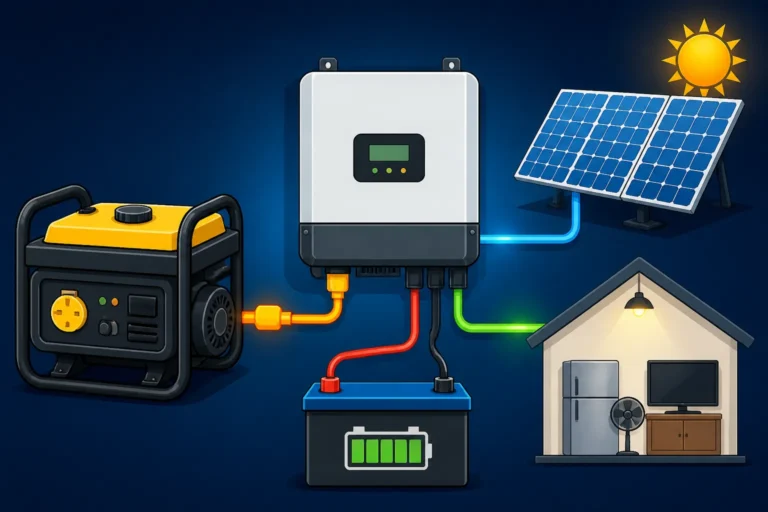
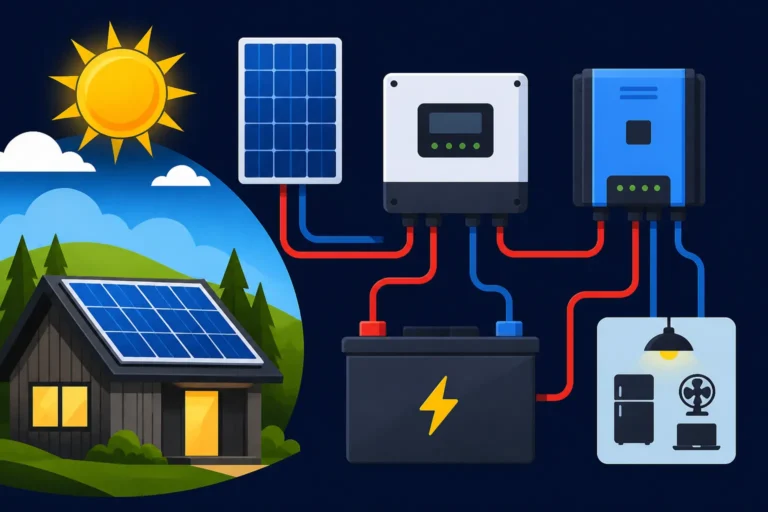
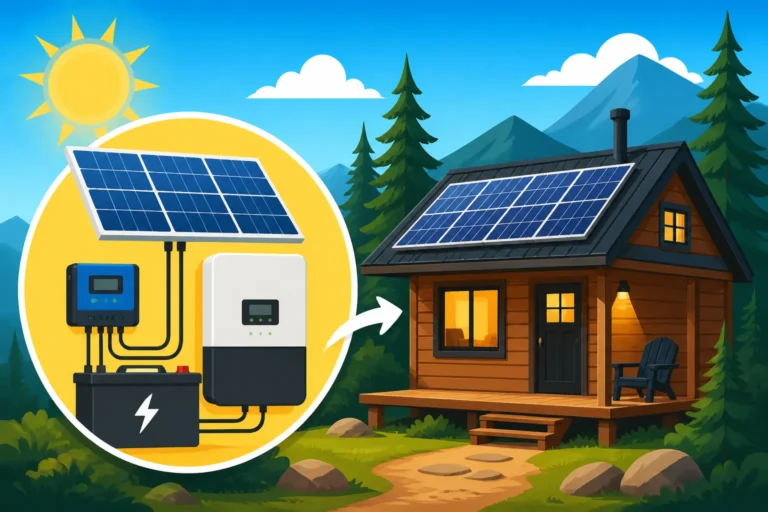
Before you even think about connecting to a subpanel, you need a robust and properly sized off-grid solar system in place. This isn't just a collection of random parts; it's a carefully orchestrated ensemble designed to convert sunlight into usable electricity. At its heart, an off-grid system typically consists of four main components:
- Solar Panels (PV Modules): These are the power generators, capturing sunlight and converting it into DC (Direct Current) electricity. The number and wattage of panels you need will depend heavily on your energy consumption and the amount of peak sun hours in your location.
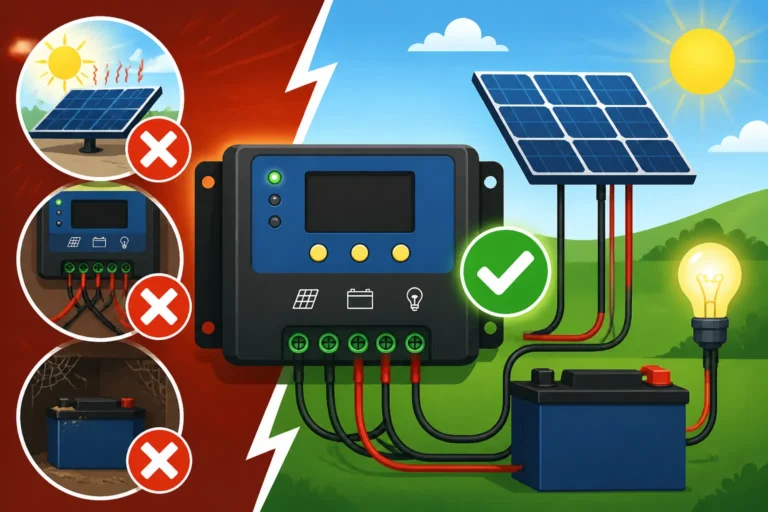
- Charge Controller: This crucial device sits between your solar panels and your battery bank. Its job is to regulate the voltage and current coming from the panels, ensuring your batteries are charged efficiently and, more importantly, are protected from overcharging, which can severely damage them. There are two main types: PWM (Pulse Width Modulation) and MPPT (Maximum Power Point Tracking), with MPPT being more efficient, especially in varying light conditions.
- Battery Bank: This is your energy storage. Since the sun doesn't shine 24/7, batteries store the excess energy generated by your panels to be used when the sun isn't out or during periods of high demand. Lithium Iron Phosphate (LiFePO4) batteries are increasingly popular due to their longevity and depth of discharge, but traditional lead-acid options are also available. Understanding How Many Batteries for an Off-Grid System is a critical step in your design.
- Inverter: Most household appliances run on AC (Alternating Current) electricity. Your solar panels and batteries produce DC power. The inverter's job is to convert that stored DC power from your batteries into usable AC power for your subpanel. It's the gateway that makes your off-grid power compatible with your standard appliances. Knowing How to Size an Off-Grid Inverter is paramount to prevent system overloads.
These components work in harmony: panels generate power, the charge controller optimizes it for storage, batteries store it, and the inverter converts it for your use. Each piece needs to be properly sized and installed for your entire system to function reliably, especially when you plan to draw power for an entire subpanel's worth of loads. Thinking of a reliable kit? Many folks start with comprehensive offerings from brands like Renogy, which provide a good foundation for DIYers.
Essential Preparations Before Wiring to a Subpanel
Before you even think about stripping wires or opening up electrical panels, a thorough preparation phase is non-negotiable. This isn't just about gathering tools; it's about understanding your power needs, properly sizing your equipment, and, most importantly, ensuring safety. Skimping on this stage can lead to frustrating system failures, damaged components, or even dangerous electrical hazards.
Conducting a Detailed Load Analysis for the Subpanel
This is arguably the most critical step. You absolutely need to know exactly what you plan to power from your off-grid subpanel. Without this information, you're essentially guessing when it comes to sizing your components, and guessing leads to either an underpowered system that constantly lets you down or an oversized system that costs more than necessary.
Start by listing every single appliance, light, and electronic device you intend to run through this off-grid subpanel. For each item, you need to determine its wattage and how many hours per day you expect to use it. Don't forget about "surge" or "starting" wattage for motor-driven appliances like refrigerators, well pumps, or power tools; these momentarily draw significantly more power than their running wattage. A great resource for this is our guide on Off-Grid Solar Load Calculation Explained.
Here's a simple breakdown of how to approach it:
- Identify All Loads: Go through the area or list the specific items. Be exhaustive!
- Find Wattage: Look for labels on appliances (often on the back or bottom) for wattage or amperage. If you only find amps (A) and voltage (V), multiply them (A x V = W). For example, a 120V appliance drawing 2 amps uses 240 watts.
- Estimate Daily Run Time: How many hours a day will each item run? Be realistic, perhaps even a little generous, to build in a buffer.
- Calculate Daily Watt-Hours (Wh): Multiply wattage by daily run time (W x Hours = Wh).
- Identify Surge Loads: Note down any motors or compressors. You'll need an inverter capable of handling these high, short-duration power spikes.
| Appliance/Load | Running Watts (W) | Surge Watts (W) | Daily Use (Hours) | Daily Watt-Hours (Wh) |
|---|---|---|---|---|
| LED Lights (x5) | 50 | N/A | 4 | 200 |
| Refrigerator | 150 | 800 | 10 (compressor) | 1500 |
| Laptop Charger | 60 | N/A | 3 | 180 |
| Well Pump | 1000 | 3000 | 0.5 | 500 |
| TOTAL | 1260 | 3000 (peak) | 2380 |
Once you have your total daily Watt-hours, you'll have a clear picture of your energy appetite. This forms the bedrock for sizing every other component in your system.
Sizing Your Off-Grid Components for Subpanel Integration
With your detailed load analysis in hand, you can now confidently size your off-grid solar system components. This isn't a one-size-fits-all situation; every system is custom-tailored to its specific energy demands and environmental conditions.
- Battery Bank Sizing: Your battery bank needs to store enough energy to last through periods without solar input (night, cloudy days) and meet your daily demand. A common rule of thumb is to aim for 2-3 days of autonomy, meaning your batteries can power your loads for that many days without any sunlight. Using your total daily Watt-hours, you can calculate the required amp-hours (Ah) for your battery bank, considering the system voltage (12V, 24V, or 48V) and the battery chemistry's usable depth of discharge (DoD). For example, a 48V LiFePO4 battery bank will provide more usable energy and last longer than a traditional lead-acid battery for the same stated capacity. To dive deeper into this, check out How Many Batteries for an Off-Grid System and How to Size an Off-Grid Battery Bank.
- Solar Panel Array Sizing: Once you know your daily energy consumption (in Wh) and the capacity of your battery bank, you need enough solar panels to recharge those batteries and meet your real-time demands. This calculation involves your "peak sun hours" — the average number of hours per day when the intensity of sunlight is equivalent to 1,000 watts per square meter. For instance, if your location gets 5 peak sun hours a day and you need 2380 Wh, you'd roughly need (2380 Wh / 5 hours) = 476W of solar panels. However, you'll want to add a buffer for efficiency losses, seasonal variations, and cloudy weather, perhaps aiming for 20-30% more.
- Inverter Sizing: Your inverter's continuous power rating must be greater than the simultaneous running wattage of all loads you expect to run through the subpanel at any given moment. More importantly, its surge rating must be able to handle the highest starting surge from any single appliance or combination of appliances. If your well pump surges to 3000W, your inverter needs to handle that for a few seconds. A quality pure sine wave inverter is essential for sensitive electronics and motor loads, providing clean power that mimics grid electricity. Many popular off-grid inverter brands, such as Victron or Outback Power, offer robust units designed for these applications.
Prioritizing Safety and Code Compliance
Electrical work, especially with high-voltage DC from solar panels and high-amperage AC from inverters, carries inherent risks. Safety is paramount, and ignoring it can have dire consequences. Furthermore, even for off-grid systems, local electrical codes often apply, particularly when interacting with permanent structures and panels.
- Disconnects: You must install appropriate DC disconnects between your solar array and charge controller, and between your battery bank and inverter. These allow you to safely shut down the system for maintenance, troubleshooting, or in an emergency. On the AC side, a main breaker or disconnect will be needed where your inverter connects to the subpanel.
- Overcurrent Protection: Fuses and circuit breakers are critical for protecting your wiring and components from overloads and short circuits. Proper sizing of these devices for both DC and AC circuits is essential, based on the wire gauge and anticipated current. This prevents wires from overheating and potentially starting fires.
- Grounding and Bonding: Proper grounding of all metallic components (panel frames, inverter chassis, subpanel box) is crucial to protect against electrical shock and lightning strikes. The off-grid system needs its own grounding electrode system. Additionally, the subpanel needs to be correctly bonded. Local electrical codes, often based on the National Electrical Code (NEC), provide specific guidelines for these connections. A comprehensive guide like Off-Grid Solar Safety and Grounding can offer more detailed insights.
- Wire Sizing: Undersized wires can overheat, cause voltage drop, and pose a fire hazard. Always use appropriately sized wire gauges for both DC and AC runs, considering the current, length of the run, and voltage drop. Resources on How to Size Wire and Cables are invaluable here.
- Permits and Inspections: While often perceived as a "wild west" of electrical work, off-grid systems in permanent structures typically require permits and inspections, especially when connecting to a subpanel that will house branch circuits. Always check with your local authority having jurisdiction (AHJ) to understand their specific requirements. This ensures your system is safe, compliant, and potentially insurable. Don't skip this step; it's there to protect you and your property.
Step-by-Step Guide to Connecting Off-Grid Solar to a Subpanel
Alright, with all your meticulous planning and safety precautions understood, it's time to get down to the actual wiring. This process involves several distinct steps, each requiring careful attention to detail. Remember, if you're ever unsure, consult a qualified electrician. It's an investment in safety and peace of mind.
Installing the Subpanel and Main Disconnects
The first physical step is setting up the subpanel itself. This is the new distribution point for your off-grid powered circuits.
- Choose the Right Location: The subpanel should be in an accessible location, ideally close to where the circuits you plan to power are located, but also within a reasonable distance from your off-grid inverter to minimize voltage drop on the AC side. Ensure it's mounted securely to a stud or other solid surface.
- Mount the Subpanel: Securely attach the subpanel enclosure to the wall. Make sure it's level and at a comfortable working height.
- Install the Main Breaker/Disconnect: If your subpanel doesn't come with one integrated, you'll need to install a main breaker or a separate AC disconnect switch before the subpanel. This serves as the primary shutdown point for the off-grid power going into the subpanel, just like a main breaker on a utility panel. It's a critical safety feature, allowing you to quickly de-energize the entire subpanel from the off-grid source.
- Run Conduit/Cable from Inverter: Plan the path for the AC wiring that will come from your inverter to this new subpanel. Depending on your local codes and environment, you might use rigid conduit, flexible conduit, or armored cable (like Romex for residential, but rated for outdoor use if applicable). Ensure the chosen cable type and gauge are appropriate for the distance and current, as determined during your sizing process. You can find quality electrical supplies, including wire, conduit, and breakers, on platforms like Amazon.
When installing, make sure to read the instructions that come with your specific subpanel. They'll often provide crucial details on mounting and internal component spacing.
Wiring the Inverter Output to the Subpanel
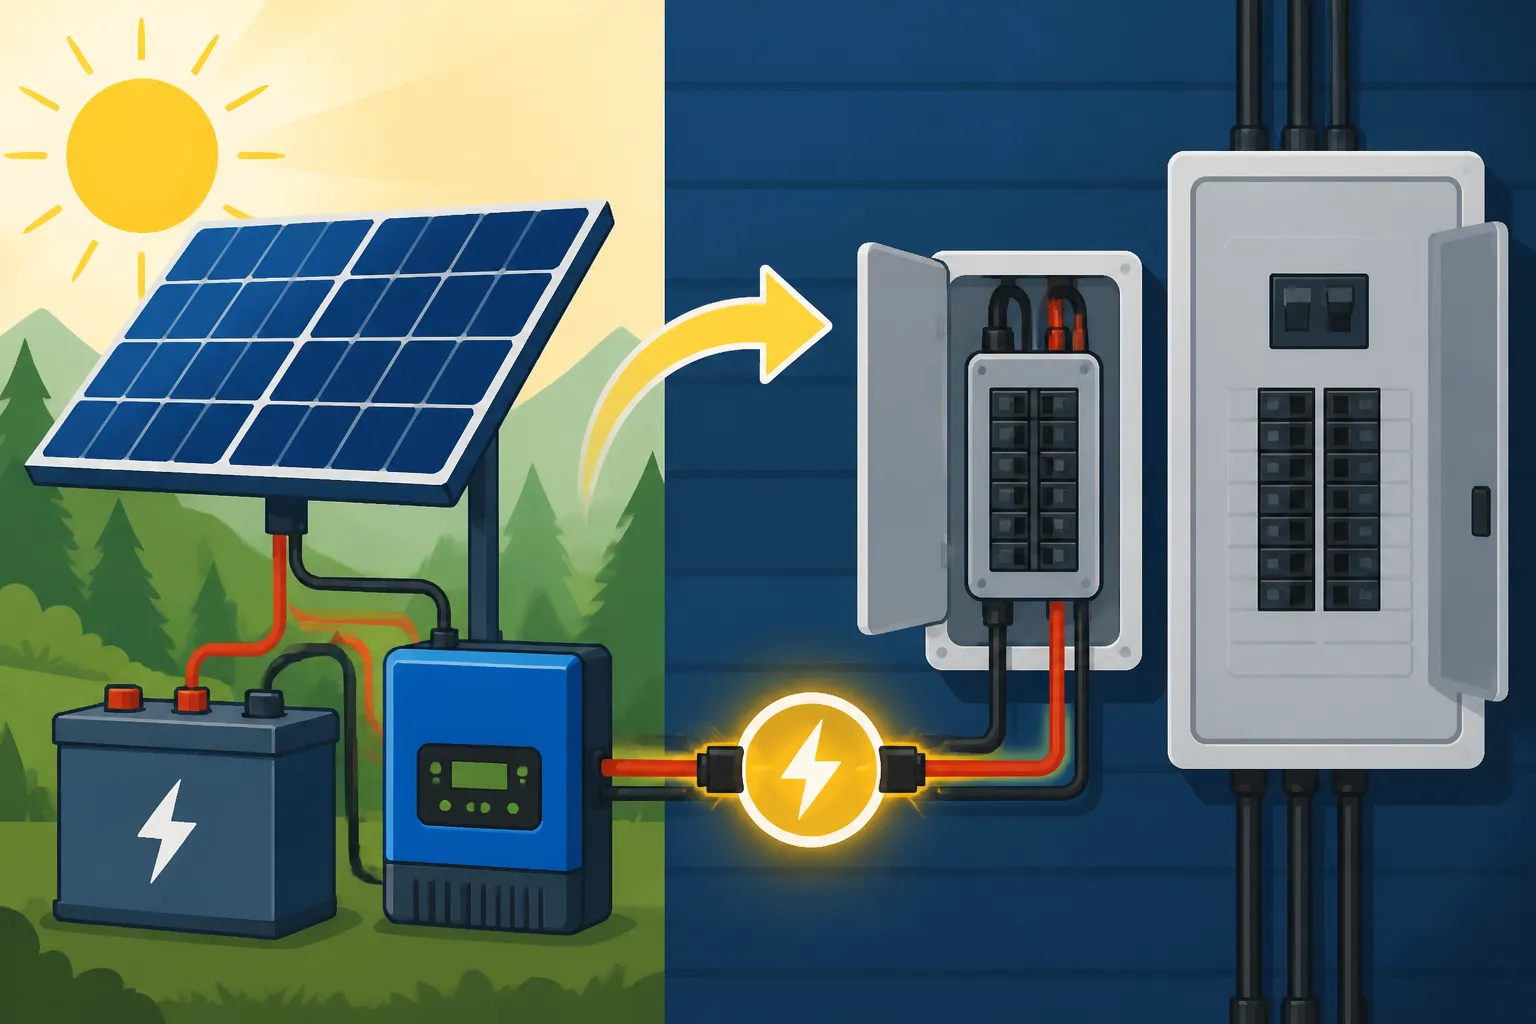
This is where your DC power stored in the batteries gets converted to AC and delivered to your new subpanel. The inverter typically has dedicated AC output terminals.
- De-energize the System: Absolutely critical: before making any connections, ensure your entire off-grid system (panels, batteries, inverter) is completely de-energized. Use your DC disconnects to isolate the battery bank and solar array, and switch off the inverter. Verify with a multimeter that no voltage is present on the inverter's AC output terminals.
- Connect Inverter AC Output to Subpanel Main Breaker: Run three wires (typically Hot 1, Hot 2, and Ground) from your inverter's AC output terminals to the main breaker or disconnect you installed for the subpanel.
- For a 240V split-phase inverter, you'll connect the two hot wires (L1 and L2) to the two terminals of the main breaker.
- The ground wire from the inverter's chassis should connect directly to the subpanel's ground bus bar.
- Connect Neutral Wire: The neutral wire from the inverter (if applicable, typically for 120V or split-phase inverters that provide a neutral) should connect to the neutral bus bar in the subpanel. In an off-grid system not connected to the utility, the neutral and ground in the subpanel are typically bonded together at the subpanel's main disconnect/breaker. However, if this subpanel is a stand-alone off-grid panel that will never connect to the grid, the bonding occurs at the inverter. This can be a tricky area where local codes or the specific inverter manual's instructions are paramount. Most modern inverters designed for off-grid use will have clear instructions on grounding and neutral bonding. When working with complex inverter-chargers, like some from Victron, precise wiring and configuration are key.
- Verify Connections: Double-check all connections for tightness and proper polarity. Loose connections are a common cause of electrical issues and potential hazards.
Remember, the inverter must be a pure sine wave inverter to safely power most household appliances. Modified sine wave inverters, while cheaper, can damage sensitive electronics and cause motors to run inefficiently or noisily. For more details on this, consider reading Pure Sine Wave vs Modified Sine Wave Inverters.
Connecting and Labeling the Branch Circuits
Now that your subpanel is ready to receive power from your off-grid system, you need to bring over the actual circuits you want to power.
- De-energize Main Panel: Crucially, before touching any wiring in your existing main electrical panel, you must shut off the main breaker to your entire house. Verify with a non-contact voltage tester that all circuits are dead.
- Identify and Disconnect Circuits: Go back to your load analysis. Identify the specific circuit breakers in your main panel that correspond to the lights, outlets, or appliances you want to move to the off-grid subpanel. Turn them off, then carefully disconnect the hot (and neutral, if present) wires from these breakers. Make sure you clearly label these wires so you know exactly which circuit they belong to.
- Run Wires to Subpanel: Route these disconnected circuit wires from your main panel to your new off-grid subpanel. You might need to install new conduit or drill carefully planned holes (ensuring no structural damage) to achieve this.
- Install Breakers in Subpanel: Install new circuit breakers in your off-grid subpanel, one for each circuit you're moving. The amperage of these new breakers should match the original breakers you removed from the main panel, and the wire gauge must be appropriate for that amperage.
- Connect Circuits to Subpanel:
- Connect the hot (usually black or red) wire from each designated circuit to its respective new circuit breaker in the subpanel.
- Connect the neutral (white) wire from each circuit to the neutral bus bar in the subpanel.
- Connect the ground (bare copper or green) wire from each circuit to the ground bus bar in the subpanel.
- Label Everything Clearly: This step cannot be overstated. Label each new breaker in the off-grid subpanel with the exact circuits it controls (e.g., "Kitchen Lights," "Garage Outlets"). It’s good practice to also label the subpanel itself, indicating that it's powered by an off-grid solar system. This is vital for safety, troubleshooting, and future maintenance. A little organizational effort here saves huge headaches down the line.
Once all connections are made and verified, you can re-energize your main house panel. Then, carefully re-enable your off-grid solar system, starting with the batteries, then the charge controller, and finally the inverter, before flipping on the main breaker to your new subpanel. Test each circuit moved to the subpanel to ensure proper functionality. Our comprehensive guide on How to Wire an Off-Grid Solar System provides additional foundational knowledge for these steps.
Common Challenges and Troubleshooting
Even with the best planning, hooking up an off-grid solar system to a subpanel can sometimes present unexpected hurdles. Knowing what to look for and how to address common issues can save you a lot of frustration and potential system damage.
Preventing Overload and Inverter Shutdowns
One of the most frequent problems off-gridders face is overloading their inverter, leading to automatic shutdowns. It's incredibly frustrating when your power suddenly cuts out right when you need it most. This usually stems from two main issues: a system that's been undersized for your actual needs, or simply forgetting your system's limits and running too many high-draw appliances at once.
- Revisit Your Load Analysis: If your inverter frequently shuts down, the first thing to do is go back to your load analysis. Was it accurate? Did you underestimate how long certain appliances would run, or did you miss a critical item? Sometimes, a seemingly small appliance, when used for extended periods, can draw more cumulative power than anticipated. For example, a space heater, while convenient, can quickly drain a battery bank and push an inverter to its limits.
- Monitor Power Draw: Invest in a good battery monitor with a shunt, or an inverter that provides real-time power consumption data. This allows you to see exactly how much power your system is using at any given moment. Many modern inverters, including those from brands like Growatt or EG4, come with advanced monitoring features that can be accessed via an app, giving you valuable insights into your power usage patterns. By observing your actual power draw, you can learn to manage your loads more effectively, staggering appliance use (e.g., don't run the microwave, coffee maker, and vacuum cleaner all at the same time).
- Consider System Expansion: If diligent load management still results in frequent shutdowns, your system might genuinely be too small for your needs. This could mean adding more solar panels to increase charging capacity, expanding your battery bank for greater storage, or upgrading to a larger inverter with a higher continuous and surge rating. Our article on Cost of Expanding an Off-Grid System can help you budget for such upgrades.
Dealing with Grounding and Neutral Issues
Proper grounding and neutral wiring are critical for safety and system functionality. Incorrect setup can lead to dangerous situations, equipment damage, or simply a system that doesn't work.
- Off-Grid Grounding vs. Grid-Tied: This is a common point of confusion. In a grid-tied system, the main service panel has the neutral and ground bonded together. In a pure off-grid system, the neutral-to-ground bond typically occurs at the inverter or inverter-charger, not in the subpanel. The subpanel itself should have its neutral bus isolated from the ground bus, and the ground bus connected to the system's dedicated grounding electrode. Incorrectly bonding neutral and ground in the subpanel when it's already bonded at the inverter can create dangerous parallel neutral paths, causing current to flow on the ground wire and potentially trip ground fault circuit interrupters (GFCIs) or create shock hazards.
- Verify Connections: Use a multimeter to verify continuity between the ground points throughout your system (panel frames, inverter chassis, subpanel ground bus, grounding electrode). Ensure there are no open circuits in your grounding path. Check that all neutral connections are tight and correctly isolated where needed.
- Refer to Inverter Manual: Every inverter has specific requirements for grounding and neutral bonding. Always consult your inverter's manual and adhere strictly to its guidelines. This is especially true for advanced inverter-chargers that might have different operating modes (e.g., "utility assist" or "generator mode") that affect neutral bonding.
If you suspect grounding or neutral issues and aren't confident in diagnosing them, it's always best to call a qualified electrician who specializes in off-grid systems. This is not an area to cut corners.
Troubleshooting Performance and Power Fluctuations
Sometimes, your system might appear to be working, but you experience inconsistent power, flickering lights, or appliances acting strangely. These "phantom" issues can be maddening, but they're often symptomatic of deeper problems.
- Voltage Drop: Long wire runs, especially with inadequate wire gauge, can lead to significant voltage drop. This means the voltage at the end of the wire is lower than at the beginning, causing appliances to underperform or even fail. If you notice lights dimming or motors struggling, measure the voltage at the furthest point from the inverter. If it's significantly lower than 120V (or 240V), you might need to upgrade your wire gauge or shorten the run. This is why proper How to Size Wire and Cables is so important during installation.
- Battery State of Charge: Ensure your battery bank is consistently reaching a full state of charge. If your panels are undersized for your loads or your charge controller settings are incorrect, your batteries might perpetually be undercharged, leading to lower voltage output from the inverter as the battery voltage sags under load. A reliable battery monitor is indispensable here.
- Loose Connections: Vibrations or improper installation can loosen wire connections over time. This creates resistance, generating heat and causing intermittent power. Periodically, especially after the initial installation settles, visually inspect and gently tug on all connections – DC, AC, and grounding – to ensure they are secure.
- Inverter Fault Codes: Most modern inverters have diagnostic codes or indicator lights. If your system is acting up, check the inverter for any fault codes and consult its manual to understand what they mean. This can quickly pinpoint problems like high/low DC voltage, over-temperature, or overload conditions.
- Charge Controller Settings: For LiFePO4 batteries especially, incorrect charge controller settings (e.g., bulk, absorption, float voltages) can lead to undercharging, overcharging, or reduced battery lifespan. Double-check that your charge controller is configured specifically for your battery type. Many DIYers use controllers from brands like Renogy, and their manuals are usually quite clear on these settings.
By systematically going through these common issues and using your system's monitoring tools, you can often diagnose and resolve performance issues, ensuring your off-grid solar system provides reliable power to your subpanel for years to come. Remember that starting with a well-designed system, as outlined in a guide like Designing an Off-Grid Solar System Step by Step, minimizes these headaches from the start.
Disclaimer
The information provided in this guide is for general educational purposes only and is not a substitute for professional advice. Working with electricity can be dangerous. Always consult with a qualified electrician or solar professional to ensure your off-grid solar system and subpanel connections are installed safely and in compliance with all local and national electrical codes. Personal injury, property damage, or death can occur if not handled properly.