How to Wire Off-Grid Solar to a Breaker Panel
Wiring an off-grid solar system to a breaker panel can feel like navigating a maze, especially when you're used to the grid just handling everything. It’s a completely different beast than a grid-tied system, and the stakes are high because you're responsible for all the electricity in your home. This guide is here to demystify that process, walking you through the crucial steps of safely and effectively integrating your off-grid solar inverter into a dedicated breaker panel, giving you the power independence you crave without the headaches of uncertainty.
Understanding the Heart of Your Off-Grid Power System
When you decide to go off-grid, you're becoming your own utility company. This means you’re not just generating power; you’re storing it, converting it, and distributing it throughout your living space. Connecting your solar setup to a breaker panel is the final, crucial step in getting that power from your batteries to your lights, appliances, and tools. But it's vital to understand that this isn't the same as a grid-tied connection; you are establishing a completely isolated electrical system.
Key Components in Your Off-Grid Electrical Path
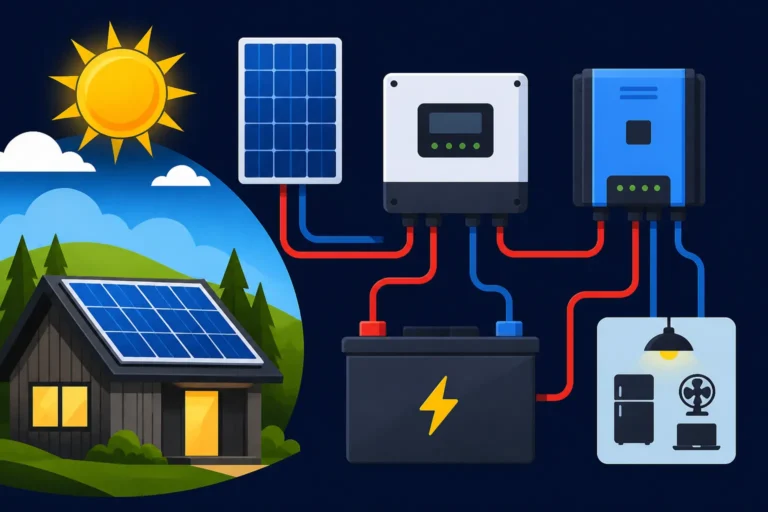
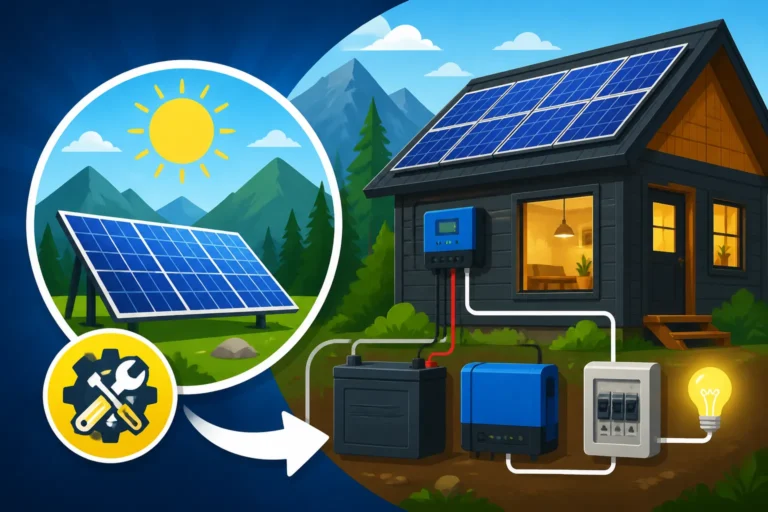
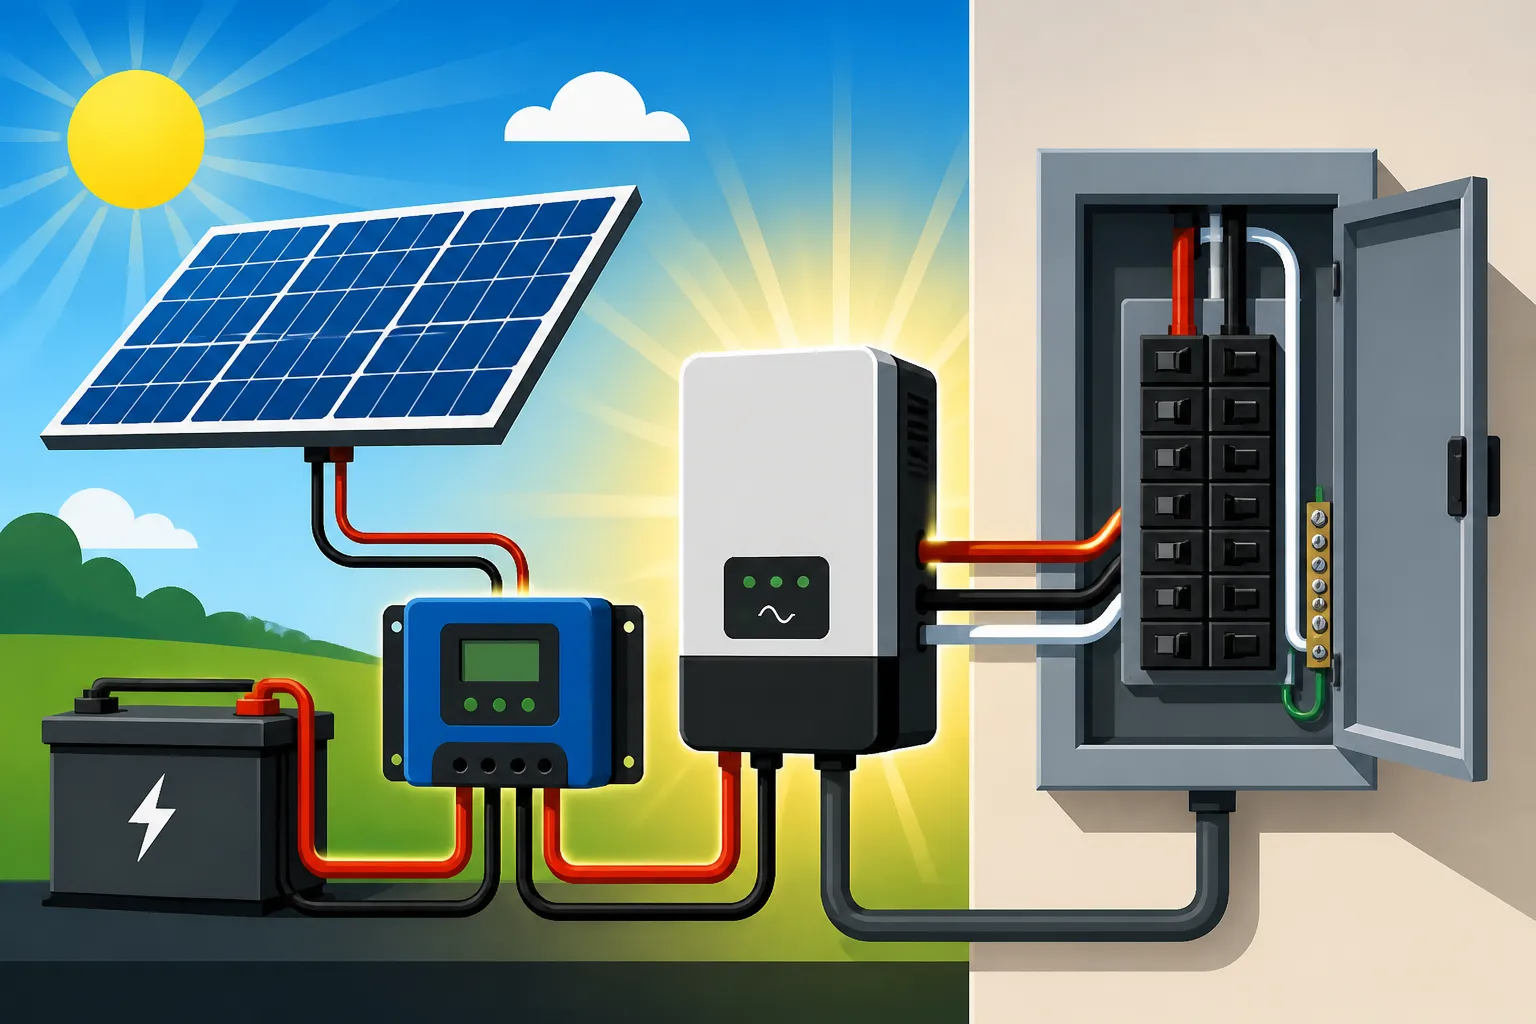
Before we dive into the nitty-gritty of wiring, let's quickly recap the main players in your off-grid system that all lead up to that breaker panel. Each component plays a vital role in taking raw sunlight and turning it into usable electricity for your home.
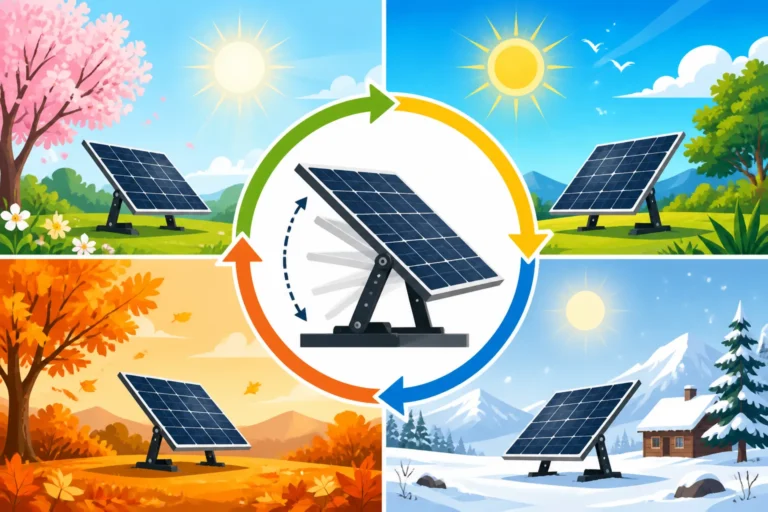
- Solar Panels: These are your energy collectors, converting sunlight into direct current (DC) electricity. Their efficiency and placement are paramount.
- Charge Controller: This intelligent device regulates the flow of DC power from your solar panels to your batteries, preventing overcharging and extending battery life. You'll often see MPPT (Maximum Power Point Tracking) controllers recommended for their efficiency, especially when dealing with varying solar conditions. To learn more about how this piece fits in, you might want to check out how to connect a charge controller.
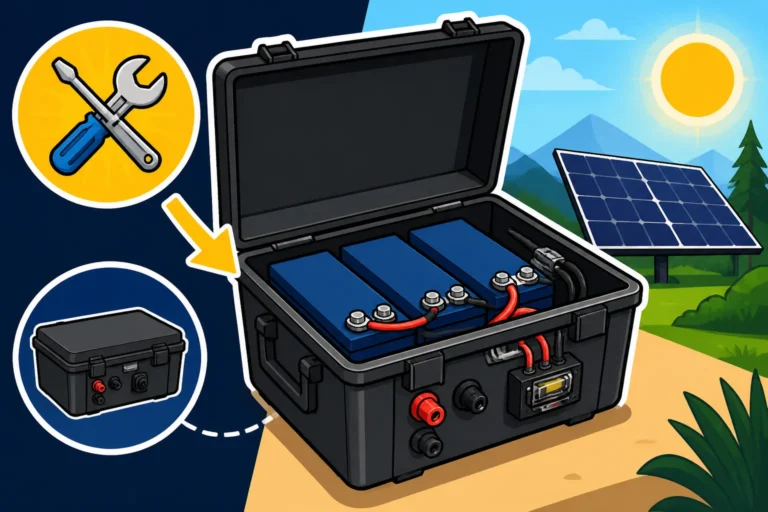
- Battery Bank: Your energy reservoir! This is where all that DC power is stored for use when the sun isn't shining. The type and size of your battery bank, whether it's LiFePO4, AGM, or flooded lead-acid, will significantly impact your system's performance and autonomy. For a deep dive, consider reading about the best off-grid solar batteries.
- Inverter: This is the workhorse that transforms the stored DC power from your batteries into alternating current (AC) power, which is what most household appliances and your breaker panel use. A pure sine wave inverter is almost always recommended for off-grid living to ensure your sensitive electronics run smoothly and without damage. Understanding how to choose an off-grid inverter is critical for your system's success.
- Breaker Panel: This is the distribution hub for your AC power. It houses circuit breakers that protect individual circuits from overloads and short circuits, ensuring safety for your home and appliances. For an off-grid setup, this panel is isolated from any public utility grid.
Why an Isolated Breaker Panel is Different and Crucial
Unlike grid-tied systems that can send excess power back to the utility grid, an off-grid system is entirely self-contained. When you're connecting your off-grid inverter to a breaker panel, you are essentially creating a mini-grid within your property. This panel must be physically isolated from the utility grid. If your property ever had grid power, you absolutely need to ensure a complete and irreversible disconnection or use a dedicated subpanel that has no grid connection whatsoever. Backfeeding power into the utility grid is incredibly dangerous for utility workers and illegal without proper interconnection agreements and equipment.
For many off-grid homeowners, a subpanel is the go-to solution. This allows you to specifically route off-grid power to a set of circuits you designate as "critical loads" or "off-grid powered circuits." This clear separation makes maintenance and troubleshooting much safer and more straightforward.
Safety First Always: Pre-Installation Checks and Protocols
I cannot stress this enough: working with electricity, especially high-voltage DC from solar arrays and powerful AC from inverters, can be incredibly dangerous. A moment of carelessness can lead to severe injury, electrocution, fire, or damage to expensive equipment. Always prioritize safety. If you are ever unsure about a step, please consult with a licensed electrician or an experienced off-grid solar installer.
Essential Safety Gear and Practices
Before you even think about touching a wire, gather your personal protective equipment (PPE) and understand basic electrical safety.
- Insulated Tools: Screwdrivers, wire strippers, and pliers with insulated handles are non-negotiable.
- Safety Glasses and Gloves: Protect your eyes from sparks and your hands from potential shocks or abrasions. Electrical safety gloves are designed to insulate.
- Multimeter: Essential for checking voltage and continuity. Always verify circuits are de-energized before working on them.
- Lock-out/Tag-out Kit: If you're disconnecting from a previous grid connection or working on an existing panel, ensure you have the means to lock out the main breaker and tag it, so no one accidentally re-energizes the system while you're working.
- Fire Extinguisher: A Class C (electrical) fire extinguisher should always be within easy reach.
- Proper Wire Sizing: Undersized wires are a major fire hazard. Always follow NEC (National Electrical Code) guidelines for wire gauges based on current and distance. You'll find a lot of helpful information in guides like how to size wire and cables.
- Fuses and Breakers: These are your system's safety valves. Install appropriate DC-rated fuses between your panels and charge controller, and between your charge controller and batteries. AC-rated breakers are needed on the output of your inverter and within your breaker panel. Learning how to install fuses and breakers is a fundamental skill for any off-grid owner.
De-Energizing and Verifying No Grid Connection
If you're converting a grid-tied home to off-grid or installing in a structure that previously had grid power, this step is absolutely critical:
- Disconnect from the Grid: Locate your main utility disconnect switch (usually near your meter) and turn it off. For absolute certainty, consider having the utility company physically disconnect the service drop to your building. This ensures there's no possibility of grid power entering your system.
- Verify De-energization: Use your multimeter to test for voltage at the main lugs in your breaker panel. Do not proceed until you confirm there is no voltage present.
- Lock and Tag: Lock out the main disconnect and place a warning tag on it. Inform anyone who might be on the property that the power is off for electrical work.
Remember, going off-grid is about taking control, and that includes taking control of your safety. Don't rush, double-check everything, and if in doubt, get professional help.
Step-by-Step Wiring Your Off-Grid Inverter to a Breaker Panel
Alright, with safety firmly established, let's get into the actual wiring process. This sequence focuses on getting the AC output from your inverter safely into an isolated breaker panel. For a full visual understanding, referencing an off-grid solar wiring diagram explained can be incredibly helpful alongside these steps.
Step 1: Connecting Your Solar Panels to the Battery Bank (DC Side)
While this guide's main focus is the AC connection to the breaker panel, the DC side is where your power originates and is stored.
- Panel Wiring: Wire your solar panels in series, parallel, or a combination, as determined by your system's voltage requirements and charge controller specifications. Ensure all connections are secure and weatherproof, typically using MC4 connectors.
- Panels to Charge Controller: Run appropriate gauge DC wiring from your solar array to your charge controller. Install an in-line DC circuit breaker or fuse between the panels and controller for overcurrent protection.
- Charge Controller to Battery Bank: Connect the charge controller's output to your battery bank. Again, use properly sized DC wiring and install a DC-rated fuse or circuit breaker between the charge controller and batteries. This protects your batteries from potential charge controller faults and allows for easy disconnection. For more details on this, look into how to wire a battery bank.
Step 2: Connecting the Inverter to the Battery Bank
The inverter is the bridge between your DC storage and your AC distribution. Proper, secure, and safe DC connections are paramount here due to the potentially very high currents involved.
- Inverter Placement: Choose a dry, well-ventilated location for your inverter, preferably near your battery bank to minimize cable length and voltage drop. Ensure it's mounted according to the manufacturer's instructions.
- Heavy-Gauge Battery Cables: Connect the DC input terminals of your inverter directly to your battery bank terminals using extremely heavy-gauge battery cables. The cable size will depend on your inverter's maximum DC input current and the distance to the batteries. For example, a 3000W 12V inverter will draw significantly more amps than a 3000W 48V inverter, requiring much thicker cables for the 12V system.
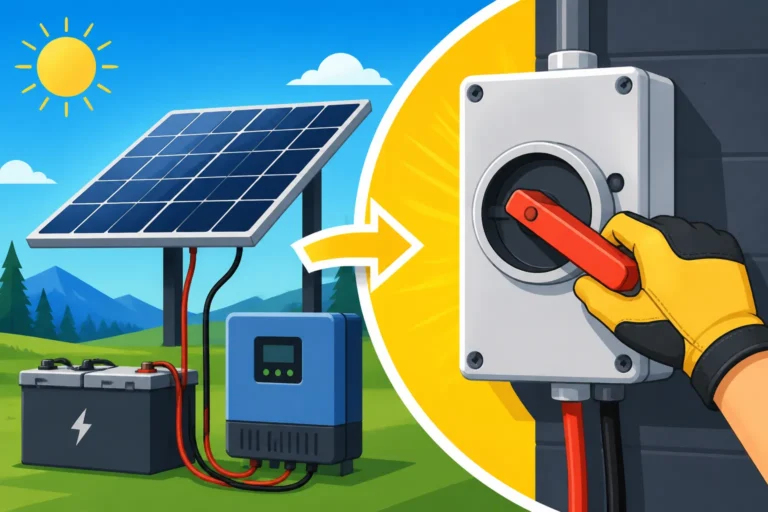
- DC Disconnect and Fuse: Install a correctly sized DC-rated fuse and a DC disconnect switch between the battery bank and the inverter's positive terminal. This is a crucial safety component, allowing you to completely de-energize the inverter from the batteries for maintenance or in an emergency. Many off-grid enthusiasts rely on robust disconnects from brands like Renogy or specialized electrical suppliers.
- Real-World Scenario: Imagine you're running a powerful inverter, say a 5000W unit on a 48V system. It could draw over 100 amps at full load! A forgotten wrench accidentally touching both battery terminals at that kind of amperage would cause a massive short circuit. That DC fuse and disconnect are your first line of defense against catastrophic failure.
Step 3: Integrating the Inverter's AC Output to Your Breaker Panel
This is where the magic happens and your off-grid power gets distributed throughout your living space. This section specifically details how your inverter's AC output connects to a dedicated breaker in a subpanel or an isolated main panel.
- Choosing Your Breaker Panel:
- Dedicated Off-Grid Main Panel: If your home is truly off-grid from the start, you'll install a standard electrical service panel, but it will only be fed by your inverter. There will be no utility meter or grid connection whatsoever.
- Subpanel (Most Common for Conversions/Partial Off-Grid): If your property could be connected to the grid or you want to power only specific circuits off-grid, you'll install a subpanel. This subpanel will receive its power only from your inverter and will be completely isolated from your main grid-tied panel (if one exists). This separation is critical for safety and code compliance.
- Running AC Conduit/Cable to the Panel:
- Run appropriate gauge AC electrical cable (e.g., Romex for indoor, UF-B for underground, or wires in conduit) from your inverter's AC output terminals to your chosen breaker panel. The wire gauge must match the inverter's AC output current rating and the breaker you intend to use in the panel. For instance, if your inverter has a 30-amp AC output, you'll need 10 AWG wire for that circuit.
- Grounding: Ensure your conduit (if metal) or cable includes a ground wire that is properly connected at both the inverter chassis and the breaker panel's ground bus bar. Grounding is paramount for preventing electrical shock.
- Connecting to a Dedicated Breaker in the Panel:
- Main Breaker (for dedicated off-grid panel): If this is your sole off-grid main panel, the inverter's AC output will typically connect to the main lugs or a large main breaker within this panel.
- Branch Circuit Breaker (for subpanel): For a subpanel, your inverter's AC output connects to a appropriately sized 2-pole circuit breaker (if 240V output) or a single-pole breaker (if 120V output) in the subpanel. This breaker acts as the main disconnect for the inverter's power into the subpanel. For example, a 4000W inverter at 240V AC might require a 2-pole, 20-amp breaker.
- L1, L2, Neutral, Ground: Carefully connect the hot wires (L1, L2 for 240V, or just L1 for 120V) to the breaker. Connect the neutral wire from the inverter to the neutral bus bar in the panel. Connect the ground wire from the inverter to the ground bus bar in the panel.
- Important Note on Neutrals and Grounds in Subpanels: In a subpanel, the neutral bus bar must be isolated from the ground bus bar. The main bonding jumper that connects neutral and ground should only be present in the main service panel, not in subpanels. This prevents objectionable current flow on the ground wire and ensures proper ground fault protection.
- Distributing Loads to Circuits:
- Once your inverter is connected to the dedicated breaker in the panel, you can then install individual circuit breakers for the various circuits in your home (e.g., lights, outlets, refrigerator).
- Connect the hot wire from each circuit to its respective circuit breaker.
- Connect the neutral wire from each circuit to the neutral bus bar in the panel.
- Connect the ground wire from each circuit to the ground bus bar in the panel.
- Practical Tip: Label everything clearly! Know which breaker controls which lights or outlets. This makes future troubleshooting much easier.
Here's a simplified table illustrating the connections for different system voltages to a breaker panel:
| Component | Connection Point | Wire Type (Typical) | Safety Device | Notes |
|---|---|---|---|---|
| Solar Panels | Charge Controller (DC IN) | PV Wire (10-12 AWG) | DC Breaker/Fuse | Wired in series/parallel per system voltage. |
| Charge Controller | Battery Bank (DC IN) | THHN/THWN (6-10 AWG) | DC Breaker/Fuse | Regulates charging. |
| Battery Bank | Inverter (DC IN) | Heavy Gauge Battery Cable (0-4/0 AWG) | DC Disconnect & Fuse | Critical high-current connection. Check Best Cables and Connectors for Off-Grid for robust cables. |
| Inverter | Breaker Panel (AC IN) | NM-B/THHN in conduit (10-6 AWG) | AC Breaker (2-pole if 240V) | Connects to a dedicated breaker in an isolated off-grid panel or subpanel. |
| Breaker Panel | Household Circuits | NM-B/THHN (14-10 AWG) | AC Breakers (1-pole/2-pole) | Distributes power to individual loads. Neutral and ground buses must be separated in subpanels. |
Step 4: Testing Your System
Before you flip all the breakers on and celebrate, test your system methodically.
- Initial Power-Up (Inverter): With all DC connections secured and fused, turn on your battery disconnect switch. Then, power up your inverter according to its manufacturer's instructions. Check for any error codes or alarms.
- Verify AC Output: Using your multimeter, carefully test for AC voltage at the output terminals of your inverter.
- Breaker Panel Power-Up: With the inverter producing AC power, turn on the dedicated breaker in your off-grid panel or subpanel that feeds power from the inverter.
- Individual Circuit Testing: One by one, turn on the individual circuit breakers in your panel. Test a light or an outlet on each circuit to ensure power is flowing correctly. Look for any unusual smells, sounds, or hot spots.
- Load Testing: Gradually add larger loads to your system to see how it performs. Start with something simple like a few lights, then perhaps a TV, and eventually a refrigerator. Monitor your inverter and battery levels to ensure they can handle the demand. This is also a good time to revisit Common Off-Grid Wiring Mistakes to prevent common off-grid wiring mistakes.
Common Challenges and Troubleshooting for Off-Grid Breaker Panel Connections
Even with careful planning, hiccups can happen. Wiring an off-grid system to a breaker panel has its own unique set of potential issues. Don't get frustrated; most can be resolved with a bit of systematic troubleshooting.
Inverter Alarms and Shut-Downs
This is probably the most common issue. Your inverter is your system's brain and will often alert you to problems.
- Low Battery Voltage: Most inverters have a low-voltage cut-off to protect your batteries from deep discharge, which can severely shorten their lifespan. If your inverter is shutting down, check your battery voltage with a multimeter. This might indicate that your solar array isn't sufficiently charging your batteries, or your battery bank isn't large enough for your daily consumption. You might need to revisit How to Size an Off-Grid Solar System to ensure your system is properly sized.
- Overload: If you try to run too many appliances at once, the inverter's output can exceed its rated capacity, causing it to shut down. This is especially true for appliances with high "surge" or "starting" watts, like refrigerators, well pumps, or power tools. If this happens, reduce your load and restart the inverter. If it's a frequent problem, you might need a larger inverter or to manage your loads more carefully.
- High Temperature: Inverters generate heat, and if they're in an enclosed space without proper ventilation, they can overheat and shut down. Ensure good airflow around your inverter.
- Wiring Issues: Loose connections, undersized wiring, or reversed polarity on the DC side can all cause inverter faults. Double-check all connections, especially those between the batteries and the inverter.
No Power to Breaker Panel Circuits
If your inverter seems to be working, but you have no power at your outlets or lights, trace the issue systematically.
- Inverter AC Output Breaker: Is the main AC breaker from the inverter to your breaker panel tripped?
- Individual Circuit Breakers: Are any individual circuit breakers in your off-grid panel tripped? Reset them. If they trip immediately again, you have a short circuit or an overload on that specific circuit.
- Wiring Continuity: Use your multimeter to check for continuity from the inverter's AC output, through the breaker in the panel, and out to your individual circuit wires. Look for any broken wires or loose terminals.
- Neutral/Grounding Issues: While less common for "no power," improper neutral or grounding connections can sometimes prevent circuits from functioning correctly or, more dangerously, create shock hazards. Double-check your neutral-to-ground separation in subpanels and ensure all ground wires are securely connected. Proper grounding is often overlooked but critical.
Flickering Lights or Appliance Malfunctions
This often points to a quality of power issue, usually related to the inverter or system sizing.
- Inverter Quality: While most modern off-grid inverters are pure sine wave, older or cheaper modified sine wave inverters can cause issues with sensitive electronics, motors, and certain LED lighting. Always invest in a good quality pure sine wave inverter for residential use. Brands like Victron Energy and Outback Power are renowned for their robust off-grid inverters.
- Voltage Drop: If your battery cables are too long or too thin, you can experience voltage drop, especially under heavy loads. This means your inverter isn't getting adequate voltage from the batteries, which can lead to unstable AC output. This also applies to the AC wiring from the inverter to the breaker panel if it's undersized or too long.
- Battery Performance: Aging or failing batteries might struggle to maintain stable voltage under load, leading to inconsistent inverter performance.
By systematically going through these troubleshooting steps, you can usually pinpoint the source of the problem and get your off-grid system humming along smoothly. Remember, patience and a good multimeter are your best friends in off-grid electrical work!
Conclusion
Wiring your off-grid solar system to a breaker panel is a monumental step towards energy independence, but it’s one that demands careful attention to detail and a steadfast commitment to safety. You've now got the full picture, from understanding the critical components like your Renogy charge controller and the heavy-duty cables you might source from Amazon, to the step-by-step process of connecting your inverter to an isolated breaker panel, and even how to troubleshoot common snags. It’s not just about flipping a switch; it's about building a robust, reliable electrical backbone for your independent lifestyle. Take your time, double-check your work, and don't hesitate to consult with professionals when in doubt. Your off-grid dreams are absolutely within reach, and with this guide, you're well on your way to powering them safely and effectively.
Disclaimer
Please note that this guide provides general information on wiring an off-grid solar system to a breaker panel. Electrical work can be dangerous and should only be performed by individuals with appropriate knowledge and experience. Always consult local electrical codes and regulations. If you are not confident in your ability to safely complete any step, it is highly recommended to seek assistance from a qualified and licensed electrician. The author and publisher are not liable for any injuries, damages, or losses resulting from the use or misuse of this information.