Common Off-Grid Wiring Mistakes
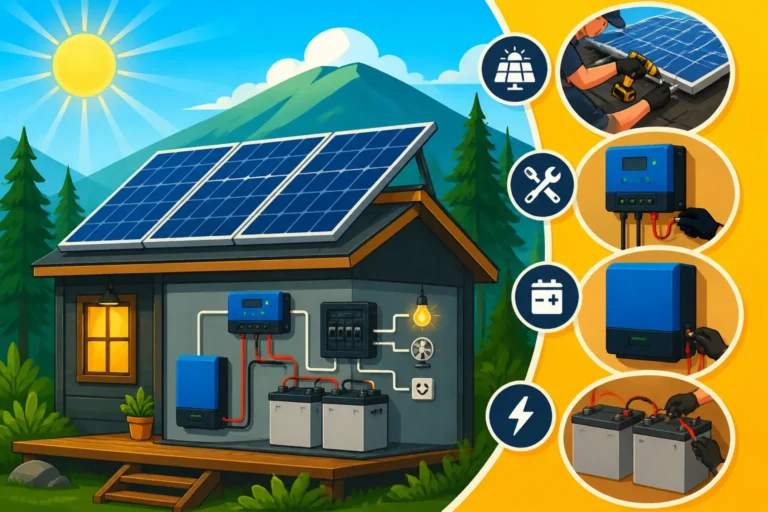
Embarking on the journey of off-grid solar can feel incredibly liberating, but let's be honest, the technicalities, especially the wiring, can be a real head-scratcher. It's easy to feel overwhelmed by all the connections, gauges, and safety protocols, and a simple misstep can lead to system malfunctions, or worse, dangerous electrical hazards. This comprehensive guide will walk you through the most common off-grid wiring mistakes people make, shedding light on why they happen and, crucially, how you can avoid them to ensure your solar setup is safe, efficient, and reliable for years to come.
Overlooking Fundamental Sizing and Component Selection
One of the biggest pitfalls for anyone diving into off-grid solar is not properly assessing their power needs and selecting components that can genuinely meet them. It’s like trying to build a skyscraper with popsicle sticks – it just won't hold up. Many first-timers, in an attempt to save money or simplify the process, often make critical errors right at the design stage that lead to a domino effect of problems down the line.
Undersizing Components for Your Power Needs
This is perhaps the most frequent and frustrating mistake. Imagine you’ve planned your dream tiny home or RV setup, meticulously listed all your gadgets, but then you decide to eyeball the solar panel and battery sizes. The result? Your system simply can't keep up. Undersized solar panels won't generate enough power to fully charge your battery bank, especially during periods of lower sunlight or increased demand. This often leads to chronically undercharged batteries, which dramatically shortens their lifespan and leaves you in the dark.
Similarly, an undersized battery bank means you don't have enough reserve power to get through even a single cloudy day or a night without draining your batteries excessively. This "deep cycling" past recommended limits is a death sentence for most battery chemistries. The final piece of this puzzle is often an undersized inverter. If your inverter can't handle the combined wattage of the appliances you want to run, even momentarily, it will either trip, shut down, or, in a worst-case scenario, burn out. This constant battle against insufficient power can make off-grid living a frustrating exercise rather than the liberating experience it should be. It all starts with accurately determining your energy consumption, which is why resources like How to Calculate Daily Energy Usage and Off-Grid Solar Load Calculation Explained are indispensable.
Mismatched Voltage and Amperage Ratings
Another common oversight involves a fundamental misunderstanding of electrical principles, specifically how voltage and amperage interact across your system. Your entire off-grid setup – from your solar panels to your charge controller, battery bank, and inverter – needs to operate at a compatible voltage. While you can use a 12V solar panel to charge a 24V battery bank via a smart MPPT charge controller that steps up voltage, connecting a 12V inverter directly to a 48V battery bank will almost certainly result in immediate damage to the inverter. Each component has a specific input and output voltage range it can handle, and straying outside these parameters is asking for trouble.
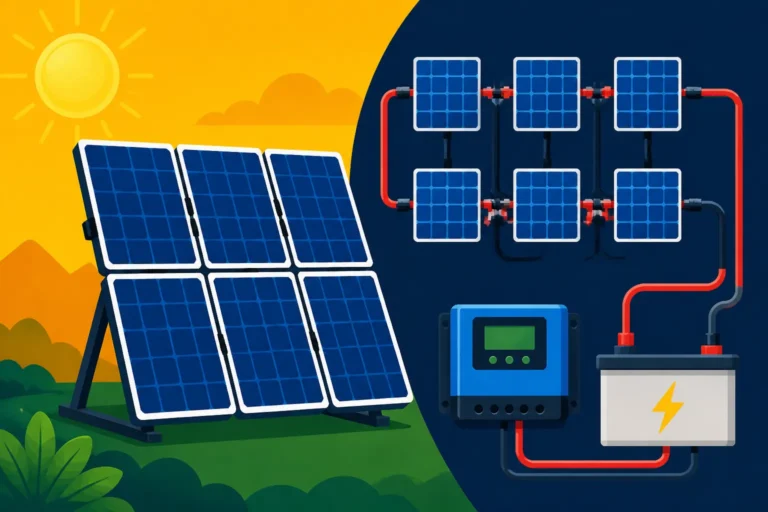
Beyond voltage, matching amperage ratings is also crucial. For instance, if you're wiring multiple solar panels in parallel, their combined amperage will increase. Your charge controller, wiring, and fuses must be rated to safely handle this higher current. Trying to push 50 amps through a wire or component only rated for 30 amps will cause excessive heat, potential melting, and a severe fire hazard. Understanding the differences between 12V, 24V, and 48V systems, and how to select compatible equipment, is paramount for a safe and efficient setup. This deeper dive into system voltage selection can be found in guides like 12V vs 24V vs 48V Which to Choose.
Compromising with Incorrect Wiring Techniques and Practices
Even if you’ve diligently sized every component perfectly, poor execution in the actual wiring phase can render your entire system unreliable, inefficient, or downright dangerous. This often comes down to cutting corners, using the wrong tools, or simply not understanding best practices for electrical connections in a high-current DC environment.
Poor Connections and Improper Wire Terminations
This mistake is insidious because its effects might not be immediately apparent, but they will inevitably lead to problems. Loose connections at terminals, poorly crimped connectors, or simply wrapping bare wire around a screw are recipes for disaster. Over time, vibration (especially in mobile setups like RVs or vans), temperature changes, and even the simple act of current flowing can cause these connections to degrade. What happens then? Increased electrical resistance, which translates directly to lost power (heat!) and reduced system efficiency.
More critically, poor connections can lead to intermittent power, flickering lights, or components spontaneously shutting off. In high-current DC systems, a loose connection can cause arcing, where electricity jumps across a small gap, creating intense heat that can melt insulation, damage terminals, and even ignite nearby flammable materials. Always use the correct crimping tools for your terminals, ensure full wire insertion, and consider using heat-shrink tubing to seal connections against moisture and corrosion. Never rely on electrical tape for structural or weatherproofing integrity in critical connections.
Using the Wrong Wire Gauge and Type
The choice of wire might seem trivial, but it's a critical factor in your system's performance and safety. Using an undersized wire for a given current load or distance is a pervasive error. Just like a narrow pipe restricts water flow, a thin wire restricts electron flow. This restriction causes voltage drop – meaning less power actually reaches your components – and generates heat within the wire itself. You'll notice this as dim lights, slow-running appliances, or even hot-to-the-touch wires.
Beyond gauge, the type of wire matters immensely. For outdoor solar arrays, you absolutely need UV-resistant, outdoor-rated PV wire. Standard household Romex cable, if exposed to sunlight, will quickly degrade its insulation, crack, and become a fire and shock hazard. For connections prone to vibration, like those in vehicles or around inverters, stranded wire is preferred over solid core because it's more flexible and less likely to break. Always consult wire gauge charts based on current and distance, and always opt for appropriate, high-quality wire. If you're buying wire from a general retailer like Amazon, always double-check its specifications and ratings. Our detailed guide on How to Size Wire and Cables offers a deeper look into selecting the right conductors.
Neglecting Essential Safety and Protection Measures
When you're building an off-grid system, you're essentially becoming your own power utility. That means taking safety just as seriously as a professional electrician. Skipping safety components isn't saving money; it's inviting catastrophe. These measures are there to protect your expensive equipment, and more importantly, your life.
Absence of Fuses, Breakers, and Disconnects
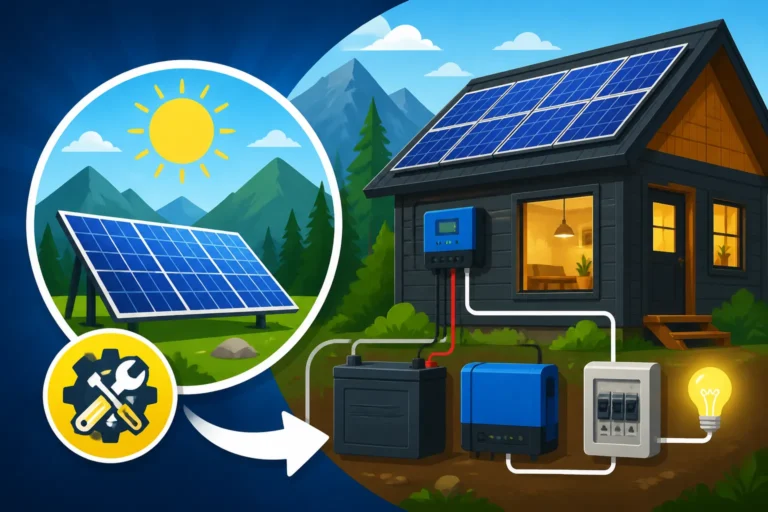
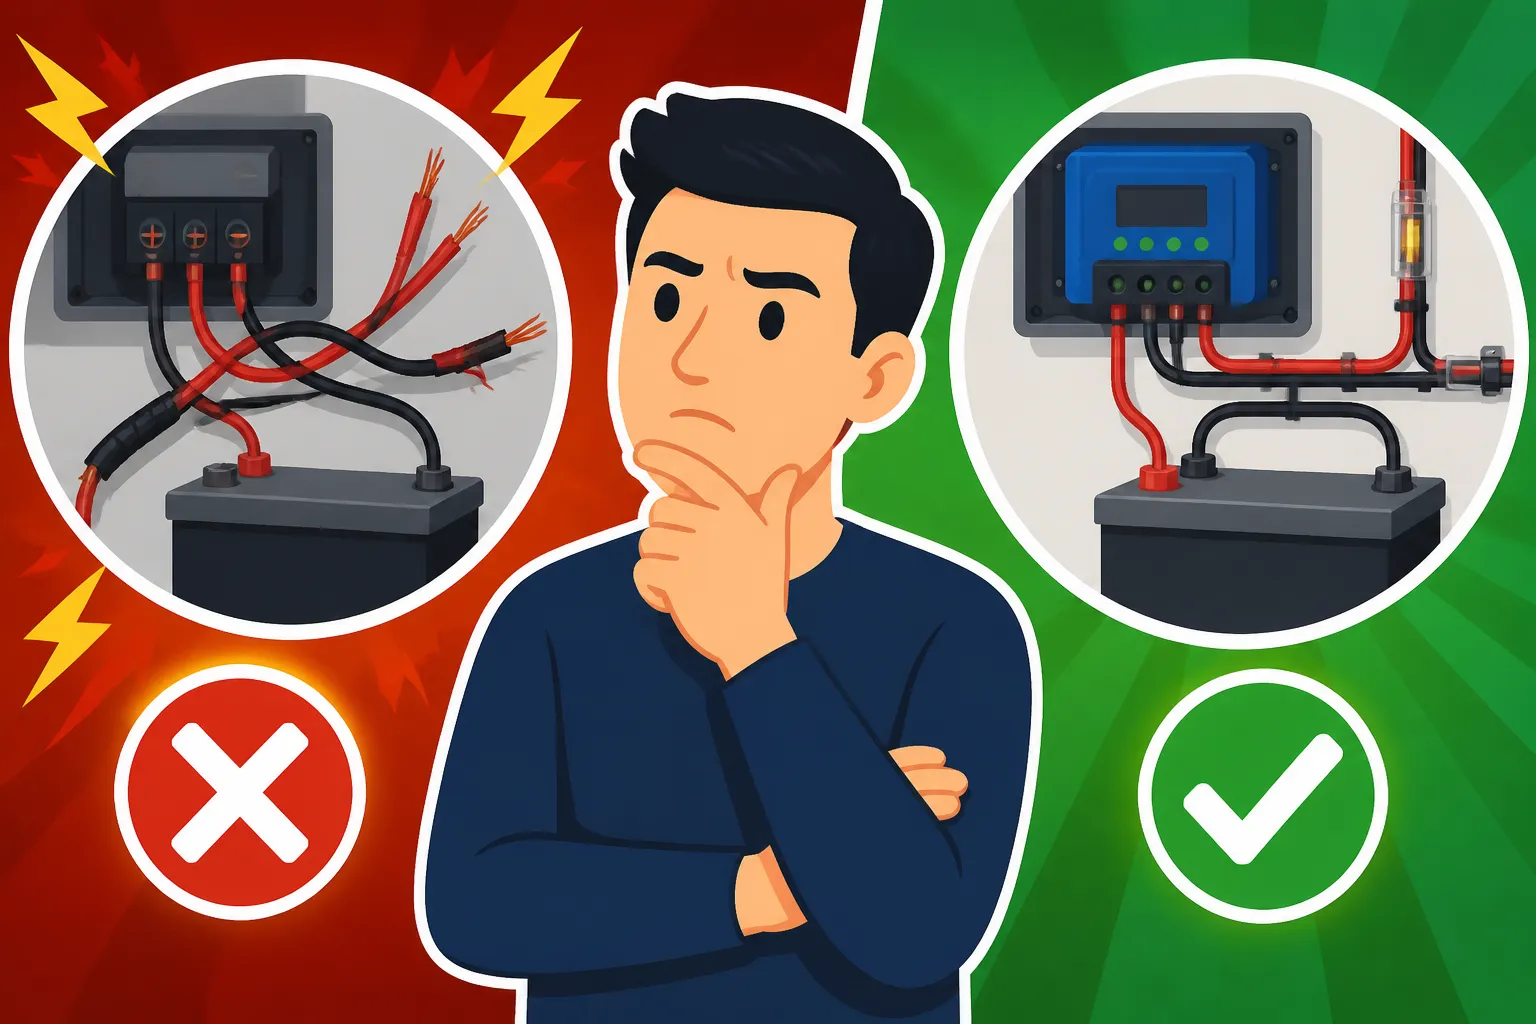
This is a non-negotiable area. Fuses and circuit breakers are your system's emergency valves. They are designed to sacrifice themselves or trip to interrupt current flow if there's an overcurrent event, like a short circuit or an overloaded appliance. Without them, an electrical fault can lead to wires melting, components frying, and batteries potentially going into thermal runaway – a fancy term for catching fire or exploding. You need appropriately sized fuses or breakers between your solar panels and your charge controller, between your charge controller and your batteries, and between your battery bank and your inverter.
Disconnect switches are equally crucial. These manual switches allow you to safely isolate different parts of your system for maintenance, troubleshooting, or in an emergency. Imagine needing to work on your inverter but having no way to cut off power from the battery bank – it's incredibly dangerous. Properly placed DC and AC disconnects give you peace of mind and are vital for safe operation. For a detailed breakdown, check out How to Install Fuses and Breakers.
Inadequate Grounding and Bonding
Grounding and bonding are often misunderstood but are absolutely critical for safety. In simple terms, grounding provides a safe path for fault current to travel to the earth, preventing electrical shock. Bonding ensures that all non-current-carrying metal parts of your system (like solar panel frames, inverter chassis, and mounting racks) are electrically connected, creating a single, equipotential surface. This prevents a dangerous voltage difference between different metal components if there's an electrical fault.
Without proper grounding, touching a faulty solar panel or an inverter with an internal short could result in a severe, potentially fatal, electric shock. This is especially important for permanent structures or larger systems. Even for smaller mobile setups, grounding the inverter chassis to the vehicle's frame is a crucial safety step. Always follow local electrical codes for grounding, even if you’re technically "off-grid," as these codes are designed to prevent injury and property damage. Our guide on Off-Grid Solar Safety and Grounding delves deeper into these essential practices.
Overlooking Environmental Considerations for System Longevity
Your off-grid solar system isn't living in a climate-controlled server room; it's out in the elements, facing everything Mother Nature can throw at it. Ignoring the environment during installation is a sure way to shorten the lifespan of your components and compromise system reliability.
UV Degradation and Water Ingress
The sun is your friend for generating power, but its UV rays are merciless on unprotected plastics and rubber. Standard wiring, conduit, and even some non-UV-rated electrical boxes will become brittle, crack, and degrade over time when exposed to direct sunlight. This leads to exposed conductors, shorts, and a host of dangerous electrical problems. Always use components specifically rated for outdoor, UV-resistant applications, such as dedicated PV wire and outdoor-rated junction boxes.
Water is another constant threat. Rain, snow, humidity, and even condensation can find their way into poorly sealed connections, junction boxes, or cable penetrations. Water in electrical systems causes corrosion, shorts, and system failures. Every connection point, especially those on the roof or exposed to the elements, must be properly sealed and weatherproofed. This means using waterproof connectors (like MC4 connectors for solar panels), conduit fittings, and marine-grade heat shrink tubing. When purchasing components, whether from a specialist like Renogy or a general marketplace like Amazon, always scrutinize their IP (Ingress Protection) ratings to ensure they can withstand your local climate.
Poor Heat Dissipation and Ventilation
Electrical components, especially inverters and charge controllers, generate heat as they operate. Batteries, particularly during heavy charging or discharging, can also warm up. If this heat isn't properly dissipated, it can drastically reduce the efficiency and lifespan of your equipment. Overheating inverters will often "throttle" their output, meaning they deliver less power than they're rated for, or even shut down entirely to prevent damage. Batteries subjected to high temperatures will degrade much faster than those kept in cooler, stable environments.
It's vital to install components in locations with adequate airflow. Avoid cramming inverters and charge controllers into tiny, sealed compartments without ventilation. If they must be enclosed, ensure there are vents or even small fans to move air. Also, consider the ambient temperature of your battery bank. For optimal performance and longevity, batteries generally prefer moderate temperatures; extreme heat or cold can significantly impact their capacity and health. Ensure there's space around your components and that any enclosures allow for heat to escape efficiently.
Specific Battery Bank Wiring Errors
Your battery bank is the power reservoir of your off-grid system, and it’s arguably the most critical and often the most expensive single component. Mistakes here can be incredibly costly, leading to reduced performance, premature failure, or even safety hazards.
Incorrect Series and Parallel Connections
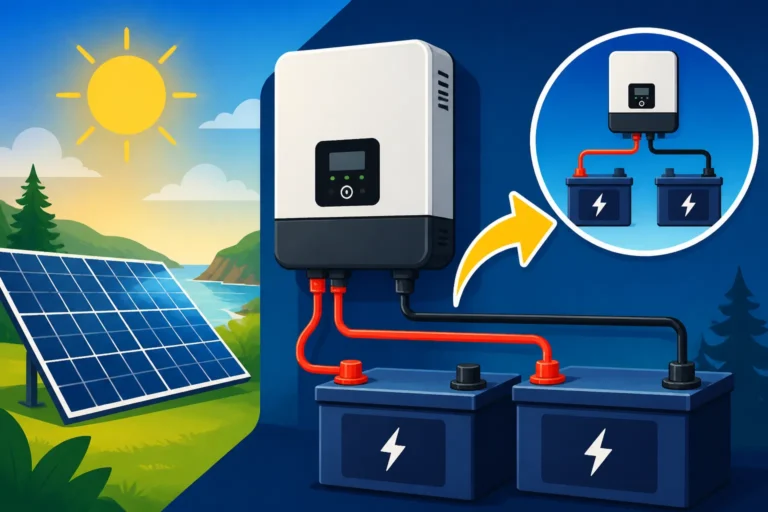
When you have multiple batteries in your bank, you’ll typically connect them in series, parallel, or a combination of both to achieve the desired system voltage and capacity. This is where many DIYers trip up. Connecting batteries in series increases the voltage (e.g., two 12V batteries in series make 24V) while keeping the amp-hour capacity the same. This is done by connecting the positive terminal of one battery to the negative terminal of the next.
Connecting batteries in parallel, on the other hand, increases the amp-hour capacity (e.g., two 100Ah 12V batteries in parallel make a 200Ah 12V bank) while keeping the voltage the same. This involves connecting all positive terminals together and all negative terminals together. Confusing these connections or incorrectly combining them can lead to an incorrect system voltage, uneven charging and discharging of individual batteries, or even catastrophic failure. Always draw out your wiring diagram and double-check every connection point. Our guide How to Wire a Battery Bank offers visual aids and step-by-step instructions to prevent these common errors.
Unbalanced Battery Banks and Inadequate Cabling
Even with correct series or parallel wiring, a battery bank can suffer from "unbalancing." This is particularly prevalent with lead-acid batteries and larger lithium iron phosphate (LiFePO4) banks that don't have robust internal battery management systems (BMS) or external balancers. When batteries in a bank are not perfectly identical or charged/discharged evenly, some can become overcharged while others are undercharged. This imbalance drastically reduces the overall usable capacity of the bank and shortens the lifespan of the weaker batteries, forcing you to replace the entire bank sooner.
Compounding this issue is often inadequate cabling within the battery bank itself. All cables connecting batteries in series or parallel must be of the same gauge and, ideally, the same length. If cable lengths vary significantly, the longer cables will have higher resistance, causing some batteries to experience higher currents or charge/discharge rates than others. This unequal current distribution exacerbates the unbalancing problem. Investing in high-quality battery cables of appropriate gauge and ensuring all internal bank connections are identical is a small cost that pays huge dividends in battery longevity. Reputable brands like EG4 and Battle Born often provide guidelines or even pre-made cables designed for their battery banks, simplifying this aspect of the build.
Inverter and Charge Controller Connection Issues
The inverter and charge controller are the brains and brawn of your off-grid system, managing the flow of power and converting it for your needs. Mistakes in their connection or configuration can lead to anything from inefficient operation to complete system meltdown.
Reverse Polarity and Exceeding Component Ratings
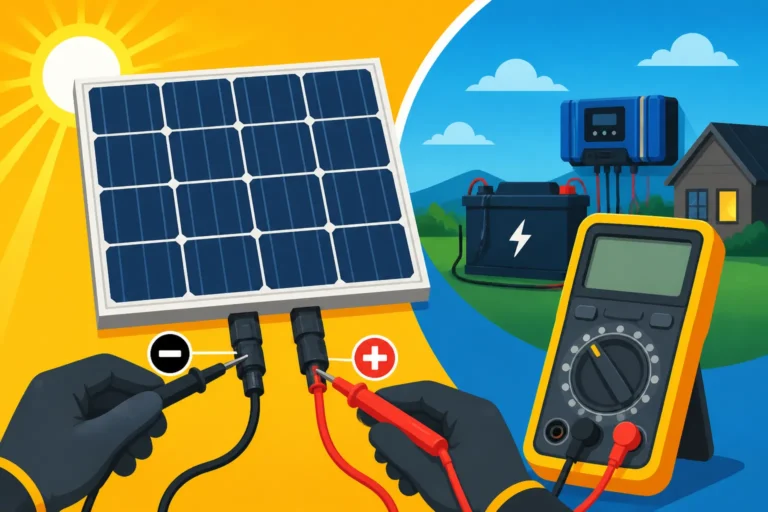
One of the most devastating and easily avoidable mistakes is reverse polarity. This means connecting the positive terminal of a power source (like a battery bank or solar panels) to the negative input of a device, and vice versa. While many modern charge controllers and inverters have some level of reverse polarity protection, it's not foolproof, especially with cheaper units or if the voltage/current surge is too great. Connecting a battery bank with reverse polarity to an inverter or charge controller can result in immediate, irreparable damage to the component, accompanied by sparks, smoke, and a potentially dangerous fire. Always, always double-check your polarity with a multimeter before making the final connection and applying power. Consistent use of red for positive and black for negative throughout your system is a simple yet effective preventative measure.
Equally critical is respecting the maximum ratings of your components. Every charge controller has a maximum input voltage and current from your solar array. Exceeding this can damage the controller. Similarly, an inverter has a maximum continuous wattage and a surge wattage rating. Trying to run a heavy-duty appliance like a well pump or an air conditioner that has a high "starting wattage" on an inverter too small to handle the surge will cause the inverter to fault, shut down, or fail entirely. Always ensure your components are matched to your peak demands, not just your average daily load.
Incorrect System Configuration and Settings
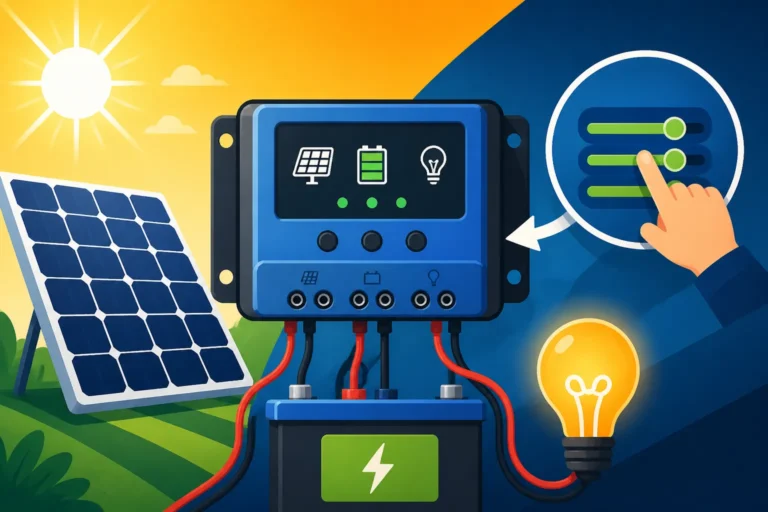
Modern charge controllers and inverters are sophisticated pieces of equipment, often with customizable settings to optimize performance for various battery chemistries and system requirements. However, this flexibility means there's also room for error in configuration. A common mistake is selecting the wrong battery type in your charge controller's settings. For instance, if you have LiFePO4 batteries but your charge controller is configured for flooded lead-acid, the charging voltages will be incorrect. This can lead to undercharging (reducing usable capacity) or overcharging (damaging the battery and risking thermal runaway) of your precious lithium batteries.
Other critical settings include low-voltage disconnect (LVD) thresholds, float voltages, equalization cycles, and inverter output parameters. Setting the LVD too low can cause deep discharge damage to your batteries, while setting it too high might cut off power prematurely. These settings are crucial for battery health and system stability. Always consult the detailed user manuals for your specific charge controller and inverter – whether it's a popular brand like Victron, Renogy, or Growatt – and configure them precisely for your battery type and desired operational parameters. Getting these settings right is fundamental to long-term system health, as explored in guides like How to Program a Charge Controller and How to Set Up an Inverter for Off-Grid.
Summary of Common Off-Grid Wiring Mistakes and Solutions
To help you keep track, here's a quick overview of the most common wiring mistakes and how to prevent them:
| Wiring Mistake | Common Symptoms | Prevention/Best Practice |
|---|---|---|
| Undersized Wire Gauge | Hot wires, voltage drop, dimming lights, low appliance performance | Use thicker wire for longer runs and higher currents. Consult How to Size Wire and Cables. |
| Loose Connections | Intermittent power, flickering, heat at terminals, buzzing sounds | Secure all connections with proper crimps/terminals, torque screws to spec. Inspect regularly. |
| No Fuses/Breakers | Component damage during fault, fire risk | Install appropriately sized fuses/breakers at key points: solar array, battery bank, inverter output. See How to Install Fuses and Breakers. |
| Incorrect Battery Wiring | Incorrect system voltage, uneven battery wear, reduced capacity, damaged batteries | Double-check series/parallel wiring for voltage and capacity. Use equal length cables. Refer to How to Wire a Battery Bank. |
| Inadequate Grounding | Shock hazard, lightning damage risk | Properly ground all metal enclosures and panel frames to an earth ground. Follow Off-Grid Solar Safety and Grounding. |
| Reverse Polarity | Immediate component damage, sparks, fire | Always double-check polarity with a multimeter before connecting. Use clear color coding. |
| Incorrect Charge Controller Settings | Under/overcharged batteries, reduced battery lifespan, inefficient charging | Program charge controller for your specific battery type (LiFePO4, AGM, etc.) and voltage. Read the manual for your How to Choose an Off-Grid Charge Controller. |
| UV Degradation / Water Ingress | Cracked wire insulation, corroded connections, shorts outdoors | Use UV-rated outdoor wire (PV wire), waterproof connectors (MC4), and sealed enclosures for all exterior components. |
| Poor Ventilation | Overheating components, reduced efficiency, premature failure | Ensure adequate airflow around inverters and charge controllers. Avoid direct sunlight on electronics. |
| Exceeding Ratings | Component shutdowns, damage, or failure | Size components (inverter, charge controller) to handle peak loads and surges. Don't push them beyond their rated capacity. |
Why Avoiding These Mistakes Matters for Your Off-Grid Journey
You might be thinking, "Wow, that's a lot to keep track of!" And you're right, it is. But every single one of these precautions, every detail in the wiring diagram Off-Grid Solar Wiring Diagram Explained, exists for a reason. Ignoring them doesn't just risk damaging your expensive equipment – it risks your safety and the reliability of your entire off-grid lifestyle. Imagine finally achieving that dream of living free from the utility company, only to have your system constantly fail due to a preventable wiring error, or worse, cause an electrical fire.
Taking the time to understand these common pitfalls and implementing best practices will save you immense headaches, costly repairs, and potential danger down the road. If you're feeling overwhelmed, remember that resources and communities exist to help. While DIY builds can significantly reduce your DIY vs Professional Off-Grid Solar Cost, the learning curve is real, and it's always wise to err on the side of caution. Your energy independence should be a source of peace, not perpetual problems.
Disclaimer
The information provided in this guide is for educational and informational purposes only and does not constitute professional electrical advice. Working with electricity can be dangerous, and off-grid solar systems involve high voltages and currents. Always consult with a qualified electrician or solar professional before installing or modifying any electrical system. Follow all local codes and regulations, and prioritize safety above all else.