How to Install Solar on a Metal Roof
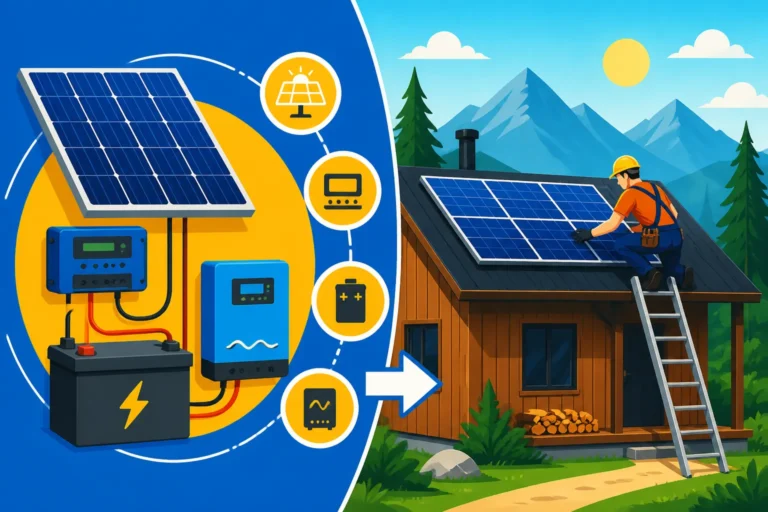
The dream of truly going off-grid often involves harnessing the sun's power, and for many, that means mounting solar panels directly onto their homes. But if you have a metal roof, the idea of drilling into it can feel incredibly intimidating – fear of leaks, damage, or simply not knowing where to start often stops people dead in their tracks. This guide is here to demystify the process, providing a comprehensive, step-by-step walkthrough to confidently install solar panels on your metal roof, ensuring a secure, efficient, and leak-free system.
Why a Metal Roof is an Excellent Choice for Off-Grid Solar
Before we dive into the nitty-gritty of installation, let's take a moment to appreciate why your metal roof is actually a fantastic foundation for an off-grid solar system, despite the initial worries. Many homeowners with asphalt shingles might even be a little envious once you understand the benefits. It’s not just about energy independence; it’s about maximizing your investment and ensuring long-term reliability.
Benefits of Metal Roofs for Solar Installations
One of the biggest advantages of a metal roof is its incredible durability and lifespan. While a traditional asphalt shingle roof might need replacement every 15-20 years, a properly installed metal roof can easily last 40-70 years, often outliving the solar panels you put on it. This means you won't have to worry about uninstalling your entire solar array just to replace the roofing material underneath, saving you a significant amount of hassle and money down the line. Imagine the frustration of having to disrupt your perfectly functional solar setup prematurely. Metal roofs are also highly resistant to fire, rot, mildew, and insects, reducing maintenance concerns that could impact your solar system.
Another often-overlooked benefit is energy efficiency. Many metal roofs, especially those with lighter colors or specialized coatings, are designed to reflect solar radiant heat, which can actually help keep your home cooler in hot climates. While this might seem counterintuitive for solar production, the panels themselves often benefit from cooler operating temperatures, leading to slightly better efficiency. Plus, the gap between the panels and the roof surface creates an additional air channel, further aiding in heat dissipation and sometimes even extending the life of your roofing material by protecting it from direct UV exposure. It's a win-win for your home's thermal performance and your solar system's output.
Specific Challenges of Metal Roofs for Solar
Now, let's be realistic. While there are many upsides, installing solar on a metal roof isn't without its unique challenges, and acknowledging these upfront is key to a successful project. The primary concern for most people is penetration and waterproofing. Drilling holes into a perfectly sealed metal roof can be nerve-wracking because any mistake could lead to leaks, which are a homeowner's worst nightmare. Unlike shingles, where a small leak might be contained by underlying layers, a leak through metal can quickly become a significant issue. This is why careful planning and the right sealing techniques are absolutely paramount.
Another consideration is thermal expansion and contraction. Metal roofs expand and contract with temperature changes more significantly than other roofing materials. Your solar mounting system needs to accommodate this movement without stressing the roof or the panels themselves. Using fixed, rigid attachments across a large roof area without considering thermal movement can lead to buckling of the metal panels or even damage to the solar array. Proper mounting hardware, designed specifically for metal roofs, addresses this by allowing for some degree of movement. Finally, walking on a metal roof can be trickier. It can be slippery, especially when wet or frosted, and some types of metal roofs are less structurally robust to foot traffic than others. Safety gear and careful movement are non-negotiable.
Types of Metal Roofs and Their Unique Mounting Considerations
Not all metal roofs are created equal, and understanding the type you have is the first critical step in choosing the correct mounting system. The most common types you'll encounter are standing seam, corrugated, and exposed fastener panels. Each demands a different approach.
Standing seam roofs, characterized by their raised interlocking seams, are often considered the "gold standard" for solar. Why? Because you can use specialized clamps that attach directly to these seams without penetrating the roof surface at all. This is huge for preventing leaks and maintaining roof integrity. Brands like S-5! offer a wide range of clamps designed for various standing seam profiles, making them incredibly popular. These clamps essentially "pinch" onto the seam, providing a robust, non-penetrating attachment point for your solar racking.
Corrugated metal roofs, with their distinctive wave patterns, and exposed fastener panels (where screws are visible on the surface) require roof penetrations. For these, you'll need to use specialized mounting brackets or standoffs that attach directly to the structural purlins or rafters underneath the metal sheeting. This involves drilling through the metal roof. The key here is proper flashing and sealant to ensure a watertight seal around every single penetration. For example, some systems utilize self-sealing washers combined with high-quality silicone or butyl sealant. It's often recommended to attach to the raised ribs on corrugated roofs to minimize the area where water might pool. Understanding these distinctions is crucial, as using the wrong mounting method can severely compromise your roof's integrity and void warranties.
Essential Tools and Materials for Metal Roof Solar Installation
Before you even think about hoisting a panel onto your roof, you need to gather all the right equipment. This isn't a project where you want to realize you're missing a critical tool halfway through installation. Being prepared not only makes the job smoother but, more importantly, safer and more effective. You'll be dealing with electrical components, heavy panels, and working at heights, so cutting corners on preparation is never a good idea.
Required Hand Tools and Safety Gear
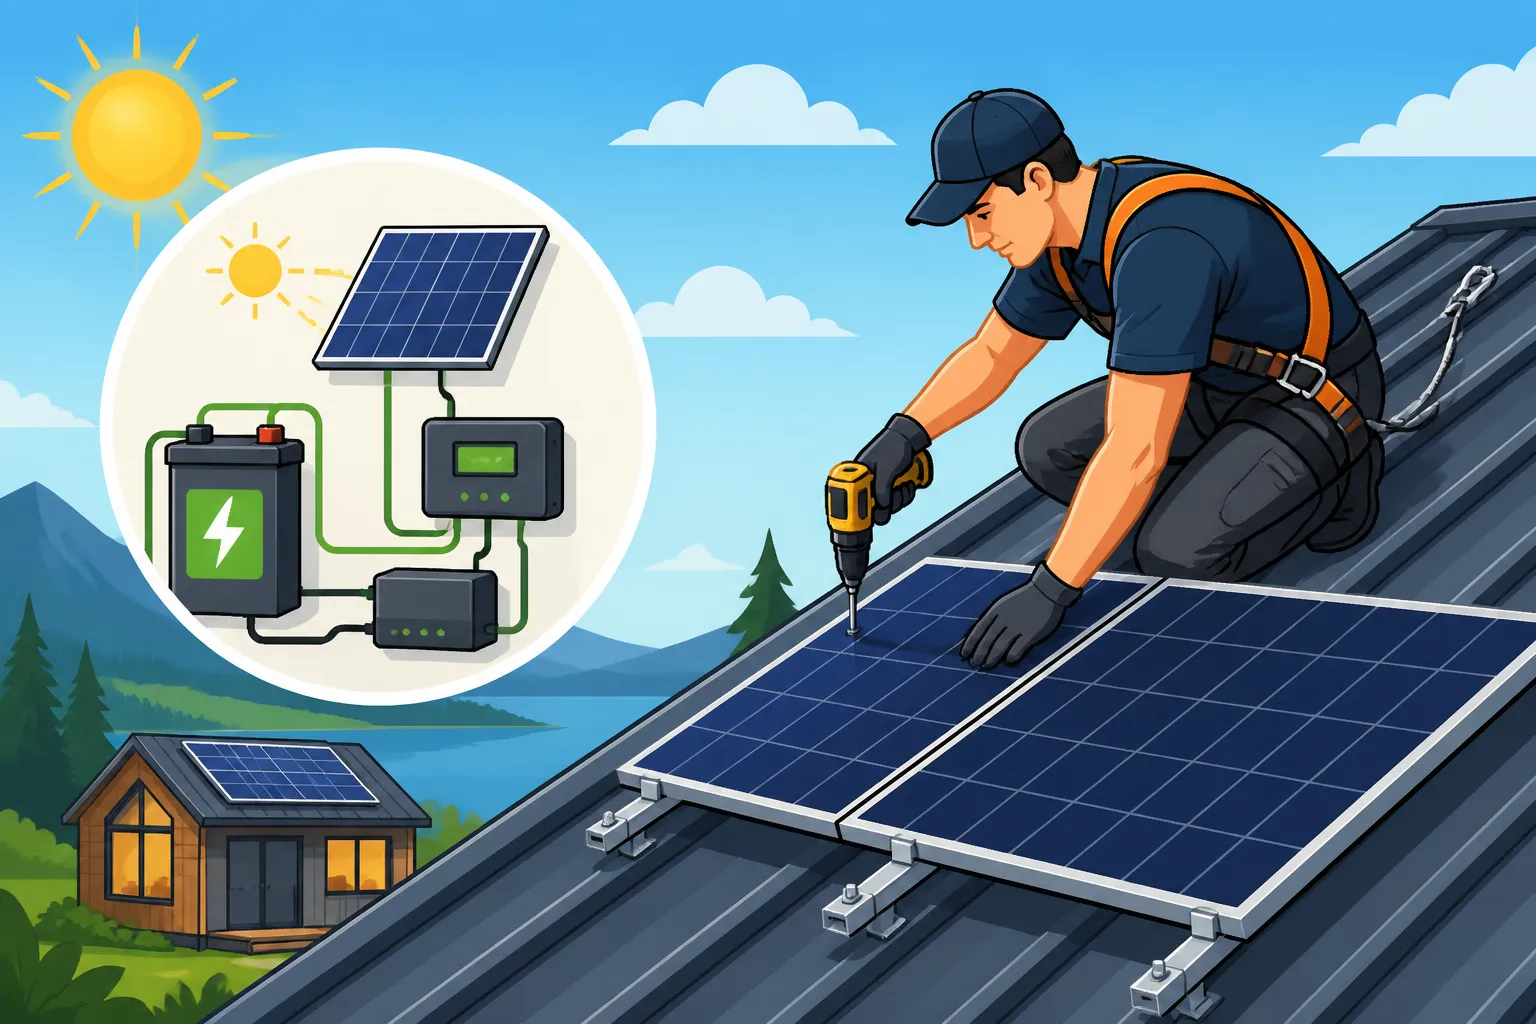
Safety should always be your absolute top priority. When working on any roof, but especially a potentially slippery metal one, a fall protection system is non-negotiable. This means a proper safety harness, a lifeline, and anchor points. Don't cheap out here; your life depends on it. You'll also need sturdy work gloves to protect your hands from sharp metal edges and solar panel frames, and safety glasses to shield your eyes from debris or glare.
For the actual installation, you’ll want a quality cordless drill with a variety of bits for drilling pilot holes and driving fasteners. A torque wrench is crucial for tightening bolts to the manufacturer's specifications, especially for critical structural connections – under-tightening can lead to unstable racking, while over-tightening can strip threads or damage components. A tape measure, chalk line, and carpenter's square will be essential for accurate layout. Having a good set of sockets and wrenches, including specialized ones for your particular mounting hardware, will save you a lot of frustration. Don't forget a caulk gun for applying sealants, and a wire stripper/crimper tool for electrical connections. For moving panels, a panel lifter or a couple of strong helpers are vital.
Mounting Hardware Specifics for Metal Roofs
This is where the type of metal roof you have truly dictates your material list. For standing seam roofs, you'll be looking for non-penetrating clamps. Brands like S-5! are widely regarded in the industry for their robust and versatile clamps designed for almost every seam profile imaginable. These clamps usually consist of an aluminum block that attaches to the seam and a stainless steel bolt to secure your racking. They often come with set screws that apply pressure without piercing the metal, preserving the roof's warranty.
For corrugated and exposed fastener roofs, you'll need roof mounts or standoffs that directly attach to the structural elements beneath the metal. These typically include a base plate, a shaft, and a flashing system. The base plate screws into the purlin or rafter, and the flashing, often a rubber gasket or an aluminum plate with an EPDM seal, goes under and around the penetration point to ensure waterproofing. Renogy, for example, offers various mounting solutions, including Z-brackets for smaller systems and more robust L-feet or standoffs for larger arrays, often found on Amazon and other solar retailers. Always ensure that the mounting hardware is compatible with the pitch and material of your specific roof and that you have enough for the planned array size. You will also need rails to attach to these mounts, and module clamps to secure the solar panels to the rails.
Electrical Components and Materials
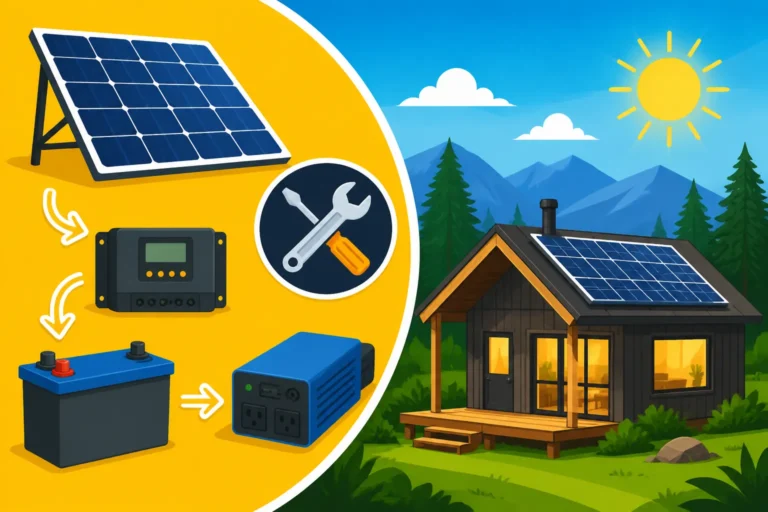
Beyond the physical mounting, you'll need all the electrical components that make your off-grid system function. This includes the solar panels themselves, of course, but also a charge controller to regulate the power from the panels to your batteries. If you want to learn more about selecting the right size, check out our guide on How to Size a Charge Controller. An inverter will convert the battery's DC power into usable AC power for your appliances. For detailed information on these, consider reading about Off-Grid Solar System Components Explained.
You'll need appropriate wiring for both the DC (panel to charge controller, charge controller to battery) and AC (inverter to loads) sides of your system. This means PV wire (UV and weather resistant) for the panels, battery cables for the battery bank, and standard AC wire for your home's electrical system. Don't forget crucial safety components: circuit breakers, fuses, and disconnect switches. These protect your equipment and, more importantly, prevent electrical fires. A proper grounding system is also absolutely essential for safety and code compliance; our article on Off-Grid Solar Safety and Grounding delves into this in detail. Finally, you’ll need MC4 connectors for weather-tight panel connections and conduit to protect wiring from environmental damage and pests.
Step-by-Step Guide to Installing Solar Panels on a Metal Roof
Alright, you've got your gear, you understand your roof, and you're ready to get hands-on. Installing solar panels is a methodical process, and rushing through any stage can lead to headaches down the line. Take your time, double-check your measurements, and always prioritize safety. This section breaks down the physical installation into manageable chunks.
Planning and Layout on Your Metal Roof
Before a single drill bit touches your roof, meticulous planning is paramount. You need to determine the optimal placement for your solar panels to maximize sun exposure throughout the day and across seasons. This often means orienting them towards true south in the Northern Hemisphere (or true north in the Southern Hemisphere) and setting an appropriate tilt angle. Consider shading from trees, chimneys, or other structures – even a small amount of shading on one panel can significantly reduce the output of an entire series string. Think about future expansions too; leaving space for more panels can save you hassle later.
Once you have a general idea, use a tape measure and a chalk line to mark out the exact locations for your mounting points. This is where precise measurements come into play. Ensure your layout accounts for the dimensions of your panels, the spacing required for the mounting hardware, and enough clearance from the roof edges for maintenance and snow shed. For standing seam roofs, you'll mark where each clamp will attach to the seam. For corrugated or exposed fastener roofs, you'll mark the penetration points, ensuring they align with the underlying structural members (rafters or purlins). Use a stud finder or plans to locate these structural supports accurately. Remember, the goal is a symmetrical, secure, and efficient array.
Attaching Mounting Hardware Securely
This is the most critical step for the long-term integrity of your roof.
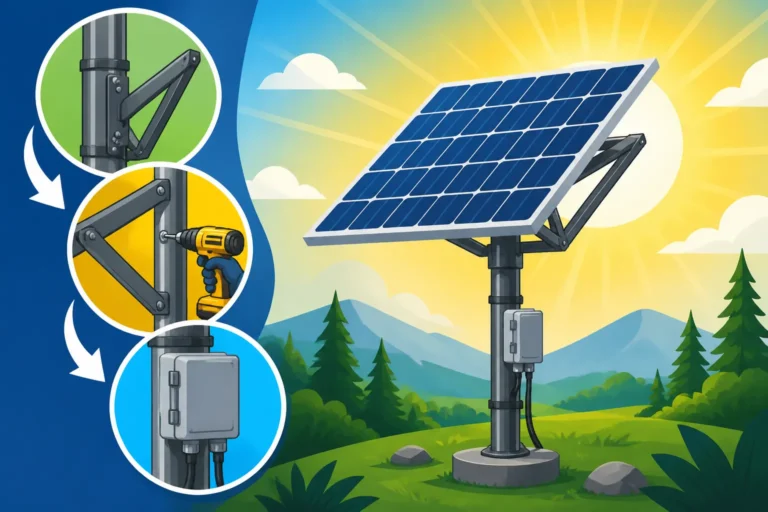
For standing seam roofs: Once your layout is marked, you'll attach the S-5! clamps (or similar non-penetrating clamps) directly to the raised seams. These clamps are designed to grip the seam without piercing it. You'll typically place the clamp, tighten the set screws to the manufacturer's specified torque, and then attach your solar rails to these clamps using appropriate hardware. The beauty here is that your roof's waterproofing remains entirely intact, minimizing any leak risks. Ensure all clamps are level and properly aligned to create a perfectly straight base for your rails. This makes panel installation much easier and aesthetically pleasing.
For corrugated and exposed fastener roofs: This involves making penetrations. Carefully drill pilot holes at your marked locations, ensuring you hit the underlying rafters or purlins. Apply a generous bead of high-quality, UV-resistant sealant (like a butyl-based caulk or specialized roof sealant) around the pilot hole before setting your base plate or standoff. Use self-sealing lag bolts or screws designed for roofing, and tighten them down. Critically, install flashing around each penetration. This usually involves a rubber gasket or an aluminum flashing plate that slides under the upper portion of the metal roof panel and over the lower portion, creating a watertight seal around the standoff. Our guide on How to Waterproof Roof Penetrations offers more in-depth advice on this crucial step. Once all the mounts are secure and sealed, attach your racking rails to the top of these mounts, ensuring they are perfectly level and square.
Installing Solar Panels and Initial Connections
With your racking firmly in place, it's time to install the solar panels themselves. This is often a two-person job, especially with larger panels, due to their size and weight. Carefully lift each panel onto the rails, taking care not to scratch the roof or damage the panel. Secure the panels to the rails using mid-clamps (between two panels) and end-clamps (at the ends of a row). These clamps typically feature a T-bolt that slides into the rail channel and a top piece that presses down on the panel's frame. Tighten these clamps to the manufacturer's specified torque to ensure the panels are securely held against wind uplift and vibrations.
As you install each panel, you'll begin making the initial electrical connections. Most modern solar panels come with pre-attached MC4 connectors. These are designed for quick and weather-tight connections. Depending on your system design, you'll wire panels in series, parallel, or a combination of both. Connecting panels in series increases the voltage, while connecting them in parallel increases the current. For larger systems, you might have multiple strings of panels leading to a combiner box. Our article on How to Wire Solar Panels in Series vs Parallel provides an in-depth look at these configurations. Always make sure to connect positive to negative for series connections, and positive to positive/negative to negative for parallel. Once all panels are physically mounted and their initial electrical connections are made, check for any loose wires or damaged connectors.
Wiring and Electrical Considerations for Your Metal Roof Solar System
Once your panels are firmly in place, the real magic begins: connecting everything electrically to bring power into your off-grid home. This stage requires a solid understanding of electrical principles and strict adherence to safety standards. Don't rush or guess here; errors in wiring can be dangerous and costly. For a comprehensive overview, refer to our Off-Grid Solar Wiring Diagram Explained guide.
Connecting Panels to the Charge Controller
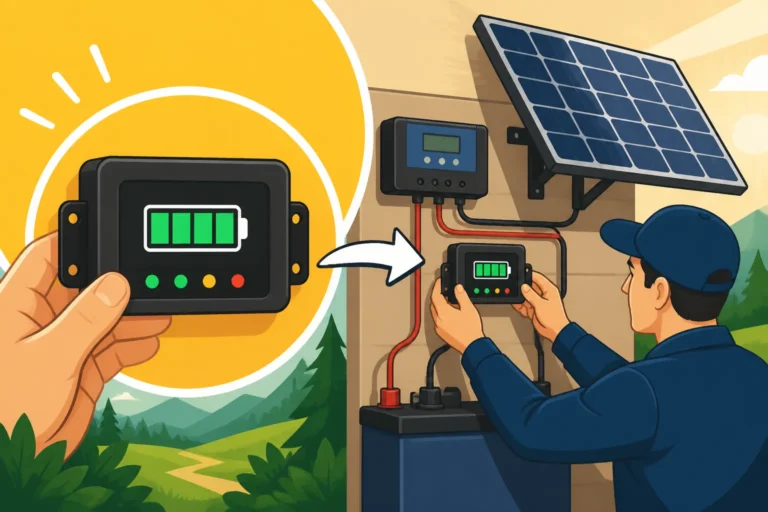
The wiring from your solar panels will typically run down into your off-grid power center, where the charge controller resides. The charge controller is like the gatekeeper for your battery bank; its job is to regulate the voltage and current coming from the solar panels, ensuring your batteries are charged safely and efficiently without overcharging. For larger arrays, you might have several strings of panels, which often merge into a combiner box on the roof or closer to the charge controller. This box provides overcurrent protection (fuses or breakers) for each string and combines them into a single larger wire run to the controller.
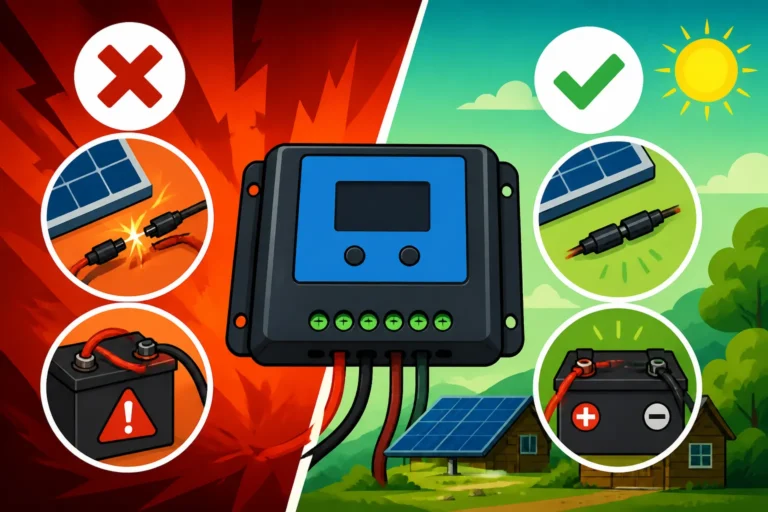
When running wires from the roof, always use UV-rated PV cable and ensure it's protected in conduit, especially where it's exposed to the elements or could be physically damaged. Seal any roof penetrations for wiring meticulously to prevent water intrusion. Connect the positive and negative leads from your solar array (or combiner box) directly to the "PV input" terminals on your charge controller. Always double-check the polarity! Many charge controllers, especially MPPT types, can handle high voltages, but it's crucial that your total array voltage (Voc) does not exceed the controller's maximum input voltage, and your total current (Isc) stays within its limits. This is a vital part of How to Size a Charge Controller.
Wiring to Batteries and Inverter
From the charge controller, the regulated power flows to your battery bank. This connection requires robust, appropriately sized battery cables due to the high currents involved, particularly in 12V or 24V systems. These cables must be as short as practically possible to minimize voltage drop and energy loss. A fuse or circuit breaker should always be installed on the positive battery cable, close to the battery bank, to protect against short circuits. When wiring to the battery bank, ensure you connect positive to positive and negative to negative terminals on the charge controller's "battery" output and your main battery bank terminals. Understanding How to Connect Batteries, Inverter, and Panels correctly is paramount for system performance and safety.
Next comes the inverter, which converts the DC power stored in your batteries into usable AC power for your household appliances. The inverter will also connect directly to your battery bank, again using heavy-gauge cables and a dedicated fuse or breaker for protection. The size of your inverter will depend on your anticipated AC load – specifically, the peak surge power required by your appliances and the continuous running power. If you're running a well pump or an air conditioner, you'll need a robust inverter capable of handling high surge currents. From the inverter, the AC power will then typically feed into a dedicated subpanel or directly to your critical AC loads, just like standard grid electricity.
Grounding and Safety Precautions
Proper grounding is not just a recommendation; it's a non-negotiable safety requirement for any electrical system, especially off-grid solar. It protects people from electrical shock and equipment from lightning strikes or surges. Your entire solar array racking system, including the panel frames, must be bonded together and then connected to an earth ground. This means a continuous, low-resistance path from all metallic parts of your solar installation to a ground rod driven deep into the earth.
All major components – solar panels, mounting rails, charge controller, inverter, and battery bank – should have designated grounding points that connect back to a common grounding busbar, and ultimately to your main grounding electrode. Use appropriately sized bare copper or green insulated wire for these grounding connections. Always follow the National Electrical Code (NEC) guidelines for grounding and bonding, even if you’re off-grid and not subject to local inspections (though you should always check for Off-Grid Solar Permits and Codes in your area). Install appropriate DC and AC disconnect switches to allow for safe shutdown and maintenance of your system. Remember, electricity is unforgiving, and prioritizing safety above all else is crucial.
Common Pitfalls and How to Avoid Them
Even with the best intentions and careful planning, mistakes can happen. Recognizing the most common missteps in off-grid solar installation, especially on metal roofs, can save you a world of trouble down the line. It's often the small details that become big problems, turning your dream of energy independence into a costly nightmare.
Waterproofing Mistakes and How to Prevent Leaks
This is arguably the biggest concern when installing solar on a metal roof that requires penetrations. A single, improperly sealed screw can lead to a slow, insidious leak that might go unnoticed for months, causing significant damage to your roof decking, insulation, and even interior finishes. The most common mistakes include not using enough sealant, using the wrong type of sealant (e.g., cheap silicone that degrades quickly in UV light), or failing to properly install flashing. Some might also overtighten screws, compressing rubber washers too much and making them ineffective.
To prevent leaks, be meticulous. First, for every penetration, use a high-quality, UV-stable sealant specifically designed for roofing applications. Butyl sealant or specialized polyurethane sealants are often recommended over standard silicone for their longevity and adhesion to metal. Second, ensure that any flashing components are correctly installed, typically sliding under the upper metal sheet and over the lower one, creating a watertight shingle effect. Don't rely solely on a screw and washer; proper flashing is the real hero. Always follow the manufacturer's instructions for both your mounting hardware and your sealant. And when drilling, ensure you hit the structural members to provide a strong anchor point, which also helps maintain the seal's integrity by preventing movement. A little extra time and care here will save you countless headaches.
Under-sizing or Over-sizing System Components
Getting the sizing right for your off-grid solar system is a delicate balance, and both under-sizing and over-sizing can lead to problems. Under-sizing means you won't have enough power to meet your daily energy needs, leaving you in the dark or constantly relying on a backup generator. This is a common frustration for newcomers, who underestimate their true energy consumption. Conversely, over-sizing can lead to unnecessary expenses for components you don't truly need, prolonging your Off-Grid Solar Payback Period Explained. The key is a thorough How to Size an Off-Grid Solar System assessment of your energy consumption.
Many folks forget to account for "phantom loads" (appliances that draw power even when off), seasonal variations in sun exposure, or future power needs. For instance, winter months with shorter days and more cloudy weather will drastically reduce your solar production. If your battery bank isn't sized to provide enough "days of autonomy" for these periods, you'll run into issues. To avoid this, perform a detailed load analysis, listing every appliance and its wattage, and estimate how many hours per day you'll use it. Add a buffer for cloudy days and potential future growth. Consider your budget, of course, but prioritize functionality. It’s often better to start with a slightly smaller, well-designed system and plan for Cost of Expanding an Off-Grid System later than to build one that constantly falls short.
Ignoring Local Codes and Permits
It's tempting to think that because you're "off-grid," you're exempt from local regulations. This is a dangerous assumption that can lead to fines, forced system removal, or even safety hazards. While requirements vary widely by location, many counties and municipalities still have building codes, electrical codes, and permitting requirements for solar installations, even if they aren't tied to the utility grid. These codes are primarily for safety: ensuring structural integrity, fire safety, and electrical safety.
Failing to secure the necessary permits can mean your home isn't insurable, or you might face significant penalties if your system is discovered during a property inspection. To avoid this pitfall, always start by contacting your local building department. Ask about specific requirements for off-grid solar systems, including structural engineering reports, electrical diagrams, and installation standards. They can tell you if you need a permit for off-grid solar. Even if you don't need a permit, adhering to recognized standards like the National Electrical Code (NEC) is a best practice. This ensures your system is safe, reliable, and built to withstand the test of time, giving you peace of mind whether you're living in a tiny home in rural Oregon or a cabin in the mountains of Colorado.
Maintaining Your Metal Roof Solar System
Installing your off-grid solar system on a metal roof is a significant achievement, but the journey doesn't end there. Like any complex system, it requires regular care and attention to ensure optimal performance and longevity. Skipping maintenance can lead to reduced efficiency, premature component failure, and ultimately, higher long-term costs. A little proactive effort goes a long way in keeping your off-grid lifestyle powered smoothly.
Routine Inspections and Cleaning
Regular visual inspections are your first line of defense against potential problems. Aim for at least a quarterly check, and certainly after any major weather event like a heavy storm or significant snowfall. From a safe vantage point (or using binoculars if you can't safely access the roof), look for any visible damage to the solar panels, such as cracks in the glass, loose frames, or delamination. Check the mounting hardware: are all clamps or bolts still tight? Do you see any signs of rust or corrosion? Are the wires secured and free from fraying or damage from pests? Pay particular attention to any roof penetrations you made, looking for signs of sealant degradation or leaks.
Cleaning your solar panels is also vital for maintaining efficiency. Dust, pollen, bird droppings, and leaves can accumulate on the panel surface, reducing the amount of sunlight that reaches the cells. While rain can help, it often isn't enough to remove stubborn grime. For most off-grid setups, a simple rinse with a hose and a soft brush (if necessary) is sufficient. Avoid harsh chemicals or abrasive materials that could scratch the glass. The best time to clean is typically in the early morning or late evening when the panels are cool, to avoid thermal shock that could damage the cells. Our guide on How to Maintain Off-Grid Solar Panels offers more detailed advice.
Troubleshooting Common Issues
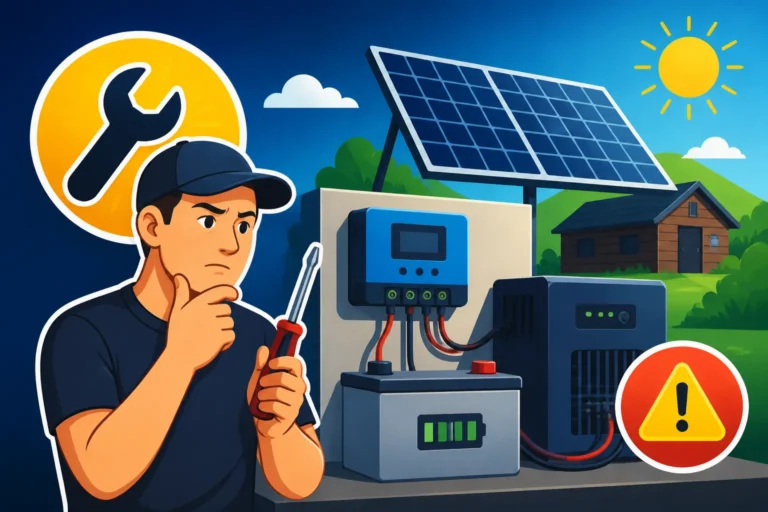
Despite your best efforts, sometimes things just don't work as expected. Knowing how to troubleshoot common issues can save you from costly service calls and extended periods without power. One of the most frequent problems is a drop in power output. Start by checking your charge controller and inverter displays; they often provide error codes or status messages. Is the voltage from your solar array (PV input) within the expected range? Is the battery voltage healthy?
Common culprits for reduced output include shading, dirty panels, or loose connections. If you suspect shading, re-evaluate your array's exposure throughout the day. If a connection is loose, carefully re-tighten it after safely disconnecting power. For more complex issues, like a charge controller not recognizing the panels, you might need to test individual components. Use a multimeter to check the voltage and current output of individual panels or strings. Always remember to disconnect power at all appropriate disconnect switches before attempting any electrical troubleshooting. Knowing Common Off-Grid Wiring Mistakes can help you quickly identify potential points of failure.
Seasonal Adjustments and Winterization
Off-grid solar systems, especially those on metal roofs, often benefit from seasonal adjustments to optimize performance. In regions with significant seasonal variations, adjusting your panel tilt angle can dramatically improve winter production. In summer, a flatter angle (closer to your latitude) is generally best, while in winter, a steeper angle (latitude plus 15 degrees or more) helps capture lower-angle sun and encourages snow shedding. Many ground-mount systems allow for easy seasonal tilt adjustments, and some roof mounts can be configured for this as well.
For winter, particularly in snowy climates, consider snow management. Metal roofs can shed snow quickly, which is great for exposing your panels, but it can also create dangerous snow avalanches off the roof. Consider installing snow guards above walkways or entry points below your solar array. If your panels are accumulating heavy snow, gentle removal using a soft broom or specialized roof rake can help restore production, but always prioritize safety. Ensure your batteries, especially lead-acid types, are kept in an environment where they won't freeze, as cold significantly reduces their capacity and can damage them. Lithium iron phosphate (LiFePO4) batteries, like those offered by Renogy, often have internal heating elements or perform better in cold, but extreme cold can still impact charging. Planning for these seasonal challenges is crucial for year-round off-grid reliability.
| Metal Roof Type | Mounting Method | Pros | Cons | Key Considerations |
|---|---|---|---|---|
| Standing Seam | Non-penetrating clamps (e.g., S-5!) | No roof penetrations; preserves roof warranty; excellent waterproofing. | Requires specific seam profiles; clamps can be expensive. | Verify clamp compatibility with seam profile; ensure proper torque settings. |
| Corrugated | Standoffs with flashing, attached to purlins | Strong, secure attachment to structure. | Requires roof penetrations; meticulous waterproofing essential. | Use high-quality sealants and flashing; attach to raised ribs for best drainage. |
| Exposed Fastener | Standoffs with flashing, attached to rafters | Direct attachment to structural members. | Requires roof penetrations; meticulous waterproofing essential. | Use appropriate lag bolts; ensure flashing and sealant create a durable seal. |
Disclaimer
The information provided in this guide is for general informational purposes only and does not constitute professional advice. Installing an off-grid solar system, especially on a roof, involves working with electricity, heights, and heavy equipment. It carries inherent risks, including but not limited to electrical shock, falls, and property damage. Always consult with qualified and licensed professionals (electricians, structural engineers, roofing contractors) before undertaking any significant installation project. Adhere strictly to all local building codes, electrical codes, and permitting requirements. The author and publisher are not responsible for any injury, damage, or loss that may result from the use or misuse of the information contained herein.