How to Install Solar on a Tiny Home
Living in a tiny home offers incredible freedom and a chance to truly embrace a minimalist, self-sufficient lifestyle. But let's be honest, figuring out how to get reliable electricity without being tied to the grid can feel like a monumental task. You want to power your lights, perhaps a mini-fridge, maybe even a small heater, without constantly worrying about running out of juice or shelling out a fortune. This comprehensive guide is here to demystify the process of installing an off-grid solar system on your tiny home, making sustainable living a practical reality.
Understanding Your Tiny Home's Energy Needs
Before you even think about buying a single solar panel, the most crucial first step for any tiny home dweller contemplating off-grid living is to get a crystal-clear picture of your energy consumption. It’s not just about how many gadgets you have, but how long you use them and how much power each one actually draws. Skipping this step is like trying to build a house without a blueprint – you're almost guaranteed to run into problems down the line, either having too little power or spending money on an oversized system you don't really need.
Conducting a Detailed Load Analysis
A load analysis is essentially an inventory of every electrical device you plan to use in your tiny home, along with its wattage and how many hours per day you'll operate it. This might sound tedious, but trust me, it's the foundation of a successful off-grid setup. For tiny homes, space and budget are often tight, so every watt counts. You'll want to differentiate between continuous loads (like a refrigerator that runs 24/7) and intermittent loads (like a blender you use for 5 minutes).
Start by listing every appliance: lights, phone chargers, laptop, water pump, ventilation fan, mini-fridge, microwave, espresso maker – seriously, everything. Then, for each item, find its wattage. This is usually listed on a sticker on the appliance itself, in the owner's manual, or you can often find it with a quick search online. If an appliance only lists amps, multiply amps by voltage (e.g., 120V for most AC appliances, or 12V/24V for DC appliances) to get watts. Crucially, also note the starting watts or surge watts for motor-driven appliances like a refrigerator or water pump. These can be several times higher than their running watts and your inverter needs to be able to handle that momentary spike. For instance, a small fridge might run at 60 watts, but its compressor could surge to 300-500 watts when it kicks on.
Once you have the running watts and an estimate of daily usage hours for each, you can calculate the watt-hours per day for each appliance. This attention to detail is paramount for tiny homes, where every square inch of panel or battery space is precious. Taking the time to do this correctly now will prevent the headaches and unexpected expenses of an undersized system later.
Calculating Daily Watt-Hour Consumption
After you've gathered all the individual appliance data, it's time to put it all together to get your total daily energy budget. This involves multiplying the running watts of each item by the number of hours you expect to use it daily. For example, if your LED lights draw 10 watts and you use them for 4 hours a day, that's 40 watt-hours. Your tiny home's small refrigerator might consume 50 watts but cycles on and off, averaging perhaps 8-10 hours of active compressor time per day, leading to 400-500 watt-hours.
Once you have all these individual daily watt-hour figures, simply add them up. This sum is your estimated total daily watt-hour consumption. For tiny homes, this number typically ranges from 1,000 Wh (1 kWh) for very minimalist setups to 5,000 Wh (5 kWh) for those with more amenities like a small air conditioner or water pump. It’s a good idea to create a spreadsheet to keep track of everything, allowing you to easily adjust usage or appliance choices. Remember to account for seasonal variations too. In winter, you might use more lights and possibly a small electric heater (if your system can handle it), while in summer, a fan or mini-split might be a major draw. For a deeper dive into these calculations, check out our guide on "How to Calculate Daily Energy Usage".
It’s also wise to add a buffer, say 10-20%, to your final daily watt-hour total. This accounts for inefficiencies in the system, unexpected usage, or future additions. Building in a little wiggle room now can save you from constantly playing energy detective later, trying to figure out why your batteries are depleting faster than expected.
| Appliance | Running Watts (W) | Usage Per Day (Hours) | Daily Watt-Hours (Wh) | Surge Watts (W) (if applicable) |
|---|---|---|---|---|
| LED Lights (total) | 30 | 4 | 120 | N/A |
| Mini-Fridge | 60 | 10 | 600 | 300 |
| Laptop Charger | 45 | 3 | 135 | N/A |
| Phone Charger | 10 | 2 | 20 | N/A |
| Water Pump | 150 | 0.5 | 75 | 450 |
| Vent Fan | 20 | 6 | 120 | N/A |
| Microwave (small) | 700 | 0.1 (6 min) | 70 | 1200 |
| TOTALS | 1140 Wh | Max Surge: 1200 W |
Note: Usage hours are estimates and should be tailored to your specific habits. Surge watts only apply when the appliance first starts.
Essential Components of a Tiny Home Solar System
Once you've nailed down your energy needs, it's time to explore the heart of your off-grid system: the components. For tiny homes, every piece of equipment needs to be chosen with efficiency, size, and durability in mind. You're not just building a power system; you're integrating it into a compact living space.
Choosing the Right Solar Panels
Solar panels are your energy collectors, turning sunlight into electricity. For tiny homes, the choice of panel type can significantly impact your system's efficiency, aesthetics, and overall footprint. Monocrystalline panels are widely favored for their high efficiency, meaning they can produce more power per square foot than other types, which is a huge advantage when roof space is limited. Brands like Renogy offer excellent monocrystalline options that are robust and reliable.
Flexible solar panels are another popular choice for tiny homes, especially those with curved roofs or weight constraints, such as converted buses or vans. They can conform to uneven surfaces and are much lighter than rigid panels. However, they typically have lower efficiency and may not dissipate heat as well, which can affect their performance. Still, for a tiny home on wheels or one with a uniquely shaped roof, their versatility can't be beat. Rigid panels, on the other hand, offer better long-term durability and efficiency but require a more traditional mounting system. Consider factors like expected sun exposure, roof material, and whether your tiny home is stationary or mobile. Our guide on "How to Choose an Off-Grid Solar Panels" offers a deeper dive into the specifics of panel selection.
Whether you opt for rigid or flexible, consider their physical dimensions and how they will fit on your tiny home's roof without overhanging or creating too much wind resistance if mobile. Maximize the south-facing exposure (in the Northern Hemisphere) and ensure minimal shading from chimneys, vents, or surrounding trees.
Selecting Batteries for Limited Space
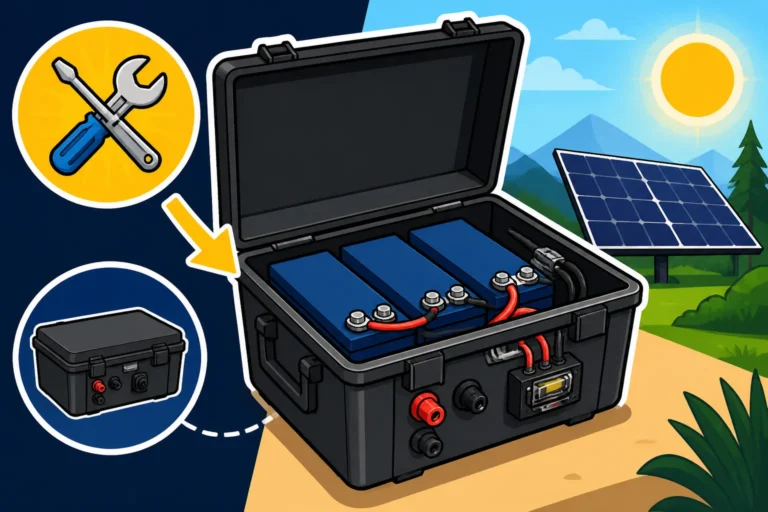
Your battery bank is where all that precious solar energy is stored for use when the sun isn't shining. For tiny homes, battery choice is critical due to weight, space, and maintenance considerations. Historically, lead-acid batteries (like flooded or AGM) were common, offering a lower upfront cost. However, they are heavy, have a shorter cycle life, and can take up considerable space. Flooded lead-acid batteries also require regular maintenance and venting.
This is why many tiny home owners are now opting for LiFePO4 (Lithium Iron Phosphate) batteries. While they have a higher initial cost, their advantages for tiny living are undeniable: they are significantly lighter, more compact, have a much longer lifespan (often 10-15 years or more), are virtually maintenance-free, and can be discharged deeper without damaging them. This means you need less actual storage capacity compared to lead-acid batteries to get the same usable power. Imagine fitting a powerful battery bank under a bench or in a small closet without sacrificing too much precious square footage or adding excessive weight. When calculating your battery bank size, you'll need to consider your daily watt-hour consumption and how many "days of autonomy" you want – meaning, how many days your system can run without sun. A good starting point is 2-3 days for most tiny homes, but this can vary based on your climate. To help you figure out your exact needs, take a look at our article on "How Many Batteries for an Off-Grid System".
When purchasing batteries, especially LiFePO4, many reputable brands are available through online retailers like Amazon, offering competitive pricing and customer reviews. Always prioritize batteries with a built-in Battery Management System (BMS) for safety and longevity.
Inverters and Charge Controllers
These two components are the brains and brawn of your tiny home's electrical system, after the panels and batteries. The charge controller manages the power flowing from your solar panels to your batteries, preventing overcharging and optimizing the charging process. MPPT (Maximum Power Point Tracking) charge controllers are highly recommended for tiny homes because they are more efficient, especially in varying light conditions, extracting up to 30% more power from your panels compared to simpler PWM (Pulse Width Modulation) controllers. Given the often-limited panel space on tiny homes, maximizing efficiency here is a no-brainer.
The inverter is what converts the DC (Direct Current) power from your batteries into AC (Alternating Current) power, which is what most standard household appliances use. For tiny homes, a pure sine wave inverter is essential. Modified sine wave inverters are cheaper, but they can damage sensitive electronics (like laptops, TVs, or even some mini-fridges) and cause motors to run inefficiently or overheat. Given the investment in your tiny home and its appliances, don't skimp here. Sizing your inverter correctly is crucial; it needs to be able to handle the sum of all continuous AC loads you might run simultaneously, plus the surge watts of your largest motor-driven appliance. For example, if you want to run a microwave (700W) and a coffee maker (800W) at the same time, your inverter needs a minimum continuous rating of 1500W, plus enough headroom for the microwave's surge. For detailed guidance on sizing these components, refer to our comprehensive article on "How to Size an Off-Grid Inverter" and "How to Choose an Off-Grid Charge Controller".
Many modern off-grid systems for tiny homes now use inverter-chargers, which combine the functions of an inverter, a battery charger (for generator or shore power backup), and often a transfer switch into one compact unit. This can save space and simplify wiring, which is a big plus in a tiny home environment.
Designing Your Tiny Home Solar Layout
Designing the layout for your tiny home's solar system involves more than just placing panels on the roof. It's about optimizing performance, ensuring safety, and integrating the system seamlessly into your unique living space. Think of it as tailoring a custom suit – it needs to fit perfectly and function flawlessly.
Optimizing Panel Placement and Tilt
Tiny homes present unique challenges and opportunities for solar panel placement. Roof space is often at a premium, making efficient use of every square inch critical. The ideal scenario is to have your panels facing true south (in the Northern Hemisphere) and tilted at an angle equal to your latitude for year-round optimal performance. However, this is rarely perfectly achievable on a tiny home, especially one that's mobile or has a specific roof pitch.
For stationary tiny homes, consider using adjustable tilt mounts. These allow you to change the angle of your panels seasonally, tilting them lower in summer for maximum high-sun production and steeper in winter to better capture the lower-angle sun. This can significantly boost your energy harvest, particularly during those shorter, cloudier winter days. For mobile tiny homes or those with limited roof space, you might consider smaller, strategically placed panels, or even flexible panels that adhere directly to the roof, minimizing profile and wind resistance. Some tiny home owners even opt for ground-mounted panels that can be set up when parked, offering greater flexibility in orientation and tilt. Just remember to secure them properly! Learning about "Best Tilt Angle for Off-Grid Panels" can help you make informed decisions.
Also, be vigilant about shading. Even a small shadow from a chimney, vent, or tree branch can drastically reduce the output of an entire string of panels. Use a shade analysis app on your phone to assess potential shading throughout the day and year, and design your layout to minimize its impact.
Wiring and Safety Considerations
Wiring an off-grid solar system for a tiny home demands meticulous attention to detail and safety. Given the confined spaces, correct wire sizing, routing, and protection are paramount. First, you'll need to understand the difference between series and parallel wiring for your solar panels and battery bank. Series wiring increases voltage, while parallel wiring increases current. Most modern off-grid systems use a combination of both to achieve the desired system voltage (e.g., 24V or 48V) while keeping wire runs manageable. Always refer to your component manuals and a reliable wiring diagram.
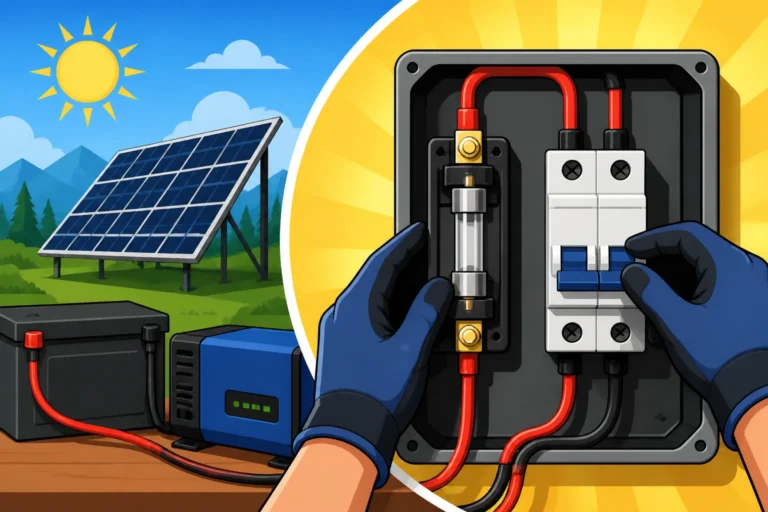
The National Electrical Code (NEC) provides essential guidelines for electrical installations, even for off-grid systems. While local permitting requirements for tiny homes can vary wildly, adhering to NEC standards is crucial for safety and can help if you ever need an inspection or insurance. Key safety components include fuses and breakers. DC-rated circuit breakers or fuses must be installed between your solar panels and charge controller, and between your charge controller and battery bank, and between your battery bank and inverter. These protect your components from overcurrents and allow for safe disconnection for maintenance. A main disconnect switch for your battery bank is also non-negotiable.
Proper grounding of your entire system is another critical safety measure. This involves connecting all metal enclosures (panels, inverter, charge controller, mounting racks) to a common ground point. In a tiny home, this might mean connecting to the vehicle chassis (if mobile) or a dedicated ground rod (if stationary). Overlooking grounding can create dangerous electrical hazards. Taking the time to understand "How to Wire an Off-Grid Solar System" will ensure your tiny home's electrical system is not only functional but also safe for you and your loved ones. Always use high-quality, UV-resistant cables and ensure all connections are tight and secure to prevent arcing or voltage drop.
Step-by-Step Tiny Home Solar Installation
Alright, you've done your homework, sized your system, and chosen your components. Now comes the exciting part: putting it all together! Installing solar on a tiny home is a rewarding DIY project, but it requires precision and adherence to best practices.
Mounting Panels and Running Conduit
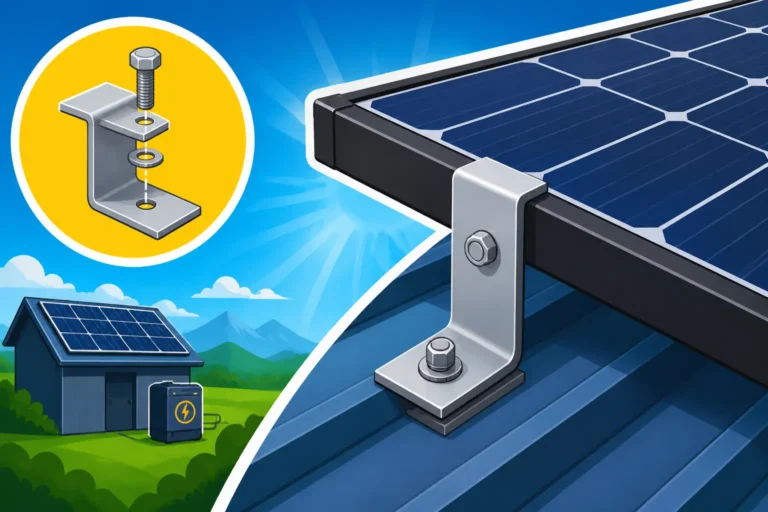
Mounting your solar panels securely to your tiny home's roof is the first physical step. The method will depend on your roof type and whether your home is stationary or mobile. For stationary tiny homes with traditional roofs (like metal or asphalt shingles), sturdy aluminum racking systems are common. These elevate the panels, allowing for airflow and optimal tilt. Make sure your mounting feet are securely fastened into the roof rafters, not just the sheeting, and that all penetrations are thoroughly sealed with a high-quality sealant to prevent leaks. For tiny homes on wheels, like RVs or converted buses, lighter-weight mounting brackets or flexible panels might be more suitable, always ensuring they can withstand highway speeds and vibrations. Renogy offers various mounting solutions, including Z-brackets for smaller systems and tilt mounts for adjustable angles.
Once your panels are mounted, you'll need to run the wiring. This usually involves connecting individual panels together (in series, parallel, or a combination) and then routing the main PV (photovoltaic) cables into your tiny home. Use UV-resistant PV cable specifically designed for solar applications. It's crucial to protect these cables by running them through electrical conduit, especially where they are exposed on the roof or walls. This protects them from physical damage, weather, and rodents. Use proper cable entry glands or roof glands to create a watertight seal where the cables enter your home. Don't just drill a hole and caulk it – invest in proper sealing components to prevent leaks and drafts. Proper cable management, using ties or clips, also helps prevent chafing and ensures a neat installation.
The goal here is a robust, watertight, and tidy installation that will stand the test of time and travel. Remember, your tiny home is constantly exposed to the elements, so don't cut corners on securing and protecting your wiring.
Connecting Components and System Commissioning
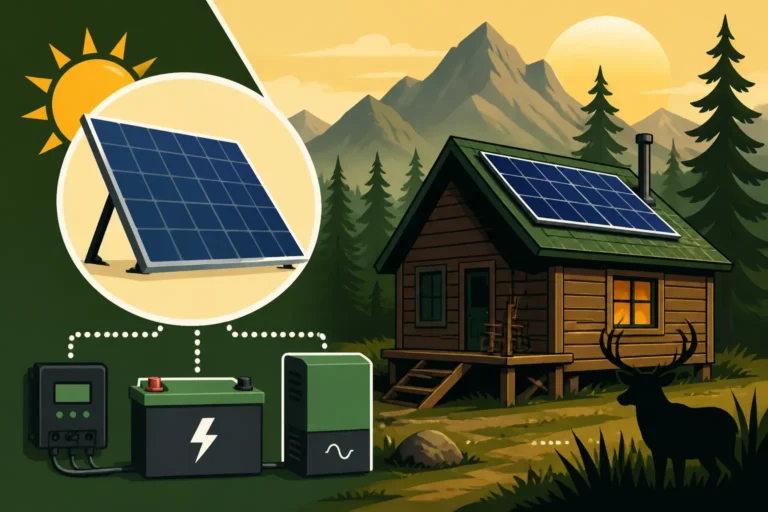
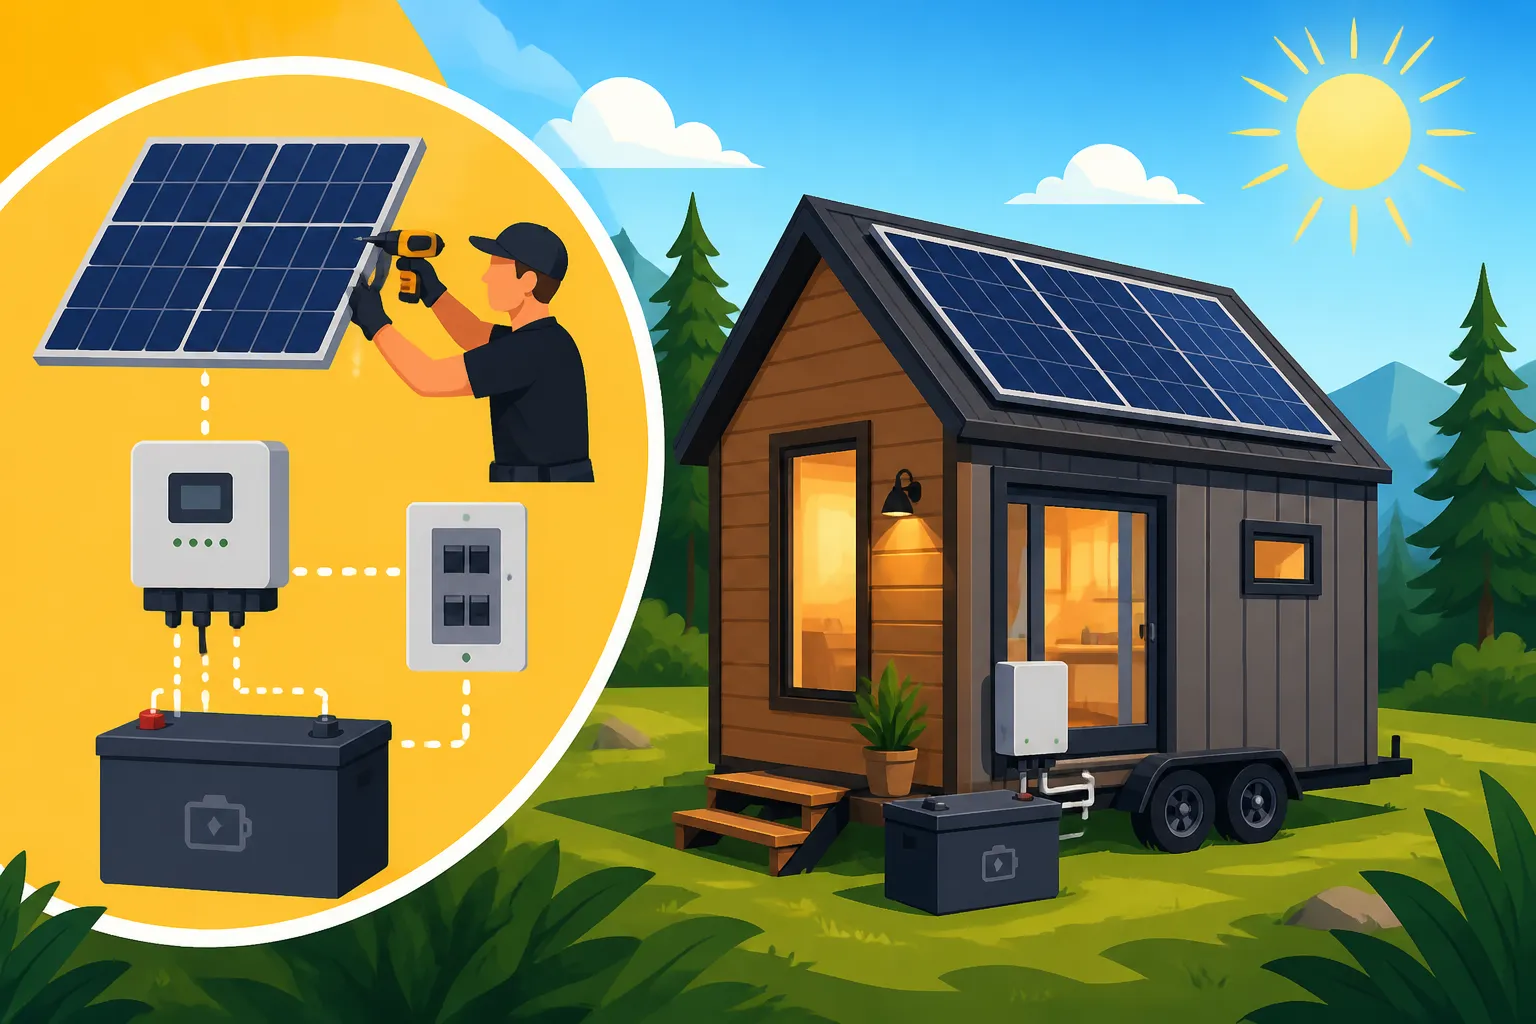
With your panels mounted and cables routed, it's time to connect the main components. This is typically done in a specific sequence to ensure safety and prevent damage. First, connect your solar panels to your charge controller. Ensure you use the correct positive and negative terminals, paying close attention to polarity. Then, connect your charge controller to your battery bank. Again, double-check polarity. Install your battery disconnect switch and any DC circuit breakers at this stage. Finally, connect your inverter to your battery bank, making sure to install the main DC fuse or breaker for the inverter as close to the battery bank as possible. If you're running AC loads, you'll then connect your inverter's AC output to your tiny home's AC breaker panel.
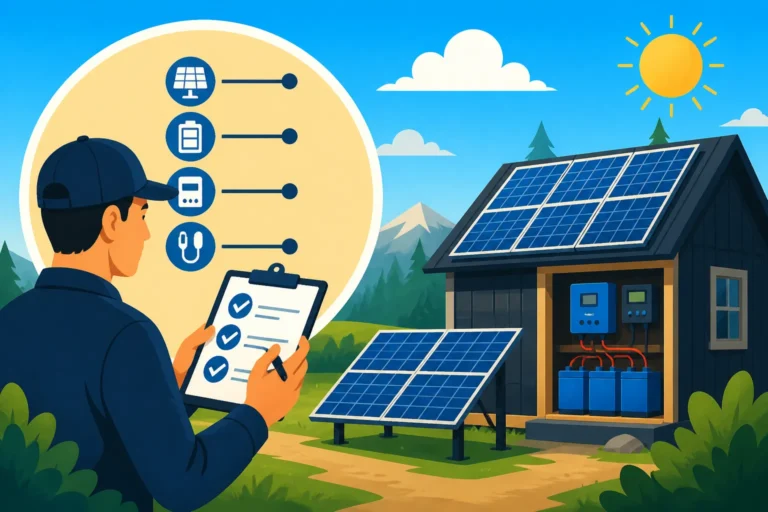
It’s often best to install your charge controller and inverter in a well-ventilated but protected area, like a utility closet or under a bench, away from direct sunlight and extreme temperatures. For a step-by-step visual, articles like "How to Connect Batteries, Inverter, and Panels" can be invaluable. Once everything is wired, it's time for commissioning. This involves a series of checks before turning on the system. Verify all connections are tight, fuses/breakers are in place, and polarities are correct. Then, following the manufacturer's instructions, energize your system. Start by turning on the battery disconnect, then the charge controller, and finally the inverter. Monitor the charge controller display to ensure it's registering panel voltage and battery charging. Use a multimeter to check voltages at various points to confirm correct operation.
Testing all your appliances and loads is the final step. Turn on lights, plug in your laptop, run the water pump, and test your refrigerator. Listen for any unusual sounds and observe the system's performance. Many modern charge controllers and inverters offer monitoring apps (often Bluetooth or Wi-Fi enabled) that let you track production, consumption, and battery state of charge from your phone or tablet, which is incredibly handy for a tiny home. For additional tips on getting your system up and running smoothly, refer to our guide on "How to Commission an Off-Grid System".
Permits, Maintenance, and Future Expansion
Navigating the long-term aspects of tiny home solar, from legalities to upkeep, is just as important as the initial build. You're building a system for sustained independence, after all!
Navigating Permits and Regulations for Tiny Homes
Ah, permits and regulations – the bane of many a tiny home builder's existence! The reality is, the rules for tiny homes, especially off-grid ones, are a patchwork across different counties and states. Some areas embrace tiny homes and off-grid living, offering clear guidelines, while others treat them as oversized RVs or illegal structures. For your solar installation, this often means checking with your local building department or planning commission. Some jurisdictions might require an electrical permit and inspection for any permanent electrical installation, even if it’s off-grid. Others, particularly for mobile tiny homes (RVIA certified), might have fewer requirements.
It’s a frustrating inconsistency, but it’s crucial to do your due diligence. Contact your local authorities before you start installing. Ask specific questions about off-grid solar systems for tiny homes, electrical code compliance, and any required inspections. In some cases, you might be able to have your system inspected by a qualified electrician even if a formal permit isn't issued by the county. This offers peace of mind and can be important for insurance purposes. Don't be surprised if you encounter confusion from local officials; tiny homes are still a relatively new concept in many areas. Being prepared with detailed diagrams of your system and component specifications can help. For more general information, our article on "Off-Grid Solar Permits and Codes" provides a good starting point, but always verify local specifics.
Ignoring regulations can lead to costly fines, forced modifications, or even being unable to legally park your tiny home. It's an inconvenient truth, but an important one to address upfront.
Ongoing Maintenance and Troubleshooting
Just like any other aspect of your tiny home, your solar system needs a little love and attention to keep it running smoothly for years to come. The beauty of modern off-grid solar is that it's generally low maintenance, but "low" doesn't mean "no." Regular checks can prevent minor issues from escalating into major, costly problems.
Your solar panels, while durable, can accumulate dust, pollen, bird droppings, or even snow and leaves. A simple cleaning with water and a soft brush or squeegee a few times a year (or more frequently if you notice reduced output) will keep them operating at peak efficiency. Pay particular attention to cleaning during dry spells, as accumulated grime can really impact production. Your batteries, especially LiFePO4, are largely maintenance-free, but it’s still wise to periodically check their terminals for corrosion and ensure all connections are tight. If you have lead-acid batteries, you'll need to check water levels and ensure adequate ventilation. Regular monitoring through your charge controller or inverter's display/app will give you insights into battery health and state of charge.
Periodically inspect all wiring and connections. Look for signs of wear, fraying, or loose connections. Critters sometimes like to chew on cables, so a visual inspection can catch issues early. Test your fuses and breakers to ensure they're functional. Knowing the basic troubleshooting steps for common off-grid solar issues can save you from calling a technician. Often, problems can be traced back to a loose wire, a tripped breaker, or a dirty panel. For more details on budgeting for the long haul, consider reading about "Off-Grid Solar Maintenance Costs". Keeping a log of your system's performance can help you identify when something isn't quite right.
Planning for System Growth
One of the great things about off-grid solar systems is their modularity, allowing for future expansion as your energy needs or budget evolves. Many tiny home owners start with a smaller system to cover basic needs and then gradually add components as they get more comfortable or decide to add more power-hungry appliances. Designing for this expandability from the outset can save you a lot of headache and expense down the road.
When you initially size your system, consider slightly oversizing your wiring, conduit, and potentially your charge controller to accommodate additional panels later. For instance, if you plan to eventually add more solar panels, installing a charge controller with a higher amperage rating now might be cheaper than replacing it entirely later. Similarly, leaving a little extra space on your roof or choosing a mounting system that can easily accept more panels simplifies the expansion process. Your inverter, too, should ideally have some headroom beyond your immediate needs if you foresee adding a significant load like an air conditioner in the future.
Thinking ahead can prevent a complete system overhaul. Choosing components from a single brand or ecosystem (like Victron or Renogy) can also make future additions more seamless, as their products are designed to integrate well together. When the time comes, adding more panels, batteries, or even a second inverter can be a relatively straightforward upgrade. Our guides on "How to Design an Expandable System" and "Cost of Expanding an Off-Grid System" provide further insights into planning for growth. This phased approach allows you to spread out the cost and learn as you go, making the journey to full energy independence more manageable.
Disclaimer
Please remember that this guide provides general information for installing solar on a tiny home. Off-grid electrical systems can be complex and potentially dangerous. Always consult with a qualified electrician or solar professional before undertaking any electrical work, especially if you are unsure. Local codes and regulations can vary significantly, and proper installation is crucial for safety and system longevity. We are not liable for any damages or injuries that may occur from following this guide.