Best Tilt Angle for Off-Grid Panels
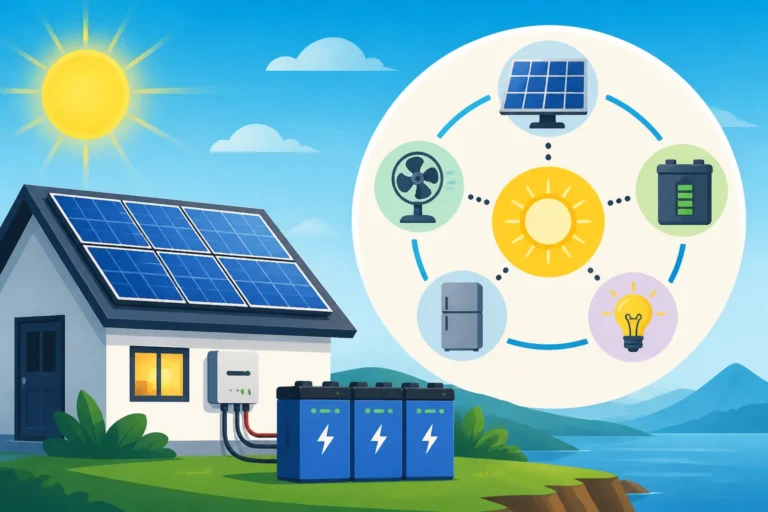
Living off-grid is an incredible journey towards independence, but let's be honest, it comes with its fair share of head-scratching challenges. One of the biggest puzzles many of us face is how to get the absolute most out of our solar panels, especially when the sun feels like it's playing hide-and-seek. Figuring out the best tilt angle for your off-grid solar panels can feel like a daunting task, but it's genuinely one of the most impactful ways to maximize your energy harvest, ensuring your lights stay on and your batteries stay charged. This comprehensive guide will walk you through everything you need to know about panel tilt, helping you dial in your system for optimal performance, no matter the season.
Understanding the Sun's Path and Its Impact on Panel Tilt
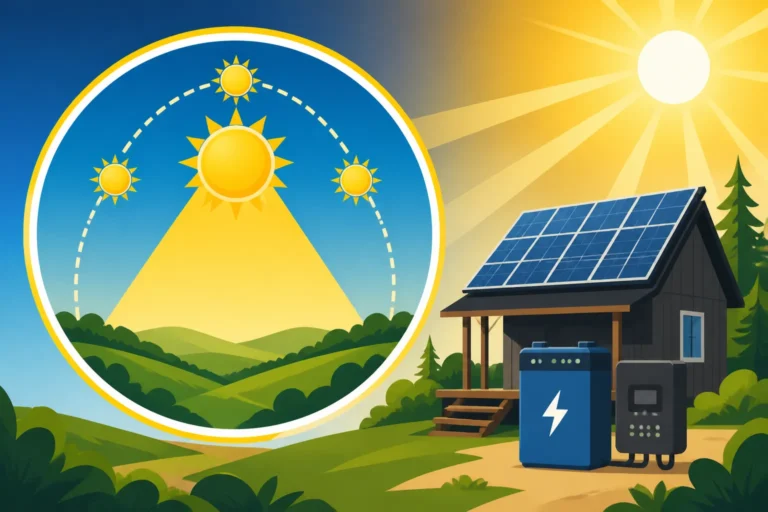
When you're generating your own power, every ray of sunshine counts. The sun isn't a stationary lamp in the sky; its position changes dramatically throughout the day and year, and understanding this celestial dance is fundamental to setting your panels correctly.
The Seasonal Shift of the Sun
If you've spent any time looking at the sky, you've probably noticed that the sun is much higher in the summer and dips significantly lower in the winter. This apparent movement is actually due to the Earth's axial tilt as it orbits the sun. For us on the ground, it means the sun's angle (or altitude) above the horizon is constantly changing. In the peak of summer, the sun rides high, giving you long days and direct rays, which is fantastic for solar production. However, come winter, the sun traces a much lower arc across the sky, leading to shorter daylight hours and less intense, more oblique sunlight.
For off-grid living, this seasonal shift isn't just a minor inconvenience; it's a critical factor. Winter often brings reduced daylight, more cloudy days, and those lower sun angles, all conspiring to challenge your power generation. If your panels are set at a fixed angle optimized for summer, they'll perform poorly in winter when you often need the most power (think heating, more indoor lights, etc.). Conversely, a winter-optimized angle might lead to slight underperformance in summer but is often preferred by off-gridders to ensure consistent power when it's most scarce. This balancing act is why understanding the sun's path is the first step in mastering your solar setup.
Latitude: Your North Star for Panel Angle
Your geographical latitude plays an enormous role in determining the ideal tilt angle for your solar panels. Latitude tells you how far north or south you are from the equator, and it directly corresponds to the sun's average position in the sky throughout the year. Think of it this way: if you're near the equator (low latitude), the sun is generally high overhead year-round. If you're further north or south (high latitude), the sun's angle varies more dramatically with the seasons.
A common rule of thumb for a year-round average tilt is to simply set your panels to an angle equal to your latitude. So, if you live in, say, Denver, Colorado, which is around 39 degrees North latitude, a good starting point for a fixed, year-round tilt would be 39 degrees from horizontal. This angle aims to balance production across all seasons, providing decent output in summer, winter, and the transitional months. However, this is just a starting point, and as we'll discuss, off-grid priorities often lean towards optimizing for the leanest times of the year. For more on optimizing your power output, consider delving into How Much Solar to Charge Your Batteries Daily.
Finding Your Ideal Tilt Angle for Year-Round Performance
While the "latitude rule" offers a solid baseline, off-grid living often demands a more strategic approach to panel tilt, especially when you're depending solely on the sun for your energy needs. We're not just aiming for overall efficiency; we're aiming for survival through the toughest solar seasons.
Optimizing for Winter Sun: The Off-Grid Priority
For many off-gridders, especially those in northern latitudes or areas prone to heavy snowfall and extended cloudy periods, winter is the ultimate test of their solar system. Shorter days, a sun that barely climbs above the horizon, and potential snow cover can drastically reduce solar output. This is why many seasoned off-gridders prioritize winter performance above all else. During these challenging months, maximizing every possible watt becomes critical.
To optimize for winter, a general recommendation is to take your latitude and add approximately 10 to 15 degrees. So, if you're in Denver at 39 degrees North, you might set your panels to 49-54 degrees. This steeper angle helps the panels "catch" the lower winter sun more directly, maximizing the limited daylight hours. It also helps with natural snow shedding, preventing accumulation that can completely block your panels. Imagine a cabin owner in northern Michigan; their latitude is around 45 degrees. If they used a fixed 45-degree tilt, their winter production would be noticeably weaker than if they set their panels closer to 55-60 degrees. This extra tilt is often the difference between struggling to keep the lights on and having a comfortable energy surplus during those long, dark winter months. It's a key consideration when figuring out How Winter Affects Off-Grid Sizing.
Adjusting for Seasonal Max Output
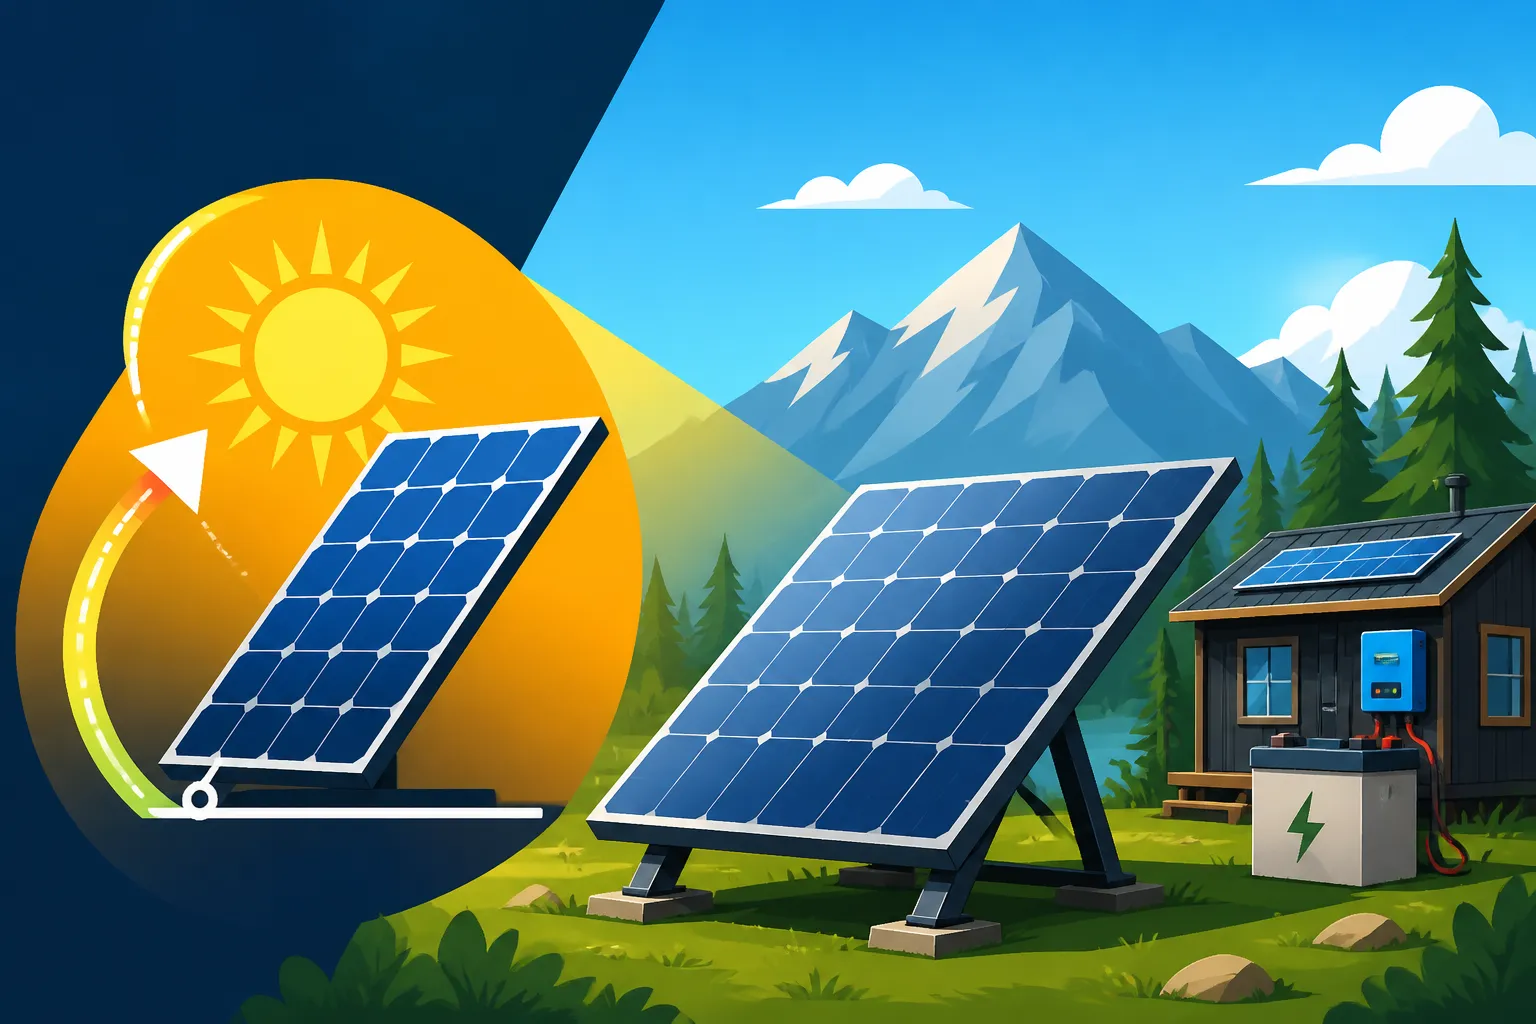
If you're willing to put in a little extra effort, adjusting your panel tilt seasonally can significantly boost your overall energy harvest throughout the year. This strategy is about chasing the sun's optimal angle as it changes.
Here’s a common approach for seasonal adjustments:
- Summer (June-August): Set your panels to your latitude minus 10 to 15 degrees. For our Denver example (39 degrees), this would be around 24-29 degrees. The sun is high, so a flatter angle captures more direct light throughout the longer days.
- Spring/Fall (March-May, September-November): Set your panels to your latitude. For Denver, that's 39 degrees. These transitional seasons often have the sun at its average position.
- Winter (December-February): Set your panels to your latitude plus 10 to 15 degrees. Again, for Denver, this is 49-54 degrees to capture that low winter sun.
While manual adjustment can feel like a chore, especially if you have a large array, the increase in production can be substantial, often making the effort worthwhile. For a full-time off-grid homestead, that extra 10-20% gain in efficiency can mean the difference between running your well pump freely or having to conserve water. There are also advanced, albeit more expensive, automatic tracking systems that constantly adjust panels to follow the sun, though these are less common for smaller, simpler off-grid setups. Designing a system that allows for easy future expansion or seasonal adjustment is a smart move, so learning about How to Design an Expandable System can be very beneficial.
| Season | General Tilt Recommendation (from horizontal) | Why it Works |
|---|---|---|
| Fixed (Year-Round) | Your Latitude | A good compromise for minimal maintenance. Balances production across all seasons, but rarely truly optimized for any one. Often used where frequent adjustment is impractical. |
| Winter Optimized | Latitude + 10 to 15 degrees | Crucial for off-grid reliability. Captures lower winter sun more directly, essential during shorter days and often higher energy demand. Helps shed snow naturally. |
| Summer Optimized | Latitude – 10 to 15 degrees | Best for maximizing summer generation when the sun is highest. Useful if summer is your peak energy demand or if you're banking energy for later. |
| Spring/Fall | Your Latitude | Ideal for the equinoxes when the sun's path is at its midpoint. Provides excellent production during these transitional periods. |
Practical Considerations and Tools for Setting Panel Tilt
Once you understand the theory, it's time to get hands-on. Setting your panel tilt accurately and efficiently is crucial for translating those theoretical gains into real-world power.
Fixed vs. Adjustable Mounts
When planning your off-grid solar installation, one of the first decisions you'll face regarding tilt is whether to opt for fixed or adjustable mounts.
-
Fixed Mounts: These are typically simpler and more cost-effective to install. Once set, they don't move. They're excellent for "set-it-and-forget-it" systems, especially if you're not in an area with extreme seasonal solar variations or if your energy demands are relatively low and consistent. Many rooftop installations use fixed mounts due to structural limitations and ease of installation. However, the trade-off is that your panels will rarely be at their absolute optimal angle, leading to less-than-peak performance during certain times of the year, particularly the crucial winter months for off-gridders. For a robust setup, you might want to look into How to Install Roof-Mounted Solar Panels.
-
Adjustable Mounts: These allow you to change the tilt angle of your panels, either manually or through mechanical means. Ground mounts are often the best candidates for adjustable tilts, offering easy access. Brands like Renogy offer a range of sturdy adjustable tilt mount brackets designed for RVs, cabins, and other off-grid applications, which you can often find readily available on Amazon. The main advantage is maximizing energy capture year-round by adapting to the sun's seasonal path. The downside is the initial cost and the need for regular manual adjustments, which requires some effort. For a dedicated off-grid homestead, the benefits of increased production, especially in winter, often outweigh the extra work.
Tools and Techniques for Accurate Angle Setting
You don't need a fancy space-age device to set your panel angles correctly. Simple, readily available tools will do the trick:
- Angle Finder/Protractor: The most straightforward tool. A digital angle finder or even a physical protractor can be placed on the surface of your solar panel or mounting rail to measure its tilt from horizontal. Many inexpensive digital versions are available on Amazon.
- Smartphone Apps: There are numerous smartphone apps designed to measure angles using your phone's accelerometer. Just place your phone flat on the panel and read the angle.
- Level: A basic level can help ensure your panel is perfectly horizontal or vertical before you measure the tilt.
Once you have your tool, the technique is simple:
- Measure from Horizontal: Most tilt angles are expressed in degrees from horizontal. So, if your panels are completely flat, that's 0 degrees. If they're pointing straight up, that's 90 degrees.
- Consistency is Key: If you have multiple panels, strive for consistency across all of them. Small variations can lead to uneven output and potentially stress your system.
- Check Regularly: If you have adjustable mounts, make it a habit to check your tilt (and clean your panels!) during your seasonal adjustments.
Beyond Tilt: Other Factors Affecting Performance
While tilt angle is super important, it's just one piece of the puzzle. A perfectly tilted panel won't perform if other factors aren't optimized.
- Orientation (Azimuth): This refers to the direction your panels face. For optimal year-round performance in the Northern Hemisphere, panels should generally face true South. In the Southern Hemisphere, they should face true North. Even a slight deviation can reduce efficiency. You can learn more about this in How to Plan Panel Placement and Angle.
- Shading: Any shade, even partial, on your panels can dramatically reduce their output. Even a small leaf or a chimney shadow can impact an entire string of panels. Always position your panels where they'll receive full, unobstructed sunlight throughout the day. If you live somewhere with unavoidable shading issues, you'll want to read up on How to Design Around Shading.
- Cleanliness: Dust, dirt, pollen, and bird droppings all block sunlight. Regularly cleaning your panels is a simple but effective way to maintain peak performance.
- Temperature: Solar panels actually become slightly less efficient as they get hotter. While you can't control the weather, understanding this helps manage expectations during scorching summer days. For insights into how temperature and other factors influence panel choice, check out Best Solar Panels for Cold Weather.
Real-World Scenarios and Practical Application
The "best" tilt angle isn't a one-size-fits-all solution; it truly depends on your specific off-grid setup, location, and energy demands. Let's look at how tilt considerations vary for different applications.
Tilt for Different Off-Grid Setups
Every off-grid lifestyle presents unique constraints and opportunities when it comes to panel tilt.
-
RVs and Vans: For those living the nomadic van life or RV adventures, flexibility is paramount. Often, space is limited, and panels might be affixed directly to the roof. While some RV mounts offer a simple tilt mechanism to prop up panels when stationary, full seasonal adjustment is usually impractical due to constant movement. Most van dwellers aim for a compromise, often a flatter angle to reduce wind resistance while driving, or a slight tilt towards the most common sun angle for their travel routes. For RVs, a fixed mount might be angled slightly to favor morning or afternoon sun, depending on typical parking orientation. Balancing travel efficiency with power generation is key here.
-
Cabins and Homesteads: These are where you typically have the most freedom. Ground mounts are very popular for cabins and homesteads because they allow for easy seasonal adjustments. A ground mount ensures you can climb up, change the tilt, and optimize for winter's low sun or summer's high sun with relative ease. A cabin in the woods, especially one used year-round, absolutely benefits from winter-optimized tilt settings to ensure reliable power for essentials like a well pump or refrigeration when the days are short and cloudy. Systems for these permanent structures need careful planning to ensure year-round reliability; checking out How to Design for Year-Round Off-Grid Power can provide more detailed insights.
-
Boats: Boats present a whole different challenge. Hydrodynamic considerations, space limitations on decks, and the boat's constant movement mean fixed, low-profile panels are often the norm. Tilt adjustments are usually minimal or non-existent, prioritized for structural integrity and safety at sea. Flexible solar panels, which can conform to curved surfaces, are popular for marine applications, even though they typically offer less direct tilt adjustability.
The Importance of Local Data
While generalized rules of thumb are great starting points, your specific local environment has the final say. Relying solely on your latitude can sometimes lead to less-than-optimal results.
- Utilizing Online Resources: Tools like the National Renewable Energy Laboratory's (NREL) PVWatts Calculator can be incredibly valuable. You input your specific location (zip code or address), system size, and tilt/azimuth angles, and it provides an estimated monthly and annual energy production. This allows you to model different tilt angles and see their impact on your expected output throughout the year, helping you make an informed decision for your site. Many off-gridders use this to fine-tune their panel placement before committing to a permanent installation.
- Observing Your Own Environment: Pay attention to your specific site. Are there distant mountain ranges that block early morning or late afternoon sun in winter? Is there a particular tree that casts a shadow only during certain months? Local solar irradiance maps or even just observing the sun's path from your chosen installation spot can provide crucial insights that generic formulas might miss. The "best" tilt angle isn't just about the numbers; it's about what works best for your unique slice of the off-grid world, ensuring you're generating power consistently even when the weather is not cooperating, something often discussed in How to Account for Cloudy Days.
Ultimately, choosing the best tilt angle is a dynamic process. It balances the theoretical optimum with the practical realities of your off-grid setup, your energy demands, and your willingness to maintain the system. By understanding the sun's journey and leveraging the right tools, you can ensure your off-grid solar panels are always working their hardest for you.
Disclaimer
The information provided in this guide is for general educational purposes only and should not be considered professional advice. Off-grid solar system design and installation can be complex and involve electrical hazards. Always consult with qualified professionals and adhere to local codes and regulations before installing or modifying any electrical system.