How to Calculate Solar Panels for a 30kWh Day
Trying to figure out how many solar panels you need for a hefty 30kWh per day off-grid setup can feel like staring at a complex puzzle with missing pieces. It's not just about slapping some panels on a roof; it's about making sure your system is robust enough to handle significant daily energy demands, even when the sun isn't shining its brightest. This guide will walk you through the precise calculations and critical considerations for sizing a solar array capable of consistently producing 30,000 watt-hours every single day.
Understanding Your Energy Needs for a 30kWh Day
When you're aiming for a daily energy production of 30 kilowatt-hours (30,000 watt-hours), you're talking about a serious off-grid setup. This isn't a small cabin or an RV running basic lights; this is closer to powering a full-sized home, a substantial workshop, or even a small farm operation. Before you can even begin to calculate how many solar panels you need, you absolutely must have a crystal-clear picture of what that 30kWh represents in terms of actual appliances and their usage.
Breaking Down the 30kWh Daily Load
Imagine what a typical day looks like when you're consuming 30kWh. This isn't just a number; it's a lifestyle. For context, the average American home uses about 30 kWh per day, but that's for grid-tied living where you don't think twice about leaving lights on or running multiple high-draw appliances simultaneously. Off-grid, every watt-hour counts, and a 30kWh daily demand implies a household or operation that includes:
- Major Appliances: Running a full-size refrigerator, a chest freezer, an electric oven or stovetop for cooking, a washing machine, and potentially a dryer (though many off-gridders opt for propane dryers or line drying to conserve electricity).
- Heating and Cooling: This is where the biggest power hungry devices come in. A mini-split air conditioner running for several hours in the summer, or electric baseboard heaters (which are incredibly power intensive) or a heat pump in cooler months, could easily consume a significant chunk of that 30kWh. Even well pumps for water can be heavy hitters during their brief cycles. If you're looking at a remote cabin in a colder climate, calculating how to provide heat without relying heavily on solar for resistance heating is a huge consideration for your overall Off-Grid Solar Cost in Cold Climates.
- Electronics and Entertainment: Multiple computers, large screen TVs, gaming consoles, Starlink internet dishes, chargers for phones and other gadgets, and a stereo system all contribute. While individually small, their cumulative effect over a day can be substantial.
- Lighting: LED lighting is efficient, but if you have many rooms, outdoor security lights, or a workshop that's lit for many hours, it adds up.
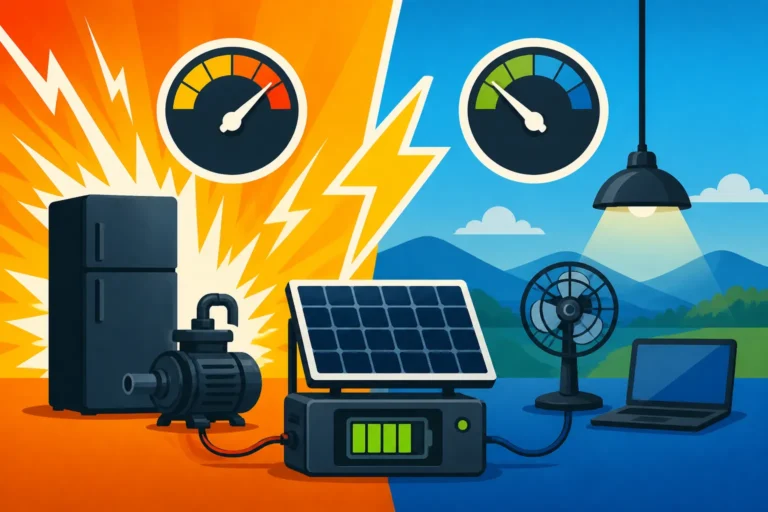
- Workshop or Farm Equipment: If you're powering power tools, welders (even small ones), incubators, milking machines, or other specialized equipment, these often have high surge demands and significant running wattages that quickly devour your daily budget.
Without clearly itemizing everything, you're essentially guessing, and guessing wrong can lead to either an undersized system that leaves you in the dark or an oversized one that costs a fortune. This is why understanding How to Calculate Daily Energy Usage is paramount.
The Importance of a Detailed Load Analysis
You cannot, I repeat, cannot skip a thorough load analysis when planning an off-grid system, especially one as substantial as a 30kWh daily consumer. This isn't just a suggestion; it's the bedrock of a reliable off-grid life. A load analysis means taking inventory of every single electrical device you intend to power, noting its wattage (or amperage and voltage), and estimating how many hours per day (or cycles per day) it will operate.
Here’s how you approach it:
- List Every Appliance: Go room by room, space by space (house, workshop, barn, garage), and write down every electrical item. Don't forget those phantom loads like phone chargers plugged in or appliances on standby.
- Find the Wattage: Look for labels on the appliance (often on the back or bottom). It might list watts (W), amps (A), or volts (V). If it's in amps and volts, multiply them (A x V = W). For appliances with motors, like refrigerators, pumps, or power tools, you'll need both running watts and starting watts (surge watts), as the starting surge can be several times higher than the running watts, which impacts your inverter choice.
- Estimate Daily Run Time: Be realistic. How many hours a day will the fridge compressor run? How many minutes will the well pump be active? How many hours will the TV be on? How often will the washing machine run, and for how long? For cyclical loads, estimate the total time it's actively drawing power.
- Calculate Daily Watt-Hours (Wh): Multiply the wattage by the estimated daily run time for each appliance (W x Hours = Wh).
- Sum it Up: Add up all the individual daily watt-hours. This grand total is your estimated daily energy consumption.
Your goal is to get this sum as close to or slightly below 30,000 Wh (30 kWh) as possible. If your initial estimate is significantly higher, you'll need to consider energy efficiency upgrades (e.g., LED lighting, energy-efficient appliances) or reducing usage. If it's much lower, you might be able to scale down your system slightly, saving on initial costs. For a deeper dive, check out our guide on How to Do an Off-Grid Load Analysis.
Key Factors Influencing Solar Panel Sizing
Once you have a firm grasp on your 30kWh daily energy target, it’s time to look at the environmental and systemic factors that dictate how many panels you’ll need to generate that power. It's more than just simple math; it's about working with the sun and your equipment efficiently.
Peak Sun Hours in Your Location
This is arguably the most critical variable after your energy demand. "Peak sun hours" (or "full sun hours") are not simply the total hours the sun is visible in the sky. Instead, they represent the equivalent number of hours per day when the intensity of sunlight averages 1,000 watts per square meter (W/m²). This is the standard measurement used to rate solar panels.
- Understanding the Concept: On a sunny summer day, the sun might be up for 14 hours, but only 5-7 of those hours will be at peak intensity. Early morning and late afternoon sun is weaker. Cloud cover, haze, and the angle of the sun also reduce effective sunlight.
- Finding Your Location's Data: You can find average peak sun hours for your specific location through various online resources, often provided by renewable energy databases, NASA, or NOAA. These charts typically give monthly averages, and you should always size your system for the lowest average peak sun hours you expect to encounter, usually in winter, to ensure year-round reliability. For instance, someone building an off-grid homestead in Phoenix, Arizona, might see 6-7 peak sun hours in winter, while a similar setup near Seattle, Washington, might only get 2-3. That difference dramatically changes the number of panels needed. This concept is thoroughly explained in our article Peak Sun Hours Explained.
- Impact on Panel Sizing: More peak sun hours mean fewer panels are needed to produce the same amount of energy. Fewer peak sun hours mean you'll need a much larger array to compensate for the reduced solar insolation. For a 30kWh daily target, this difference can mean thousands of dollars and dozens of extra panels.
System Voltage and Efficiency Losses
Your off-grid solar system isn't 100% efficient. Energy is lost at various stages from the solar panel to the appliance. Accounting for these losses is crucial for accurate sizing.
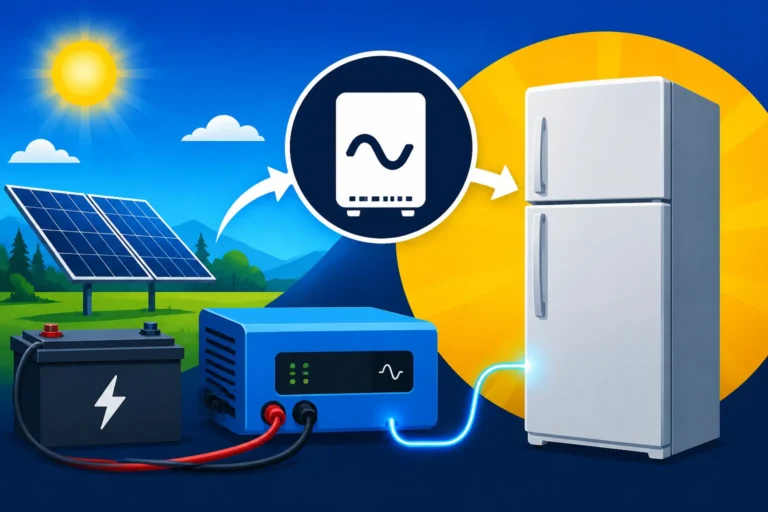
- Inverter Efficiency: The inverter converts DC power from your batteries into AC power for most household appliances. Even the best pure sine wave inverters are typically 85-95% efficient. This means if you need 30kWh of AC power, you'll need to generate more than that in DC.
- Charge Controller Efficiency: If you're using an MPPT (Maximum Power Point Tracking) charge controller, it's generally 95-99% efficient. PWM (Pulse Width Modulation) controllers are less efficient, but also less common in large, modern systems.
- Battery Charging/Discharging Efficiency: Lead-acid batteries can have charging/discharging efficiencies ranging from 70-85%, meaning 15-30% of the energy put into them is lost as heat. Lithium iron phosphate (LiFePO4) batteries are much more efficient, typically 95-99%. This is a huge factor, and why How Battery Choice Affects Off-Grid Cost is a vital read.
- Wiring Losses: Voltage drop in wires, especially over long distances or with undersized cables, also accounts for energy loss.
- Panel Degradation and Soiling: Over time, solar panels degrade slightly in output. Dust, dirt, snow, or leaves on the panels also reduce efficiency. It's wise to factor in a 10-15% "derating factor" for these real-world conditions.
When calculating, it's common to use an overall system efficiency factor, often ranging from 70% to 85% for a well-designed system, depending heavily on battery type and component quality. For a robust 30kWh system, aiming for at least an 80% overall efficiency is a good starting point, meaning you'll need to generate closer to 37.5kWh of raw solar power from your panels to deliver 30kWh to your loads.
Regarding system voltage, while not a direct efficiency loss in itself, it profoundly impacts wiring needs and component choices. Larger systems, like one producing 30kWh daily, almost always benefit from higher voltage systems (like 48V) because higher voltage means lower current for the same power, allowing for thinner wires and less voltage drop. You can learn more about this in 12V vs 24V vs 48V: Which to Choose.
Step-by-Step Calculation for a 30kWh Solar Array
Alright, let's roll up our sleeves and get to the numbers. With your daily energy usage firmly established at 30kWh and an understanding of your peak sun hours and system inefficiencies, we can now calculate the solar array size.
Calculating Required Panel Wattage
The first step is to determine the total watt-hours your solar array needs to produce daily, considering all those real-world losses we just discussed.
-
Adjust Daily Energy Need for Efficiency:
- Your target daily AC energy consumption: 30,000 Wh (30 kWh)
- Let's assume an overall system efficiency of 80% (this factors in inverter, charge controller, battery, and wiring losses, and gives you a buffer for panel soiling/degradation). If you have a high-quality system with LiFePO4 batteries and an MPPT controller, you might push this to 85% or even 90%, but 80% is a safe, realistic starting point for a system this size.
- Required DC energy from panels = Target AC Energy / System Efficiency
- Required DC energy = 30,000 Wh / 0.80 = 37,500 Wh (or 37.5 kWh)
-
Calculate Total Solar Panel Wattage (kW):
-
Now, we take that adjusted daily energy need and divide it by your local average daily peak sun hours. Let's use two examples:
- Scenario A: Sunny Location (e.g., Southern California in winter) with 5.5 peak sun hours.
- Scenario B: Less Sunny Location (e.g., Pacific Northwest in winter) with 3.0 peak sun hours.
-
For Scenario A (5.5 peak sun hours):
- Total panel wattage needed (in watts) = Required DC energy (Wh) / Peak Sun Hours
- Total panel wattage = 37,500 Wh / 5.5 hours ≈ 6,818 watts (or 6.8 kW)
-
For Scenario B (3.0 peak sun hours):
- Total panel wattage = 37,500 Wh / 3.0 hours = 12,500 watts (or 12.5 kW)
-
As you can see, the difference in peak sun hours dramatically changes the size of your required solar array. This is the main reason why How Winter Affects Off-Grid Sizing is such a critical consideration.
Determining the Number of Solar Panels
Once you have the total required wattage for your solar array, you can figure out how many individual panels you'll need. Solar panels come in various wattages, commonly 100W, 200W, 300W, 400W, or even higher for residential panels. For a large system, using higher wattage panels is generally more efficient for installation and wiring.
Let's assume you're using high-quality 400-watt solar panels, which are a popular choice for larger systems due to their balance of power output and physical size. Many brands like Renogy offer reliable 400W panels suitable for off-grid use.
-
For Scenario A (6,818 watts needed):
- Number of panels = Total panel wattage / Individual panel wattage
- Number of panels = 6,818 W / 400 W/panel ≈ 17.04 panels. You always round up, so you'd need 18 x 400W solar panels.
-
For Scenario B (12,500 watts needed):
- Number of panels = 12,500 W / 400 W/panel = 31.25 panels. Rounding up, you'd need 32 x 400W solar panels.
This table summarizes the calculation for clarity:
| Factor | Sunny Location (Scenario A) | Less Sunny Location (Scenario B) |
|---|---|---|
| Daily AC Energy Needed | 30,000 Wh | 30,000 Wh |
| Assumed System Efficiency | 80% | 80% |
| Required DC Energy from Panels | 37,500 Wh | 37,500 Wh |
| Daily Peak Sun Hours | 5.5 hours | 3.0 hours |
| Total Panel Wattage Needed | 6,818 Watts (6.8 kW) | 12,500 Watts (12.5 kW) |
| Individual Panel Wattage | 400 Watts | 400 Watts |
| Number of 400W Panels | 18 panels | 32 panels |
This shows how vastly different your array size can be depending on your geographical location and the time of year you are designing for. It's why a detailed Off-Grid Solar System Sizing Guide is so important.
Accounting for Real-World Variations and Expansion
While these calculations provide a solid foundation, real-world conditions rarely perfectly match theoretical models. It's always a good practice to incorporate a little buffer into your system design.
- Cloudy Days and Weather Variability: Even in sunny regions, you'll have stretches of cloudy or rainy weather. While your battery bank is your primary defense against short-term cloudy spells, having a slightly oversized solar array can help quickly recharge batteries once the sun returns, rather than constantly struggling to catch up. Many off-gridders choose to oversize their array by 10-20% just for this reason. This also helps with How to Account for Cloudy Days.
- Seasonal Changes: Designing for your worst-case solar month (often winter) is key. If you design for a summer average, you'll likely be short on power in winter. An oversized array can help mitigate seasonal dips in sun exposure without forcing you to run a generator constantly.
- Future Expansion: What if you decide to add another appliance, expand your workshop, or welcome more residents to your off-grid homestead in a few years? Building in some headroom or designing an array that can be easily expanded later is a smart move. When planning, consider if you have physical space for more panels on your roof or ground mount, and if your charge controller and inverter have the capacity for additional input. This foresight can save you significant time and money down the road.
Ultimately, balancing cost with reliability and future needs is the art of off-grid solar design. It's a significant investment, and you want to ensure it meets your current and anticipated demands.
Beyond Panel Calculation: Other System Components
Calculating the number of solar panels is just one piece of the puzzle for a 30kWh/day off-grid system. The panels are simply the "fuel gatherers." You also need robust storage, conversion, and safety equipment to make it all work seamlessly.
Sizing Your Battery Bank for 30kWh Daily Use
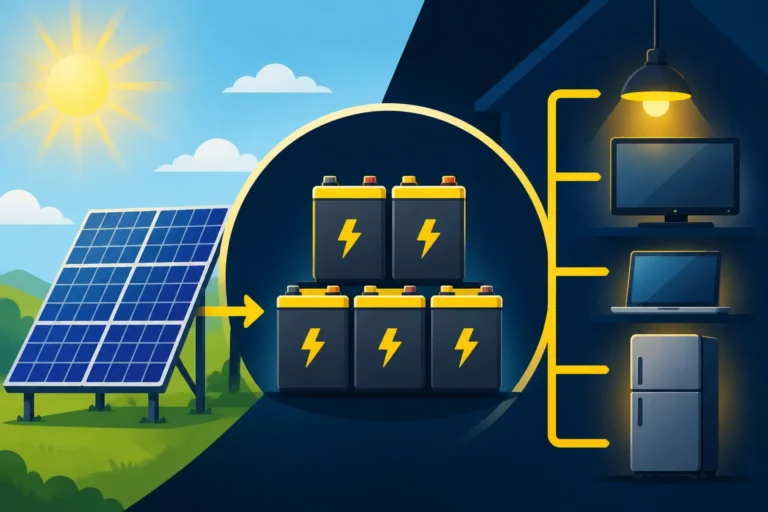
A 30kWh daily energy draw requires a substantial battery bank. This is where a huge portion of your system cost will lie, as batteries are often the most expensive single component in an off-grid system. The goal of your battery bank is to store enough energy to power your loads through the night and typically for several days of low or no sun (known as "days of autonomy").
- Determine Days of Autonomy: For a 30kWh/day system, especially if you want true independence and peace of mind, aiming for 2-3 days of autonomy is a good starting point. In less sunny or critical applications, you might even aim for 5 days. Let's assume 2 days for this example.
- Calculate Total Storage Needed:
- Daily energy consumption (DC, after accounting for inverter efficiency but before battery efficiency) = 30,000 Wh / 0.9 (for inverter) = ~33,333 Wh
- Total Wh needed for 2 days = 33,333 Wh/day * 2 days = 66,666 Wh (or 66.7 kWh)
- Account for Battery Depth of Discharge (DoD):
- Lead-acid batteries should only be discharged to about 50% to maximize their lifespan. So, you'd need double the usable capacity.
- LiFePO4 batteries can safely be discharged to 80-100%, offering much more usable capacity per rated amp-hour. This is why LiFePO4 vs Lead-Acid Battery Cost is so important when planning your budget.
- For LiFePO4 at 80% DoD: 66,666 Wh / 0.80 = 83,333 Wh (83.3 kWh) total battery capacity.
- Convert to Amp-Hours (Ah): To buy batteries, you'll usually see them rated in Amp-hours (Ah) at a specific voltage (e.g., 100Ah at 12V).
- Let's assume a 48V system (highly recommended for systems of this size for efficiency and manageability).
- Total Ah = Total Wh / System Voltage = 83,333 Wh / 48V = ~1,736 Ah.
So, you would need a 48V battery bank with a usable capacity of around 1,736 Amp-hours. This means you'd need many individual batteries wired together in series and parallel. For example, if you're using individual 100Ah 12V LiFePO4 batteries (available from brands like Renogy or through retailers like Amazon), you'd need to wire four of them in series to get a 48V 100Ah string, and then connect 17-18 such strings in parallel to reach 1,736 Ah. As you can see, this is a very substantial battery bank. You can delve deeper into How Many Batteries for an Off-Grid System and How Much Battery Capacity You Need in our dedicated articles.
Selecting the Right Inverter and Charge Controller
These components are the brains and brawn of your off-grid system, translating the sun's energy into usable power.
- Inverter Sizing: Your inverter's continuous power rating must be able to handle the maximum simultaneous load you expect to run, not just the average. If you're running a well pump (often 2000-4000W surge, 1000-2000W running) and an air conditioner (2000-4000W running, higher surge) at the same time, along with lights and a refrigerator, your inverter could see spikes of 6,000-10,000 watts or more. Therefore, a 30kWh/day system will likely require a large, pure sine wave inverter, potentially in the 8,000W to 15,000W (8kW-15kW) range, with robust surge capacity. Brands like Victron, Sol-Ark, and Outback Power are popular for these larger, reliable systems.
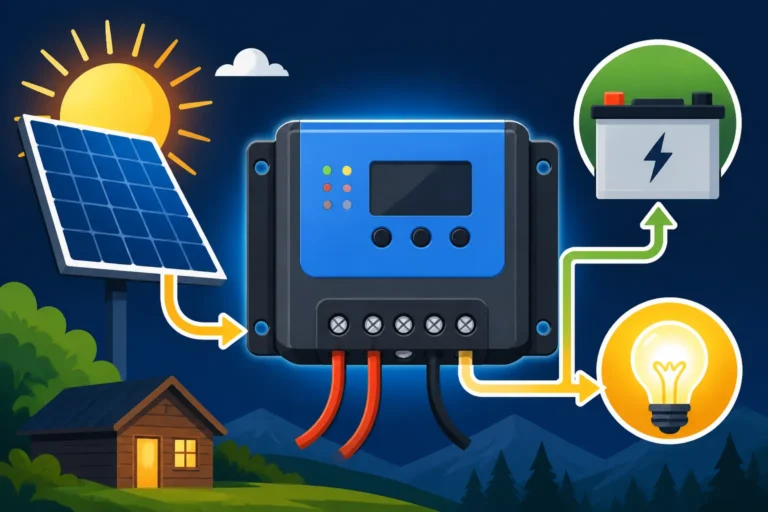
- Charge Controller Sizing: The charge controller manages the power flow from your solar panels to your batteries. Its capacity must match the output of your solar array.
- Maximum Current (Amps) from panels = Total Panel Wattage / System Voltage
- For Scenario B (12,500W array) and a 48V system: 12,500 W / 48 V ≈ 260 Amps.
- You'll need a charge controller (or multiple controllers in parallel) capable of handling this current. A good rule of thumb is to add a 25% buffer for safety and cold weather panel voltage increases. So, 260A * 1.25 = 325 Amps. This would mean multiple large MPPT charge controllers (e.g., two or three 100-150A 48V controllers) working in parallel. Best MPPT Charge Controllers are essential for large systems.
Choosing correctly sized and high-quality components for these critical roles is non-negotiable for system stability and longevity.
Practical Considerations for a Large Off-Grid System
Designing for 30kWh per day isn't just about math; it's about the physical reality of a large system. You're dealing with significant equipment, substantial wiring, and the need for careful planning and installation.
Mounting and Placement
The sheer number of panels required for a 30kWh/day system means you'll need a lot of space.
- Physical Footprint: If each 400W panel measures roughly 6.5 feet by 3.3 feet (200cm x 100cm), then 18 panels (Scenario A) would cover about 390 square feet, and 32 panels (Scenario B) would cover around 690 square feet. This is a substantial area.
- Roof Mount vs. Ground Mount: For smaller systems, a roof mount is often sufficient. However, for an array of 18-32 panels, a ground mount might be a better option. Ground mounts offer flexibility in adjusting tilt and azimuth (orientation to the sun) for optimal seasonal performance, which is especially important for maximizing output during winter. They are also easier to install and maintain than roof mounts. Ensure your chosen location for a ground mount has excellent, year-round sun exposure, free from shading from trees or buildings.
- Optimal Tilt and Orientation: For stationary arrays, panels should generally face true south (in the Northern Hemisphere) or true north (in the Southern Hemisphere). The optimal tilt angle often depends on your primary usage season. For year-round living, many choose a tilt angle roughly equal to their latitude, or slightly steeper to favor winter sun. Adjustable tilt mounts are a fantastic option if you're willing to manually change the angle a few times a year. Our article on Best Tilt Angle for Off-Grid Panels provides more detailed guidance.
Wiring and Safety
A large off-grid system generating and managing 30kWh daily involves high currents and voltages, making proper wiring and safety paramount. This is where you absolutely cannot cut corners.
- Wire Sizing: Undersized wires lead to voltage drop and wasted energy (heat), especially over longer runs from panels to the charge controller, and from the battery bank to the inverter. It's crucial to use the correct gauge wire based on the current, voltage, and length of the run. Electrical codes (like the National Electrical Code or local equivalents) provide strict guidelines. Using a voltage drop calculator is highly recommended.
- Fuses and Breakers: Every major component and circuit needs appropriate overcurrent protection (fuses or DC breakers) to prevent damage from shorts or overloads. This includes fusing the solar array, the charge controller input/output, the battery bank, and the inverter.
- Grounding and Bonding: Proper grounding of the entire system (panels, mounting racks, inverter, charge controller, battery enclosure) is not just a code requirement but a critical safety measure to protect against lightning strikes and electrical faults. This creates a safe path for fault currents. Ignoring grounding is extremely dangerous. For detailed instructions, refer to our guide on Off-Grid Solar Safety and Grounding.
- Professional Installation: While many aspects of off-grid solar can be DIY, for a system as large and complex as one designed for 30kWh/day, especially the AC wiring and connections, seriously consider consulting or hiring a licensed electrician or experienced solar installer. They can ensure compliance with local codes, proper sizing, and safe installation practices, preventing costly mistakes or dangerous situations. Even if you plan to DIY Off-Grid Solar Installation Step by Step, getting a professional review of your plans is a wise investment.
Remember, building a reliable off-grid system for high energy demands is an investment in your independence and comfort. Taking the time to plan, calculate, and implement correctly will pay dividends for years to come.
Disclaimer
The information provided in this guide is for educational purposes only and should not be taken as professional electrical engineering or financial advice. Off-grid solar system design and installation can be complex and dangerous if not performed correctly. Always consult with qualified and licensed professionals for specific advice regarding your unique situation, local codes, and safety requirements. Prices, component availability, and regulations are subject to change.