How to Size an Off-Grid System for a Off-Grid Home
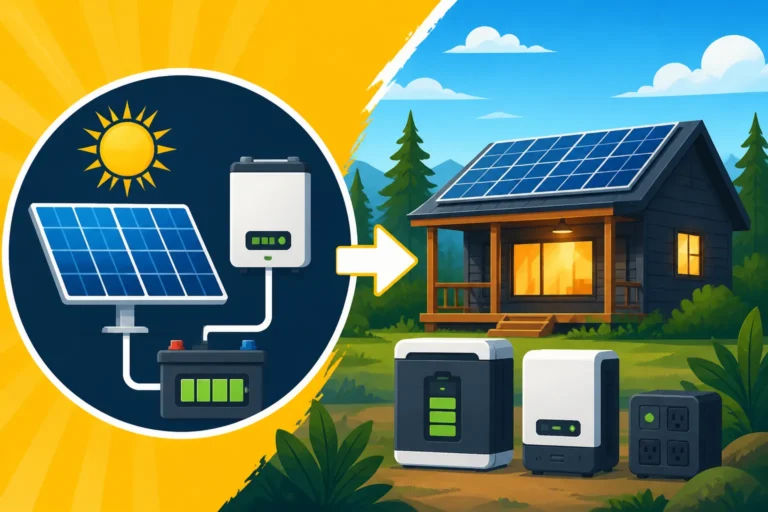
Stepping into the world of off-grid living for your home is incredibly exciting, but let's be real: figuring out how much solar power you actually need can feel like trying to solve a complex puzzle with a million moving pieces. It's not just about slapping some panels on the roof; it’s about creating a harmonious, reliable system that can truly power your life, day in and day out, without the electric company breathing down your neck. This guide is here to walk you through the essential steps to accurately size an off-grid solar system specifically for a permanent home, so you can achieve true energy independence.
Understanding Your Off-Grid Home's Energy Footprint
Before you even think about buying a single solar panel or battery, you absolutely must get a crystal-clear picture of your home’s energy demands. This isn't just a suggestion; it's the foundation upon which your entire off-grid system will be built. Skimping on this step is like trying to bake a cake without knowing how much flour you need – it's going to be a disaster. Many folks get overwhelmed here, but breaking it down makes it manageable.
Identifying All Your Appliances and Devices
Start by making a comprehensive list of every single electrical item in your home. And when I say every item, I mean every item. From your refrigerator and well pump to your phone chargers, lights, laptop, and even that obscure electric toothbrush. Don't forget seasonal items like air conditioners or portable heaters, and definitely include any workshop tools if you plan on using them regularly. It’s easy to overlook the small stuff, but those "phantom loads" – devices that draw power even when turned off or in standby – can really add up over time. Think about how many times you plug in your phone, charge your power tools, or leave a television on standby. Each of these draws power, and ignoring them will lead to an undersized system and daily frustrations. Grab a notebook or a spreadsheet and literally walk through your home, room by room, listing everything.
Once you have your exhaustive list, for each item, you’ll need to find its wattage. This is usually printed on a label on the appliance itself, often on the back or bottom, sometimes near the power cord. If you can't find it, a quick search online for the model number usually does the trick. You'll often see wattage (W) or amps (A) and volts (V). If you only have amps and volts, multiply them together (A x V = W) to get the wattage.
Calculating Daily Watt-Hours and Peak Loads
Now comes the crucial part: translating those wattages into a daily energy consumption figure in watt-hours (Wh). For each item on your list, estimate how many hours per day you plan to use it. Be realistic, or even slightly overestimate, especially for critical items.
Here’s the simple formula: Wattage (W) x Hours Used Per Day (H) = Daily Watt-Hours (Wh).
Let's take a refrigerator, for example. A modern energy-efficient fridge might draw around 150-200 watts when its compressor is running. But it doesn't run continuously, maybe only 8 hours a day in total. So, 200W x 8H = 1600 Wh per day. Do this for every item on your list, then add all those daily watt-hour figures together to get your total estimated daily energy usage. This sum is your target for how much energy your solar system needs to generate and store. For a more detailed walkthrough, check out our guide on How to Calculate Daily Energy Usage.
Beyond daily consumption, you also need to identify your "peak load." This is the maximum amount of power your system needs to supply at any single moment. Imagine you've got the microwave running, the coffee maker brewing, and the well pump kicking on all at the same time. The combined wattage of these simultaneously running appliances represents your peak continuous load. Even more important is the "surge load" or "starting watts." Many appliances, especially those with motors like refrigerators, well pumps, and power tools, draw significantly more power for a brief moment when they first start up – sometimes 3 to 5 times their running wattage. Your inverter must be able to handle this brief surge, or it will trip, leaving you in the dark. Make sure to note both the running watts and starting watts for these specific appliances in your load analysis.
Sizing Your Core Components: Solar Array, Battery, and Inverter
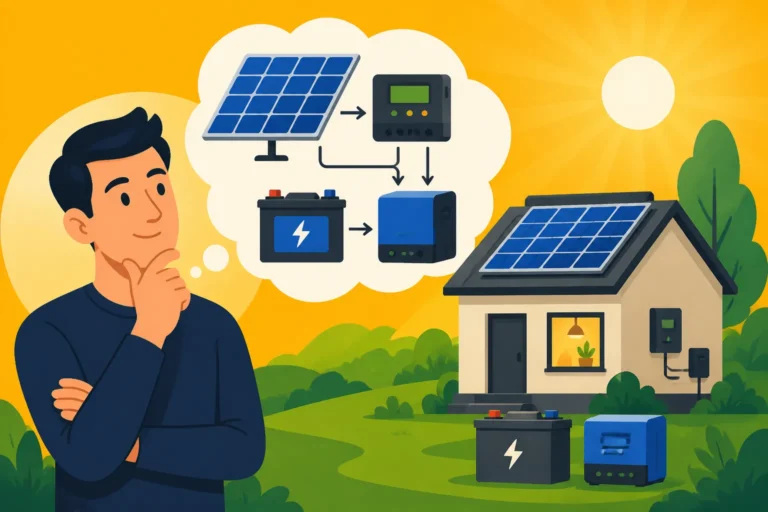
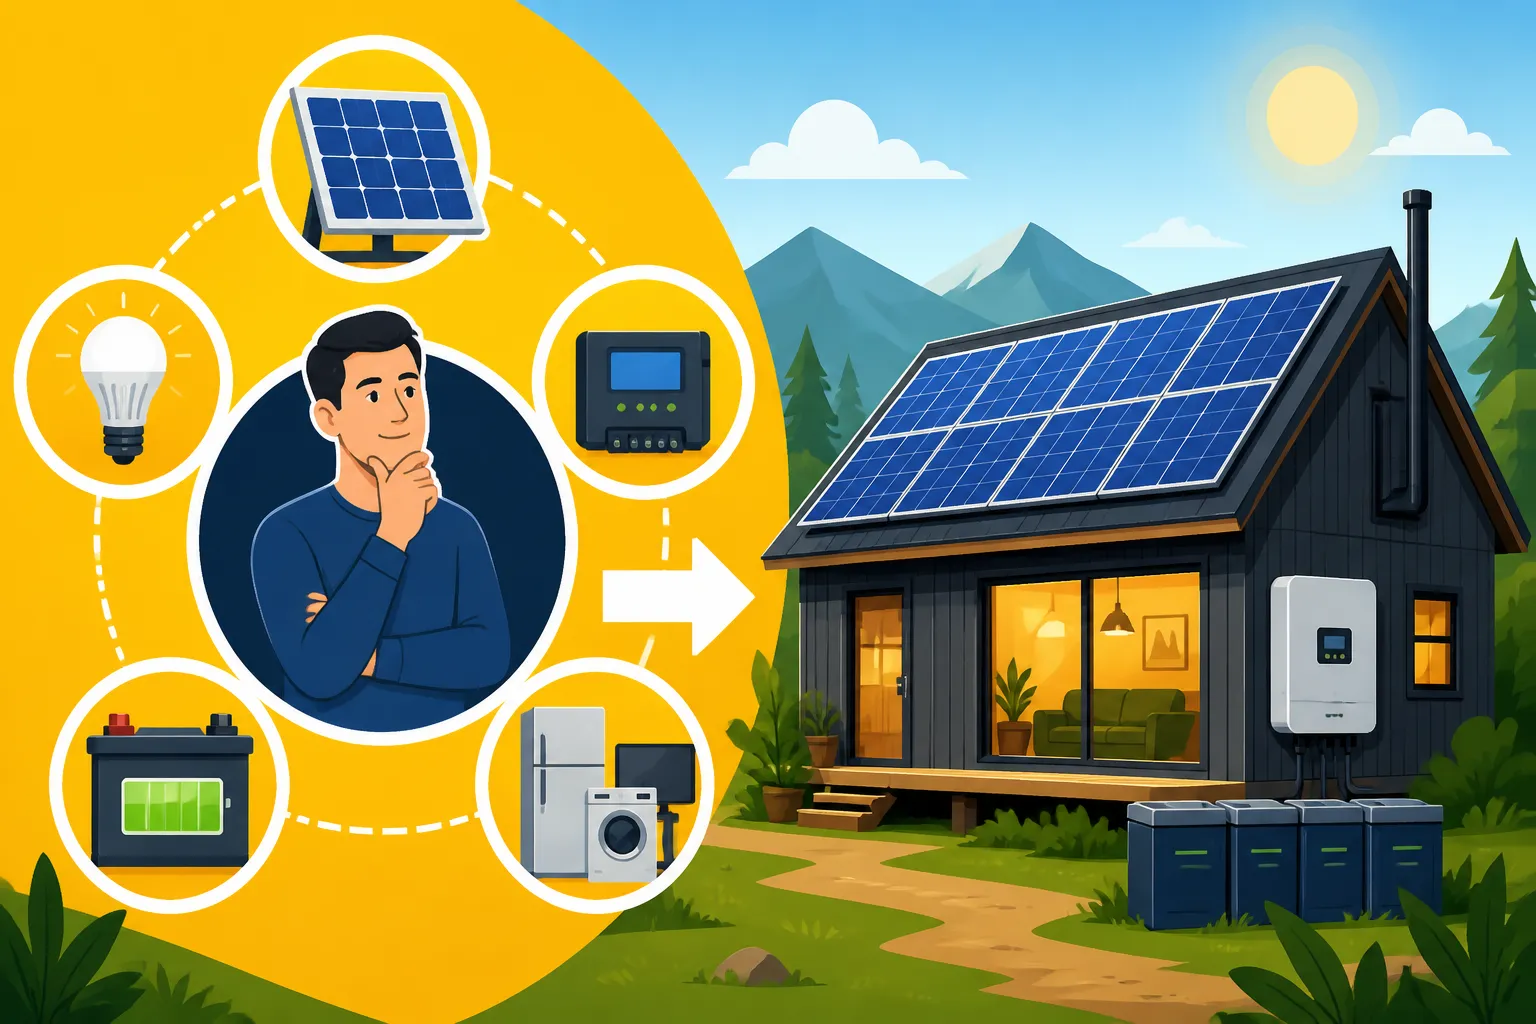
With your energy needs meticulously mapped out, we can now move on to sizing the heart of your off-grid system: the solar panels, battery bank, and inverter. These three components work in concert to generate, store, and deliver power to your home.
Determining Peak Sun Hours for Your Location
The amount of electricity your solar panels can produce isn't just about their wattage; it's also about how much direct sunlight they receive throughout the day. This is where "peak sun hours" come in. Peak sun hours refer to the equivalent number of hours per day when the sun's intensity averages 1,000 watts per square meter (the standard measurement for solar panel output). So, if your location gets 5 peak sun hours, it doesn't mean the sun only shines for 5 hours; it means the total solar energy received during the day is equivalent to 5 hours of full, intense sunlight.
This figure varies significantly by geographic location, time of year, and even local weather patterns. A homestead in sunny Arizona will have vastly different peak sun hours than a cabin in the Pacific Northwest, especially in winter. You can find average peak sun hour data for your specific location through various online tools and solar radiation maps provided by organizations like the National Renewable Energy Laboratory (NREL). Always use the lowest average peak sun hours for the time of year you need the most power (often winter) to ensure your system can cope during less ideal conditions. Understanding this concept is critical for ensuring your array is adequately sized, so diving into resources like Peak Sun Hours Explained can be very beneficial.
Calculating the Number of Solar Panels Needed
Once you know your daily energy consumption (total Wh/day) and your location's peak sun hours, you can calculate the total wattage of your solar array.
Here's a common formula:
Total Panel Wattage Needed (Wp) = (Total Daily Watt-Hours (Wh) x System Loss Factor) / Peak Sun Hours (H)
Let's break that down:
- Total Daily Watt-Hours (Wh): This is the figure you calculated from your load analysis.
- System Loss Factor: No system is 100% efficient. You'll lose power due to wiring, temperature, dust on panels, inverter inefficiencies, and battery charging/discharging. A common factor to start with is 1.2 to 1.3 (representing a 20-30% loss). So, if your daily need is 10,000 Wh, you'd calculate for 12,000 Wh to account for losses.
- Peak Sun Hours (H): Use the conservative figure for your lowest production month.
Let's say your home needs 10,000 Wh per day, you factor in a 20% loss (so 12,000 Wh), and your winter peak sun hours are 4.
12,000 Wh / 4 H = 3000 Wp (watts peak). This means you need a solar array capable of producing 3000 watts under ideal conditions.
Now, to figure out how many physical panels you need, divide your total panel wattage needed by the wattage of an individual solar panel. For example, if you choose 400-watt panels (a common size for residential use), then 3000 Wp / 400 W/panel = 7.5 panels. Since you can't buy half a panel, you'd round up to 8 panels. Brands like Renogy offer a range of reliable solar panels suitable for off-grid homes, from 100W flexible panels to robust 450W rigid options, so you can choose what best fits your needs and budget.
This calculation is a starting point. It's often wise to slightly "oversize" your solar array, especially for off-grid homes, to provide a buffer for cloudy days, unexpected higher usage, or future additions. To really dial in this calculation, consider exploring resources on How Many Solar Panels for Off-Grid Living.
Designing Your Battery Bank: Storing Your Power
Your battery bank is your energy reservoir, storing the solar power generated during the day for use at night or when the sun isn't shining. Without a properly sized battery bank, your system won't last through a single night, let alone a string of cloudy days.
Calculating Required Battery Capacity
To size your battery bank, you need to consider two main factors: your daily energy consumption and your desired "days of autonomy." Days of autonomy refer to how many days your battery bank can power your home without any new charge from your solar panels (e.g., during prolonged cloudy weather). For a permanent off-grid home, aiming for 3-5 days of autonomy is a good, safe bet, providing peace of mind during extended periods of inclement weather.
The formula for battery capacity is:
Battery Bank Capacity (Wh) = (Total Daily Watt-Hours (Wh) x Days of Autonomy) / Maximum Depth of Discharge (DoD)
Let's break this down:
- Total Daily Watt-Hours (Wh): Your daily energy consumption (use the raw figure, not the one with the system loss factor, as battery efficiency is accounted for in DoD).
- Days of Autonomy: How many days you want your power to last without sun.
- Maximum Depth of Discharge (DoD): This is crucial and depends on your battery chemistry.
- Lead-acid batteries (Flooded, AGM, Gel): To maximize their lifespan, you generally shouldn't discharge them below 50% DoD. So, for lead-acid, use 0.50 in your calculation.
- Lithium Iron Phosphate (LiFePO4) batteries: These can be safely discharged much deeper, often to 80-100% DoD, without significant harm to their lifespan. For LiFePO4, you can use 0.80 or even 0.90. This higher DoD is a major reason LiFePO4 batteries are increasingly popular for off-grid homes.
Let’s use an example: Your home uses 10,000 Wh per day, you want 3 days of autonomy, and you're planning on LiFePO4 batteries with an 80% DoD.
(10,000 Wh x 3 days) / 0.80 = 37,500 Wh. This is the total usable energy capacity your battery bank needs.
Now, convert this to Amp-hours (Ah) based on your system voltage. For off-grid homes, 48V systems are very common because they are more efficient for higher power loads, reducing wire size requirements.
If you choose a 48V system: 37,500 Wh / 48V = 781.25 Ah. So, you'd need a battery bank with a nominal capacity of at least 781.25 Ah at 48V. Our guide on How Many Batteries for an Off-Grid System offers more detailed examples.
Choosing the Right Battery Chemistry and Voltage
As we touched on, battery chemistry plays a massive role in both performance and cost.
- LiFePO4 (Lithium Iron Phosphate): These are the modern champions. They offer a much longer cycle life (how many times they can be charged and discharged), a higher DoD, are lighter, more compact, and perform better in various temperatures (though very cold temperatures still require protection). While their upfront cost is higher, their longer lifespan and superior performance often make them more cost-effective in the long run. Many off-gridders find the premium for LiFePO4 batteries to be a worthwhile investment due to their low maintenance and robust performance.
- Lead-Acid Batteries (AGM, Gel, Flooded): These are the traditional workhorses and are much cheaper upfront. However, they have a shorter cycle life, lower DoD (meaning you need more capacity to get the same usable energy), are heavy, and often require more maintenance (especially flooded lead-acid, which needs regular watering). For many permanent off-grid homes, the convenience and longevity of lithium often outweigh the initial cost savings of lead-acid. For a deep dive into the cost implications, check out LiFePO4 vs Lead-Acid Battery Cost.
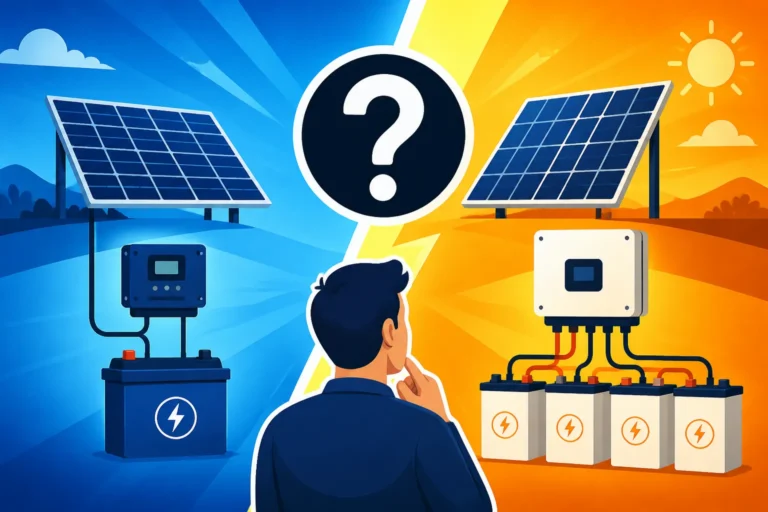
Regarding system voltage, the choice between 12V, 24V, and 48V is primarily driven by the size of your system.
- 12V systems: Generally suitable for very small setups like vans, small RVs, or cabins with minimal power needs.
- 24V systems: Good for medium-sized RVs, tiny homes, or small cabins with moderate appliances.
- 48V systems: The standard for most full-sized off-grid homes. Higher voltage means lower current for the same amount of power (P = V x I), which allows for thinner, less expensive wiring, reduces voltage drop over longer distances, and is more compatible with larger inverters and appliances. This usually leads to a more efficient and robust system overall. You can learn more about this decision in 12V vs 24V vs 48V: Which to Choose.
Sizing Your Inverter for Peak AC Loads
The inverter is the unsung hero that takes the DC power from your batteries and converts it into usable AC power for your household appliances.
Sizing Your Inverter for Peak AC Loads
Remember that peak load we discussed earlier, including the surge watts from motor-driven appliances? That's what your inverter needs to handle. Your inverter must have a continuous wattage rating that is equal to or greater than your total simultaneous running AC load. Even more critically, its surge rating (which it can sustain for a few seconds) must be high enough to handle the starting watts of your largest single appliance, or the combined starting watts of multiple appliances if they tend to kick on at the same time.
For example, if your microwave is 1500W, your well pump surges to 3000W, and your fridge starts at 1200W, but you usually only run the microwave and the fridge simultaneously, with the well pump kicking on independently, you’d consider the highest single surge (3000W for the well pump) and your continuous load. If your total running load is 2000W, and your biggest surge is 3000W, you'd want an inverter with a continuous rating of at least 2000-2500W and a surge rating of 3000W or more. Many larger off-grid inverters for homes are 4000W, 5000W, 6000W, or even 8000W to easily handle these demands. Brands like Victron Energy and Sol-Ark offer robust inverter solutions for complete home systems, often with integrated charge controllers. For a comprehensive look, see How to Size an Off-Grid Inverter.
Always choose a pure sine wave inverter. Modified sine wave inverters are cheaper but can damage sensitive electronics and cause motors to run inefficiently or noisily. For a permanent off-grid home, a pure sine wave inverter is non-negotiable.
Matching a Charge Controller to Your Array and Battery Bank
The charge controller is the intelligent guardian of your battery bank. It regulates the voltage and current coming from your solar panels, ensuring your batteries are charged safely and efficiently without overcharging.
There are two main types:
- PWM (Pulse Width Modulation): These are simpler and less expensive. They work by connecting and disconnecting the solar array to the battery, essentially matching the panel voltage to the battery voltage. They are less efficient, especially in colder weather or when panel voltage significantly differs from battery voltage, and are generally only recommended for very small, budget-conscious systems where efficiency isn't paramount.
- MPPT (Maximum Power Point Tracking): These are more advanced and efficient. An MPPT controller can effectively convert excess voltage from your solar panels into additional current for your batteries, allowing your panels to operate at their optimal power point. This can lead to a 15-30% increase in charging efficiency compared to PWM, making them the clear choice for larger off-grid home systems where every watt matters.
To size your MPPT charge controller, you need to consider two main specifications: maximum PV input voltage (Voc) and maximum charging current (Amps).
- Maximum PV Input Voltage: Your array's open-circuit voltage (Voc) at the lowest expected temperature (which increases voltage) must not exceed the charge controller's maximum PV input voltage. You’ll need to factor in how you wire your panels (series vs. parallel) to determine the array's total voltage.
- Maximum Charging Current: The total current your solar array can produce (Imp x number of strings) plus a 25% safety factor should be less than the charge controller's maximum charging current rating.
For example, if you have eight 400W panels (3200W total array) wired in two strings of four panels (each string with a Voc of, say, 120V and an Imp of 10A), your total Voc would be 120V (for parallel strings) and your total Imp would be 20A. A 48V battery bank charging at 20A means approximately 960W (20A * 48V) going into the battery. However, the MPPT controller will convert the higher voltage from the panels into more current at the battery voltage. A common rule of thumb is to take your total array wattage and divide by your battery voltage to get an approximate charge current. So, 3200W / 48V = 66.6 Amps. You would then look for a 48V MPPT charge controller rated for at least 70-80 Amps to give yourself a buffer.
You can find excellent MPPT charge controllers from brands like Victron, MidNite Solar, and even more budget-friendly options on platforms like Amazon. Choosing an MPPT controller will almost always be the best investment for a permanent off-grid home. For more detail on this critical component, read our guide on How to Size a Charge Controller.
Critical System Design Considerations and Next Steps
Sizing the major components is a huge step, but a reliable off-grid system requires attention to several other crucial details. Overlooking these can lead to inefficiencies, unexpected outages, or even safety hazards.
Accounting for System Losses and Future Expansion
When you initially calculated your solar array size, we included a system loss factor. It’s worth reiterating that solar power production can be affected by many real-world factors:
- Temperature: Solar panels produce less power in high heat.
- Shading: Even partial shading can significantly reduce output.
- Dust and Dirt: Buildup on panels reduces light absorption.
- Wiring Losses: Resistance in cables causes some energy loss.
- Inverter Efficiency: Inverters aren't 100% efficient at converting DC to AC.
Therefore, it's always a smart move to slightly "oversize" your solar array by another 10-20% beyond the initial calculation to provide a buffer against these real-world losses and ensure consistent power, especially during periods of less-than-ideal weather.
Furthermore, consider your future needs. Are you planning to add a new appliance, expand your living space, or start a power-hungry hobby? It's much easier and often more cost-effective to design an expandable system from the outset rather than having to completely revamp it later. This might mean selecting an inverter with a higher capacity than you currently need or installing conduit for additional wiring runs that you can use later. Thinking ahead about how to design an expandable system can save you a lot of headaches and money down the road.
Permitting, Safety, and Professional Help
While off-grid solar systems might seem to operate outside the conventional utility grid, they are often still subject to local building codes and electrical regulations, especially if your off-grid home is a permanent structure. Many jurisdictions require permits for solar installations, even if you’re not connected to the grid. This is primarily for safety reasons, ensuring that the installation meets minimum standards to prevent fires, electrical hazards, and structural issues. Always check with your local county or municipality's building department to understand the specific requirements for your area regarding off-grid solar permits and codes.
Safety is paramount in any electrical system. Proper grounding, overcurrent protection (fuses and circuit breakers), and correctly sized wiring are absolutely essential. An improperly installed system can be dangerous. If you're not experienced with electrical work, or even if you are but want an extra layer of confidence, it's highly recommended to consult with or hire a qualified electrician who has experience with DC and AC systems, preferably with off-grid experience. They can ensure your system is installed safely, complies with all relevant codes, and performs optimally. While a DIY approach can save money, compromising on safety is never worth it.
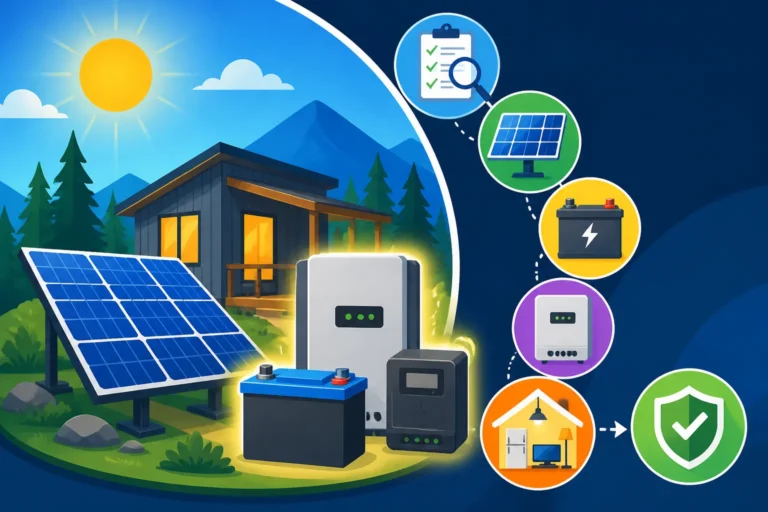
Here’s a summary of the key components and considerations for sizing your off-grid home solar system:
| Component | Primary Sizing Factor | Key Considerations |
|---|---|---|
| Solar Panels | Total Daily Watt-Hours (Wh) / Peak Sun Hours | Location's peak sun hours (use winter average), system losses (20-30%), panel wattage (e.g., 400W), need for oversizing for buffer. |
| Battery Bank | Total Daily Watt-Hours (Wh) x Days of Autonomy | Desired days of autonomy (3-5 for homes), Depth of Discharge (DoD) based on battery type (50% for lead-acid, 80%+ for LiFePO4), system voltage (48V common for homes), battery chemistry choice (LiFePO4 recommended). |
| Inverter | Peak AC Load (running watts + surge watts) | Highest simultaneous running AC load, brief surge capacity for motor-driven appliances (well pump, fridge), continuous vs. surge rating, pure sine wave only. |
| Charge Controller | Max PV Array Voltage & Current, Battery Voltage | MPPT type for efficiency, controller's max input voltage (Voc) relative to array configuration, controller's max output current relative to battery bank. |
Remember, building an off-grid solar system for a home is a significant undertaking. Take your time, do your research, and don't hesitate to seek expert advice when needed. With careful planning, you can enjoy the freedom and reliability of your own power generation for years to come.
Disclaimer
Please remember that the information provided in this guide is for educational and informational purposes only and is not intended as professional electrical advice. Off-grid solar system installation involves high voltage and can be dangerous if not handled properly. Always consult with a qualified electrician or solar professional before installing or modifying any electrical system to ensure safety and compliance with local codes and regulations.