How to Wire a Generator to an Inverter Charger
Living off-grid is a dream for many, but the reality is that sunshine isn't always abundant, and sometimes your solar panels just can't keep up with demand. Whether it's a stretch of cloudy days, an unexpected surge in power needs, or just the deep chill of winter requiring more heating, relying solely on solar can leave you in the dark. That's where a trusty generator comes in, acting as your vital backup. But connecting that generator seamlessly and safely to your off-grid inverter charger can feel like navigating a complex electrical maze. This guide is here to demystify the process, walking you through everything you need to know to wire a generator to an inverter charger, ensuring your off-grid power system remains robust and reliable.
Understanding Your System Components and Why They Matter
Before we dive into the nitty-gritty of wiring, it's really important to understand the main players in this setup: your generator and your inverter charger. Each has a specific role, and knowing how they interact is key to a successful, safe connection.
The Role of the Generator in an Off-Grid Setup
Think of your generator as your power system's insurance policy. It's there for those "just in case" moments when your solar array isn't producing enough electricity to meet your needs or keep your batteries topped off. For many off-gridders, a generator isn't a primary power source but a crucial backup that ensures consistent energy, especially during extended periods of low solar input or for powering high-demand appliances that would quickly drain a battery bank.
There are a few main types of generators commonly used off-grid. Conventional generators are typically less expensive upfront and powerful, but they can be noisy and less fuel-efficient. Inverter generators, on the other hand, produce cleaner power, are generally quieter, and adjust their engine speed to match the load, making them much more fuel-efficient when running at partial capacity. This efficiency is a huge plus for off-gridders trying to manage "Off-Grid Solar vs Generator Fuel Cost" over time. You'll find models running on gasoline, propane, or even diesel, and the choice often depends on fuel availability and storage considerations for your specific location. Brands like Honda and Generac are popular choices for their reliability and range of options suitable for various off-grid needs.
The Inverter Charger: Your Off-Grid Power Hub
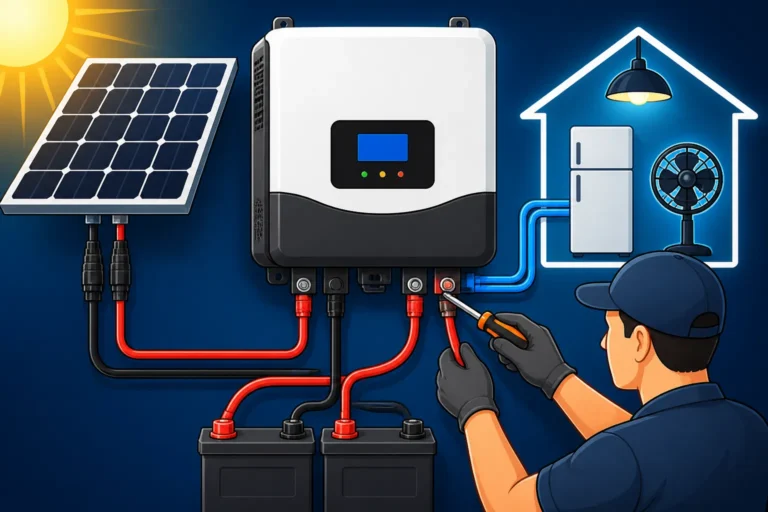
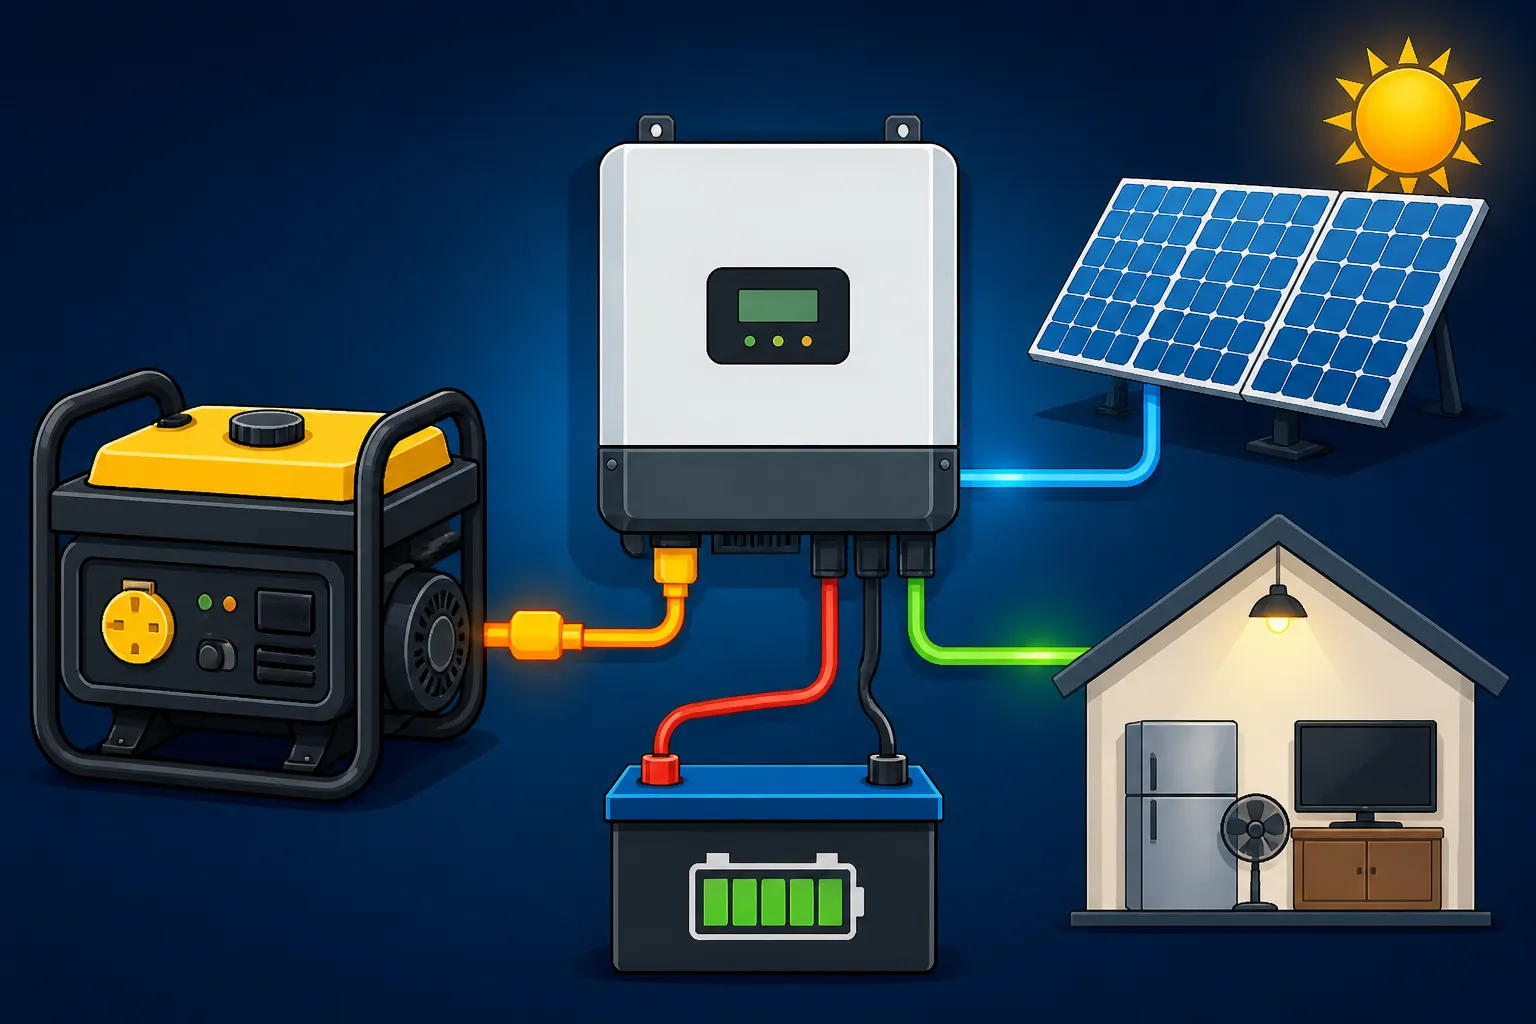
The inverter charger is the true brains of your off-grid operation. It's a multi-talented device that takes direct current (DC) power from your batteries and converts it into alternating current (AC) power, which is what most of your household appliances use. But it doesn't stop there. When you introduce an external AC source, like a shore power connection or, in our case, a generator, the inverter charger automatically switches gears.
This amazing device will then use that external AC power to do two critical things: first, it can bypass its inverter function and send the generator's AC power directly to your household loads, giving your inverter a break. Second, and perhaps even more importantly, it will use that generator power to efficiently recharge your battery bank. Many modern inverter chargers are quite "smart," allowing you to program parameters for when the generator should kick in—like when battery voltage drops below a certain threshold—and when it should shut off once batteries are recharged. This intelligent management makes integrating a generator much more streamlined and efficient, extending the life of your batteries and reducing unnecessary generator run time. You'll find top-tier inverter chargers from brands like Victron and Outback that offer robust features for generator integration, alongside more budget-friendly options that can be found on Amazon.
Essential Safety Gear and Wiring Basics
Before you even think about connecting wires, safety needs to be your absolute priority. Working with electricity, especially high-amperage systems found in off-grid setups, carries inherent risks. Proper safety gear isn't just a suggestion; it's a requirement. This includes insulated gloves, safety glasses, and non-conductive tools.
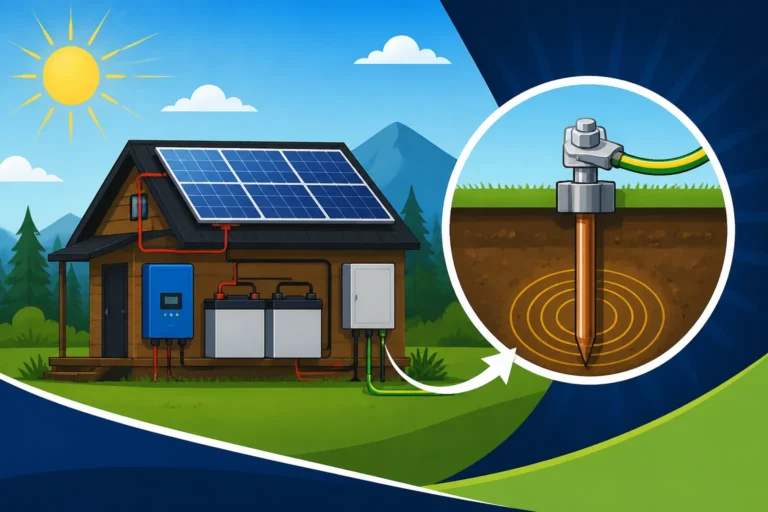
Beyond personal protection, your wiring itself needs to be robust and correctly implemented. You'll need appropriate circuit breakers and fuses to protect against overcurrents, both on the generator side and within your inverter charger's AC input. The gauge of your wire is also critical; it must be thick enough to handle the maximum current flowing from your generator to your inverter charger without overheating. Undersized wires are a major fire hazard. Furthermore, understanding "Off-Grid Solar Safety and Grounding" is paramount. Proper grounding of your entire system, including the generator, protects against electrical shocks and ensures your equipment operates correctly. We’ll delve into the specifics of wiring later, but always keep these fundamental safety principles at the forefront of your mind.
Preparing for the Connection: Safety First, Always
Okay, so you understand the components. Now, let's get down to preparing your space and equipment. This preparation phase is crucial for both your safety and the longevity of your off-grid system. Rushing through this step is a recipe for headaches, or worse.
Assessing Generator Compatibility and Output
Not all generators are created equal, and not all are perfectly suited for every off-grid inverter charger. The first thing you need to check is your generator's output specifications against your inverter charger's AC input capabilities.
- Generator Size (Watts/Amps): Your generator needs to be appropriately sized. If it's too small, it won't be able to effectively charge your batteries or power your loads, and it might struggle or even get damaged. If it's too large, you might have invested more than necessary, though oversizing slightly for future expansion isn't always a bad idea. Look at the continuous wattage output of your generator and compare it to the maximum AC input wattage or amperage your inverter charger can handle. For instance, if your inverter charger can accept up to 30 amps AC input at 120V, that's roughly 3600 watts. Your generator should comfortably deliver this, plus a little extra for starting surges if it's powering direct loads. To learn more, check out our guide on "How to Size a Backup Generator" for detailed calculations.
- Voltage and Frequency: Most inverter chargers in North America expect a 120V or 240V AC input at a frequency of 60Hz. Ensure your generator provides the correct voltage and frequency. Running a 50Hz generator into a 60Hz inverter charger, or vice versa, will cause problems, potentially damaging your equipment.
- Neutral-Ground Bonding: This is a critical safety aspect. Many portable generators come with their neutral and ground bonded together at the factory, making them "separately derived systems" that essentially create their own ground. When connecting to an inverter charger, which is usually tied into your main electrical panel's grounding, this can sometimes create ground loop issues or trip circuit breakers. Your inverter charger manual will provide guidance on whether to use a bonded or unbonded neutral source. For example, some Victron Energy inverter chargers are flexible, but others might require specific bonding configurations. Often, if your generator is feeding a transfer switch that then feeds your house panel, the neutral-ground bond should exist at the main service entrance (or in your inverter charger), not at the portable generator. This can be confusing, so always consult your inverter charger's manual and, if unsure, a qualified electrician.
Essential Tools and Personal Protective Equipment
Gathering the right tools beforehand will make the job much smoother and safer. Scrambling for a tool mid-connection is not ideal.
- Multimeter: Absolutely indispensable for checking voltage, continuity, and ensuring circuits are indeed dead before you touch them.
- Wire Strippers and Crimpers: For preparing wire ends neatly and securely attaching lugs or terminals.
- Screwdriver Set: Insulated screwdrivers are a must when working with electrical terminals.
- Adjustable Wrenches/Socket Set: For tightening terminal lugs and mounting hardware.
- Conduit Benders/Cutters: If you're running wiring through conduit for protection.
- Personal Protective Equipment (PPE): This bears repeating – insulated electrical gloves (rated for the voltage you're working with), safety glasses, and appropriate footwear (non-slip, non-conductive). Always wear them.
You can often find good quality tool sets and individual components, including wire and connectors, readily available on Amazon or at local electrical supply stores. Always invest in quality tools, especially for electrical work; it's a small price to pay for safety and efficiency.
Planning Your Wiring Path and Disconnects
Thinking through the physical layout of your connection is just as important as the electrical considerations.
- Generator Placement: Where will your generator sit when it's running? It needs to be outdoors for ventilation (exhaust fumes are deadly indoors) and protected from the elements. Consider noise levels, fuel storage, and ease of starting.
- Cable Run: How will the electrical cable from the generator reach your inverter charger or transfer switch? Will it be exposed to foot traffic, vehicles, or the elements? It needs to be protected, either by burying it in conduit (following local codes for burial depth) or running it overhead in a manner that prevents damage. This is where topics like "How to Wire an Off-Grid Solar System" become relevant, as it emphasizes proper cable management.
- Disconnects and Breaker Panels: For maximum safety and serviceability, you absolutely need a way to easily and safely disconnect the generator from your inverter charger. This often comes in the form of a dedicated AC input breaker on your inverter charger, but also consider an external breaker panel or a manual transfer switch. This allows you to completely isolate the generator circuit when it’s not in use or during maintenance, preventing accidental power surges or dangerous backfeeding. Remember, redundancy in safety measures is always a good idea in an off-grid setup.
Step-by-Step Wiring Your Generator to the Inverter Charger
Now that you've done your homework and gathered your gear, it's time to connect everything. Please remember: if you are ever unsure about a step, stop and consult a qualified electrician. Your safety is paramount.
The AC Input Connection to the Inverter Charger
This is where the generator's power actually enters your off-grid system. Most inverter chargers have a dedicated AC input terminal block, often clearly labeled "AC In" or "Generator Input."
- Safety First (Again!): Before doing anything with wires, ensure your inverter charger is completely shut down and disconnected from all power sources (solar panels, batteries, and any existing AC loads). Use your multimeter to confirm there is no voltage at the AC input terminals. Ensure your generator is turned off and unplugged.
- Run the Generator Cable: Route your properly sized, outdoor-rated generator cable from your generator's intended location to the inverter charger's AC input. If you're using conduit, make sure it's installed correctly. For an RV or cabin setup, this might involve drilling a weatherproof entry point and sealing it thoroughly.
- Prepare the Cable Ends: Carefully strip the outer jacket of the cable to expose the individual insulated wires (typically hot, neutral, and ground). Then, strip a small amount of insulation from each individual wire end to fit into the inverter charger's terminals. If your inverter charger uses screw terminals, you might want to crimp fork or ring terminals onto the wire ends for a more secure connection.
- Connect to Inverter Charger AC Input:
- Connect the hot (usually black or red) wire from your generator cable to the "L1" or "Hot 1" terminal on your inverter charger's AC input. If your generator is 240V and your inverter charger accepts two hot lines (L1 and L2), connect the second hot wire (often red) to the "L2" or "Hot 2" terminal.
- Connect the neutral (usually white) wire to the "N" or "Neutral" terminal.
- Connect the ground (usually green or bare copper) wire to the "GND" or "Ground" terminal.
- Tighten Connections: Ensure all connections are tight and secure. Loose connections can lead to resistance, heat, and potential fire hazards. Many inverter chargers specify a torque value for terminal screws; if so, use a torque screwdriver.
- Recheck Neutral-Ground Bonding: As mentioned earlier, this is critical. If your portable generator has a floating neutral (unbonded), you'll want to ensure the neutral-ground bond occurs somewhere safe and appropriate within your main off-grid system, typically at the main AC distribution panel or within the inverter charger if it's designed for it. Many modern inverter chargers, like some models from Renogy, have settings to manage this. Always refer to your specific inverter charger and generator manuals. You don't want two neutral-ground bonds in your system. This careful attention to detail is part of a comprehensive "Off-Grid Solar Wiring Diagram Explained" approach.
Integrating a Manual or Automatic Transfer Switch
Connecting a generator directly to your inverter charger's input is one thing, but often, you'll want to integrate a transfer switch for added safety and control, especially if your inverter charger also feeds a main house electrical panel.
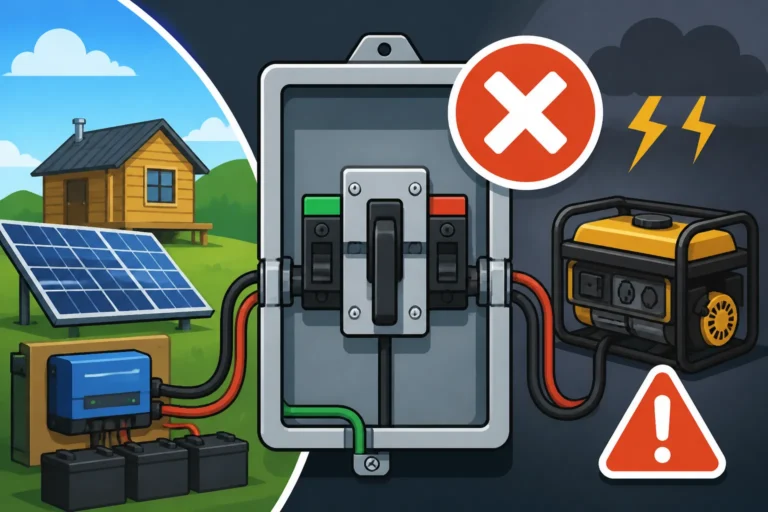
- Why a Transfer Switch? A transfer switch is a critical safety device that prevents "backfeeding." Backfeeding occurs when power from your generator (or inverter) is sent back into the utility grid. Even if you're off-grid, if you ever had a possibility of connecting to the grid, backfeeding could seriously injure utility workers. For purely off-grid setups, a transfer switch still offers a clean way to manage power flow, ensuring your generator power goes directly to your loads and/or your batteries, without conflicting with your inverter's output. It effectively acts as a gatekeeper for different AC sources.
- Manual Transfer Switch: This type requires you to manually flip a switch to choose between your inverter's AC output and your generator's AC output. The generator's output plugs into the transfer switch, and the transfer switch's output then feeds your load panel. Your inverter charger's AC output also feeds into the transfer switch. When you want to use the generator, you start it, then flip the switch to the "Generator" position. This ensures only one source is feeding your loads at any given time.
- Automatic Transfer Switch (ATS): An ATS detects when grid power (or in our case, inverter power) is lost and automatically starts your generator, switching the load over. Once grid/inverter power is restored, it automatically switches back and shuts down the generator. While more complex and costly, it offers seamless operation. Many advanced inverter chargers have built-in ATS functionality or can control an external ATS.
- Wiring with a Transfer Switch:
- Generator to Transfer Switch: Connect the generator's AC output to the designated "Generator In" terminals on the transfer switch.
- Inverter Charger to Transfer Switch (if applicable): If your inverter charger is the primary AC source, its AC output connects to the "Main/Line In" terminals on the transfer switch. However, for charging batteries, the generator will connect to the inverter charger's AC Input, and the output of the inverter charger will then go to your main breaker panel. If your inverter charger has a built-in transfer relay, the generator AC input is often routed through the inverter charger itself, which then manages power flow to your loads and batteries. This is the more common setup for off-grid homes.
- Transfer Switch to Load Panel: The "Load Out" terminals of the transfer switch connect to your main electrical panel or sub-panel, distributing power to your appliances.
Understanding how to install a transfer switch correctly is a crucial piece of the off-grid puzzle, and it directly relates to "How to Set Up Generator Backup" for optimal performance and safety.
Testing Your Generator-Inverter Charger Setup
You've connected everything, double-checked your wiring, and read the manuals (right?). Now for the moment of truth – testing. This should always be done carefully and incrementally.
- Initial Checks:
- Visually inspect all connections one last time. Are they tight? Are wires fully seated?
- Use your multimeter to check for any short circuits between hot, neutral, and ground at the connection point before applying power.
- Ensure all circuit breakers (on the generator, on the inverter charger, and in your main panel) are in the "OFF" position.
- Power Up the Inverter Charger: Turn on your off-grid solar system's main DC disconnect, allowing power to flow to the inverter charger. Wait for it to initialize and confirm it's operating normally, drawing power from your batteries (if solar isn't available).
- Start the Generator: Take your generator outdoors, plug in your generator cable (if not hardwired), and start the generator. Let it run for a minute or two to stabilize its output.
- Connect Generator Power:
- If using a manual transfer switch, ensure it's in the "Inverter" or "Solar" position. Once the generator is stable, flip the transfer switch to the "Generator" position.
- If wiring directly to the inverter charger's AC input (with its internal transfer relay), turn on the circuit breaker that feeds the generator power to the inverter charger.
- Monitor Inverter Charger: Observe your inverter charger's display. It should detect the AC input from the generator. Most inverter chargers will show a "Grid Detected" or "Generator Connected" status, and you should see it begin to charge your batteries. It will also typically pass the generator's AC power through to your connected loads.
- Load Testing: Start with light loads. Turn on a few lights or a small appliance. Monitor your generator and inverter charger for any unusual noises or error codes. Gradually increase the load, adding appliances like a refrigerator or a microwave. Ensure the generator can handle the load without bogging down, and that the inverter charger continues to operate smoothly, passing through power and charging batteries.
- Battery Charging: Confirm that your batteries are actively charging from the generator. Check the charging current and voltage on your inverter charger's display or battery monitor. Allow the generator to run long enough to see a significant increase in battery state of charge.
If you encounter any issues, immediately shut down the generator and disconnect its power, then turn off your inverter charger. Go back to step 1 and systematically troubleshoot. Don't push through an error; it's a sign something is wrong.
Troubleshooting Common Issues and Maximizing Efficiency
Even with careful planning, things don't always go perfectly the first time. It's helpful to know what common issues might arise and how to make your generator integration as efficient as possible.
Generator Not Charging Batteries or Inverter Not Recognizing It
This is a frustrating scenario, but it's often due to a few common culprits.
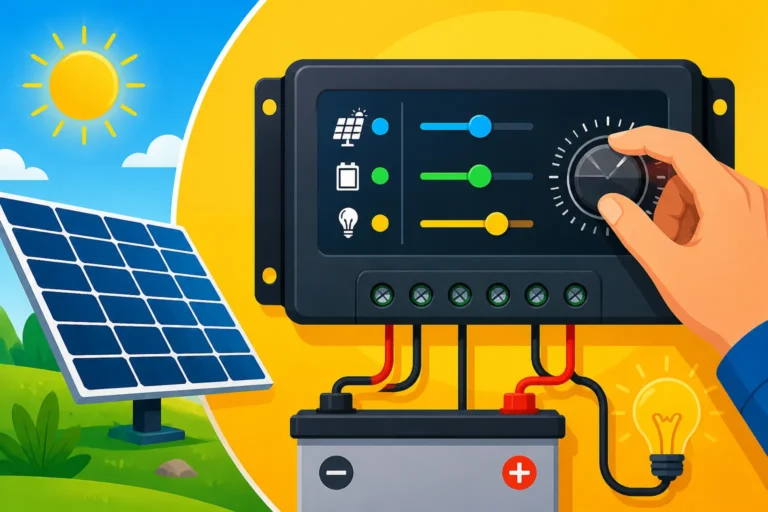
- Incorrect Inverter Charger Settings: Many inverter chargers have configurable settings for the AC input, especially when a generator is connected. Check parameters like "AC input current limit," "low AC voltage disconnect," or "high AC voltage disconnect." If your generator's output voltage fluctuates, or if the current limit is set too low for the generator's actual output, the inverter charger might reject the input. For instance, a Victron MultiPlus inverter charger has a wide range of programmable settings that need to be correctly configured for generator operation.
- Undersized Generator: If your generator isn't powerful enough to meet both your AC loads and provide sufficient power to charge your batteries, the inverter charger might not accept it or might cycle on and off. To prevent this, ensure your generator's continuous output wattage exceeds the sum of your typical running AC loads and the battery charging capacity you want to achieve.
- Neutral-Ground Bonding Issues: As discussed, incorrect neutral-ground bonding can cause breakers to trip or prevent the inverter charger from recognizing a stable AC source. If your generator is bonded, but your inverter charger is expecting an unbonded source (or vice-versa), you'll run into problems. Always verify this against your specific equipment's manuals.
- Faulty Cables or Connections: A loose wire, a damaged plug, or an incorrect wire gauge can lead to voltage drop or intermittent connection, causing the inverter charger to reject the generator's input. Check for continuity with your multimeter and inspect all physical connections.
- Generator Output Quality: Some cheaper or older generators can have "dirty" power output (i.e., poor sine wave quality, or unstable frequency/voltage). While many inverter chargers are robust, some can be sensitive to poor power quality and refuse to connect for protection. This is less common with modern inverter generators from reputable brands like Honda or Yamaha.
When troubleshooting, start with the simplest checks: Is the generator on? Is there fuel? Is the cable plugged in securely? Then move to more complex electrical and setting diagnostics. Remember, there are excellent guides available for troubleshooting, such as "Common Off-Grid Wiring Mistakes", which can help you identify common pitfalls.
Optimizing Generator Run Times and Fuel Consumption
Running a generator costs money and consumes precious fuel. The goal is to make it as efficient as possible.
- Inverter Charger Programming: This is your biggest lever for efficiency. Most advanced inverter chargers allow you to program automatic start/stop parameters for your generator.
- Battery Voltage Thresholds: Set your inverter charger to automatically start the generator when your battery bank reaches a certain low state of charge (e.g., 50% for lead-acid, 20% for LiFePO4).
- Charge Level Target: Program it to stop the generator once your batteries reach a high state of charge (e.g., 90-100%).
- Time-of-Day Restrictions: You might want to prevent the generator from running late at night for noise considerations.
- Load-Based Start: Some systems can be programmed to start the generator if a very high load is detected that the inverter can't handle alone.
- Minimum Run Time: Set a minimum run time (e.g., 1-2 hours) to ensure the generator warms up, charges efficiently, and avoids frequent short cycles, which can be hard on the engine.
- "Bulk" Charging Strategy: Generators are often most efficient when running at a significant load. Configure your inverter charger to pull a high charging current from the generator during its run cycle. This allows it to quickly "bulk" charge your batteries to a high level, reducing the total run time needed.
- Fuel Type and Storage: Consider the type of fuel your generator uses. Propane can be easier to store long-term than gasoline, which degrades over time. Diesel generators are incredibly fuel-efficient but can be more expensive to purchase. Always store fuel safely and according to local regulations. For a deeper dive into maintenance and costs, explore articles on "Off-Grid Solar Maintenance Costs" and "Off-Grid Solar System Components Explained" to understand how each part contributes to overall system efficiency.
| Feature / Generator Type | Conventional Generator | Inverter Generator |
|---|---|---|
| Power Output | Often higher continuous power | Cleaner, more stable power (pure sine wave) |
| Fuel Efficiency | Less efficient, engine runs at fixed RPM | Highly fuel-efficient, engine speed adjusts to load |
| Noise Level | Generally louder | Significantly quieter |
| Cost | Lower upfront cost | Higher upfront cost |
| Weight/Portability | Heavier, less portable for higher power | Lighter, more compact, often very portable |
| Ideal Use | High, constant loads; backup for infrequent use | Sensitive electronics, variable loads; frequent backup |
By carefully planning, wiring correctly, and optimizing your inverter charger's settings, you can ensure your generator is a reliable, efficient, and cost-effective partner in your off-grid adventure. It's all about designing a system that works with you, providing peace of mind no matter what the weather or your power needs throw your way. For those looking to expand or integrate more advanced features, articles like "How to Connect an Inverter to Batteries" or "How to Design an Expandable System" can offer further guidance.
Disclaimer
The information provided in this guide is for educational and informational purposes only and is not intended as professional electrical advice. Working with electricity can be dangerous. Always consult with a qualified, licensed electrician or solar professional to design and install your off-grid solar and generator system, ensuring compliance with all local and national electrical codes and safety standards. The author and publisher are not responsible for any injury or damage resulting from the use or misuse of this information.