How to Set Charge Controller Parameters
You've got your off-grid solar system components all laid out, the panels are basking in the sun, and the batteries are waiting patiently. But then you stare at your charge controller, and a little wave of panic sets in. All those numbers, abbreviations, and seemingly arbitrary settings can feel like trying to decipher an ancient hieroglyphic tablet, leaving you wondering if you're about to fry your expensive batteries or just barely trickle-charge them. Trust me, I've been there! This comprehensive guide is here to demystify those crucial charge controller parameters, walking you through exactly how to set them so your system hums along efficiently and your batteries last for years.
Understanding Your Charge Controller's Purpose and Components
Before we dive into the nitty-gritty of individual settings, let's establish why this little box, the charge controller, is so incredibly vital to your off-grid success. It's not just another piece of equipment; it's the guardian of your battery bank.
Why Proper Parameter Setting is Crucial
Think of your charge controller as the brain of your solar charging system. Its primary job is to regulate the voltage and current coming from your solar panels before it reaches your batteries. Without it, your panels would constantly try to shove power into your batteries, leading to overcharging, overheating, and a dramatically shortened lifespan. It's like leaving your garden hose running into a bucket without turning it off – eventually, you'll have a big, messy problem.
The consequence of incorrect settings can be catastrophic for your battery bank, which is often the most expensive single component in your off-grid setup. If your controller is set to undercharge, your batteries will never reach full capacity, leading to sulfation in lead-acid batteries and reduced usable capacity in lithium types. On the flip side, overcharging can lead to gassing, electrolyte loss, and even thermal runaway in lithium batteries, which is a serious safety hazard. Each battery chemistry – whether it's the robust LiFePO4, the dependable AGM, or the traditional flooded lead-acid – has a unique set of charging requirements. Mismatched settings are a surefire way to prematurely send your batteries to the great recycling plant in the sky. Understanding How to Choose an Off-Grid Battery Bank is a great first step, and setting the controller correctly is the essential follow-up.
Key Components and Their Roles
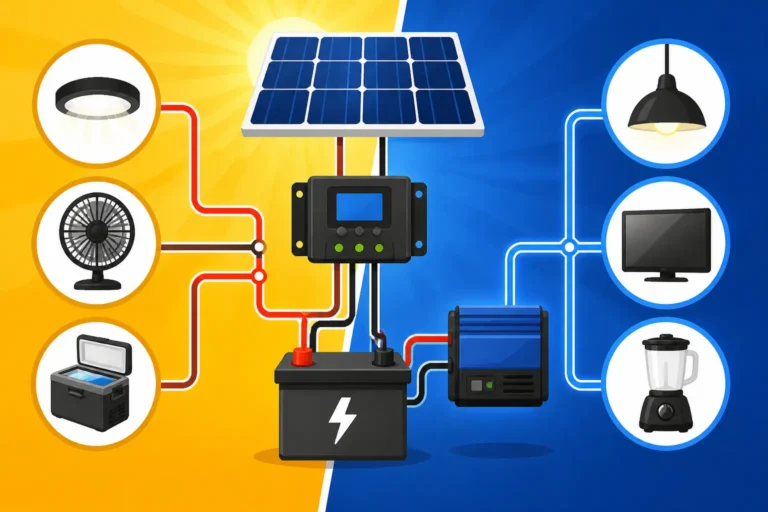
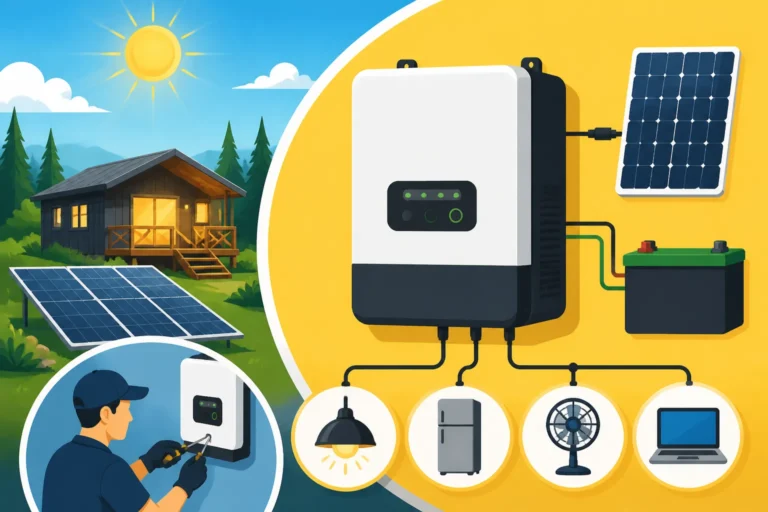
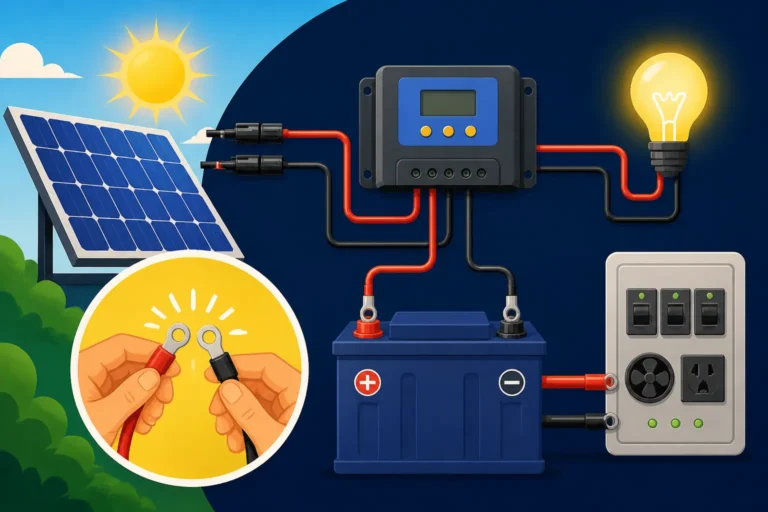
A typical charge controller, whether it's a basic model or a sophisticated unit like those from Victron Energy, has several key connection points and an interface for adjustments.
- Solar Input Terminals: These are where your solar panels connect. The charge controller takes the raw power from your array and conditions it.
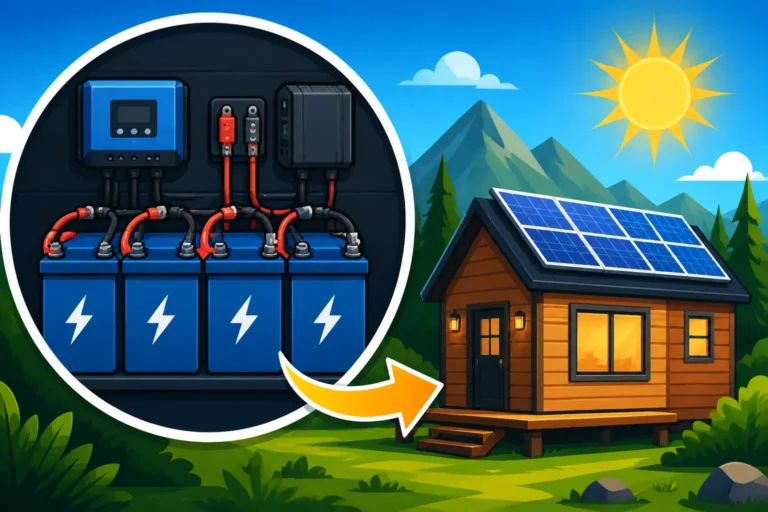
- Battery Terminals: This is the most critical connection, linking the controller directly to your battery bank. All the careful regulation happens before power flows here.
- Load Terminals (Optional): Some smaller charge controllers include terminals for directly connecting DC loads (like lights or a small fan). These often have their own low-voltage disconnect features, but for larger systems, loads are typically powered directly from the battery bank via an inverter.
- Display/Interface: This is where you'll interact with the controller. It could be a simple LED indicator, a small LCD screen with buttons, or a more advanced unit with Bluetooth connectivity for smartphone apps (like the Renogy DC Home app) or PC software. The sophistication of the interface often correlates with whether you have an MPPT vs PWM Charge Controllers. MPPT controllers, being more advanced, usually offer more granular control through their interfaces.
Regardless of the brand or model, the principle remains the same: the charge controller monitors battery voltage and adjusts the power from your panels to ensure safe and efficient charging.
Essential Parameters You'll Need to Adjust
Now that we understand the 'why,' let's get into the 'what.' These are the core parameters that you absolutely must set correctly for your off-grid solar system to function properly and for your batteries to thrive.
Battery Type Selection
This is often the first and most fundamental setting on any charge controller. It tells the controller what kind of battery chemistry it's dealing with, which then dictates the default charging algorithm and safe voltage thresholds. Getting this wrong is the quickest way to damage your batteries.
- Sealed (AGM/Gel): These are common lead-acid variants that are, as the name suggests, sealed and maintenance-free. They require precise charging voltages and are susceptible to damage from overcharging or excessive gassing, so they typically have lower absorption and float voltage settings than flooded batteries.
- Flooded Lead-Acid: These are the traditional workhorses, often found in larger, more budget-conscious off-grid setups. They require periodic watering and can tolerate slightly higher charging voltages. They also benefit from a process called equalization, which we'll discuss shortly.
- Lithium (LiFePO4): Lithium Iron Phosphate (LiFePO4) batteries have become incredibly popular due to their long lifespan, high efficiency, and deep-cycling capabilities. They have very specific charging requirements and generally do not tolerate overcharging or extremely cold charging temperatures. They also do not require equalization. The cost comparison of LiFePO4 vs Lead-Acid Battery Cost makes it clear why protecting your investment is so important.
Your charge controller might have presets for these, or it might allow for fully custom user-defined settings. Always, always, confirm the chosen setting matches your actual battery bank.
Charge Voltage Settings
These are the backbone of your charging profile. They define the voltage targets the charge controller aims for during different phases of the charging cycle.
Bulk/Absorption Voltage
This is the main charging phase. During bulk charging, the controller delivers maximum current to the batteries until they reach a specific voltage, known as the absorption voltage. Once this voltage is hit, the controller typically holds it constant for a set period (the absorption time) while the current gradually tapers off. This phase is crucial for getting your batteries close to 100% full.
- For LiFePO4 batteries, typical absorption voltages are around 14.2V to 14.6V for a 12V nominal battery. Exceeding this can stress the battery management system (BMS) and the cells.
- For AGM batteries, you're often looking at 14.1V to 14.4V.
- For Flooded Lead-Acid batteries, absorption voltages generally range from 14.4V to 14.8V.
Consult your battery manufacturer's data sheet for the exact recommended voltage. A slight deviation here can significantly impact battery health.
Float Voltage
Once the absorption phase is complete and the batteries are considered full, the charge controller switches to the float stage. In this stage, the voltage is reduced to a lower maintenance level. The purpose of float charging is to keep the battery at 100% state of charge by compensating for self-discharge, without overcharging it. It's like keeping a full water bottle topped off with a slow drip.
- LiFePO4 batteries don't typically "float" in the same way lead-acid batteries do, as they have very low self-discharge. Some controllers will drop to a float voltage around 13.5V, while others recommend leaving them open circuit once fully charged.
- AGM batteries usually float between 13.5V and 13.8V.
- Flooded Lead-Acid batteries float around 13.2V to 13.6V.
Again, the manufacturer's specification is your bible here.
Equalization Voltage (for Flooded Lead-Acid)
This setting is only relevant for flooded lead-acid batteries and should never be applied to sealed lead-acid (AGM/Gel) or lithium (LiFePO4) batteries. Equalization involves intentionally overcharging the batteries at a higher voltage for a short, controlled period. This process helps to:
- Remove sulfate crystals that can build up on the battery plates, restoring capacity.
- Balance the charge across individual cells within the battery bank, as cells can become slightly out of sync over time.
Typical equalization voltages for 12V flooded batteries range from 15V to 16V. This is a high voltage, so it must be done with caution, with good ventilation, and only when necessary, usually once a month or every few months. Your controller might have an automatic equalization feature or require manual initiation. Misapplying this to the wrong battery type will cause severe, irreversible damage.
Low Voltage Disconnect (LVD) and Reconnect (LVR)
These parameters are your battery bank's last line of defense against harmful over-discharge. While your inverter or individual DC loads might have their own low-voltage cutoff, the charge controller's LVD is a system-wide setting that will disconnect loads to prevent your batteries from being drawn down to critically low levels.
- Low Voltage Disconnect (LVD): This is the voltage threshold at which the charge controller will cut power to any loads connected to its load terminals, or, in more advanced systems, signal the inverter to shut down. Deep discharging can severely reduce battery lifespan, especially for lead-acid. For LiFePO4 batteries, while they can handle deeper discharges, it's still wise to set an LVD to protect the cells and prevent the BMS from triggering, which can be an abrupt shutdown.
- LiFePO4: Often set around 12V to 12.8V.
- AGM/Gel: Typically 11.8V to 12.0V.
- Flooded Lead-Acid: Usually 11.5V to 11.8V.
- Low Voltage Reconnect (LVR): Once the LVD has triggered and your loads are off, your solar panels (or generator) will start recharging the batteries. The LVR is the voltage point at which the charge controller will allow power to flow back to the loads. This prevents a "cycling" effect where loads turn on and off rapidly as the voltage hovers around the LVD point.
- LiFePO4: Might be set around 13V to 13.2V.
- AGM/Gel: Usually 12.5V to 12.8V.
- Flooded Lead-Acid: Around 12.2V to 12.5V.
Setting the LVD too low pushes your batteries to their limits, while setting it too high might mean you cut off power prematurely. It's a balance, and again, your battery manufacturer's guidelines are key.
Step-by-Step Guide to Setting Parameters
Now, let's roll up our sleeves and get these parameters dialed in. The process isn't as intimidating as it first appears, especially if you have all your ducks in a row.
Gathering Your Battery Specifications
This is the most critical first step. Do not guess your battery settings. Ever. Your battery manufacturer provides a data sheet or manual with precise charging parameters. This information is usually available:
- In the physical manual that came with your battery.
- On the manufacturer's website (e.g., for Battle Born, EG4, or other popular brands).
- On the product page if you purchased your batteries from an online retailer like Amazon.
Here’s a checklist of the key data points you absolutely need:
- Nominal Voltage: (e.g., 12V, 24V, 48V)
- Recommended Absorption Voltage: (often a range or a specific voltage)
- Recommended Float Voltage: (if applicable for lead-acid)
- Equalization Voltage and Frequency: (only for flooded lead-acid)
- Low Voltage Disconnect (LVD) / Cutoff Voltage: The lowest safe voltage.
- Maximum Charge Current: While the charge controller manages this, knowing your battery's max acceptable charge current (often expressed as a C-rate, e.g., 0.5C) helps ensure your solar array isn't wildly oversized for your battery's charging capabilities.
- Temperature Compensation Coefficient: For lead-acid batteries, this tells you how much to adjust the voltage per degree Celsius above or below 25°C (77°F).
Write these down! Having them in front of you will make the next steps much smoother.
Navigating Your Charge Controller Interface
Every charge controller is a little different, but most follow a similar logic. Always refer to your specific controller's manual for exact instructions. However, here’s a general walk-through:
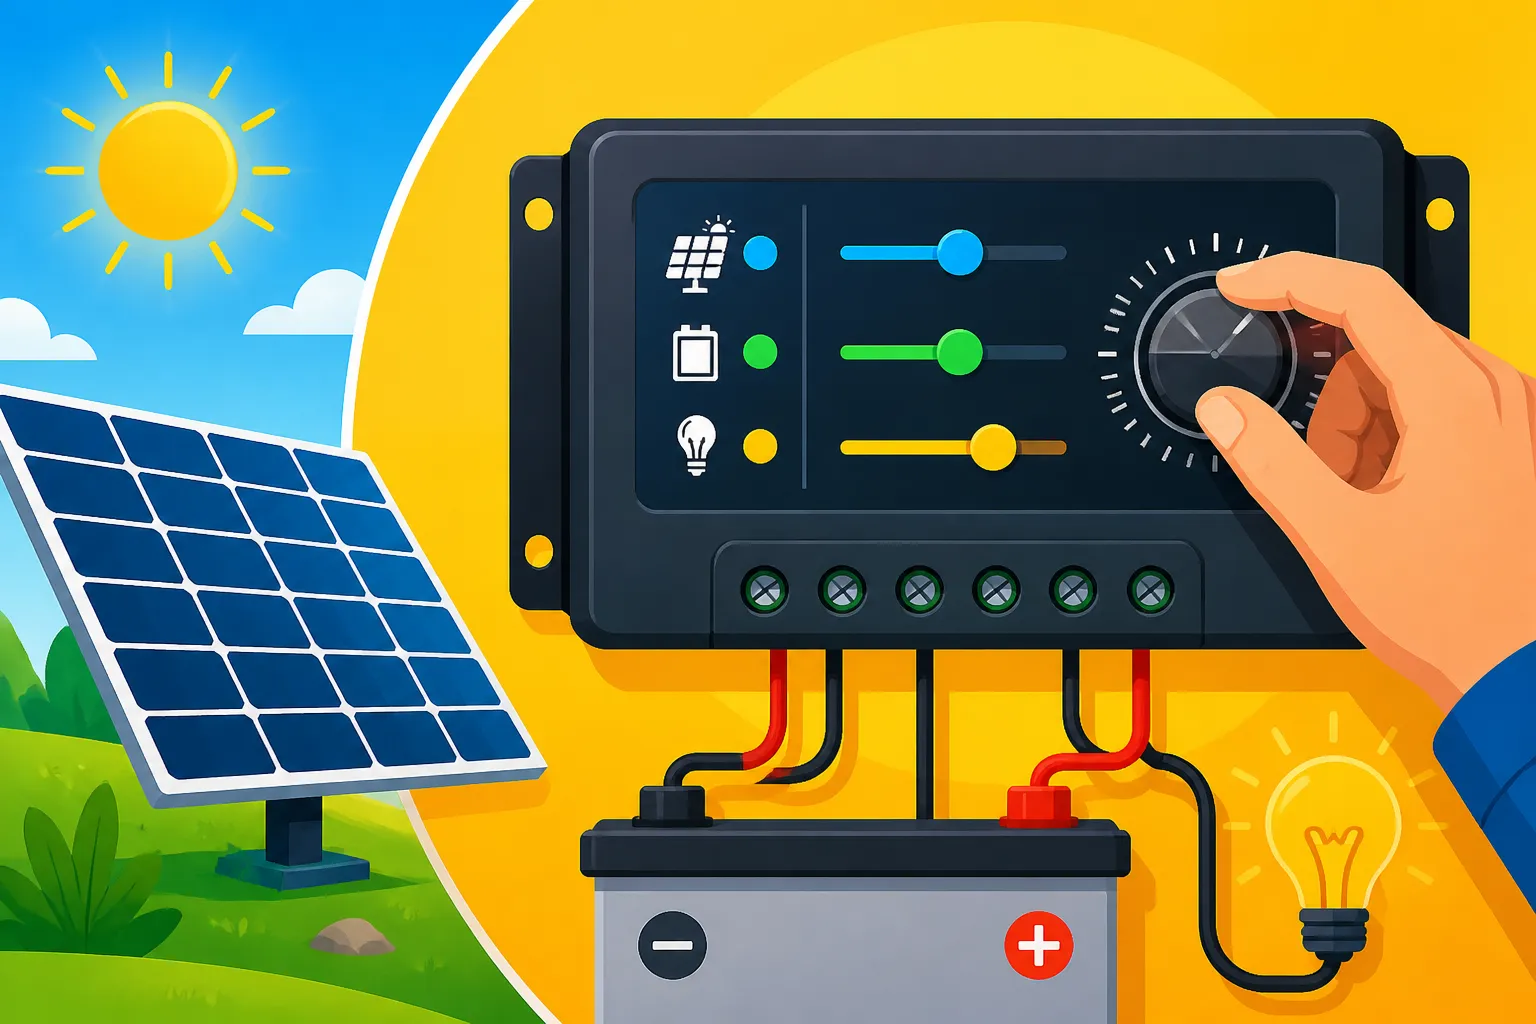
- Accessing the Settings Menu: This usually involves pressing and holding a "SET" or "MENU" button, or sometimes a combination of buttons. For controllers with app connectivity (like many Renogy models), you'll connect via Bluetooth and adjust parameters directly within the app, which is often much more intuitive.
- Scrolling Through Parameters: Once in the menu, you'll typically use "UP" and "DOWN" arrows (or similar navigation buttons) to cycle through the available parameters. These might include "Battery Type," "Absorb. V," "Float V," "LVD," "LVR," "Equal. V," and so on.
- Selecting and Adjusting a Parameter: When you land on the parameter you want to change, you'll usually press "SET" or "ENTER" again to select it. The value will then often flash, indicating it's editable. Use your "UP" and "DOWN" buttons to adjust the value to match your battery's specifications.
- Confirming and Saving: After adjusting a value, you'll need to confirm it, usually by pressing "SET" or "ENTER" again. Some controllers require you to go to a separate "SAVE" or "EXIT" option in the menu to commit all changes. Do not skip this step! Many a frustrated off-gridder has spent time adjusting settings only to find they reverted because they weren't saved.
- Repeat for All Necessary Parameters: Go through each parameter you identified in your battery specs and adjust it accordingly.
For those running larger systems, you might even have a dedicated PC software interface to configure more complex settings, such as absorption duration or temperature compensation curves. Regardless of the method, remember that precision here prevents costly errors down the line. If you're looking for more general wiring information, check out How to Wire an Off-Grid Solar System.
Confirming and Monitoring Your Settings
Once you've made all your adjustments and saved them, your work isn't quite done. You need to confirm that the changes have taken effect and then regularly monitor your system.
- Verify on Display: Cycle back through the settings menu to ensure that the values you entered are now displayed and active.
- Check System Behavior:
- Battery Voltage: Observe your battery voltage. Is it hitting the absorption voltage when charging? Is it dropping to the float voltage once full?
- Charging Current: During bulk charge, is the current flowing into the batteries as expected?
- Load Disconnect: (Carefully and temporarily, if possible) test the LVD by drawing down your batteries slightly (if they are near the threshold) to see if loads disconnect at the set point.
- Install a Battery Monitor: While your charge controller will show some battery information, a dedicated How to Install a Battery Monitor is invaluable for truly understanding your battery's state of charge, voltage, current, and overall health. Devices like Victron's SmartShunt or a high-quality battery monitor can provide much more accurate data than what's often available on a basic charge controller display. This real-time feedback loop is crucial for confidence in your settings.
Advanced Considerations and Troubleshooting
Setting the basic parameters is a huge step, but a few advanced considerations can further optimize your system and prevent common pitfalls.
Temperature Compensation
This is a critical, yet often overlooked, parameter, especially for lead-acid batteries. The optimal charging voltage for lead-acid batteries changes with temperature. They require higher voltages in cold weather and lower voltages in hot weather.
- How it Works: Many charge controllers have a port for an external battery temperature sensor. When connected, the controller automatically adjusts the absorption and float voltages based on the ambient battery temperature, typically adjusting by -3mV per cell per degree Celsius above 25°C (77°F), and vice-versa for colder temps. For a 12V battery (6 cells), this is -18mV/°C.
- Importance: Without temperature compensation, charging lead-acid batteries in cold conditions can lead to undercharging, and in hot conditions, to overcharging and gassing, drastically reducing their lifespan. This is particularly important for those in regions with significant seasonal temperature swings, as outlined in How Winter Affects Off-Grid Sizing.
- LiFePO4 Batteries: For LiFePO4, temperature compensation is less critical for charging voltage within typical operating ranges, as their internal chemistry is more stable. However, many LiFePO4 batteries have a low-temperature charging cutoff (e.g., cannot be charged below 0°C or 32°F) to prevent cell damage. While the charge controller might not actively compensate voltage, its temperature sensor can inform you if charging should be paused.
Customizing for Specific Scenarios
Your off-grid life isn't static, and sometimes your charge controller settings might benefit from slight adjustments.
Seasonal Adjustments
For lead-acid battery users, a subtle adjustment to float voltage might be beneficial. In the deep winter months, you might slightly increase the float voltage by 0.1V or 0.2V to ensure your batteries stay fully topped off, especially if solar harvest is limited. Conversely, in scorching summers, a slight reduction can prevent unnecessary gassing. For LiFePO4, these seasonal voltage tweaks are generally unnecessary, but being mindful of their low-temperature charging limits is crucial.
Generator Integration
If your off-grid system includes a backup generator that charges your batteries (either through a dedicated charger or an inverter/charger), it’s vital that its charging parameters align with your charge controller's settings. Ideally, the generator's charger should respect the same absorption, float, and possibly equalization voltages as your solar charge controller. Many advanced inverter/chargers, such as those from Victron or Sol-Ark, can be programmed to work in harmony with your solar charging, ensuring a seamless and healthy charging experience for your battery bank. Understanding How to Add a Generator to Your Design means also knowing how it integrates with your charge controller.
Common Mistakes and How to Avoid Them
Even with the best intentions, it's easy to make mistakes. Here are some of the most common ones when setting charge controller parameters:
- Using Default Settings: Many controllers come with generic default settings that might not be optimized for your specific battery chemistry. Always customize!
- Ignoring Battery Manufacturer Specs: This is the golden rule. Your battery's datasheet is your most important resource. Don't rely on forum advice or general rules of thumb if you have the specific numbers.
- Setting LVD Too Low: While you want to maximize usable capacity, setting the Low Voltage Disconnect below the manufacturer's recommendation will significantly reduce your battery's cycle life.
- Incorrect Equalization for Sealed Batteries: As mentioned, never equalize AGM, Gel, or LiFePO4 batteries. It will destroy them.
- Forgetting to Save Changes: Always confirm that your new parameters have been saved. A quick reboot of the controller (if safe to do so) can sometimes help confirm settings stick.
- Not Rechecking Periodically: It's a good practice to recheck your charge controller settings once a year, or after any major system component changes, just to ensure everything is still aligned. This ties into a broader Off-Grid Solar Maintenance Guide.
By being meticulous and understanding these parameters, you're not just setting numbers; you're actively ensuring the longevity and reliability of your entire off-grid power system.
| Parameter | LiFePO4 (12V) | AGM (12V) | Flooded Lead-Acid (12V) | Notes |
|---|---|---|---|---|
| Battery Type Selection | Lithium | Sealed | Flooded | Crucial first step to inform charging algorithm. |
| Bulk/Absorption Voltage | 14.2V – 14.6V | 14.1V – 14.4V | 14.4V – 14.8V | Main charging voltage. Match exact manufacturer spec. |
| Float Voltage | 13.5V (or disconnect) | 13.5V – 13.8V | 13.2V – 13.6V | Maintenance charge. |
| Equalization Voltage | N/A | N/A | 15.0V – 16.2V | Only for flooded lead-acid. Never for other chemistries. |
| Low Voltage Disconnect (LVD) | 12.0V – 12.8V | 11.8V – 12.0V | 11.5V – 11.8V | Protects against deep discharge. Higher for LiFePO4. |
| Low Voltage Reconnect (LVR) | 13.0V – 13.2V | 12.5V – 12.8V | 12.2V – 12.5V | Restores power to loads after recharge. |
| Temperature Compensation | Less Critical | Essential | Essential | Connect sensor for lead-acid. LiFePO4: monitor for low-temp cutoff. |
Note: These are general ranges. ALWAYS refer to your specific battery manufacturer's data sheet for precise recommendations. For more on what mistakes to avoid during this process, read about Off-Grid Charge Controller Installation Mistakes to Avoid.
Disclaimer
Please note that off-grid solar system installations and electrical work can be dangerous if not performed correctly. Always follow manufacturer instructions, relevant electrical codes, and safety guidelines. If you are unsure about any aspect of your installation or parameter settings, consult with a qualified electrician or solar professional. This guide is for informational purposes only.