Off-Grid Charge Controller Installation Mistakes to Avoid
Stepping into the world of off-grid solar can feel incredibly empowering, but let's be honest, it also comes with its fair share of head-scratching moments. One component that often causes folks to stumble during installation is the charge controller. It's not just a box you plug things into; it's the brain of your battery charging, and if you mess up its installation, you could risk your entire system – from underperforming batteries to outright safety hazards. This guide is here to walk you through the most common off-grid charge controller installation mistakes, helping you avoid those frustrating pitfalls and ensure your system runs smoothly and safely from day one.
The Heartbeat of Your Off-Grid Power System
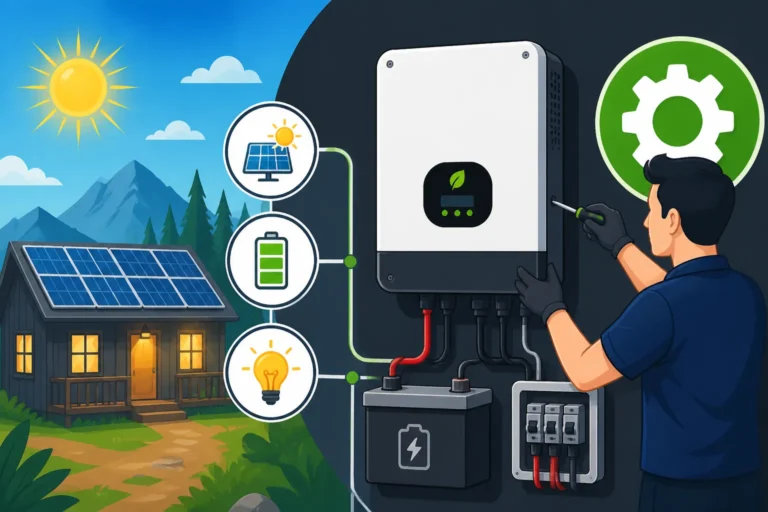
Think of your off-grid solar setup as a living, breathing entity. The solar panels are its lungs, breathing in sunlight and converting it into energy. Your battery bank is its stomach, storing that energy for when it's needed. But what about the heart and brain? That's your charge controller. Without it, your system wouldn't know how to safely and efficiently manage the flow of power, leaving your batteries vulnerable to damage and your power supply unpredictable.
What Exactly Does a Charge Controller Do?
At its core, a charge controller is a voltage and/or current regulator to prevent batteries from overcharging. Solar panels produce varying amounts of power depending on sunlight intensity, temperature, and even the time of day. Batteries, on the other hand, have specific voltage and current requirements for optimal charging and longevity. The charge controller bridges this gap, ensuring that the power from your solar panels is delivered to your batteries in a controlled, safe, and efficient manner.
There are two main types you'll typically encounter: Pulse Width Modulation (PWM) and Maximum Power Point Tracking (MPPT). PWM controllers are simpler and more cost-effective, essentially acting like a fast switch to regulate the voltage by rapidly turning the current on and off. They're great for smaller systems where the solar panel voltage closely matches the battery bank's voltage, like a 12V panel charging a 12V battery. On the flip side, MPPT controllers are more advanced. They constantly track the "maximum power point" of your solar array, which is the sweet spot of voltage and current where your panels produce the most power. They can convert higher voltage panel input (e.g., a 24V or 48V panel) down to your battery bank's voltage (e.g., 12V or 24V) with significantly higher efficiency, especially in cooler weather or with varying light conditions. For more details on the differences, you might want to read our guide on MPPT vs PWM Charge Controllers. Choosing the right one is crucial for getting the most out of your solar investment.
Why Proper Installation Is So Critical
It might sound dramatic, but improper charge controller installation can genuinely be a recipe for disaster. We're talking about everything from minor inefficiencies that drain your pocket over time to major safety hazards like electrical fires or damaged equipment. When you're dealing with electricity, especially DC power from a solar array and battery bank, there's no room for guesswork.
Imagine you've invested good money in your off-grid dream, perhaps a robust Renogy charge controller and a hefty lithium battery bank. If you skimp on the installation details, you could inadvertently overcharge or undercharge your expensive batteries, drastically shortening their lifespan. Overcharging can lead to overheating and even thermal runaway in some battery chemistries, while consistent undercharging can cause sulfation in lead-acid batteries or reduce the usable capacity of lithium-ion types. Beyond the expensive components, there’s the very real risk of electrical shock or fire if wires are undersized, connections are loose, or fusing is incorrect. Your system's longevity and your personal safety absolutely depend on getting the installation right.
Common Charge Controller Installation Mistakes and How to Dodge Them
Alright, let's dive into the nitty-gritty. These are the mistakes I see folks make time and time again, and knowing them is half the battle.
Miswiring: The Most Frequent Foe
This is probably the number one culprit for a non-functional or damaged system. It’s easy to get wires crossed, literally, when you’re dealing with positive and negative terminals, multiple components, and sometimes even multiple arrays.
Incorrect Polarity and Connection Order
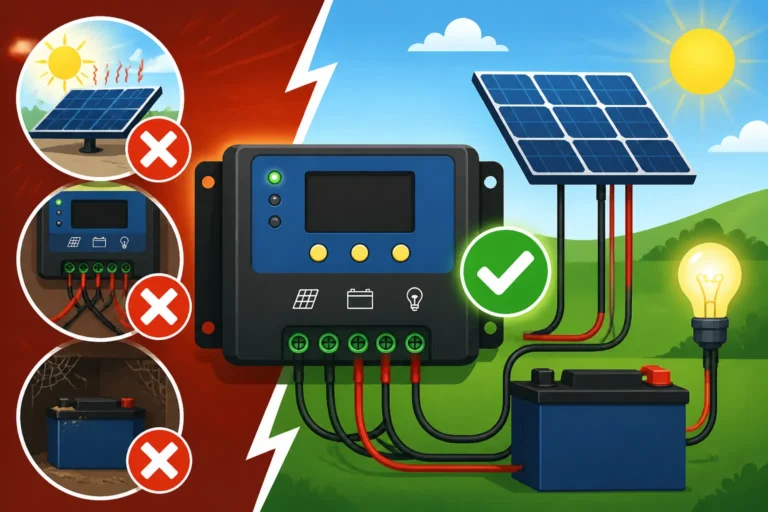
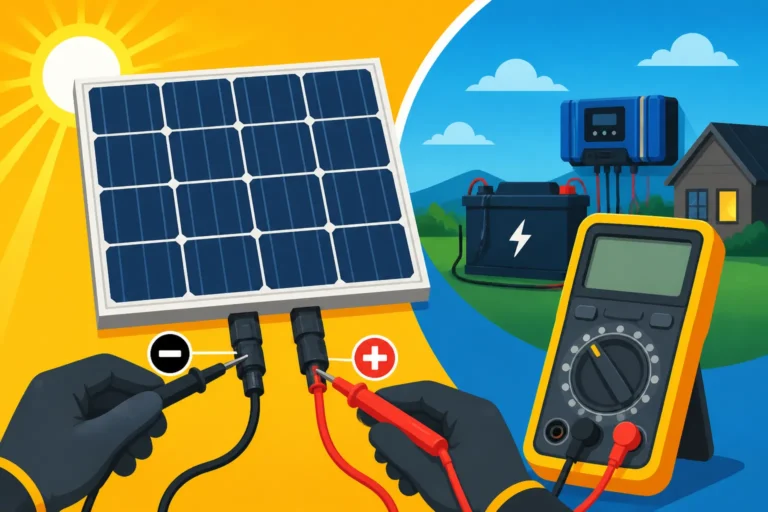
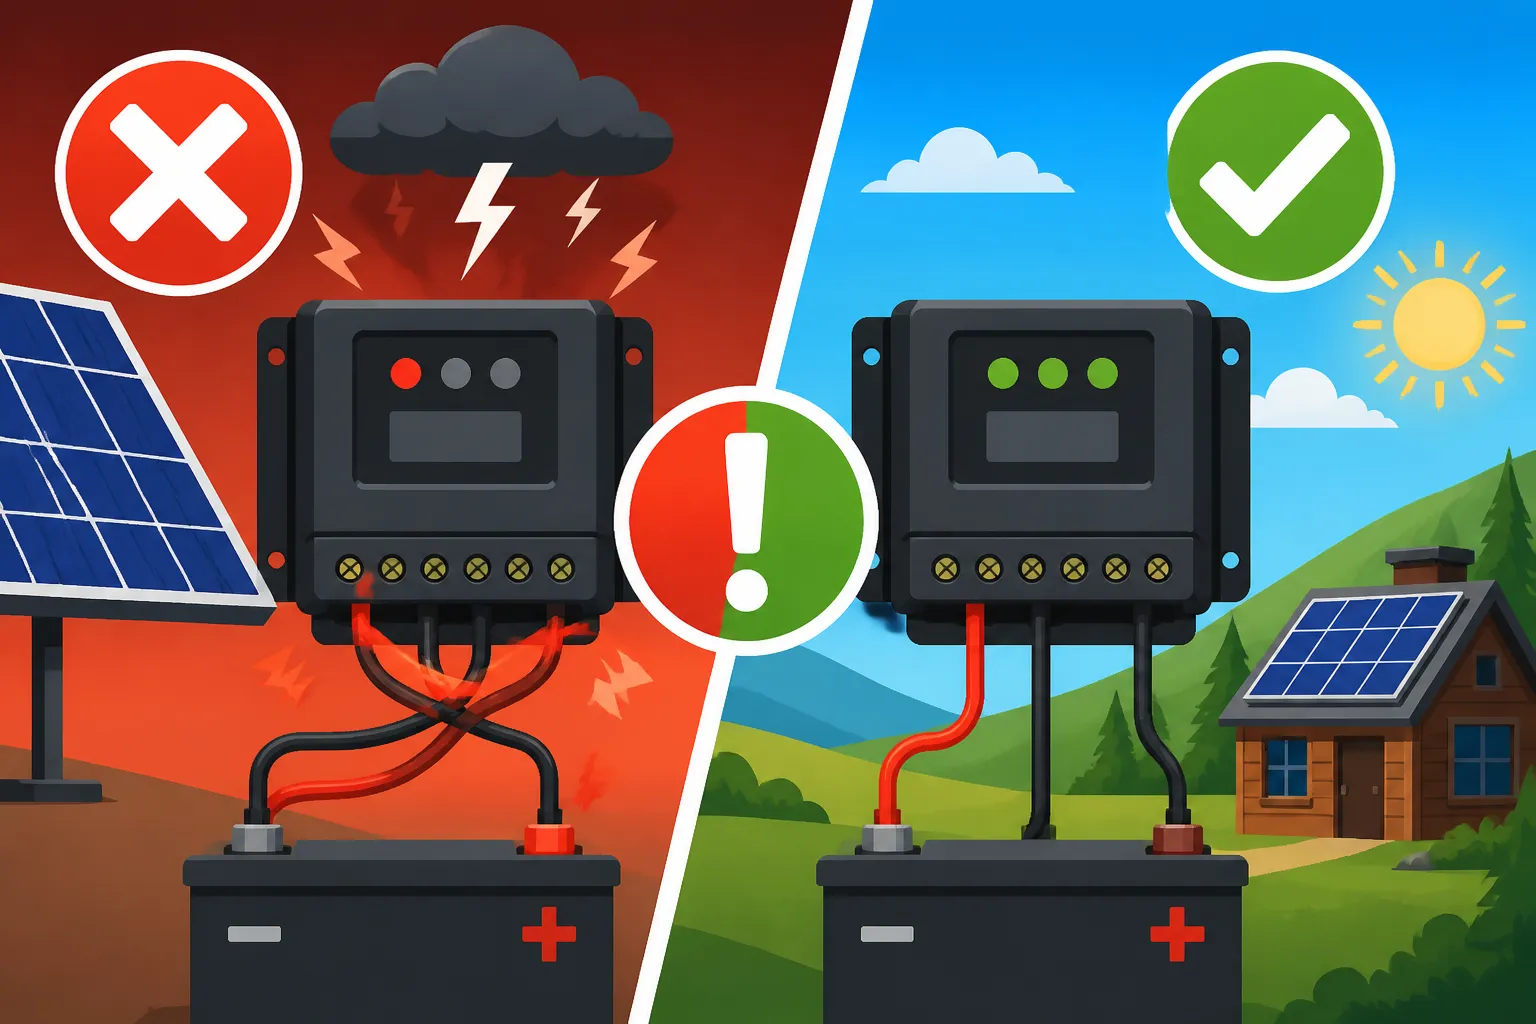
One of the most critical aspects of wiring is observing polarity. Connecting a positive wire to a negative terminal, or vice versa, is an instant way to fry your charge controller, your battery, or both. Always double-check your connections with a multimeter before making the final hook-up. Most charge controllers also specify a strict connection order: always connect the battery first, then the solar panels, and finally your loads (if applicable). Why this order? Connecting the battery first allows the charge controller to sense the system voltage and properly initialize. Connecting panels first without a battery can subject the controller to excessive voltage and damage it, as it won't have a stable load to regulate against. When disconnecting, reverse the order: loads off, then panels, then battery. It's a simple rule, but one easily overlooked in the excitement of a new setup.
Wrong Wire Gauge and Loose Connections
Undersized wires are another common problem. If your wires are too thin for the current they need to carry, they'll heat up, lose energy (voltage drop), and become a fire hazard. The longer the wire run, and the higher the current, the thicker your wire needs to be. For instance, a small 100W panel to a controller might be fine with 10 or 12 AWG wire over a short distance, but a larger array pushing 50 amps would require much heavier gauge wire, possibly 6 AWG or even 4 AWG, depending on the length. Refer to wire gauge charts and always err on the side of caution. Furthermore, loose connections are a significant source of resistance, heat, and intermittent operation. Always use proper crimping tools for terminals, ensure screws are tightened firmly (but not overtightened, which can strip them), and periodically check connections, especially after the system has been running for a while. If you're tackling your overall Off-Grid Solar Wiring Diagram Explained, pay extra attention to wire sizing and connection quality.
Inadequate Sizing and Compatibility Issues
Even if your wiring is impeccable, the wrong components won't get you far. Sizing your charge controller correctly is paramount.
Mismatching Controller to Array and Battery
Your charge controller needs to be able to handle the maximum current output from your solar array and the voltage of your battery bank. If you have, say, a 400W solar array, that could generate around 20-30 amps depending on panel voltage and sun conditions. Your charge controller must be rated for at least that amount of current. Similarly, ensure the controller's maximum PV input voltage is higher than your array's open-circuit voltage (Voc), especially in cold weather when panel voltage can spike. An MPPT controller designed for a 12V system might not work efficiently with a 48V panel setup, even if the current rating seems okay. Our guide on How to Size a Charge Controller offers a deeper dive into these calculations.
Choosing the Wrong Controller Type (MPPT vs. PWM)
As we touched upon earlier, MPPT and PWM controllers serve different purposes. Using a PWM controller when an MPPT would be far more efficient is a mistake that costs you power every single day. If your panels have a significantly higher voltage than your battery bank (e.g., grid-tie panels designed for high voltage stringing, or any 60-cell solar panel operating at 30-36V nominal voltage, charging a 12V or 24V battery bank), an MPPT controller is almost always the better choice. It can convert that higher voltage into usable charging current for your batteries with minimal loss. Conversely, if your panel voltage is very close to your battery voltage (e.g., a "12V nominal" panel charging a 12V battery, which might have a Voc around 20-22V), a PWM controller from a reputable brand like Renogy might be perfectly adequate and more budget-friendly. Understand your system's voltage architecture before making this critical decision.
Ignoring Environmental Factors and Placement
The environment where you install your charge controller plays a huge role in its performance and longevity. It's not just about the wires; it's about the bigger picture.
Poor Ventilation and Overheating
Charge controllers, especially MPPT units, generate heat as they work to convert and regulate power. If they get too hot, their efficiency drops, their lifespan shortens, and they can even shut down completely as a safety measure. Mounting your charge controller in a cramped, unventilated box or a location where it's exposed to direct sunlight will almost certainly lead to overheating. Always ensure adequate airflow around the unit. Follow the manufacturer's recommendations for clearance from walls or other equipment. Sometimes, adding a small fan to an enclosure can make a world of difference, especially for systems in warmer climates or those running at high capacities.
Exposure to Moisture, Dust, and Extreme Temperatures
Electronic components and moisture are natural enemies. Installing a charge controller where it's exposed to rain, condensation, or even high humidity (like an unsealed shed or a boat's bilge) is asking for trouble. Similarly, dust and dirt can build up inside the unit, impeding heat dissipation and potentially causing short circuits. While many controllers are designed for some level of environmental resilience, aiming for a dry, clean, and temperature-controlled environment is always best. Avoid extreme hot or cold if possible, as these can impact the controller's internal electronics and lead to performance degradation or failure. For example, if you're setting up a system for Off-Grid Solar Cost in Cold Climates, you'll need to consider how temperature affects all components, including your charge controller.
Overlooking Crucial Safety and Maintenance Practices
Installation isn't just about making connections; it's about making safe connections and ensuring the system remains safe and functional over time.
Skipping Fuses and Circuit Breakers
This is a non-negotiable safety measure that far too many DIYers unfortunately overlook, often out of a desire to save a few bucks or simplify wiring. But believe me, it's not worth the risk.
Importance of Overcurrent Protection
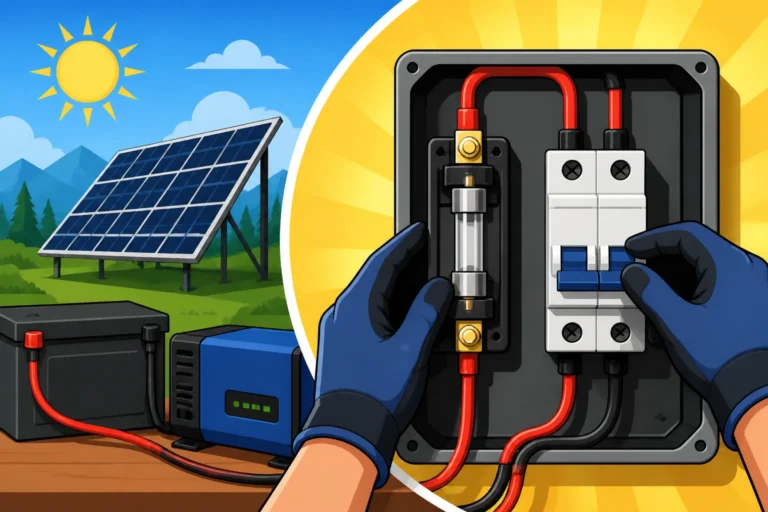
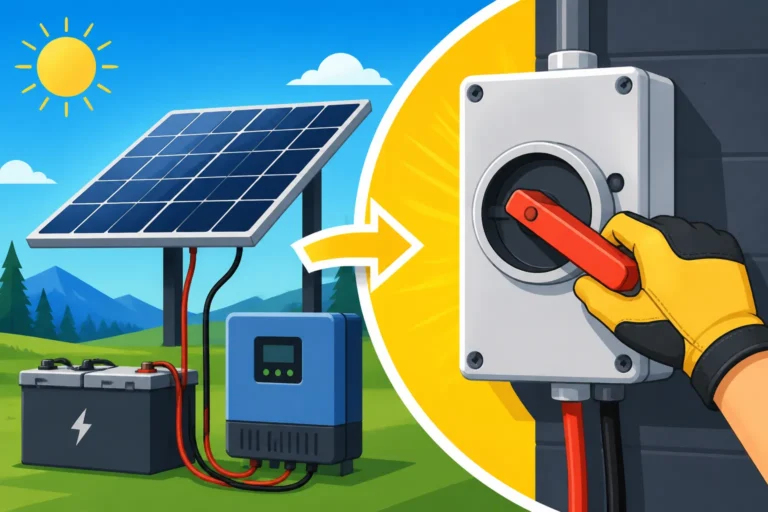
Fuses and circuit breakers are your system's guardians. They are designed to blow or trip when too much current flows through a circuit, preventing damage to wires, components, and, most importantly, protecting against fire hazards. Without proper fusing, a short circuit in your battery bank could lead to catastrophic failure, including melting wires or battery explosions. You absolutely need fuses or circuit breakers between your solar array and the charge controller, and even more critically, between your charge controller and your battery bank. For a robust off-grid system, you'll also want to protect any DC loads directly connected to the battery, as well as the inverter. Check out our guide on How to Install Fuses and Breakers for a detailed breakdown of placement and sizing.
Correct Placement and Sizing
The general rule of thumb is to place fuses or breakers as close to the power source as possible. This means a fuse on the positive wire coming from your solar panels before it reaches the charge controller, and another fuse on the positive wire coming from your battery before it reaches the charge controller. The size of the fuse must be appropriate for the wire gauge it protects and the maximum current of the circuit. For example, if your solar panels produce a maximum of 30 amps, your fuse should be rated slightly above that (e.g., 40 amps), but still well below the maximum current rating of your wire. Under no circumstances should you use a fuse larger than the current capacity of the wire.
Neglecting Proper Grounding
Grounding is another critical safety aspect that’s often misunderstood or ignored. It's not just for grid-tied systems; off-grid setups need proper grounding too.
Protecting Against Surges and Electrical Faults
A properly grounded system provides a safe path for fault current to travel in the event of an electrical short or a lightning strike. Without grounding, fault currents could travel through human bodies or damage sensitive electronics. For off-grid solar, this typically involves grounding the solar panel frames, the mounting rack, and the metal enclosure of your charge controller and inverter to a common grounding point, usually a ground rod driven deep into the earth. This helps dissipate electrical energy safely.
Adhering to Electrical Codes and Best Practices
While you might be off-grid, adhering to certain electrical codes and best practices is still crucial for safety, even if local inspectors aren't knocking on your door. The National Electrical Code (NEC) outlines specific requirements for grounding solar installations. While a full NEC-compliant installation might be overkill for a small RV system, understanding the principles of proper grounding—like using appropriately sized bare copper wire for ground conductors and ensuring all metal components are bonded together—is vital for any off-grid setup. Our article on How to Ground an Off-Grid Solar System has more information to help you get this right.
Forgetting the Post-Installation Check-Up and Ongoing Care
Once the last wire is tightened, the job isn't over. A few final checks and ongoing maintenance will keep your system happy.
Testing and Verifying Functionality
After installation, don't just flip a switch and hope for the best. Take the time to test your system thoroughly. Use a multimeter to verify voltages at various points: at the solar panels, at the battery terminals, and at the charge controller's input and output. Check for proper charging current. Monitor your battery's state of charge. Many modern charge controllers, like those offered by Victron Energy or Renogy, come with Bluetooth connectivity or digital displays that provide real-time data, allowing you to easily verify that everything is working as expected. Spend a few hours, or even a full day, observing how the system behaves under different load conditions and sunlight levels.
Regular Monitoring and Maintenance
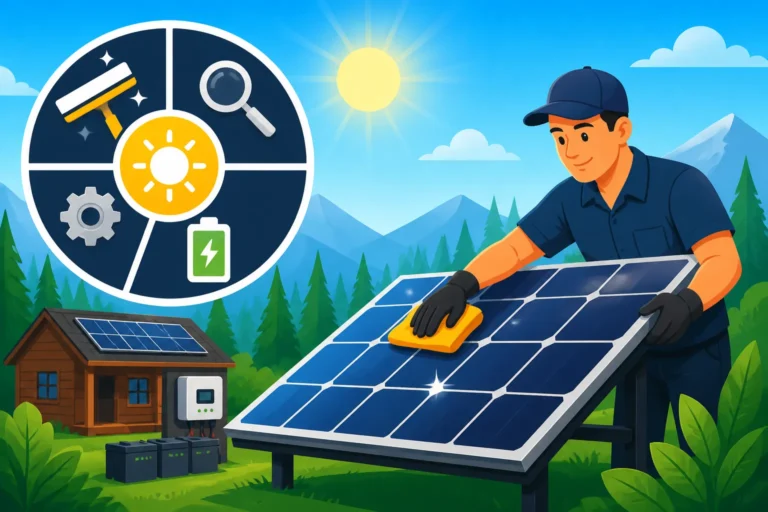
Off-grid systems aren't "set it and forget it." Regular monitoring of your charge controller's display, or via its app, can alert you to potential issues before they become major problems. Look for consistent charging, stable voltages, and no unusual error codes. Periodically, check your physical connections for tightness and corrosion. Clean any dust buildup on the controller's vents or cooling fins. If your controller has a firmware update available, consider applying it to ensure you have the latest features and bug fixes. Proactive maintenance can significantly extend the life of your charge controller and the entire solar system. Remember, a stitch in time saves nine, especially when it comes to keeping your power flowing smoothly.
Troubleshooting Common Charge Controller Headaches
Even with the best intentions and careful installation, sometimes things don't go as planned. Don't panic! Many charge controller issues have straightforward solutions.
Understanding Error Codes and Indicators
Modern charge controllers are pretty smart. They're designed to give you clues when something's amiss through error codes, blinking lights, or messages on their display screens.
Interpreting the Signals
Most controllers will have a series of LED lights that indicate different statuses: charging, float, fault, battery low, etc. Familiarize yourself with these indicators from your specific model's manual. For example, a rapidly blinking red light might indicate a fault condition, while a solid green light typically means your batteries are fully charged and the controller is in "float" mode. If your controller has an LCD display, it will often show specific alphanumeric error codes. These codes are your best friend when troubleshooting.
Consulting the Manual and Online Resources
Whenever you encounter an error code, the very first place to look is your charge controller's user manual. It will usually have a dedicated troubleshooting section that explains what each code means and suggests steps to resolve it. If you've misplaced your manual (it happens to the best of us!), a quick search on Google or Amazon for your specific charge controller model number plus "manual" or "troubleshooting" will usually yield results. Many manufacturers also have active online forums or customer support channels where you can find answers or ask for help. Don't underestimate the power of simply looking up what that blinking light or strange code is trying to tell you.
Step-by-Step Diagnostic Approaches
When you've got an issue, a systematic approach is key. Don't just start randomly poking around!
Checking Connections and Continuity
The vast majority of problems stem from loose or incorrect wiring. Start by visually inspecting all connections related to the charge controller: from the solar panels, to the battery bank, and any load connections. Tug gently on each wire to ensure it's firmly seated. Look for any signs of corrosion, fraying, or melted insulation. Next, use a multimeter to check for continuity and voltage. Verify that you have appropriate voltage coming from your solar panels (Voc) and that your battery bank's voltage is within its normal operating range. Ensure there's continuity through all fuses and circuit breakers. Sometimes, a faulty fuse is the only thing standing between you and power.
Assessing Battery State and Panel Output
The charge controller relies on both healthy batteries and functioning solar panels to do its job. If your batteries are severely depleted or damaged, the controller might not initiate charging or could report a fault. Test your battery voltage directly at the terminals. If it's too low, you might need an alternative charging source (like a generator or AC charger) to bring them back up to a level where the solar controller can take over. Similarly, confirm your solar panels are producing power. In full sun, disconnect them from the controller and measure the voltage (Voc) and current (Isc, using an appropriate current clamp meter). If your panels aren't putting out enough power, the controller won't have anything to work with. Remember, understanding How to Wire an Off-Grid Solar System and specifically How to Connect a Charge Controller correctly from the start can prevent many of these headaches.
| Common Charge Controller Mistakes | Potential Consequences | How to Avoid Them |
|---|---|---|
| Incorrect Polarity | Controller/battery damage, short circuit, fire | Double-check wiring with multimeter; follow connection order |
| Undersized Wires | Voltage drop, overheating, fire hazard, inefficient charging | Use appropriate wire gauge for current/length; consult charts |
| Loose Connections | Intermittent power, heat buildup, component damage | Ensure tight connections; use proper crimp tools; periodic checks |
| Controller Mismatch (Array/Battery) | Underperformance, reduced battery life, controller damage | Size controller based on panel current & battery voltage; refer to manuals |
| Wrong Controller Type (PWM vs MPPT) | Significant power loss, inefficient charging | Choose MPPT for higher voltage panels; PWM for matching voltages |
| Poor Ventilation | Overheating, reduced lifespan, premature failure | Install in cool, well-ventilated area; follow clearances |
| No Fuses/Breakers | Short circuit, fire, equipment destruction | Install fuses/breakers on all main lines; size correctly |
| Lack of Grounding | Electrical shock risk, surge damage | Ground panel frames, racks, controller enclosures to earth rod |
| Skipping Post-Install Tests | Unidentified faults, poor performance, safety risks | Verify voltages, currents; monitor system behavior; check for error codes |
| Neglecting Maintenance | Reduced lifespan, unexpected failures | Regular checks of connections, vents; firmware updates; cleaning |
Disclaimer
Please be aware that working with electricity can be dangerous. This guide provides general information and best practices. Always consult a qualified electrician or solar professional for specific installation advice, especially for larger systems or if you are unsure about any aspect of the installation process. Local electrical codes and regulations may apply and should always be followed. The author and publisher are not responsible for any injury or damage that may result from following the information contained herein.