How to Fix a Charge Controller Error
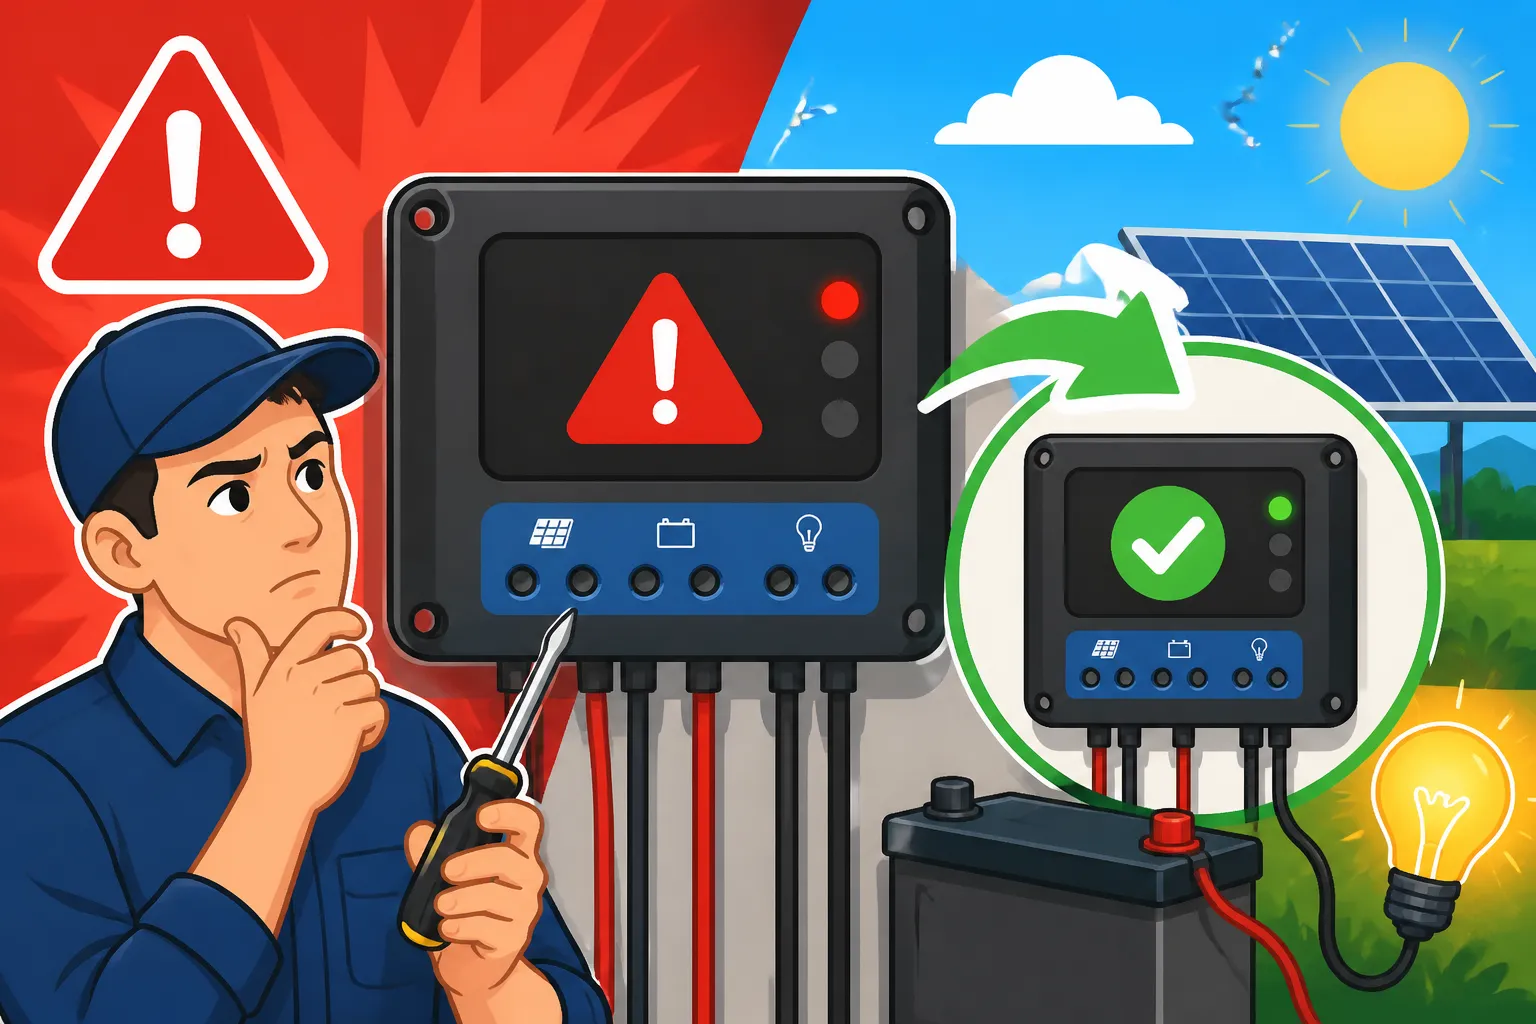
There’s nothing quite like the heart-sink moment of glancing at your off-grid solar charge controller and seeing an ominous error message or a blinking red light instead of the usual reassuring hum. It can feel like your entire world has just powered down, leaving you scrambling for answers. When your system is your lifeline, these glitches aren't just an inconvenience; they're a serious disruption. This comprehensive guide is here to demystify those frustrating charge controller errors, providing clear, actionable steps to diagnose and fix the most common issues so you can get your off-grid power back up and running.
Deciphering Your Charge Controller's Signals
Your charge controller is the brain of your off-grid solar system, diligently managing the power flow from your solar panels to your batteries. When something goes awry, it's designed to tell you about it through a series of error codes, indicator lights, or display messages. Learning to interpret these signals is your first and most crucial step in troubleshooting. Don't just stare at the blinking red light in despair; it's trying to communicate!
Understanding Common Visual Cues
Most modern charge controllers, whether they're sophisticated MPPT units or simpler PWM models, come equipped with some form of diagnostic display. This could be a small LCD screen, a series of LED indicator lights, or sometimes both. For instance, many popular brands, like Renogy, provide detailed manuals with specific error code breakdowns that are incredibly helpful. A quick glance at the manual (or a search on the manufacturer's website) for your specific model can often immediately point you toward the problem.
LED indicators typically follow a color-coded system: green usually means everything is normal, amber might indicate a warning or a less critical issue, and red almost always signals a fault that requires immediate attention. The pattern of blinks can also be significant – a fast blink might mean one thing, while a slow, steady blink means another. For controllers with screens, you might see alphanumeric codes like "ERR01," "OVB" (over-voltage battery), or "PV Input High." These messages are direct clues. It’s critical to remember that these aren't just random letters and numbers; they're diagnostic tools specifically engineered to help you pinpoint the source of a problem. Before you do anything else, grab your manual and match that visual cue to its explanation.
Why Error Codes Are Your Best Friend
Think of error codes as a coded message from your system, telling you exactly where to look. Without them, you'd be blindly guessing at what might be wrong, potentially wasting time and even risking damage by tinkering with the wrong component. For example, an "OVB" error clearly points to a battery over-voltage situation, which could mean your charge controller isn't regulating correctly, or your batteries are experiencing thermal runaway. On the other hand, a "PV Short" error immediately tells you there’s an issue with your solar panel array wiring.
These codes guide your troubleshooting process, allowing you to focus your attention on the relevant part of your system. They help prevent you from disassembling your inverter when the problem is actually with your solar panels, or vice-versa. Always start by logging the exact error code or light pattern you see. If you have an internet connection, a quick search for "[Your Charge Controller Model] + [Error Code]" can sometimes yield results from other users who have faced and solved the same issue, offering real-world tips beyond the manual. This initial diagnostic step saves you time, frustration, and potentially unnecessary expenses.
Step-by-Step Troubleshooting for Common Off-Grid Solar Errors
Once you've identified the error code or symptom, it's time to roll up your sleeves and start the actual troubleshooting. Most issues boil down to a few common culprits: batteries, solar panels, or wiring. Approaching these systematically can help you isolate and fix the problem efficiently. Always remember safety first – disconnect power sources before working with wiring.
Battery-Related Issues
Batteries are often the most temperamental component in an off-grid system, and many charge controller errors stem from them. Your charge controller works tirelessly to keep them happy, so when it signals an issue, it's usually trying to protect them or itself from damage.
- Low Voltage (Under-voltage) Errors: If your battery bank dips below a certain voltage threshold, your charge controller might display an under-voltage error or simply stop charging. This is often a protective measure to prevent deep discharge, which can permanently damage batteries, especially lead-acid types.
- Diagnosis: Use a multimeter to check the actual voltage of your battery bank directly at the terminals. Compare this reading to the manufacturer's specified minimum operating voltage for your battery type. If it's too low, your batteries might simply be discharged beyond the point where the controller will engage.
- Fix: If the voltage is critically low, you might need to try a slow, controlled charge from another source, like a traditional battery charger or even a small, independent solar panel setup, to bring them back up to a voltage the charge controller can recognize. If your batteries are old, this could also be a sign they're reaching the end of their life, impacting their ability to hold a charge. For an in-depth understanding, you might want to read more about How Much Battery Capacity You Need.
- Over-voltage (Overcharge) Errors: Conversely, an over-voltage error means the battery voltage is too high. This is less common with properly functioning charge controllers, as their primary job is to prevent overcharging. However, it can happen if the charge controller itself is faulty, or if there's a problem with the battery management system (BMS) in lithium batteries.
- Diagnosis: Again, use your multimeter to verify the battery voltage. If it's significantly above the float or absorption voltage for your battery type, there's a real issue. With LiFePO4 batteries, a BMS might cut off charging if one cell group goes too high, which the charge controller might interpret as an over-voltage for the whole bank.
- Fix: First, disconnect your solar panels from the charge controller to prevent further charging. Then, check the charge controller's settings to ensure they are correctly configured for your specific battery type and voltage. Incorrect settings are a surprisingly common cause of charging issues. If the settings are correct, the charge controller itself might be faulty and unable to regulate voltage.
- Battery Disconnection Errors: If your charge controller can't detect the battery bank, it will usually throw an error. This is a crucial safety feature because connecting solar panels to a charge controller without a battery can damage the controller.
- Diagnosis: Visually inspect all battery connections. Are they tight? Are there any signs of corrosion? Use a multimeter to check for continuity from the charge controller's battery terminals to the battery terminals themselves.
- Fix: Tighten any loose connections. Clean corroded terminals with a wire brush. Ensure the fuse or breaker protecting the battery circuit is intact and hasn't tripped. Sometimes, a poorly crimped lug or a frayed wire can cause intermittent contact. If you're building a new system, make sure you always connect the battery to the charge controller first, before the solar panels. Learn more about How to Wire a Battery Bank.
Solar Panel Array Problems
The solar array is where your power begins, so any issues here can directly impact your charge controller's operation.
- Over-voltage (High PV Input) Errors: This occurs when the voltage from your solar panel array exceeds the maximum input voltage rating of your charge controller.
- Diagnosis: This is most common in cold weather when panel voltage can increase, or if you've incorrectly wired too many panels in series. Check your panel specifications (Voc – Open Circuit Voltage) and the charge controller's maximum PV input voltage. Use a multimeter to measure the open-circuit voltage of your array (with the charge controller disconnected for safety).
- Fix: If your array voltage is too high, you might need to reconfigure your panels (e.g., fewer panels in series, more in parallel) or get a charge controller with a higher voltage rating. Understanding How to Wire Solar Panels in Series vs Parallel can be incredibly helpful here.
- Under-voltage (Low PV Input) or No PV Input Errors: If the charge controller isn't seeing enough voltage or any voltage from the panels, it won't charge.
- Diagnosis: Check for shading on your panels. Even partial shading can drastically reduce output. Inspect all connections from your panels, through any combiner boxes, to the charge controller. Check fuses in your combiner box. Use a multimeter to check the voltage at the output of your solar array, and then again at the charge controller's PV input terminals. This helps pinpoint where the voltage drop or disconnection is occurring.
- Fix: Clear any shading. Tighten connections. Replace blown fuses. If you suspect a faulty panel, you can test individual panels, though this requires careful disconnection and safety precautions.
- PV Short Circuit Errors: This means there's a direct path for current to bypass the normal circuit within your solar array.
- Diagnosis: A short can be difficult to locate. Look for damaged wiring, exposed copper touching metal, or even internal panel failures. Disconnect panels one by one if possible to isolate the faulty section.
- Fix: Repair or replace damaged wiring. Insulate exposed conductors. If a panel is shorted, it will need replacement. Always ensure your Off-Grid Solar Wiring Diagram Explained is clear and easy to follow for troubleshooting.
Wiring and Connection Checks
Loose connections, incorrect polarity, and blown fuses are silent system killers that often manifest as charge controller errors. These are surprisingly frequent culprits and often the easiest to fix.
- Loose Wires: Vibrations (especially in RVs or mobile setups), improper installation, or even temperature changes can cause connections to loosen over time.
- Diagnosis: Physically go through every connection point in your system: battery terminals, charge controller terminals, solar panel junction boxes, combiner boxes, and inverter connections. Gently tug on wires to see if they're secure. Look for discoloration or charring, which indicates a loose connection overheating.
- Fix: Tighten all connections with appropriate tools. Don't overtighten, especially on plastic terminals, but ensure they are snug.
- Incorrect Polarity: Connecting positive to negative or vice versa is a common, and potentially disastrous, error, especially for DIY installers.
- Diagnosis: While most charge controllers have reverse polarity protection, some older or cheaper models might not, or the protection might only work for lower currents. If you've just installed new components and are seeing errors, this is a prime suspect.
- Fix: Disconnect all power immediately. Double-check your wiring against your diagram, ensuring all positive terminals connect to positive and negative to negative. Correct any polarity mistakes before reconnecting. For guidance, refer to How to Wire an Off-Grid Solar System.
- Blown Fuses and Tripped Breakers: These are safety devices designed to protect your system from overcurrent. When they do their job, they interrupt the circuit, leading to a "no power" or "disconnection" type error.
- Diagnosis: Locate all fuses and breakers in your system – typically on the battery bank, between the panels and charge controller, and between the charge controller and battery. Visually inspect cartridge fuses for a broken filament or test them with a multimeter for continuity. Check if any circuit breakers are in the "tripped" position (usually halfway between ON and OFF, or fully OFF).
- Fix: Replace blown fuses with new ones of the exact same amperage and type. Reset tripped breakers. If a fuse blows or breaker trips repeatedly, there's an underlying short circuit or overload issue that needs to be addressed before simply replacing the fuse again. You can often find replacement fuses or even a new multimeter quickly on Amazon if you need one for diagnostics.
Here’s a quick reference table for common charge controller error symptoms and their likely causes:
| Error Symptom / Code Example | Likely Cause(s) | Initial Troubleshooting Steps |
|---|---|---|
| Low Battery Voltage (LO-BAT) | Deeply discharged batteries, faulty battery | Check battery voltage with multimeter; slow charge if necessary; inspect battery health/age; verify charge controller settings. |
| High Battery Voltage (HI-BAT) | Faulty charge controller, incorrect settings, battery issue | Disconnect panels; verify battery voltage; check charge controller settings for battery type; inspect BMS (if LiFePO4). |
| PV Over-voltage (OV-PV) | Too many panels in series, cold weather surge | Check array voltage against controller specs; reconfigure panel wiring; ensure controller is sized correctly. |
| No PV Input (PV-DIS) | Shading, loose panel wiring, blown fuse | Check for shading; inspect all panel connections & fuses; test panel output voltage; verify charge controller's PV input connection. |
| Overload (OC-LOAD) | Too many appliances running, short circuit | Disconnect loads one by one; check for shorts in wiring; ensure inverter/controller capacity matches load. |
| Short Circuit (SC-ERR) | Damaged wiring, faulty component | Isolate sections of wiring; inspect for exposed wires; check individual components for faults. |
| Temp Sensor Error (TS-ERR) | Disconnected/faulty temperature sensor | Ensure temp sensor is securely connected to controller and battery; replace if faulty. |
Overload or Short Circuit Errors
These errors usually signal that your system is either drawing too much power or has a dangerous fault.
- Overload: Your inverter or charge controller has a maximum power output. If you try to run too many high-draw appliances at once (like a microwave, coffee maker, and hair dryer all simultaneously), your system will simply shut down to protect itself.
- Diagnosis: The charge controller might display an "Overload" error or your inverter might trip. Think about what appliances you were running when the error occurred.
- Fix: Disconnect some of the high-draw appliances. Reset the charge controller/inverter (often by cycling power). Reconnect loads one by one to identify the culprit. This is a common issue for those trying to Run an Air Conditioner on Off-Grid Solar or other high-power devices.
- Short Circuit: This is more serious. A short circuit means current is flowing along an unintended, low-resistance path, leading to dangerously high current and heat.
- Diagnosis: This will almost always trip a breaker or blow a fuse immediately. You might even smell burning or see smoke.
- Fix: IMMEDIATELY disconnect power. Visually inspect all wiring for damage, pinched wires, or exposed conductors. Check appliances for internal shorts. This requires careful, systematic investigation and may necessitate professional help if the source isn't obvious. Prioritize safety and always ensure your system follows Off-Grid Solar Safety and Grounding best practices.
Resetting and Advanced Diagnostics
Sometimes, a simple reset is all it takes to clear a momentary glitch. Other times, you might need to dig a little deeper or even call in the experts. Don't be afraid to utilize all available resources.
The Power Cycle Reset
It sounds almost too simple, doesn't it? The classic "turn it off and on again" fix is a surprisingly effective first step for many electronic devices, and charge controllers are no exception. Just like your computer or phone, a charge controller can sometimes get stuck in a temporary state or encounter a software glitch that a full power cycle can resolve.
- How to Perform a Safe Reset:
- Disconnect Solar Panels First: ALWAYS disconnect the solar panels from the charge controller before disconnecting the batteries. This is crucial because operating the charge controller without a battery load can cause internal damage, especially to MPPT controllers.
- Disconnect Batteries: Once the solar input is off, disconnect your battery bank from the charge controller. You can usually do this by flipping a battery disconnect switch or removing the main battery fuse/breaker.
- Wait: Give it a few minutes (5-10 minutes is usually sufficient) for any residual charge to dissipate and the internal electronics to fully reset.
- Reconnect Batteries: Connect your battery bank to the charge controller first. Ensure proper polarity.
- Reconnect Solar Panels: Finally, connect your solar panels to the charge controller.
- Observe: Check if the error has cleared and if the charge controller is operating normally. If the error persists, then it's time to move on to more in-depth troubleshooting.
This simple procedure can often clear minor software hang-ups or reset transient fault conditions. If you've just performed some maintenance or rewired a component, a reset is a good way to "reboot" the controller's understanding of the system.
Firmware Updates and Manufacturer Support
If you've gone through all the basic troubleshooting steps and the error persists, it might be time to consider what's happening inside the charge controller itself. Modern charge controllers are sophisticated pieces of equipment that run on firmware – essentially, the software that tells the hardware what to do.
- Checking for Firmware Updates: Many advanced charge controllers, especially those from brands like Victron Energy or MidNite Solar, offer firmware updates. These updates can fix known bugs, improve performance, and sometimes even resolve persistent error conditions. Check your manufacturer's website for your specific model. The process usually involves connecting the controller to a computer via a special cable or Bluetooth adapter. Always follow the manufacturer's instructions precisely when performing a firmware update to avoid bricking your device.
- Reaching Out to Manufacturer Support: Don't hesitate to contact the manufacturer's technical support if you're stumped. They often have diagnostic tools or insights specific to their products that aren't available to the general public. Be prepared to provide:
- Your exact charge controller model and serial number.
- A detailed description of the error code or symptom.
- All the troubleshooting steps you've already tried.
- Details about your system (battery type, voltage, solar array size, etc.).
- Pictures or even short videos of the error can be incredibly helpful.
Sometimes, a small component that failed can be sourced affordably on Amazon, but for internal issues, direct manufacturer support is invaluable.
When to Call for Professional Help
While many off-grid solar issues can be resolved with a bit of DIY know-how, there are times when calling in a professional is not just advisable, but necessary for safety and efficiency.
- Persistent or Intermittent Errors: If an error keeps reappearing despite your best efforts, or if it's intermittent and you can't reliably reproduce it, a professional can use specialized diagnostic equipment to trace the fault.
- High Voltage or Current Risks: Working with high voltage DC from solar arrays or high current from battery banks can be extremely dangerous. If you're uncomfortable or unsure about any electrical work, especially if it involves handling live wires, call a qualified electrician or solar technician. They have the training, tools, and safety equipment to work with these systems safely. For general electrical safety, review Off-Grid Solar Safety and Grounding.
- System Design Flaws: If you're constantly encountering errors related to over-voltage, undersizing, or overloading, it might point to a fundamental flaw in your system's design. A professional can perform a comprehensive system audit and help you redesign or expand your setup safely and effectively. This could involve looking at your Off-Grid Solar System Sizing Guide to ensure components are correctly matched.
- Warranty Concerns: Attempting complex repairs yourself might void your warranty. If your charge controller is still under warranty, consult the manufacturer before opening it up or performing any non-approved repairs. A professional installer might also be able to facilitate warranty claims.
Remember, investing in an off-grid solar system is about gaining independence, but it doesn't mean you have to be an expert in everything. Knowing when to seek help is a sign of wisdom, not weakness.
Final Thoughts on Maintaining a Healthy Off-Grid System
Fixing a charge controller error can be a relief, but proactive maintenance is key to preventing them in the first place. Regularly inspect your wiring, keep battery terminals clean, monitor your battery voltage, and check for any signs of wear and tear on your components. A well-maintained system is a reliable system. Understanding your system better, from How to Install an Off-Grid Charge Controller to Off-Grid Solar Maintenance Guide, will empower you to keep the lights on and the power flowing, no matter where your off-grid journey takes you.
Disclaimer
The information provided in this guide is for general informational purposes only and does not constitute professional advice. Off-grid solar systems involve high voltages and currents which can be dangerous. Always exercise extreme caution when working with electrical systems and consult with a qualified professional or electrician if you are unsure or uncomfortable with any troubleshooting or repair steps. Always disconnect power sources before performing any maintenance or repairs.