How to Build and Install a Ground Mount
Stepping into the world of off-grid living or adding solar to a remote cabin can feel like a massive puzzle, especially when you're trying to figure out the best place for those big, beautiful solar panels. Many folks struggle with limited roof space, shading issues from nearby trees, or simply the daunting prospect of climbing up onto a roof with heavy equipment. This guide is all about simplifying one of the most practical and efficient solutions: building and installing a ground mount for your off-grid solar system, giving you the freedom and flexibility to truly harness the sun's power.
Why a Ground Mount Might Be Your Best Friend
When you first think about solar, the image of sleek panels on a rooftop probably comes to mind. But for many off-gridders, a ground mount system actually makes a lot more sense. It offers a level of flexibility and ease that rooftop installations simply can't match, especially when you're tackling the project yourself or dealing with tricky property features.
Unmatched Flexibility in Placement and Orientation
Let's be real, not every roof is created equal for solar. You might have an old cabin with a roof that isn't quite strong enough to support a heavy array, or maybe your beautiful treeline casts a long shadow over the perfect south-facing slope for half the day. These are common frustrations, and trying to force a rooftop installation in less-than-ideal conditions can lead to compromised performance and ongoing headaches.
With a ground mount, you're not tied to the existing structure of your home. You can scout out the absolute best, clearest spot on your property – perhaps a sunny clearing a little ways from the house – and orient your panels precisely for maximum sun exposure throughout the day. This freedom from structural constraints means you can optimize your solar gain, which is crucial for a reliable off-grid setup, especially if you're looking into something like How to Design an Off-Grid Solar System Step by Step. You get to dictate the terms, not the building.
Simplified Installation and Maintenance for the DIYer
Another huge win for ground mounts is the sheer accessibility they offer. Imagine trying to wrestle large, heavy solar panels, wiring, and mounting hardware up onto a steep roof pitch. It’s not just difficult; it can be downright dangerous. For those of us who love a good DIY project but also value safety and convenience, a ground mount takes much of that peril out of the equation.
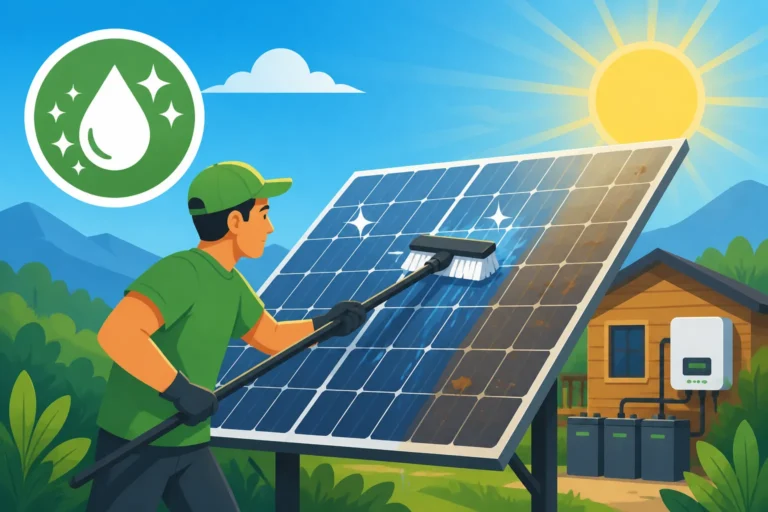
Installation happens at ground level, which means you can work more comfortably and safely. You won't need specialized fall protection gear or precarious scaffolding. Maintenance also becomes a breeze. Cleaning your panels, performing routine inspections, or making any adjustments to wiring can all be done without a ladder. This is especially helpful during winter months when snow accumulation might need to be cleared, or when you simply want to ensure your system is running at peak efficiency by keeping those panels sparkling clean.
The Power of Seasonal Tilt Adjustments
One of the most significant advantages of a ground mount, particularly for those of us living off-grid year-round, is the ability to adjust the tilt angle of your solar panels. The sun's path across the sky changes dramatically between summer and winter. In summer, when the sun is high, a flatter angle is often best. But come winter, when the sun hangs lower, a steeper angle will capture significantly more direct sunlight, vastly improving your power production during those crucial shorter days.
Many ground mount kits, including options you can find from reputable brands like Renogy, are designed with adjustable tilt mechanisms. This means you can easily go out a few times a year and change the angle to match the season. This optimization isn't usually practical or safe for rooftop installations, where panels are often fixed at a single angle. By being able to chase the sun, you can dramatically increase your system's output during different times of the year, directly impacting how much energy your batteries store and how much reliance you have on a backup generator. Understanding How to Account for Cloudy Days and seasonal changes truly highlights the value of this flexibility.
Planning Your Ground Mount System: The Devil's in the Details
Before you start digging holes or ordering materials, a solid plan is your most valuable tool. Rushing into a ground mount installation without proper assessment can lead to costly mistakes, underperforming systems, or even safety hazards. Taking the time to plan meticulously will save you headaches and money in the long run.
Site Selection and Assessment
Choosing the right location for your ground mount is paramount. It’s not just about finding a sunny spot; it's about finding the best sunny spot that also considers practicalities like shading, soil conditions, and proximity to your power storage.
First, observe the sun's path throughout the day and across seasons. Use a sun path calculator or even a simple compass and observation to map out potential shade from trees, buildings, or other structures. Remember, even a small shadow on a single panel can significantly reduce the output of your entire array if panels are wired in series. Aim for an area that receives at least 6-8 hours of unobstructed direct sunlight daily, particularly during the peak sun hours. This is a critical step in How to Size an Off-Grid Solar System to ensure your panels can produce their maximum potential.
Next, consider the soil type and topography. Is the ground level or sloped? Is it rocky, sandy, or heavily clay-based? These factors will dictate the type of foundation you'll need. Rocky soil might make digging deep footings difficult, while sandy soil might require more extensive anchoring. Also, think about drainage. You don't want your panel array sitting in a puddle after a heavy rain. Finally, assess the distance from your chosen spot to your battery bank and inverter. Longer cable runs mean more voltage drop, which translates to wasted power and potentially requiring thicker, more expensive cables. Balancing optimal sun exposure with efficient cable runs is a key part of your overall Off-Grid Solar System Sizing Guide.
Sizing and Design Considerations for Ground Mounts
Once you have your ideal site, it's time to get down to the numbers. Your solar array's size will depend on your energy consumption, the number of sunny days you get, and your desired days of autonomy (how long your batteries can power your home without sun).
Start with a detailed load analysis to determine your daily energy usage in watt-hours. This means listing every appliance and device you plan to run, its wattage, and how many hours per day you'll use it. Multiply the wattage by the hours of use for each item, then sum them up. This gives you your total daily energy need. From there, you can calculate How Many Solar Panels for Off-Grid Living and How Many Batteries for an Off-Grid System you'll need. Remember to factor in efficiency losses and a buffer for cloudy days.
When designing the physical layout, consider the number and dimensions of your chosen solar panels. Most ground mount racking systems are modular, allowing you to build an array to fit your needs. Think about the system voltage (12V, 24V, or 48V) as this will influence your wiring configuration (series, parallel, or series-parallel) and the gauge of wire required. Larger systems often benefit from higher voltages (e.g., 48V) to reduce current and thus cable thickness and voltage drop over longer runs. A reputable vendor on Amazon might offer a wide variety of wire gauges and types suitable for solar applications.
Choosing Your Mounting System
Not all ground mounts are created equal. You'll need to decide between a fixed-tilt, adjustable-tilt, or pole-mount system, each with its own advantages and challenges.
Fixed-tilt ground mounts are the simplest and often the most budget-friendly. The panels are set at a single, optimal angle for your location, usually determined by your latitude. They are robust and require minimal maintenance after installation. However, they don't allow for seasonal adjustments, meaning you won't get peak performance year-round. These are great for installations where annual power demand doesn't fluctuate wildly or if you have ample panel real estate to compensate.
Adjustable-tilt ground mounts, as discussed earlier, offer the best of both worlds in terms of flexibility and performance. They allow you to manually change the angle of your panels a few times a year, optimizing for summer or winter sun. While they might be slightly more complex to install and cost a bit more, the increase in year-round energy production can quickly offset the initial investment, making them a popular choice for serious off-gridders.
Pole mounts elevate your panels off the ground, often on a single or double pole. This can be beneficial for getting panels above low vegetation or snow accumulation. Some pole mounts even come with tracking capabilities (though these are more complex and expensive), allowing the panels to follow the sun throughout the day. They require a very sturdy concrete foundation but can be excellent for maximizing output from a smaller array. Consider brands like Renogy that offer robust ground mount solutions designed to handle various panel configurations and environmental conditions. Each type has its own installation nuances, so understanding the specific needs of How to Install Off-Grid Solar Panels for your chosen mount is key.
Step-by-Step Guide to Building a Ground Mount
Alright, with your plan in hand, it’s time to get your hands dirty! Building a ground mount isn’t overly complicated, but it does require careful attention to detail, especially when it comes to foundations and structural integrity. You want this system to last for decades, not fall over in the first big windstorm!
Laying the Foundation Work
The foundation is literally the bedrock of your ground mount system. It needs to be robust enough to support the weight of your panels and withstand local wind and snow loads.
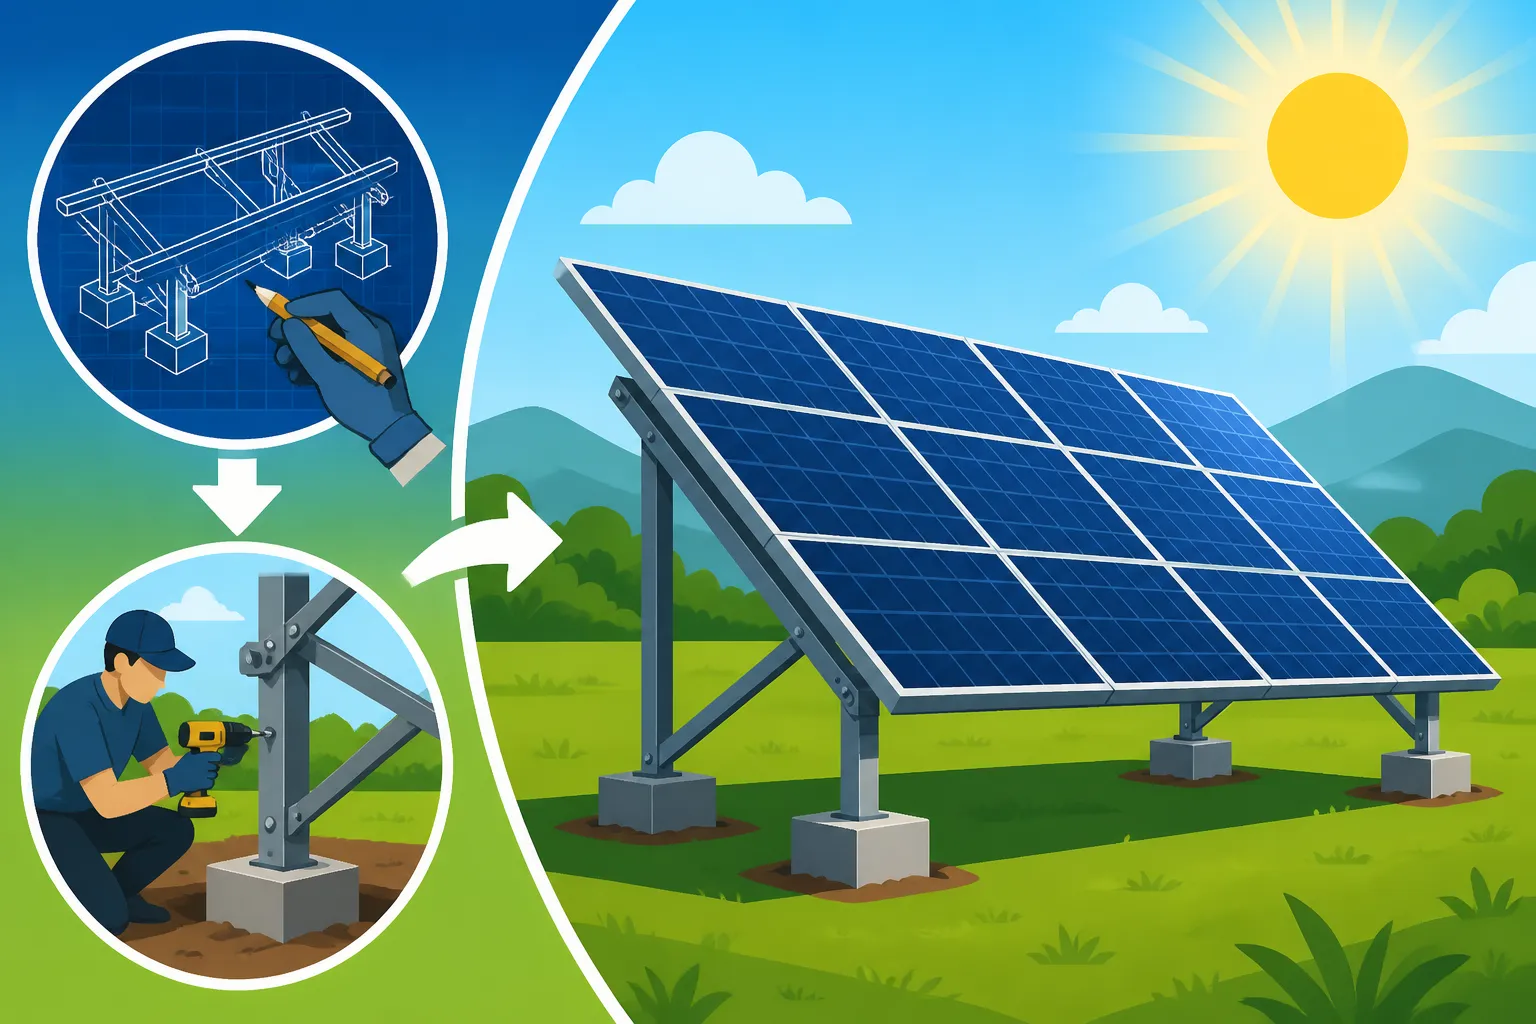
Concrete piers: This is a very common and durable method. You'll dig holes, typically 3-4 feet deep (or below your local frost line), and wide enough for concrete forms. The number of piers will depend on the size of your array and the specific racking system. For example, a standard 4-panel array might require two to three piers. Once the holes are dug, you'll place rebar for reinforcement, set anchor bolts for attaching your racking posts, and then pour concrete. It’s crucial that these anchor bolts are perfectly level and spaced according to your racking system's specifications. This ensures a true and stable base. Let the concrete cure fully before proceeding – usually several days.
Earth screws (or ground screws): These are an increasingly popular alternative to concrete, especially in areas with tricky soil or where you want to minimize ground disturbance. Earth screws are essentially large, heavy-duty screws that are augured into the ground. They require specialized equipment for installation to ensure they are plumb and reach sufficient depth, but they offer a very quick installation time and can be removed if you ever relocate your system. They're also less messy than concrete.
Ballast blocks: For situations where digging or screwing into the ground isn't feasible or desired (e.g., temporary setups, very rocky terrain), ballast blocks can be used. These involve placing heavy concrete blocks or similar weights on the ground, then attaching your racking system to them. The sheer weight of the ballast holds the array down. This method requires careful engineering to ensure enough weight is used to resist wind uplift, especially for larger arrays. You’ll need to calculate the necessary weight based on your panel size, array height, and local wind speed ratings.
Whichever method you choose, take your time with this initial step. A well-built foundation is non-negotiable for a safe and stable solar array.
Assembling the Frame
With your foundation set, it’s time to erect the skeletal structure that will hold your solar panels. Most ground mount frames consist of posts, rails, and cross-bracing, typically made from galvanized steel or aluminum for corrosion resistance. You can often find complete kits on platforms like Amazon that include all the necessary hardware, making assembly straightforward.
Start by attaching the vertical posts to your foundation anchors. Ensure they are plumb (perfectly vertical) using a level. Then, connect the horizontal rails that will support the solar panels themselves. These rails are what the solar panels will ultimately clamp onto. If your system has an adjustable tilt, you'll be assembling the mechanisms that allow for those changes at this stage. It's often helpful to lay out all your components beforehand and follow the manufacturer's instructions closely. Double-check all bolts and connections to ensure they are tightened to the specified torque. A loose frame can shift over time and compromise your array. This stage is crucial for the overall structural integrity of your installation.
Installing the Solar Panels
Now for the exciting part – getting those photon-catching beauties in place! Solar panels are typically installed one by one onto the horizontal rails of your ground mount frame.
Carefully lift each panel into position, ensuring it sits flush on the rails. Most racking systems use specialized clamps (mid-clamps and end-clamps) to secure the panels. Mid-clamps sit between two panels, holding them both down, while end-clamps secure the panels at the ends of each row. Tighten these clamps according to the manufacturer's specifications. Don't overtighten, as you could damage the panel frame, but ensure they are secure enough to withstand wind and vibrations. As you install the panels, you'll also begin the basic wiring. Most panels have MC4 connectors on their backs. You'll connect the positive lead of one panel to the negative lead of the next for series wiring, or use branch connectors for parallel wiring. Make sure these connections are clean and secure. Protecting these connections from the elements is also a good practice, perhaps by using conduit where possible. If you’re using panels from a brand like Renogy, their installation guides are usually very clear on these steps. Remember to keep the back of the panels tidy and avoid putting stress on the cables.
Wiring and System Integration for Robust Off-Grid Power
Once your panels are securely mounted, the real electrical work begins. This is where you connect your solar array to the rest of your off-grid system, making sure every component works together safely and efficiently to deliver power to your home or cabin.
Connecting Panels to the Charge Controller
Your solar panels produce DC (direct current) electricity, which needs to be managed before it goes to your batteries. That's where the charge controller comes in. It regulates the voltage and current coming from your panels to prevent overcharging your batteries, which could severely damage them or shorten their lifespan.
First, you'll need to decide on your wiring strategy: series, parallel, or a combination. In a series connection, you link the positive terminal of one panel to the negative of the next, increasing the total voltage. In parallel, you connect all positives together and all negatives together, increasing the total current (amps). For larger systems, a series-parallel configuration is common to achieve the desired voltage for your charge controller while managing current levels. For a deep dive, check out guides like How to Wire Solar Panels in Series or How to Wire Solar Panels in Parallel.
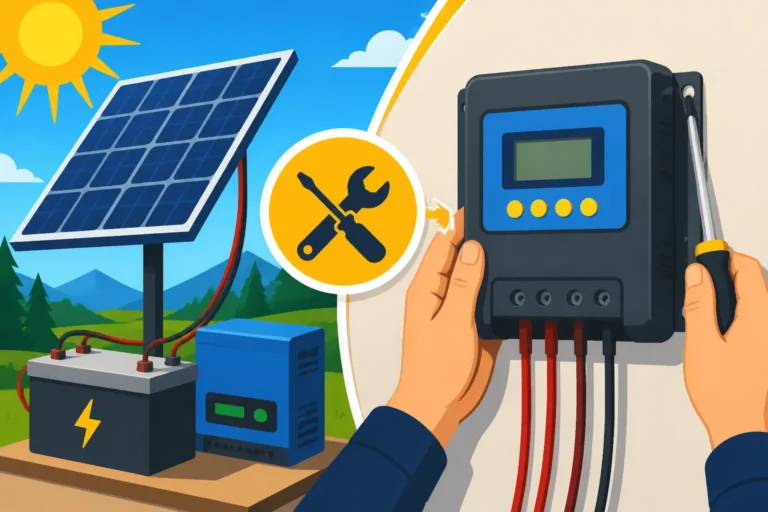
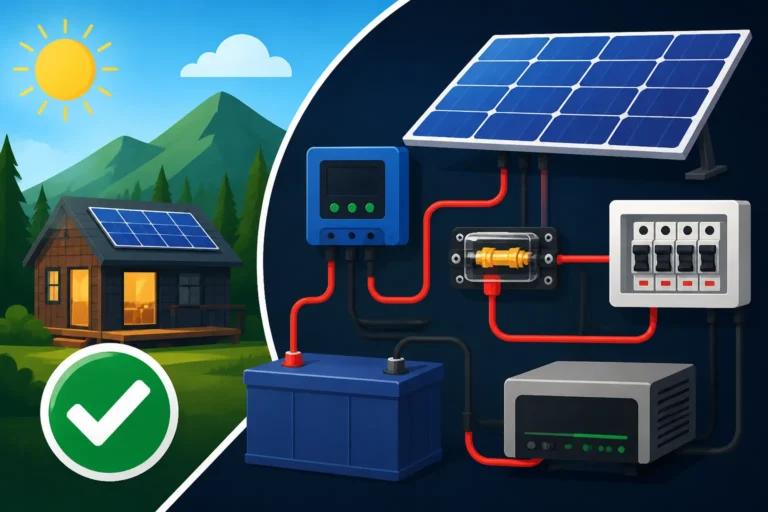
After wiring the panels themselves, you'll run the main DC positive and negative cables from your solar array to your charge controller. These cables should be appropriately sized for the current and length of the run to minimize voltage drop – a concept crucial for efficient power transfer. You can find robust solar cables, often with MC4 connectors already attached, on platforms like Amazon. Ensure these cables are run in appropriate conduit to protect them from UV degradation, physical damage, and pests. The charge controller then sends power to your battery bank, maintaining optimal charging parameters.
Routing Cables and Safety Measures
Proper cable management and safety are non-negotiable in any off-grid solar installation. Poorly routed or unprotected cables are a fire hazard and can lead to system failures.
For cables running from your ground mount to your power shed or battery bank, consider burying them in trenching within electrical conduit. This protects them from mechanical damage, environmental exposure, and even curious wildlife. Digging a trench to the required depth (often 18-24 inches, depending on local codes) and laying conduit can be laborious but is essential for long-term reliability and safety. If burying isn't an option, ensure cables are elevated, secured, and shielded in UV-resistant conduit.
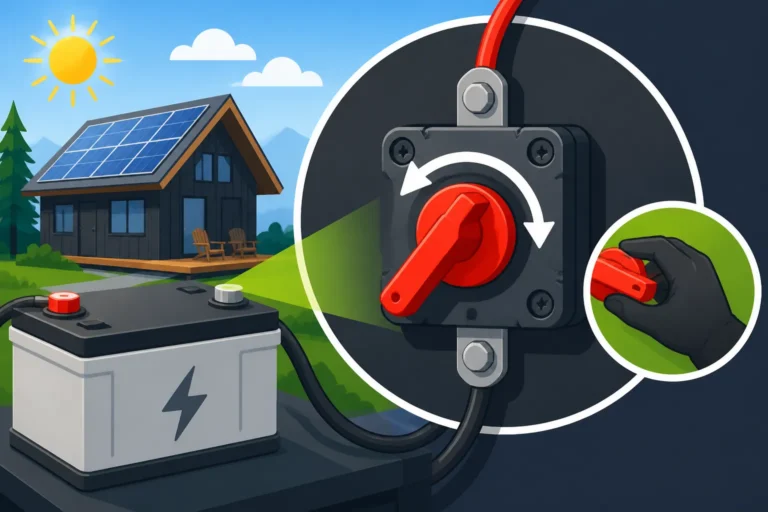
Inside your power shed or near your components, use appropriate DC-rated fuses and circuit breakers. These are critical safety devices that protect your equipment and prevent fires in the event of a short circuit or overcurrent. You'll need an appropriately sized fuse between your solar array and charge controller, and another between your charge controller and battery bank. An inverter also requires its own protection. Don't skimp on these components; they are your system's first line of defense. Remember to install a proper grounding system for your entire array and electrical components. This involves driving ground rods and bonding all metal components together and to the ground rods, which is a key part of Off-Grid Solar Safety and Grounding. This protects against lightning strikes and electrical faults, making your system much safer.
Final System Checks and Commissioning
You're almost there! Before you flip the switch and start drawing power, a thorough final check and commissioning process are vital. This ensures everything is connected correctly, safely, and is ready to operate.
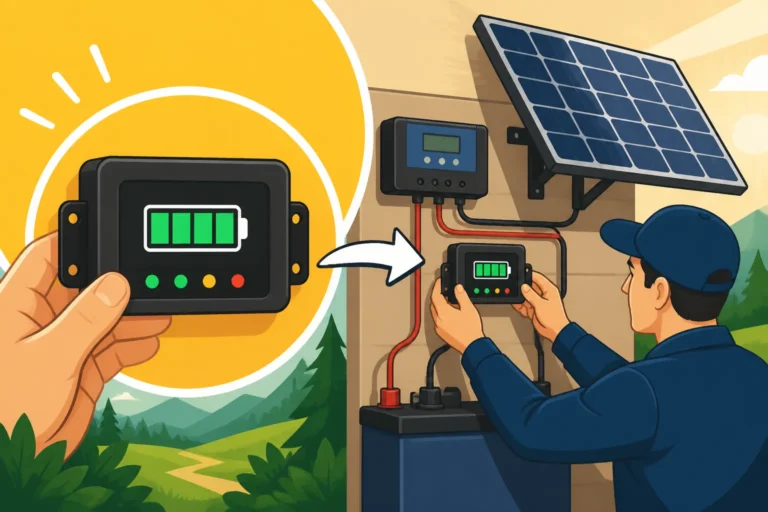
First, visually inspect all connections – every clamp, every wire nut, every MC4 connector. Tug gently on cables to ensure they are secure. Verify that all fuses and breakers are correctly installed and of the appropriate rating. Use a multimeter to check voltages at various points: at the panel output, at the charge controller input, and at the battery terminals. Ensure the voltage readings are within expected ranges. Your solar panels should show open-circuit voltage (Voc) when disconnected, and your battery bank should show its nominal voltage.
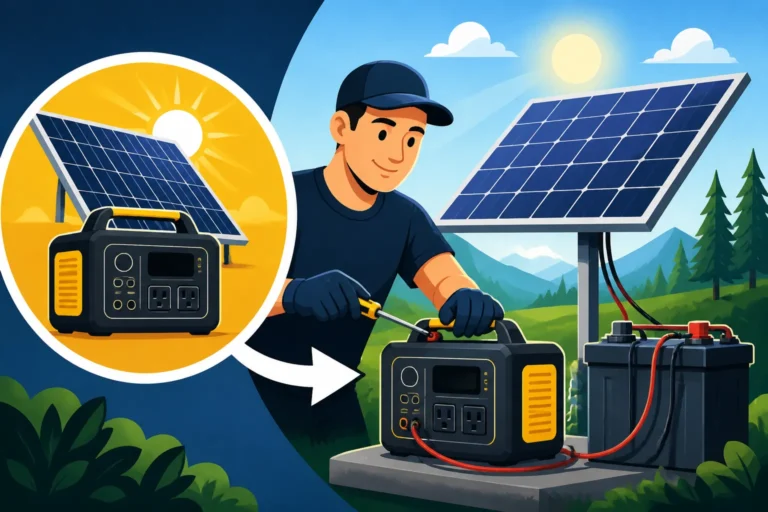
Once you're confident in the wiring, turn on your system components in the correct sequence, typically starting with connecting the battery bank to the charge controller, then connecting the solar array to the charge controller, and finally, switching on your inverter. Observe your charge controller's display for any error codes and confirm it's showing that it's charging the batteries. Listen for any unusual sounds and smell for anything burning. Test some basic loads to ensure power is flowing as expected. This meticulous final check prevents potential damage to your valuable equipment and ensures a smooth start to your off-grid power journey. For detailed information on component integration, check out Off-Grid Solar Equipment Explained.
| Foundation Type | Pros | Cons | Best Use Case | Cost Impact (Relative) |
|---|---|---|---|---|
| Concrete Piers | Very stable, durable, long-lasting | Labor-intensive, requires curing time, permanent | Permanent installations, heavy snow/wind loads | Medium |
| Earth Screws | Quick installation, minimal ground disturbance | Requires specialized tools, can be costly for DIY | Temporary setups, rocky soil, areas with high water tables | High |
| Ballast Blocks | No digging, easily relocatable | Requires significant weight, less stable in extreme wind | Temporary systems, rental properties, difficult ground conditions | Low (if using repurposed blocks) |
Disclaimer
The information provided in this article is for general guidance and educational purposes only. While we strive to offer accurate and up-to-date content, off-grid solar installation involves electrical work and potential hazards. Always consult with qualified professionals, adhere to local building codes, and prioritize safety when undertaking any solar project. Improper installation can lead to equipment damage, fire, or serious injury.