How to Install a Transfer Switch
It's a familiar scenario for many off-grid dwellers: you’ve meticulously built your solar power system, but what happens when the sun doesn't shine for days, or your batteries dip critically low? The thought of seamlessly switching to a backup generator can feel complex, and the potential for a dangerous misstep in your electrical system is a very real concern. This comprehensive guide will walk you through the process of how to install a transfer switch, ensuring a safe, reliable, and efficient transition between your solar array and supplementary power sources.
Understanding Transfer Switches for Off-Grid Systems
Living off the grid means taking full responsibility for your power supply. While solar is fantastic, it's not always 100% reliable, especially during extended cloudy periods, heavy snow, or when you simply demand more power than your system can generate. That's where a backup power source, most commonly a generator, comes into play. But how do you safely bring that generator online without accidentally backfeeding power into your inverter, or worse, into the main solar array, creating a hazardous situation? The answer lies in the unsung hero of many off-grid setups: the transfer switch.
Why You Need a Transfer Switch Off-Grid
Imagine a scenario where your off-grid cabin in northern Michigan experiences a week of relentless snowstorms. Your solar panels are buried, and your battery bank, despite being robust, is slowly but surely dwindling. You have a trusty portable generator ready to go, but you can’t just plug it directly into your home's outlets or main electrical panel. Doing so creates a dangerous situation called backfeeding, where electricity could flow in unintended directions, potentially damaging your sensitive solar equipment or even creating a shock hazard for utility workers if you were ever connected to a grid (though that's less of a concern for true off-grid, it highlights the danger). A transfer switch provides a safe, dedicated pathway to switch your home's electrical loads from one power source (your solar inverter) to another (your generator).
Beyond safety, a transfer switch brings incredible convenience. Instead of manually unplugging appliances or flipping multiple breakers, a properly installed transfer switch allows you to switch your entire electrical system, or a designated portion of it, with a single action. This is crucial for maintaining critical loads like refrigerators, well pumps, or essential lighting when your primary solar power is insufficient. It ensures a smooth transition, protecting your expensive off-grid components and giving you peace of mind that your power supply remains robust, come rain or shine, or in this case, a blizzard. Many folks also integrate surge protection into their transfer switch setup, adding another layer of defense for their precious electronics.
Key Components and How They Work
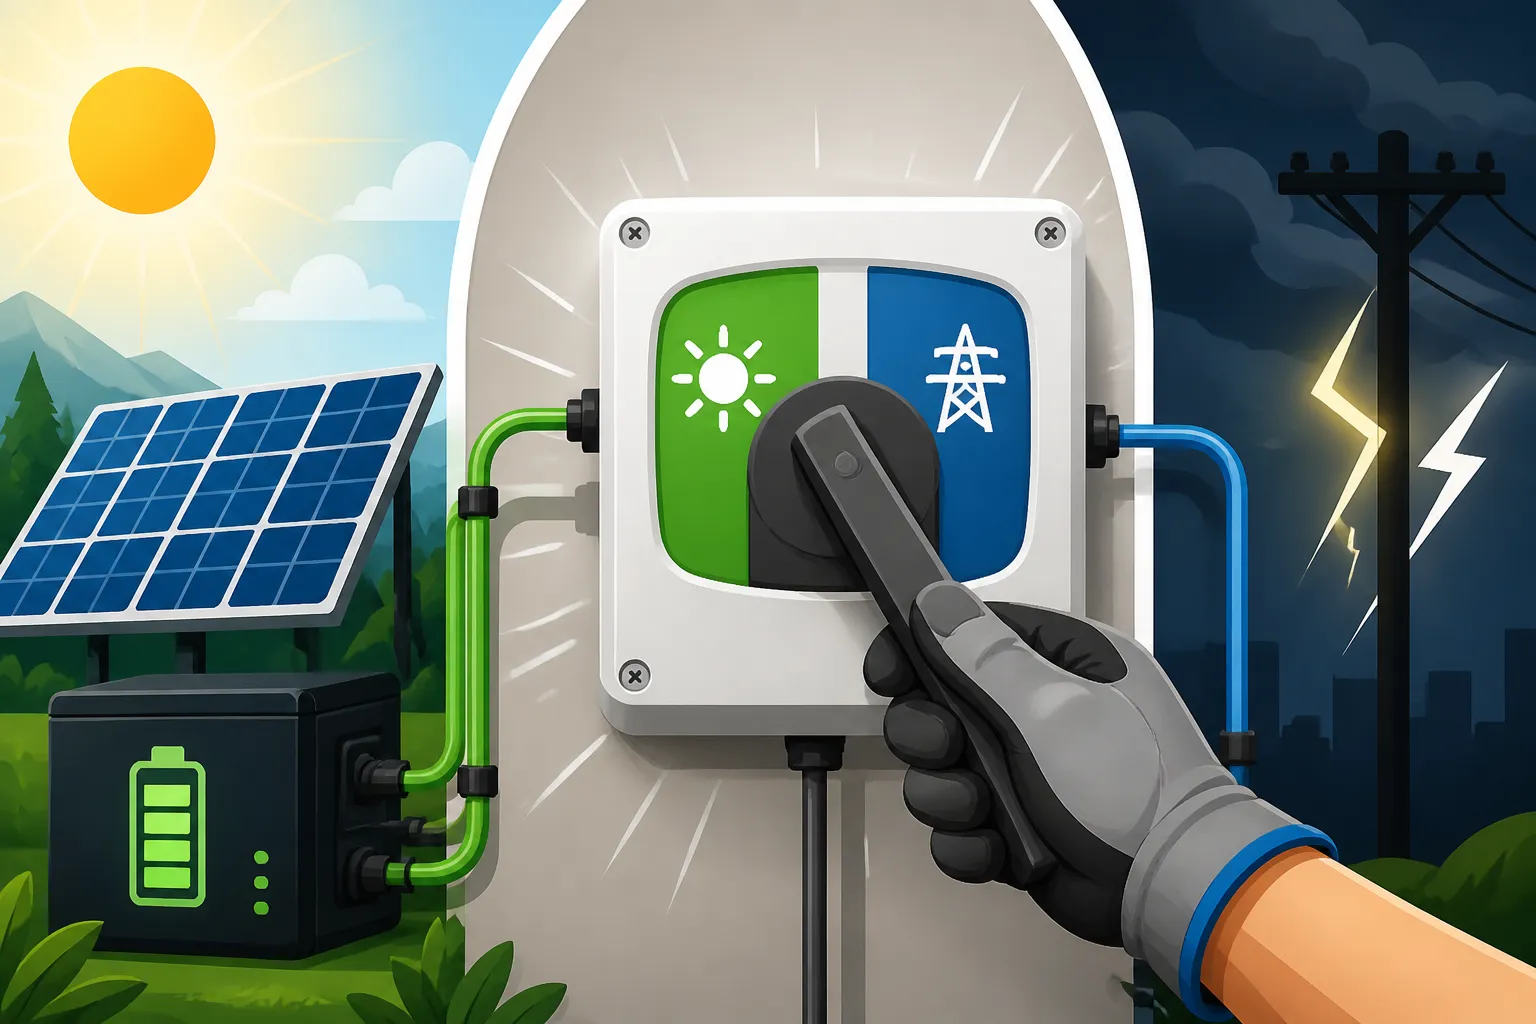
At its heart, a transfer switch is a sophisticated switch designed to connect a load (your home's electrical system) to one of two different power sources, but never both simultaneously. Think of it like a traffic cop directing power flow. In a typical off-grid solar setup, the transfer switch has at least three main connection points:
- Generator Input: This is where your backup generator's output connects. When you start your generator, its power flows to this point, ready to be utilized.
- Load (House) Output: This is the connection that feeds power to your home’s main electrical panel or a subpanel dedicated to essential loads.
- Inverter Input: This connects to the AC output of your off-grid solar inverter. When your solar system is running optimally, power flows from here to your house.
When you operate the transfer switch, it physically isolates one power source before connecting the other. For instance, when you switch to generator power, it first disconnects your inverter from your home's loads, then connects the generator to those same loads. This "break-before-make" action is fundamental to its safety and function. Modern transfer switches often include additional features like circuit breakers for each generator input and sometimes even a utility input for hybrid systems, though for a purely off-grid setup, you'll focus on generator and inverter inputs. Understanding these basic connections is your first step toward a successful and secure installation.
Types of Transfer Switches
Not all transfer switches are created equal, and choosing the right one for your off-grid lifestyle depends heavily on your system's complexity, your budget, and your desire for automation. From simple manual levers to intelligent automatic systems, there’s a range of options available to ensure your backup power is ready when you need it.
Manual Transfer Switches (MTS)
Manual Transfer Switches (MTS) are the most straightforward and often the most budget-friendly option. As the name suggests, they require human intervention to switch between power sources. When your solar batteries get low, or your inverter signals an overload, you’ll physically walk to the transfer switch, start your generator, and then manually flip a lever or switch to transfer your home’s loads from your solar inverter to the generator.
A typical MTS consists of a main breaker or switch that disconnects the solar inverter's output and then connects the generator's output. These units are generally very robust and reliable because of their simple electromechanical design. They often come pre-wired for specific numbers of circuits, allowing you to choose which essential circuits (like your well pump, refrigerator, or a few lights) will be powered by the generator. For many off-grid cabin owners, or those with smaller systems, an MTS from brands like reliance Controls or Generac, often found readily on Amazon, is a perfectly adequate and cost-effective solution. They provide the necessary safety isolation at a fraction of the cost of their automatic counterparts, though they do require you to be present and active in managing your power.
Automatic Transfer Switches (ATS)
For those seeking ultimate convenience and seamless power transitions, an Automatic Transfer Switch (ATS) is the way to go. An ATS continuously monitors your primary power source (your off-grid inverter output). When it detects a problem—like low voltage, an inverter fault, or critically low battery levels—it automatically starts your backup generator, waits for it to stabilize, and then transfers the electrical load from your inverter to the generator. When the primary solar power source returns to normal operating parameters, the ATS will automatically switch the load back to the inverter and shut down the generator.
This level of automation is invaluable for larger off-grid homes, those who travel frequently, or anyone who simply doesn't want to worry about manually managing power during an outage. An ATS is typically more complex and expensive than an MTS, often requiring additional control wiring to communicate with both the inverter system and the generator's auto-start function. Many advanced inverter-chargers, like those from Victron or Sol-Ark, have built-in ATS functionality, which simplifies the overall system design. While the initial investment is higher, the peace of mind and labor savings over years of operation can make an ATS a worthwhile upgrade for a fully integrated and self-sufficient off-grid home. When considering an ATS, you might find options from Renogy for simpler kits or more robust units from Schneider Electric for larger, more demanding systems.
Hybrid Inverter-Chargers with Integrated Transfer Capabilities
In the ever-evolving world of off-grid solar, many modern inverter-chargers now come with integrated transfer switch capabilities. These all-in-one units streamline the process, combining the functions of an inverter (converting DC battery power to AC household power), a battery charger (charging batteries from an AC source like a generator), and an automatic transfer switch into a single device. This integration significantly simplifies wiring and reduces the number of individual components you need to purchase and install.
These intelligent devices are typically designed to prioritize solar power. When the sun is shining and batteries are charged, they power your home. If battery levels drop or loads exceed solar production, they can automatically start a connected generator, use its power to run your home directly, and simultaneously charge your batteries. Once the batteries are topped off and solar generation resumes, the inverter-charger will seamlessly transfer back to solar and shut down the generator. This functionality is a game-changer for sophisticated off-grid setups, offering unparalleled efficiency and automation. When you’re researching your primary inverter, checking for this integrated ATS feature is paramount. You'll often see this with higher-end models like the Victron MultiPlus or the Sol-Ark series, which are designed from the ground up to manage multiple power inputs and outputs seamlessly.
| Feature | Manual Transfer Switch (MTS) | Automatic Transfer Switch (ATS) | Hybrid Inverter-Charger (Integrated ATS) |
|---|---|---|---|
| Operation | Manual switching by homeowner | Automatic switching, no human intervention | Automatic, integrated with solar logic |
| Cost | Lower | Higher | Varies, but often cost-effective for features |
| Complexity | Simple wiring | More complex, control wiring needed | Simplified overall system wiring |
| Convenience | Requires active management | Seamless, hands-off operation | Seamless, optimized for solar-first |
| Generator Start | Manual generator start required | Automatic generator start/stop | Automatic generator start/stop |
| Ideal For | Smaller cabins, budget-conscious users | Larger homes, frequent travelers, critical loads | Sophisticated off-grid systems, maximum automation |
Planning Your Transfer Switch Installation
Before you even think about grabbing tools, a solid plan is absolutely essential. Rushing into an electrical project can lead to costly mistakes, or worse, dangerous situations. Careful planning ensures compatibility, efficiency, and adherence to safety standards.
Assessing Your Power Needs and System Compatibility
The first step in planning is to understand exactly what you need your transfer switch to do. Are you looking to power your entire off-grid home with a generator during an extended outage, or just a few critical circuits? This decision will dictate the size and type of transfer switch you need. Start by performing a detailed load analysis for the appliances and devices you intend to power with your backup generator. This is similar to the load calculation you did for your primary solar system. For instance, if you want to run a well pump and a few large appliances, you’ll need a transfer switch with a higher amperage rating than if you only plan to power lights and a refrigerator. You can learn more about this in our guide on How to Calculate Off-Grid Solar Needs.
Next, consider compatibility with your existing off-grid solar setup. What is the AC output voltage and amperage of your inverter? Most residential off-grid systems run on 120V or 240V AC. Your transfer switch must match these specifications precisely. Also, think about your generator's output. Does it provide 120V, 240V, or both? Ensure the transfer switch is designed to handle your generator's output safely. For integrated inverter-chargers, ensure the unit's internal transfer switch capacity meets your needs. Mismatched components can lead to overloading, tripping breakers, or even equipment damage. It’s always better to slightly oversize your transfer switch than to undersize it.
Choosing the Right Location and Wiring Paths
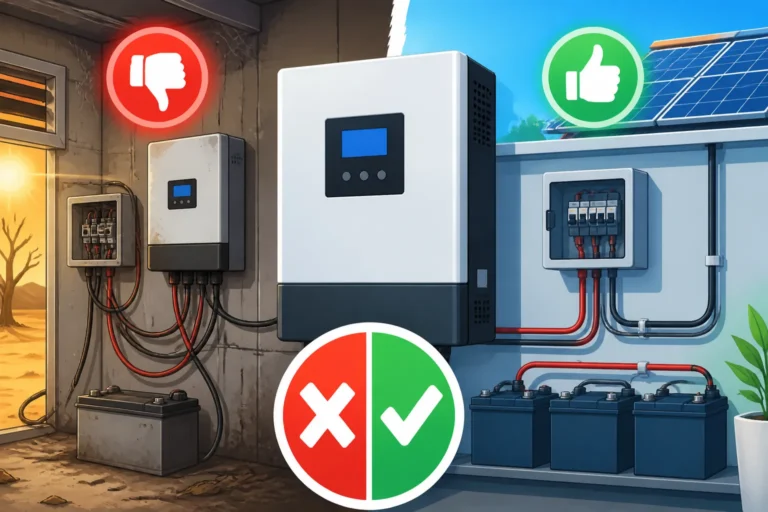
The physical placement of your transfer switch is crucial for both safety and convenience. Ideally, it should be installed close to your main electrical panel or the subpanel that manages your essential off-grid loads. This minimizes the length of wiring runs, which reduces voltage drop and overall installation complexity. Consider accessibility: you'll need to operate a manual switch, or visually inspect an automatic one, so ensure it's not tucked away in an obscure corner. It also needs to be in a dry, protected environment, away from extreme temperatures or direct moisture.
Once you’ve identified the ideal location for the transfer switch, map out the wiring paths. You'll need to run conduit or cables from your inverter's AC output to the transfer switch, from your generator's connection point to the transfer switch, and from the transfer switch to your load panel. Think about the shortest, safest routes. Will the wiring need to pass through walls, ceilings, or underground? Planning these routes in advance helps you determine the correct lengths and types of wire and conduit you'll need. Always consider future access for maintenance or troubleshooting. For a deeper dive into wiring, check out our resource on Off-Grid Solar Wiring Diagram Explained.
Gathering Tools and Materials
Before beginning the physical installation, gather all the necessary tools and materials. This prevents frustrating delays and ensures you have everything on hand for a smooth process.
Essential Tools:
- Multimeter/Voltage Tester: Absolutely critical for verifying power is off and for testing connections.
- Wire Strippers & Cutters: For preparing electrical cables.
- Screwdrivers (various types): For securing components and making electrical connections.
- Pliers (needle-nose, lineman's): For bending and securing wires.
- Conduit Bender & Reamer (if using conduit): For creating smooth, safe pathways for wires.
- Drill & Bits: For mounting the transfer switch and running conduit.
- Level: To ensure the switch is mounted correctly.
- Personal Protective Equipment (PPE): Safety glasses, electrical gloves, and appropriate footwear are non-negotiable.
Key Materials:
- The Transfer Switch: The specific MTS or ATS unit you've chosen.
- Appropriate Wire Gauge: Sized according to your inverter and generator output, and the distance of the run (e.g., 10 AWG, 8 AWG, etc.). Refer to the National Electrical Code (NEC) tables for sizing.
- Conduit & Fittings (EMT, PVC, or liquid-tight flexible conduit): To protect wiring, especially outdoors or in exposed areas.
- Wire Connectors/Lugs: For making secure electrical connections.
- Electrical Tape: For insulation and marking.
- Mounting Hardware: Screws, anchors appropriate for your mounting surface.
- Junction Boxes (if needed): For making splices or transitions.
- Labels: For clearly marking circuits and power sources.
Having these items ready will significantly streamline your installation and help you maintain a safe working environment. It's often helpful to purchase a few extra feet of wire and a few extra fittings than you think you'll need, just in case. You can typically find all these materials at your local hardware store or easily order them from online retailers like Amazon.
Step-by-Step Installation Process
Installing a transfer switch can feel intimidating, but by breaking it down into manageable steps and prioritizing safety, you can achieve a secure and functional setup. Remember, if at any point you feel unsure or uncomfortable, consulting a qualified electrician is always the best course of action.
Safety First: Disconnecting Power
This is the most critical step, and one that cannot be overstated: always disconnect all power sources before working on your electrical system. Failing to do so can result in serious injury or death.
- Shut Down Your Solar Inverter: Locate your inverter and follow its specific shutdown procedure. This usually involves turning off the DC disconnect from the solar panels, then turning off the AC output breaker. Confirm with a multimeter that there is no AC voltage present at the inverter's output terminals or the wires leading from it.
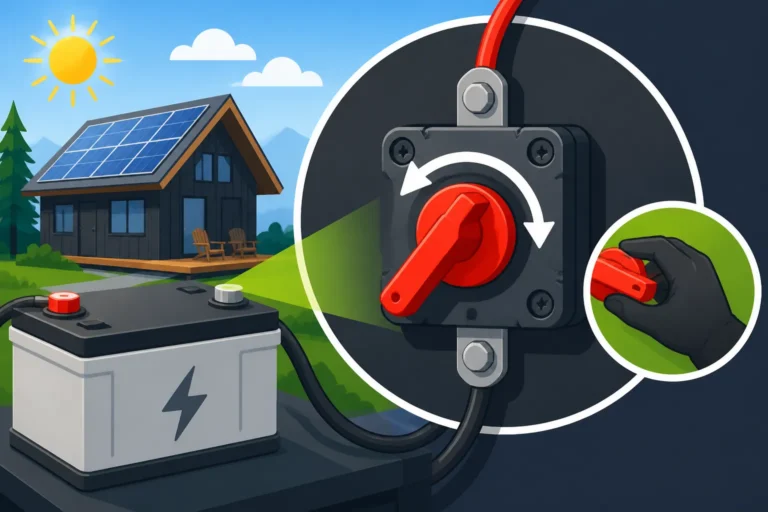
- Disconnect Your Batteries: Even with the inverter off, your battery bank still holds significant power. Disconnect the main positive and negative battery cables at the battery bank itself. If your system has a main battery disconnect switch, open that. Again, use a multimeter to verify zero voltage at the battery terminals before touching anything else. You might find our guide on How to Connect Batteries, Inverter, and Panels helpful for understanding these connections.
- Ensure Generator is Off and Disconnected: If your generator has ever been connected, ensure it is completely off, cooled down, and its power cord is unplugged. Never work on the transfer switch with a live generator connected.
- Confirm Absence of Power: Use your multimeter or a non-contact voltage tester to verify that no power is present in the circuits you'll be working on. Double-check, triple-check. This step is non-negotiable.
Once you’ve confirmed that all power is isolated, you can proceed with the installation, but always maintain a vigilant awareness of potential hazards.
Mounting the Switch and Running Conduit
With power safely off, you can now physically install the transfer switch.
- Mount the Transfer Switch: Choose the previously planned location. Use a level to ensure the switch enclosure is straight and secure. Mark the mounting holes on the wall and pre-drill if necessary. Use appropriate mounting hardware (screws, anchors) to firmly attach the transfer switch to the structural surface. It needs to be stable and able to withstand the weight of the wires and any potential handling.
- Plan Conduit Runs: Based on your earlier mapping, determine where conduit needs to run from the inverter, generator connection point, and to the load panel. Measure and cut your conduit pieces. Remember to ream the ends of all cut conduit to remove any sharp edges that could damage wire insulation.
- Install Conduit: Secure the conduit to the wall or ceiling using appropriate straps and connectors. Ensure all connections are tight and provide continuous grounding if using metallic conduit. For outdoor runs, use weather-resistant (e.g., PVC or liquid-tight flexible) conduit and fittings to protect the wiring from the elements. Properly installed conduit not only protects your wiring but also helps you comply with electrical codes.
Wiring the AC Input and Output
This is where the actual electrical connections are made. Take your time, follow diagrams carefully, and double-check every connection.
- Connect Inverter AC Output to Transfer Switch: Route the AC output wires from your off-grid inverter (typically a hot, neutral, and ground) into the designated "Inverter Input" terminals on your transfer switch. Ensure you use the correct wire gauge as determined during your planning phase, and that the wires are properly stripped and secured within the terminals. The ground wire should connect to the grounding busbar within the transfer switch enclosure, or to the system's main grounding point. For systems using an inverter-charger with an integrated transfer switch, this step is often simplified as the internal wiring handles it, but you'll still connect your main AC loads to the inverter's output.
- Connect Transfer Switch Output to Load Panel: Next, route the "Load Output" wires from the transfer switch to your off-grid home's main electrical panel or the subpanel dedicated to essential loads. These wires will replace the current main feed from your inverter. If you're powering specific circuits, you'll connect these wires directly to the chosen breakers in the load panel. Label these connections clearly within both the transfer switch and the load panel. This wiring often involves disconnecting your home's main AC input from your inverter and connecting it to the transfer switch's output.
- Verify Connections: Before moving on, visually inspect all connections. Are the wires seated firmly? Are there any exposed copper strands outside the terminals? Are the hot, neutral, and ground wires correctly identified and connected? A loose connection is a fire hazard.
Connecting Generator Backup Power
Now you'll bring your backup power source into the mix.
- Install Generator Inlet Box (if applicable): For portable generators, you'll need an external generator inlet box mounted on the exterior of your structure. This box has a special receptacle that your generator's power cord plugs into, and conduit running from it into the transfer switch. Ensure this inlet box is weather-rated and properly sealed.
- Wire Generator to Transfer Switch: Route the wires from the generator inlet box (or directly from your auto-start generator, if permanent) to the "Generator Input" terminals on the transfer switch. Again, ensure correct wire gauge and proper hot, neutral, and ground connections. The ground wire from the generator must connect to the transfer switch's grounding system. Remember that the generator's neutral and ground may need to be bonded differently depending on whether it's a "floating neutral" or "bonded neutral" generator, and how your overall off-grid system is grounded. This is a critical safety point that requires careful attention to the NEC and your specific generator's manual. You can find more information about integrating generators in our article on How to Connect a Backup Generator.
- Labeling: Once all wiring is complete, use labels to clearly identify each wire and its source/destination within the transfer switch and at both ends of the run. This is invaluable for future troubleshooting or maintenance.
Testing and Safety Considerations
You’re almost there! But before you relax with a cup of coffee powered by your new system, thorough testing and understanding safety protocols are paramount. Never skip these crucial steps.
Initial Power-Up and Functionality Checks
Bringing your system online after installation should be a deliberate, step-by-step process. This allows you to identify and address any issues before they become major problems.
- Pre-Power-Up Check: Before applying any power, do one final visual inspection of all wiring. Look for loose connections, exposed wires, proper grounding, and ensure all conduit entries are sealed. Double-check your wire labels against your wiring diagram.
- Energize Your Batteries: Reconnect your main battery cables or close your main battery disconnect switch. Your inverter may power up at this point, but it should not be sending AC power to your home yet.
- Energize Solar Array (if applicable): Turn on your DC disconnect from your solar panels to allow power to flow to your charge controller and start charging your batteries.
- Inverter AC Output Test: Now, turn on the AC output breaker from your solar inverter. With your transfer switch still in the "OFF" or "SOLAR" position (if an MTS), use your multimeter to confirm that AC voltage is present at the "Inverter Input" terminals of your transfer switch.
- Transfer to Inverter Power: Flip the transfer switch to the "INVERTER" or "SOLAR" position. At this point, your home's selected loads should be powered by your off-grid solar system. Test a few lights or small appliances to confirm functionality. Listen for any unusual buzzing or signs of trouble.
- Generator Test: With your home loads running on solar, go to your generator. Start the generator and let it run for a few minutes to warm up and stabilize.
- Transfer to Generator Power: With the generator running, flip the transfer switch to the "GENERATOR" position. Your home's loads should now seamlessly transfer to the generator. Confirm functionality. If you have an ATS, it should automatically detect the inverter's absence (or low battery state, which you might simulate) and start the generator, then transfer the load.
- Transfer Back to Inverter: After confirming generator power, switch the transfer switch back to the "INVERTER" position. The loads should transfer back, and if it's an ATS, the generator should shut down after a cool-down period. This process confirms the smooth operation of your new setup. If any issues arise, immediately disconnect power and troubleshoot the specific area.
Understanding Load Management and Sequencing
Once your transfer switch is installed, how you manage your loads when running on generator power becomes crucial. Generators, especially portable ones, have a finite power output. You can't just run everything simultaneously like you might from a grid connection.
When running on generator power, it's wise to practice load sequencing. This means turning on your most critical appliances first, then gradually adding less critical ones, ensuring you don't overload the generator. For example, if you have a well pump, refrigerator, and an electric water heater, you might start the well pump first, then the refrigerator, and only run the water heater when other high-draw appliances are off. This prevents the generator from bogging down or tripping its internal breaker. Additionally, remember that starting loads (inrush current) for motors like those in refrigerators or well pumps can be much higher than their running wattage. Your generator must be sized to handle these surges. For more on this, consult resources like "How to Size an Off-Grid Inverter" to understand surge capacity. Proper load management extends the life of your generator and ensures reliable backup power when you need it most.
Grounding and Electrical Code Compliance
Grounding is not just a suggestion; it's a critical safety feature that protects people and equipment from electrical faults and lightning strikes. For any off-grid electrical installation, including a transfer switch, proper grounding is absolutely essential.
Your entire off-grid system, including your solar array, inverter, battery bank, and the transfer switch, must be bonded to a common grounding point, typically a ground rod driven deep into the earth. All metallic components of your system (conduit, enclosures, panel boxes) should be properly bonded to this ground. When connecting your generator, its frame must also be grounded. Some generators have a floating neutral, while others have a bonded neutral. Understanding the difference and ensuring proper neutral-to-ground bonding (or isolation, as appropriate) is critical for safety and compliance with the National Electrical Code (NEC). In a true off-grid system, the main bonding jumper (which connects neutral and ground) is typically located at the main load panel or the output of the main inverter-charger.
While off-grid systems in remote locations might not always be subject to the same strict permitting and inspection requirements as grid-tied systems, adhering to NEC standards is still a best practice for safety. Many states and counties do require permits and inspections even for off-grid setups, especially for larger residential installations. Always check with your local authority having jurisdiction (AHJ) before starting any electrical work. Failing to comply can lead to safety hazards, insurance issues, and potential fines. For a thorough review of what’s needed, read our guide on Off-Grid Solar Permits and Codes. If you're unsure about grounding or code compliance, seriously consider hiring a licensed electrician for at least the final inspection and connection of the transfer switch, ensuring your family and property are protected.
Common Mistakes and Troubleshooting
Even with the best intentions and careful planning, mistakes can happen during electrical installations. Knowing what to look out for and how to troubleshoot common issues can save you a lot of headache and potential danger.
Incorrect Sizing and Wiring Errors
One of the most frequent and impactful mistakes is using an incorrectly sized transfer switch or making wiring errors.
Incorrect Sizing:
If your transfer switch is undersized for your generator's output or your home's total load, you'll experience frequent tripped breakers on the generator or within the transfer switch itself. This is not only annoying but can also stress your generator and potentially damage it over time. Always ensure the transfer switch's amperage rating meets or exceeds the maximum output of your generator and the loads you intend to power. Conversely, oversizing isn't necessarily a problem, but it can lead to unnecessary expense. Always calculate your maximum potential load to avoid this common pitfall.
Wiring Errors:
Wiring errors are perhaps the most dangerous category of mistakes. These can range from minor annoyances to severe hazards:
- Reverse Polarity: Connecting hot where neutral should be, or vice-versa. This can lead to equipment malfunction and electrocution hazards. Always follow color codes (typically black/red for hot, white for neutral, green/bare for ground) and verify with a multimeter.
- Loose Connections: Wires not properly tightened in terminals can create resistance, leading to heat buildup, arcing, and a significant fire risk. Always tug gently on each wire after tightening to ensure it's secure.
- Incorrect Grounding/Bonding: As discussed, improper grounding can leave your system unprotected against faults and greatly increase the risk of shock. Ensure all metallic enclosures are bonded and the system's neutral and ground are properly managed according to NEC for an off-grid setup.
- Mixed AC and DC Circuits: Never run AC and DC wires in the same conduit unless it's specifically designed and partitioned for both. This can lead to interference or dangerous short circuits if insulation fails.
If you suspect any wiring errors, immediately disconnect all power and meticulously re-check every connection point against your wiring diagram. A simple error can have severe consequences, making thoroughness critical.
Overlooking Safety Measures
Many DIYers, eager to get their off-grid system up and running, might unintentionally overlook critical safety measures, putting themselves and their families at risk.
- Lack of Proper PPE: Working with electricity without safety glasses and electrical gloves is a gamble. Even a small spark can cause eye injury, and direct contact with live wires can be fatal.
- No Lock-Out/Tag-Out Procedure: Simply flipping a breaker might not be enough, especially if someone else could unknowingly flip it back on. Using a lock-out/tag-out device on main breakers or disconnects physically prevents accidental re-energization while you're working. This is standard practice in industrial settings for a reason.
- Inadequate Fire Suppression: Electrical fires, while rare in properly installed systems, can happen. Having a readily accessible ABC-rated fire extinguisher near your electrical panels and battery bank is a wise precaution.
- Ignoring Local Codes: While off-grid, pretending local electrical codes don't apply is dangerous. These codes exist to ensure safety. Always consult your local authority for specific requirements, even if it's just a general residential electrical code. Proper conduit, wire sizing, overcurrent protection (fuses and breakers), and grounding are not optional. You can review guidelines on How to Install Fuses and Breakers for your system.
Prioritizing safety throughout the entire process, from planning to commissioning, is not an inconvenience; it's a fundamental responsibility when building an off-grid power system.
Troubleshooting Basic Issues
Even after a successful installation, you might encounter minor issues. Here are a few common problems and how to approach them:
- Generator Starts But No Power to House:
- Check Generator Output: Is the generator producing power? Check its internal breakers.
- Transfer Switch Position: Is the transfer switch fully engaged in the "GENERATOR" position? Sometimes it can get stuck halfway.
- Wiring: Re-check the wiring from the generator inlet to the transfer switch.
- Load Panel Breakers: Have any breakers tripped in your main house panel?
- Solar Inverter Not Powering House After Generator Use:
- Inverter Status: Is your inverter showing any error codes? Is it indicating it's ready to output AC power?
- Battery State of Charge: Are your batteries sufficiently charged for the inverter to operate?
- Transfer Switch Position: Is the switch fully in the "INVERTER" position?
- Inverter Output Breaker: Has the AC output breaker on your inverter tripped?
- Tripping Breakers:
- Overload: Are you trying to run too many appliances simultaneously on your generator or inverter? Remember starting loads.
- Short Circuit: An immediate trip could indicate a short circuit in an appliance or wiring. Isolate circuits by turning off breakers one by one to find the fault.
- Faulty Breaker: Rarely, a breaker itself can be faulty.
- No Power Anywhere:
- Check Main Disconnects: Ensure all main AC and DC disconnects are on.
- Battery Voltage: Is your battery bank completely dead?
- Main Inverter Breaker: Is the main breaker on your inverter tripped?
When troubleshooting, always start with the most obvious and easiest checks, working your way through the system logically. And always, always prioritize disconnecting power before physically inspecting or working on any electrical components. For persistent or complex issues, don’t hesitate to call in a professional who specializes in off-grid solar systems.
Disclaimer
The information provided in this guide is for informational purposes only and is not intended as professional electrical advice. Working with electricity can be dangerous and should only be undertaken by qualified individuals. Always consult with a licensed electrician or qualified professional before attempting any electrical installations or modifications to ensure compliance with all local codes and safety standards. The author and publisher are not liable for any injuries, damages, or losses resulting from the use of this information.