How to Route Cables into an RV
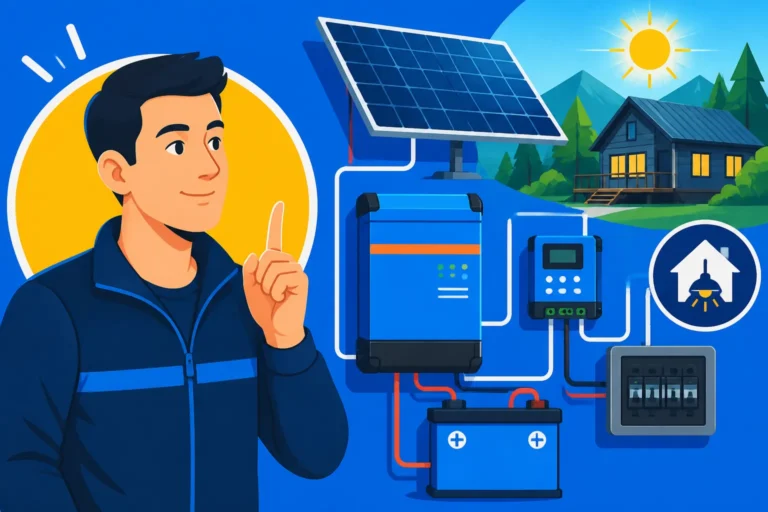
Alright, let's talk about one of the biggest headaches when you decide to embrace off-grid solar on your RV: how on earth do you get those thick, important cables from your beautiful solar panels on the roof into your cozy living space without drilling a million holes, causing leaks, or making the whole setup look like a science experiment gone wrong? It’s a completely valid frustration, and frankly, a daunting task for many. This guide is here to walk you through the process of routing your solar cables into your RV safely, securely, and with as little stress as possible, so you can enjoy reliable power on the road without the constant worry.
The Initial Hurdle: Why Routing Cables Feels So Daunting
Deciding to go solar on your RV is exciting! You dream of limitless power, quiet mornings without a generator, and the freedom to explore remote locations. But then reality hits: those solar panels on your roof need to connect to a charge controller and battery bank inside the RV. And suddenly, you’re staring at your perfectly sealed roof, drill in hand, feeling a knot in your stomach. It’s not just about making a hole; it’s about making the right hole, in the right place, and making sure it stays sealed for years to come.
Understanding the RV's Construction Challenges
RV construction isn't like a stick-built home. You're dealing with a dynamic structure that flexes, vibrates, and is exposed to the elements constantly. Many RVs feature fiberglass or aluminum skins, often laminated over a lightweight wood or aluminum frame, with insulation packed in between. This variety means that what works for one RV might not be ideal for another. You might have a thick fiberglass roof on a fifth-wheel, a thin aluminum roof on an older travel trailer, or a flexible rubber roof (EPDM or TPO) on a motorhome. Each material presents its own set of challenges when it comes to cutting and sealing.
The fear of compromising your RV's structural integrity or creating a pathway for water is very real. You might worry about hitting an unseen wire, a plumbing line, or even a critical roof support. The last thing any RV owner wants is a leaky roof, leading to delamination, mold, and costly repairs down the line. It's a legitimate concern that makes many folks hesitate before taking the plunge into DIY solar. However, with the right approach and materials, this hurdle is absolutely surmountable.
Common Worries About Weatherproofing and Aesthetics
Beyond the structural concerns, there’s the undeniable anxiety about weatherproofing. An RV roof faces sun, rain, snow, hail, and constantly changing temperatures. Any penetration is a potential Achilles' heel if not properly sealed. You've likely heard horror stories from fellow RVers about leaks appearing years after a seemingly solid modification. The thought of water seeping in and slowly destroying your RV's interior is enough to give anyone pause.
Then there's the aesthetic side of things. We all want our RVs to look clean and professional, not like a homemade project with wires dangling haphazardly. Routing cables neatly, minimizing their visibility, and ensuring the entry point looks intentional and sealed rather than an afterthought is crucial for many. You want your solar setup to enhance your RV's capabilities, not detract from its appearance or create constant worry. Choosing the right components, like a sleek cable entry gland, can make all the difference in achieving that polished look while providing robust protection against the elements.
Essential Tools and Materials for a Seamless Installation
Before you even think about touching your RV with a drill, taking the time to gather all the necessary tools and materials is critical. Rushing this step can lead to frustration, multiple trips to the hardware store, or worse, mistakes that cost you time and money. Think of it like baking a cake – you wouldn't start without all your ingredients measured out, right? The same goes for a successful solar installation.
Gathering Your Arsenal: What You'll Need
Having the right tools makes the job safer and more efficient. Here’s a rundown of what you’ll likely need:
- Drill and Hole Saws: You’ll need a sturdy drill. For cutting through the roof, a hole saw attachment (usually 1.25 to 2 inches, depending on your cable gland) is often the cleanest way to make a circular penetration. Make sure you have the correct size for your chosen cable entry solution.
- Wire Strippers and Crimpers: For preparing your solar cables and attaching connectors. You’ll definitely want a dedicated MC4 crimping tool if you’re making your own MC4 connections, as hand-crimping can lead to unreliable connections.
- Multimeter: Absolutely essential for checking voltage, continuity, and ensuring your connections are solid and safe.
- Caulk Gun: For applying sealants.
- Sealant and Adhesives: We’ll talk more about these, but usually Dicor self-leveling sealant (for horizontal roof surfaces), a good marine-grade silicone or butyl tape, and potentially a strong adhesive like 3M VHB tape for mounting cable glands.
- UV-Rated Solar Cable: These aren't just any wires. Solar cables (often 10 AWG or 12 AWG, depending on your system size and run length) are specifically designed to withstand prolonged UV exposure and extreme temperatures without degrading. Using regular household wiring outdoors is a recipe for premature failure. You can find high-quality solar cables from brands like Renogy or specialized wire suppliers.
- MC4 Connectors: These are the standard connectors for solar panels and cables. Ensure you have extras and know how to properly assemble them.
- Wire Loom/Conduit: For protecting exposed cables from abrasion and UV damage, especially on the roof. UV-resistant split loom or flexible conduit works wonders.
- Cable Clips/Zip Ties: For neatly securing cables along their path.
- Denatured Alcohol or Acetone: For cleaning surfaces before applying sealants or adhesives, ensuring a strong bond.
- Safety Gear: Always wear safety glasses and gloves when drilling, cutting, or working with sealants.
Specialty Components for RV Cable Entry
This is where the magic happens – ensuring your entry point is impenetrable.
-
Cable Entry Glands/Boxes: These are specifically designed to provide a watertight seal where cables pass through a surface.
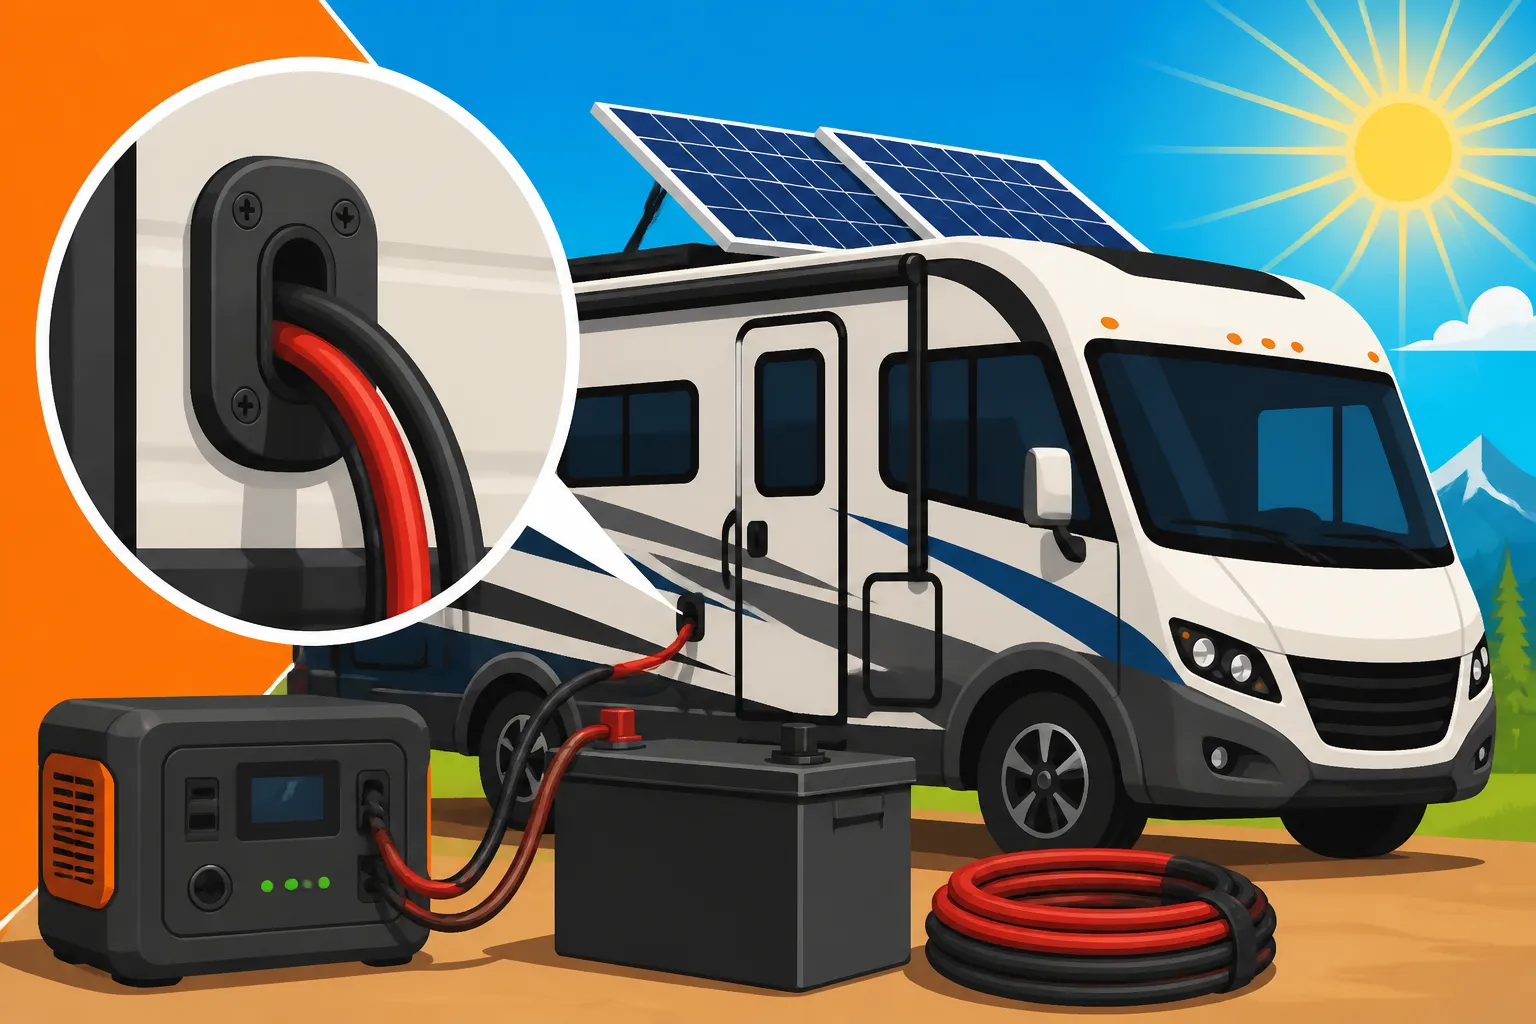
- ABS Plastic Cable Entry Housing: These are incredibly popular for RV solar installations. They are usually white, UV-resistant plastic boxes that mount flat to your roof. You feed your cables through grommets within the box, and then seal the box itself to the roof with appropriate sealant. Brands like Renogy and BougeRV offer excellent options that are readily available on platforms like Amazon. They typically have space for two to four cables and make for a very clean, professional look.
- Marine-Grade Cable Glands: These are individual glands (like a small, round fitting) that seal one or two cables through a smaller hole. While often used on boats, they can be effective for RVs, especially if you have very few cables or prefer a less conspicuous entry point. They usually require a precise drill hole and a lot of sealant.
- Waterproof Junction Boxes: For more complex setups with multiple panel strings or if you want to consolidate wiring on the roof before it enters the RV, a small, weatherproof outdoor junction box can serve as an excellent entry point. You’d run individual cables into the box and then have a single, larger cable entry gland for the main wires going into the RV.
-
Sealants: This is paramount for preventing leaks.
- Dicor Self-Leveling Lap Sealant: This is the gold standard for RV roofs. It's a self-leveling compound that cures to a flexible, watertight seal. Perfect for sealing around cable entry housings and other roof penetrations. It flows into cracks and crevices, providing excellent coverage.
- Butyl Tape: A non-curing, pliable, and incredibly sticky sealant tape that can be used under mounting feet or cable entry boxes to create an initial barrier before applying Dicor. It provides a compressible, waterproof gasket.
- Marine-Grade Silicone Sealant: While Dicor is king for horizontal roof surfaces, a good marine-grade silicone might be used for vertical applications or around very small holes, though it's generally less preferred than Dicor for primary roof sealing due to its tendency to peel over time on some roof materials.
By having these specialized components on hand, you’re not just making a hole; you’re creating a robust, weather-tight, and aesthetically pleasing entry point for your solar power.
Step-by-Step Guide to Routing Your Solar Cables
Alright, it’s time to get down to business! Routing those cables might seem like a monumental task, but by breaking it down into manageable steps, you'll find it's totally achievable, even for a DIY novice. Remember, patience and precision are your best friends here.
Planning Your Cable Run and Entry Point
Before you even think about grabbing that drill, you need a solid plan. Seriously, this isn't the time for spontaneity!
First, assess your solar panels' placement on the roof. Are they near the front, middle, or back? You want the shortest possible cable run from the panels to your charge controller and battery bank inside. Long cable runs lead to voltage drop, which means less power actually reaching your batteries. You can learn more about How to Size an Off-Grid Solar System and optimize your cable lengths as part of that process.
Next, identify where your charge controller and battery bank will reside inside the RV. Common locations include under a bed, in a cabinet, inside a pass-through storage compartment, or even in the basement of a motorhome. Once you know where the inside components will be, try to find a spot on the roof directly above or very close to that interior location.
Consider existing access points. Does your RV have a refrigerator vent on the roof? Sometimes, you can run cables down through the fridge vent stack and then into the cabinet space below, avoiding a new roof penetration altogether. Similarly, some RVs might have existing unused wire chases or plumbing vents that offer a convenient, pre-sealed path. Look for the path of least resistance, but don't compromise safety or proper sealing.
If you have to drill a new hole, look for a flat, unobstructed area on the roof. Avoid areas where water might pool, where there's high foot traffic, or directly over sensitive components like an AC unit or antenna wiring. Also, remember to visually check below the roof inside the RV to ensure you're not drilling into a cabinet, a light fixture, or a water line. Use a stud finder if necessary, or gently tap the ceiling to get a sense of what's behind it.
Once you've identified the perfect spot, mark it clearly. Measure twice, or even three times, to be absolutely certain of your chosen entry point. This strategic planning will save you a lot of grief later on. Remember, a detailed Off-Grid Solar Wiring Diagram Explained can be incredibly helpful during this stage.
Executing the Drill: Making the Penetration
This is often the most nerve-wracking part for RV owners, but with careful execution, it's straightforward.
- Clean the Area: Thoroughly clean the roof surface where your cable entry gland will be mounted. Use denatured alcohol or acetone to remove any dirt, grime, or old sealant. A clean surface is paramount for proper adhesion.
- Pilot Hole First: Using your marked spot, drill a small pilot hole (e.g., 1/8 inch) straight down through the roof. Before proceeding, go inside the RV and verify the pilot hole came out exactly where you intended and that there are no obstructions. This is your last chance to easily adjust the location if needed!
- Choose the Right Hole Saw: Select a hole saw that matches the size of your cable entry gland's grommets or the body of your marine cable gland. For most ABS plastic cable entry housings, you'll drill a hole just large enough for the cables to pass through, not the entire housing. Often, this means a 1.25-inch to 1.5-inch hole.
- Drill with Care: Attach the hole saw to your drill and, with steady pressure, carefully drill through the RV roof material. For fiberglass or aluminum, a slow, steady speed is often best to prevent splintering or tearing. If you have a rubber roof, the hole saw will cut through the membrane and then the plywood/luan underneath. Be mindful of how deep you're drilling; you only need to go through the roof, not into the ceiling panel below.
- Deburr and Clean: Once the hole is made, use a utility knife or sandpaper to deburr any rough edges, especially on fiberglass or wood. Clean out any debris from the hole and surrounding area.
Sealing and Securing for Long-Term Reliability
This is arguably the most important step for the longevity of your RV and your solar system. A well-sealed entry point means a leak-free future.
- Prepare the Cables: Route your solar cables through the holes in your cable entry gland. You might need to strip a small amount of the outer jacket of the cable to get it through the grommets smoothly, but ensure the inner insulation remains intact.
- Mount the Cable Entry Gland:
- Option 1 (Butyl Tape & Screws): Apply a generous layer of butyl tape to the underside of the cable entry gland's mounting flange. Position the gland over your prepared hole on the roof, ensuring the cables are properly routed through. Press it firmly into place.
- Option 2 (Adhesive): Some larger cable entry boxes, like those from Renogy, suggest using a strong adhesive like 3M VHB tape along with screws. Follow the manufacturer's recommendations.
- Secure the gland to the roof using appropriate stainless steel screws (usually included with the gland, or use short, self-tapping screws appropriate for your roof material). Do not over-tighten, which can strip screws or crack plastic.
- Apply Sealant – Generously!
- This is where Dicor self-leveling lap sealant shines. Apply a thick, continuous bead of Dicor around the entire perimeter of the cable entry gland, completely encapsulating its base and covering the screw heads. Let the sealant flow slightly to ensure it fills all gaps. You want a robust, domed layer of sealant that sheds water. Don't be shy with the Dicor; more is often better here.
- Ensure the sealant also covers the points where the cables exit the gland, creating an additional watertight barrier.
- Internal Cable Management: Once the cables are inside, run them neatly to your charge controller. Use cable clips or zip ties to secure them along walls or inside cabinets to prevent them from swinging around or getting snagged. For a truly professional and protected internal run, you might consider running them through flexible conduit.
- Test for Waterproofness: After the sealant has had ample time to cure (check the product's instructions, usually 24-48 hours), you can perform a gentle water test. Use a garden hose with a spray nozzle on a low setting to mimic rain over the sealed area. Check inside the RV immediately for any signs of moisture. This early check can save you a lot of heartache.
By following these steps, you're not just installing solar cables; you're ensuring the long-term integrity and safety of your RV. It’s an essential part of the DIY Off-Grid Solar Installation Step by Step process.
Common Pitfalls and How to Avoid Them
Even with the best intentions, mistakes can happen. Knowing what to watch out for can save you a lot of time, money, and headaches down the road. Learning from others' experiences is a smart way to ensure your off-grid solar journey is a smooth one.
The Dreaded Leak: Preventing Water Intrusion
This is the number one fear for RVers, and for good reason. A persistent leak can quickly lead to widespread damage that’s expensive and difficult to repair.
- Skimping on Sealant is a No-Go: The most common mistake is not using enough sealant or not applying it correctly. Think of your sealant as your roof's personal bodyguard. It needs to be thick, continuous, and completely surround the cable entry gland and any fasteners. Always use RV-specific, UV-resistant sealants like Dicor self-leveling lap sealant for flat roof surfaces. Using regular silicone caulk (unless it's a specific, high-grade marine or outdoor construction silicone) is often a shortcut that leads to failure.
- Improper Surface Preparation: Sealants and adhesives need a clean, dry, and often roughened surface to bond properly. If your roof is dirty, greasy, or has old, flaking sealant, your new seal won't last. Always clean the area thoroughly with an appropriate cleaner like denatured alcohol before application.
- Ignoring Periodic Inspection: RV roofs are exposed to harsh conditions. Sealants degrade over time due to UV radiation, temperature fluctuations, and movement. Make it a habit to inspect all your roof penetrations, including your solar cable entry, at least once a year. Look for cracks, shrinking, or peeling. If you spot any issues, clean the area and reapply sealant promptly. This proactive approach is key to long-term waterproofing.
- Choosing a Bad Location: Avoid mounting your cable entry gland in low spots where water naturally pools, or in high-traffic areas on the roof where it might be stepped on or damaged.
Electrical Safety: Protecting Your System and Your RV
Beyond water, electrical safety is paramount. You're dealing with DC power from your panels and batteries, and potentially AC power from your inverter. Mistakes here can lead to fires, component damage, or even serious injury. This is where a proper understanding of Off-Grid Solar Safety and Grounding becomes vital.
- Incorrect Wire Gauge: Using wires that are too thin for the amount of current they carry or for the length of the run will lead to excessive voltage drop and, more dangerously, overheating. Overheating wires are a fire hazard. Always consult a wire gauge chart to ensure your solar cables are appropriately sized for your specific system and cable length. You can find many calculators online that help determine the right gauge for your needs.
- Missing or Incorrect Fuses and Breakers: Every major component in your off-grid solar system needs protection. Your solar array should have a fuse or breaker between the panels and the charge controller. Your battery bank needs a main fuse or breaker sized to protect your inverter. Similarly, your DC loads (if you have them) and AC loads (from the inverter) need appropriate overcurrent protection. These devices are your first line of defense against short circuits and overloads.
- Lack of Proper Grounding: Grounding your solar components (panels, charge controller, inverter, battery bank) is crucial for safety. It protects against electrical shocks and lightning strikes. Consult local electrical codes (like the NEC for US installations) for specific grounding requirements for off-grid systems, even if permits aren't required in your area.
- Improper Connections: Loose or poorly crimped connections are a common source of resistance, heat, and intermittent power issues. Always use the correct crimping tool for MC4 connectors and other terminals. Give each connection a firm tug test to ensure it's secure.
Maintaining a Clean and Expandable Setup
Thinking ahead can save you time and money if you decide to upgrade or troubleshoot your system later. Many RVers start small and expand their solar setup over time.
- Don't Cut Cables Too Short: Always leave a little extra slack in your cables, both inside and outside the RV. This flexibility makes future maintenance, component replacement, or system expansion much easier. Trying to work with taut, barely-reaching cables is incredibly frustrating.
- Label Everything: Seriously, label every wire! Use weatherproof labels for cables on the roof and permanent markers or wire labels for internal wiring. Clearly marking which cable goes where (e.g., "PV +," "PV -," "Battery +," "Battery -") will be invaluable if you ever need to troubleshoot an issue or upgrade components like your charge controller or inverter.
- Organize Your Cables: Use wire loom, flexible conduit, cable clips, and zip ties to keep your cables tidy and out of the way. This isn't just for aesthetics; it protects cables from abrasion, pinching, and damage from moving objects. A well-organized system is easier to maintain and looks far more professional. When planning, consider how to run your cables from your panels on the roof to your entry point, ensuring they're secure and not flapping in the wind. This is part of learning How to Mount Off-Grid Solar Panels effectively.
- Plan for Future Expansion: If you anticipate adding more panels or batteries later, consider using a slightly larger cable entry gland or a weatherproof combiner box on the roof that can accommodate additional wires. This forethought means you won't have to drill new holes or redo your sealing efforts just for a few extra watts. Knowing How to Choose an Off-Grid Solar Panels that you might want to add later can help with this planning.
By being aware of these common pitfalls and taking proactive steps to avoid them, you can ensure your RV off-grid solar system is not only functional but also safe, reliable, and a source of joy for years to come.
| Cable Entry Method | Pros | Cons | Ideal For |
|---|---|---|---|
| ABS Cable Entry Gland | Clean, weatherproof, UV-resistant, easy to install, common for RVs | Requires drilling a new hole, relies heavily on good sealant | Most DIY RV solar installations, multiple cables |
| Refrigerator Vent | Avoids new roof penetrations, often already sealed, leads to interior space | Limited space, potential for heat transfer, may not be close to batteries | Small systems, RVs with accessible fridge vents, minimal cable runs |
| Existing Wire Chase/Conduit | No new holes, very clean, usually factory-sealed | Rarity in many RVs, limited to existing pathways, may be hard to access | Specific RV models with pre-existing pathways |
| Window Frame Entry | No roof drilling, accessible, can be temporary | Aesthetic impact, potential for air/water leaks around seals, security concerns | Temporary setups, portable systems, very small installs |
Final Thoughts on Your RV Solar Journey
Getting your solar cables into your RV might seem like a daunting task, but by meticulously planning, using the right tools and quality components (like those you can find from Renogy or easily order from Amazon), and paying close attention to sealing and safety, you'll achieve a robust and reliable system. The freedom and self-sufficiency that off-grid solar provides are truly transformative, and overcoming this initial installation hurdle is a huge step towards enjoying that lifestyle.
Remember, this is an investment in your independence. Take your time, don't rush, and if you're ever unsure about a step, do more research or consult with someone experienced in RV solar installations. There's a wealth of knowledge available, whether you're wondering How to Wire an Off-Grid Solar System or just looking for advice on Best Off-Grid Solar Panels. Soon enough, you'll be enjoying the hum of your inverter and the clean, silent power of the sun, all thanks to your careful planning and execution.
Disclaimer
The information provided in this guide is for general informational and educational purposes only. While we strive to offer accurate and helpful advice, off-grid solar installations involve electrical components and high voltages, which can be dangerous if not handled properly. Always exercise extreme caution when working with electricity. If you are not comfortable performing any of the steps outlined, please consult with a qualified electrician or a certified RV solar installer. Adhere to all local codes and regulations, including permitting requirements, which may vary by location. We are not responsible for any damage or injury that may result from following this guide.