How to Wire an Off-Grid Solar Kit
So, you’ve taken the plunge! Your shiny new off-grid solar kit has arrived, boxes stacked high, and the excitement is palpable. But then you crack open the manual, or maybe you just look at all those wires and components, and a wave of "What have I gotten myself into?" washes over you. It's a completely normal feeling – transforming a collection of parts into a functioning power system can seem daunting. This comprehensive guide is here to demystify the process, walking you through how to wire your off-grid solar kit safely and effectively, turning that initial overwhelm into confident independence.
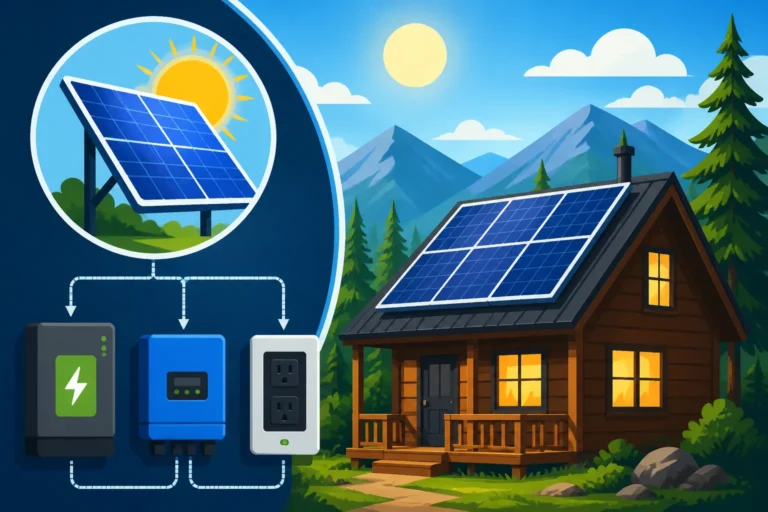
Understanding Your Off-Grid Solar Kit Components
Before we connect a single wire, it's absolutely crucial to know what each piece of your off-grid puzzle does. Think of it like cooking a meal: you wouldn't just dump all the ingredients in at once, right? You need to understand their purpose. Wiring an off-grid solar system is a sequential process, and recognizing each component will give you a solid foundation and prevent costly mistakes.
The Role of Solar Panels in Your System
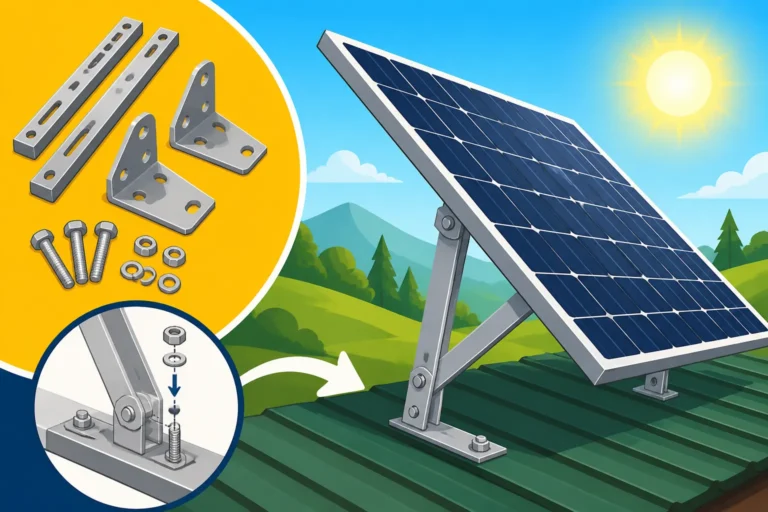
Solar panels, often called photovoltaic (PV) modules, are the workhorses that capture sunlight and convert it into direct current (DC) electricity. They are typically the most visible part of your off-grid setup, often mounted on rooftops, ground arrays, or even flexible panels on RVs. Each panel has a positive (+) and negative (-) terminal, and understanding their individual power output (watts) and voltage is critical for proper wiring configurations.
When you're dealing with a kit, the panels are usually pre-selected to work together efficiently. You might have one or several, depending on the size of your kit and your energy needs. Their efficiency and performance are affected by factors like sunlight intensity, temperature, and shading, which is why proper placement and an understanding of How Many Solar Panels for Off-Grid Living is so important for capturing maximum energy. These panels are the starting point of your electrical journey, turning photons into usable electrons.
The Charge Controller: Your Battery's Best Friend
Next up is the charge controller, a component that often gets overlooked but is absolutely vital. Its primary job is to regulate the voltage and current coming from your solar panels before it reaches your battery bank. Without a charge controller, your panels could overcharge your batteries, severely shortening their lifespan or even damaging them catastrophically. It acts as a gatekeeper, ensuring a safe and efficient charge.
There are two main types of charge controllers: Pulse Width Modulation (PWM) and Maximum Power Point Tracking (MPPT). While PWM controllers are simpler and more affordable, MPPT controllers are more sophisticated, harvesting significantly more power from your solar panels, especially in varying light conditions. Most modern off-grid solar kits, especially those designed for larger power needs, will include an MPPT controller to maximize energy harvesting and protect your valuable battery investment. Learning How to Choose an Off-Grid Charge Controller is a key step in ensuring your system's longevity.
The Battery Bank: Your Energy Reservoir
The battery bank is the heart of your off-grid system, storing the electricity generated by your solar panels for use when the sun isn't shining. This is where your power lives overnight or during cloudy days. Without a robust and properly sized battery bank, you'd only have power when the sun is directly hitting your panels, which isn't exactly "off-grid living."
Off-grid kits commonly include either lead-acid (like flooded, AGM, or Gel) or lithium-ion (specifically LiFePO4) batteries. Each type has its pros and cons in terms of cost, lifespan, and maintenance. LiFePO4 batteries, for instance, are known for their longer cycle life and deeper discharge capabilities, making them a popular choice for serious off-gridders, though they come with a higher upfront cost. Getting the right battery capacity is crucial, as highlighted in our guide on How Many Batteries for an Off-Grid System. The battery bank dictates how much energy you can store and, crucially, how long you can run your appliances without solar input.
The Inverter: Bringing AC Power to Your Life
While solar panels and batteries primarily deal in DC (Direct Current) electricity, most of our everyday appliances, from refrigerators to laptops, run on AC (Alternating Current). This is where the inverter comes in. It's the magician that transforms the DC power stored in your batteries into usable AC power for your home, RV, or cabin.
Inverters come in various sizes and types, measured by their continuous wattage output. Choosing the right inverter size depends on your total AC load – that is, all the AC appliances you plan to run simultaneously. Most off-grid solar kits will feature a pure sine wave inverter, which provides clean, stable power identical to what you get from the utility grid, making it safe for sensitive electronics. Modified sine wave inverters are cheaper but can harm certain appliances. Understanding How to Choose an Off-Grid Inverter is pivotal for powering your lifestyle, and quality brands like Renogy often include reliable pure sine wave inverters in their complete kits.
Safety First: Preparing for Wiring Your Kit
Wiring an off-grid solar kit involves working with electricity, which always demands respect and adherence to safety protocols. Rushing or cutting corners here is simply not an option. Before you even think about stripping a wire, you need to ensure you've created a safe working environment and gathered the necessary tools and protective gear.
Essential Safety Equipment and Tools
Protecting yourself is paramount. Always wear appropriate personal protective equipment (PPE), including insulated gloves, safety glasses, and sturdy, non-slip footwear. These aren't optional; they're your first line of defense against electrical shocks, accidental short circuits, and falling tools. Think of it as gearing up for battle – you wouldn't go in unarmed, would you?
Beyond PPE, having the right tools makes the job safer and more efficient. You'll need wire strippers, crimpers for various connector types (MC4 for solar, ring terminals for batteries), a multimeter for testing voltage and continuity, a reliable set of insulated screwdrivers, and a torque wrench to ensure all connections are tightened to specification. A good quality set of bolt cutters or heavy-duty wire cutters is also essential for cutting thick battery cables. Don't underestimate the importance of quality tools; trying to make do with subpar equipment can lead to frustration and, more importantly, unsafe connections.
Planning Your Wiring Layout and Disconnects
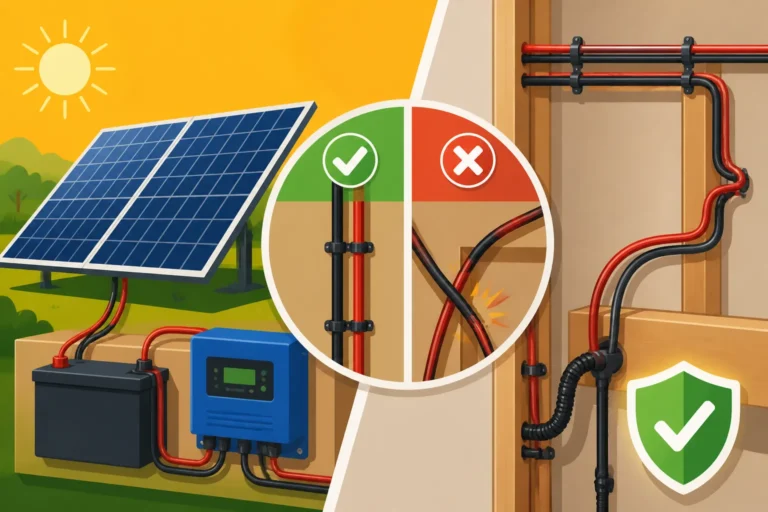
Before you start connecting anything, take the time to plan your wiring layout. Seriously, grab a pen and paper or use a digital tool. Sketch out where each component will be located – panels, charge controller, batteries, inverter, and any associated safety disconnects. Consider cable lengths, pathways, and accessibility for future maintenance. A well-planned layout minimizes cable runs, reduces voltage drop, and creates a clean, organized system that’s easier to troubleshoot.
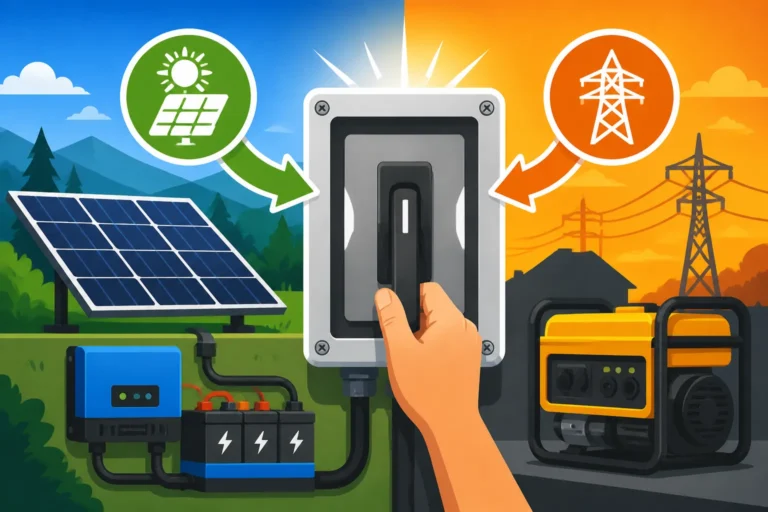
Equally important is installing appropriate disconnects. A DC disconnect switch between your solar panels and charge controller, and another between your charge controller and battery bank, allows you to safely isolate parts of your system for maintenance or in case of an emergency. Similarly, an AC disconnect between your inverter and your main AC panel (if you have one) is crucial. Fuses and circuit breakers are also non-negotiable for protecting your components and preventing fires from overcurrents. This foresight in planning saves immense headaches down the line and ensures you're building a reliable and safe system.
Connecting the Solar Panels to the Charge Controller
Now that you've got your safety gear on and a clear plan in mind, it's time for the first major wiring step: getting that beautiful sunlight energy from your panels to your charge controller. This is where the raw power generation begins.
Wiring Solar Panels in Series or Parallel
The way you connect your solar panels largely depends on your system's voltage requirements and the specifications of your charge controller. You'll typically connect panels in either series, parallel, or a combination of both (series-parallel).
- Series Wiring: This increases the voltage of your solar array while keeping the current the same. You connect the positive (+) terminal of one panel to the negative (-) terminal of the next, and so on. Imagine it like linking several garden hoses end-to-end to create a longer pipe – the water pressure increases, but the flow rate through the pipe remains the same. This method is often preferred for higher voltage systems (24V or 48V) because higher voltage allows for thinner wiring over longer distances, reducing voltage drop. However, if one panel in a series string is shaded or faulty, it can significantly reduce the output of the entire string.
- Parallel Wiring: This increases the current (amperage) of your solar array while keeping the voltage the same. You connect all positive terminals together and all negative terminals together. Think of it as having multiple hoses running side-by-side from the same faucet – you get more water flow at the same pressure. Parallel wiring is often used for 12V systems or to mitigate the effects of shading, as a shaded panel in a parallel array will only affect its own output, not the entire string. However, it requires thicker wiring to handle the increased current.
Many larger off-grid systems use a series-parallel combination to achieve both higher voltage and current. Your kit instructions will usually guide you, but understanding How to Wire Solar Panels in Series and How to Wire Solar Panels in Parallel is foundational.
Attaching MC4 Connectors and Cables
Most modern solar panels come equipped with MC4 connectors – those distinctive plastic connectors that click together securely. They are designed for outdoor use, providing a watertight and reliable connection. Your kit likely includes MC4 extension cables or bulk cable for you to cut and terminate.
When preparing your cables, ensure you use the correct gauge (thickness) for your panel array's voltage and current, as well as the length of the run. Undersized wires lead to voltage drop and energy loss. Carefully strip the insulation from the cable ends and use a dedicated MC4 crimping tool to attach the metal pins, then insert them into the plastic MC4 connector housings until they click into place. It’s crucial that these connections are solid and waterproof. After wiring your panels together in your chosen configuration, you'll run these main solar array cables (one positive, one negative) to your charge controller. Remember to always keep your solar panels covered or disconnected when working on them to prevent them from producing power during the wiring process, minimizing the risk of shock.
Wiring the Charge Controller to the Battery Bank
Once your solar panels are generating power, and you've decided on their configuration, the next crucial step is getting that regulated power safely into your energy storage system – your battery bank. This connection is directly facilitated by your charge controller.
Connecting the Charge Controller to Batteries
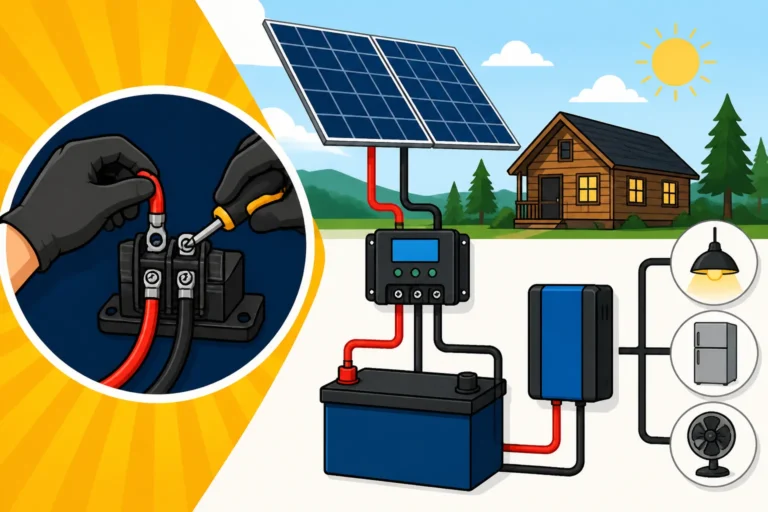
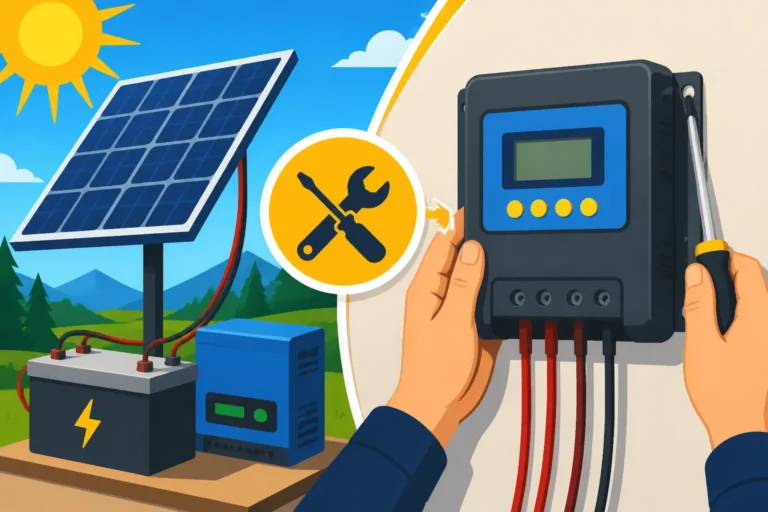
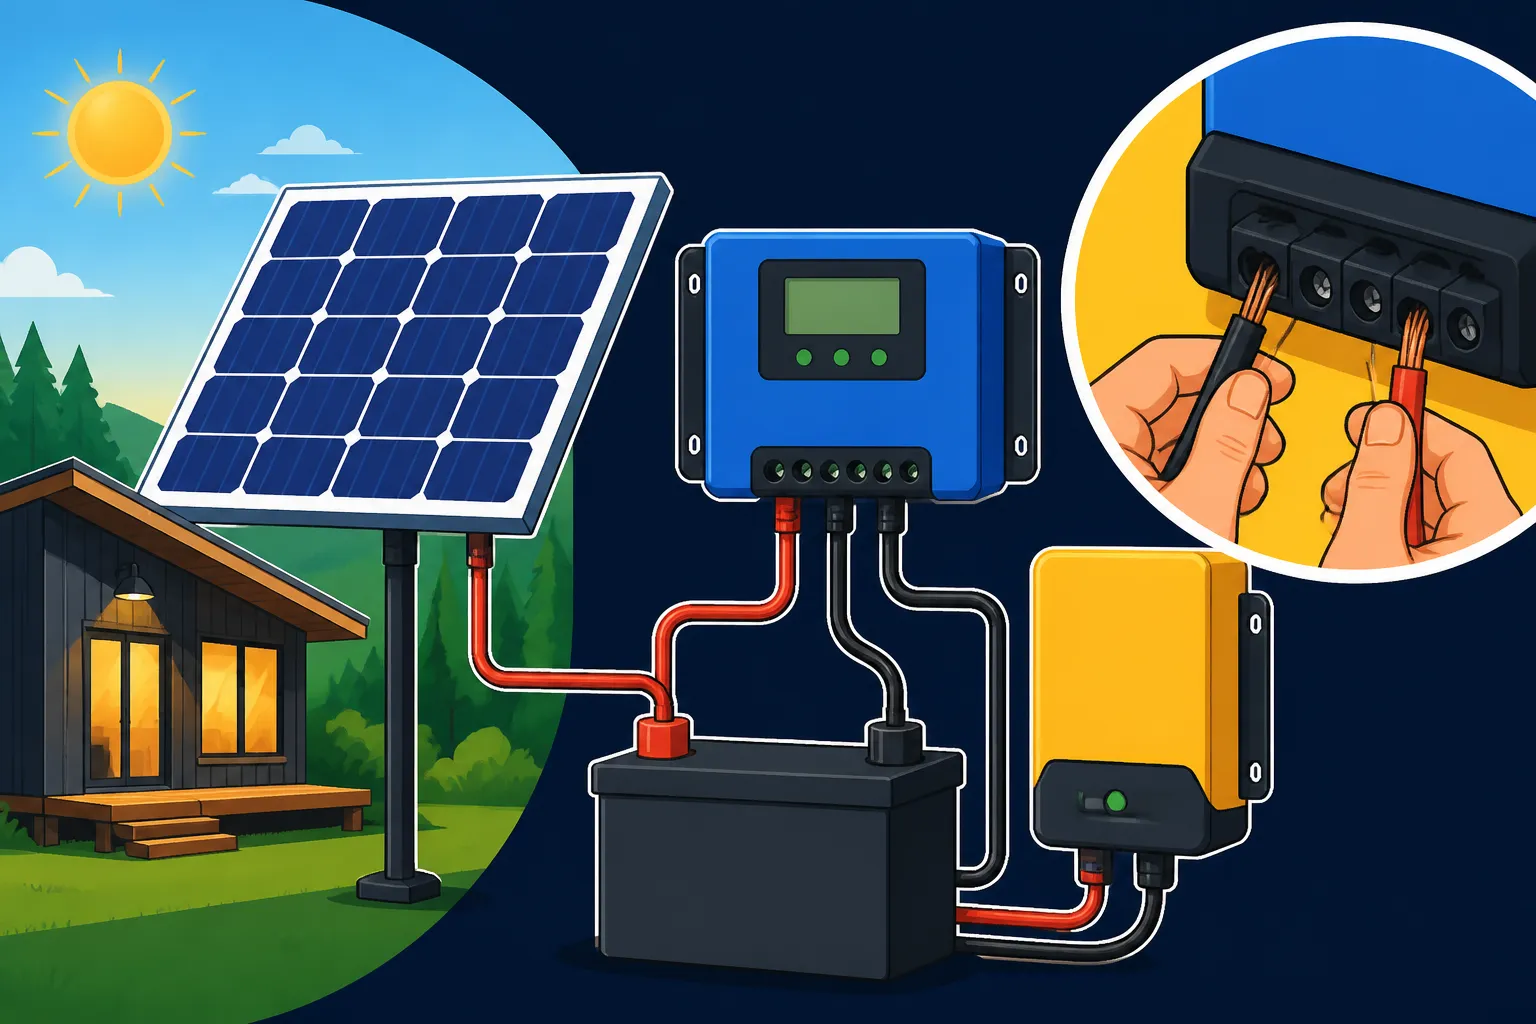
This is a critical connection point in your off-grid system, and it requires careful attention to polarity and proper sizing. The charge controller will have clearly labeled terminals for "BATTERY +" and "BATTERY -". You'll connect the positive output of your charge controller to the positive terminal of your battery bank and the negative output to the negative terminal.
Use appropriately sized battery cables for this connection – these are typically thicker than your solar panel cables because they carry higher current at a lower voltage (if you're using a 12V or 24V system). For example, a 100Ah 12V battery can output significant current, and the cables must be able to handle it without overheating. You'll typically use crimped ring terminals to connect to the battery posts and the charge controller's battery terminals. Ensure all connections are tight and secure. Loose connections can lead to resistance, heat, and potential system failure. This step also requires a fuse or circuit breaker installed very close to the battery's positive terminal to protect the wiring from the battery to the charge controller in case of a short circuit. For a detailed walkthrough of this, consult a guide on How to Connect a Charge Controller.
Configuring Your Battery Bank
Your off-grid solar kit might come with a single battery, or it might include multiple batteries intended to be wired together to form a larger bank. Just like solar panels, batteries can be wired in series, parallel, or a combination.
- Series Wiring for Batteries: Increases the voltage of your battery bank. For example, wiring two 12V batteries in series creates a 24V bank. This is done by connecting the positive terminal of one battery to the negative terminal of the next. The overall amp-hour capacity remains the same as a single battery.
- Parallel Wiring for Batteries: Increases the amp-hour capacity (and thus the total energy storage) while keeping the voltage the same. For example, wiring two 12V, 100Ah batteries in parallel creates a 12V, 200Ah bank. This is done by connecting all positive terminals together and all negative terminals together.
- Series-Parallel Wiring: A common approach for larger systems, combining the benefits of both to achieve a desired voltage and capacity. For example, two strings of two 12V batteries in series (creating two 24V strings), then wiring those two 24V strings in parallel, would result in a 24V battery bank with double the amp-hour capacity of a single 24V string.
Always use identical batteries (same voltage, same amp-hour rating, same age, and ideally, same brand) when wiring them together. Mismatched batteries can lead to imbalances, reduce the overall capacity, and shorten the lifespan of your entire battery bank. You can find more specific instructions on How to Wire a Battery Bank to ensure proper and safe configuration. Many kits, particularly from a vendor like Amazon, will recommend specific wiring diagrams depending on the battery type and system voltage.
Connecting the Battery Bank to the Inverter
With your batteries charged and ready to go, the next stage is to draw that stored DC power and transform it into the AC electricity that runs most of your home appliances. This is the inverter’s moment to shine.
Wiring the Inverter to the Battery Bank
The inverter is connected directly to your battery bank, as it needs to draw a significant amount of DC power. This connection is paramount, and it's where some of the heaviest gauge wiring in your system will be used due to the high currents involved, especially in 12V or 24V systems.
You will connect the positive terminal of your inverter to the positive terminal of your battery bank and the negative terminal of your inverter to the negative terminal of your battery bank. Again, observe strict polarity. It's absolutely critical to include a large DC fuse or circuit breaker on the positive cable, as close to the battery bank as possible. This fuse is there to protect the inverter and the cable itself from catastrophic damage in the event of a short circuit or overload. The size of this fuse will depend on the inverter's maximum surge current and the continuous current draw, so always refer to your inverter's manual for the correct rating. Choosing the right components is key, and understanding How to Connect an Inverter to Batteries correctly will ensure your system runs smoothly.
AC Output and Grounding the System
Once your inverter is securely connected to the battery bank, it’s ready to provide AC power. Many inverters come with standard AC outlets built-in, which is perfect for smaller, portable setups. For larger systems, you'll typically wire the AC output of your inverter into a dedicated subpanel or main electrical panel, distributing power to various circuits in your structure.
This AC output wiring should follow standard electrical codes, using insulated copper wire of appropriate gauge, run through conduit where required, and protected by AC circuit breakers. It's crucial to correctly ground your entire off-grid solar system. Proper grounding protects against electrical shock and lightning strikes. This involves connecting the grounding terminal on your inverter, charge controller, and any metal racking for your solar panels to a common ground point, typically a ground rod driven deep into the earth. Neglecting grounding is not only dangerous but can also prevent your safety devices from working correctly. Our guide on How to Ground an Off-Grid Solar System provides detailed steps to ensure this vital safety measure is implemented correctly.
Setting Up Your AC and DC Loads and Monitoring
You're almost there! With the core components connected, it's time to bring your appliances online and set up the tools to monitor your newfound power independence. This is where your off-grid dreams truly start to power your reality.
Connecting Your Appliances and Loads
Depending on the scale of your off-grid solar kit, you might have direct DC loads or solely AC loads through your inverter.
- DC Loads: For smaller kits or applications like RVs, you might have specific 12V DC appliances (LED lights, USB chargers, water pumps). These can be wired directly to a DC distribution panel connected to your battery bank (with appropriate fusing for each circuit). This avoids the inverter conversion loss, making these appliances more efficient.
- AC Loads: These are all the common household appliances we're familiar with. They connect to the AC output of your inverter. For larger setups, the inverter's AC output will typically feed a small breaker panel. From this panel, individual circuits run to outlets and hardwired appliances (like a refrigerator or microwave) throughout your living space. Each circuit needs to be protected by an appropriately sized AC circuit breaker. It's a good idea to perform a load analysis to ensure your inverter can handle the combined wattage of all your anticipated AC appliances.
Always remember that every connection needs to be secure, properly insulated, and fused/breakered to prevent overcurrent. Reviewing Off-Grid Solar Wiring Best Practices can help you ensure every connection is robust and reliable.
Installing a Battery Monitor and System Monitoring
Once everything is wired up and working, the work isn't quite over. To truly live off-grid successfully, you need to monitor your system's performance and battery state of charge. This is where a battery monitor becomes an indispensable tool.
A battery monitor, often consisting of a shunt and a display unit, provides crucial information like your battery's current voltage, real-time current draw or charge, and, most importantly, the accurate state of charge (remaining capacity) in percentage. This is far more reliable than simply looking at voltage, which can be misleading. Knowing exactly how much power you have left prevents deep discharges that can harm your batteries and allows you to manage your energy consumption effectively. Many modern charge controllers and inverters, especially from brands like Renogy, offer integrated monitoring capabilities that can often be accessed via a display or a smartphone app, providing real-time data on solar input, battery status, and inverter output.
Additionally, consider temperature sensors for your batteries, especially if you're using lead-acid types, as extreme temperatures can significantly impact their performance and lifespan. Some charge controllers will adjust charging parameters based on battery temperature, further optimizing performance. Regular monitoring allows you to spot potential issues early, troubleshoot problems, and make informed decisions about your energy usage.
Initial Startup and Testing Procedures
Once all wiring is complete and double-checked for continuity and polarity, it's time for the moment of truth: the initial startup. Always follow the specific startup sequence recommended by your component manufacturers, but a general sequence typically involves:
- Connecting the battery bank (ensuring all fuses are in place).
- Connecting the charge controller to the battery bank.
- Connecting the solar panels to the charge controller (uncovering them last).
- Turning on the inverter.
- Connecting any AC or DC loads.
After startup, use your multimeter to verify voltages at various points: at the solar panels, at the charge controller's battery terminals, and at the inverter's input. Check for any unexpected sounds, smells, or excessive heat. Gradually introduce loads, starting with small appliances, to ensure everything operates as expected. Don't be surprised if you encounter minor hiccups; troubleshooting is part of the off-grid journey. Review common issues and solutions, as outlined in guides like Common Off-Grid Wiring Mistakes, to swiftly address any challenges and ensure your system is running reliably and safely.
Troubleshooting Common Wiring Issues
Even with the best planning and careful execution, sometimes things don't quite go as planned. It's totally normal to encounter a snag or two when wiring an off-grid solar kit. The key is to approach troubleshooting systematically and safely, rather than panicking.
No Power or Intermittent Power
One of the most frustrating issues is a complete lack of power or power that mysteriously cuts in and out. If your system isn't producing or delivering power, start by checking the simplest things first:
- Loose Connections: Go back through every single terminal connection – panels, charge controller, batteries, inverter. A loose wire can cause high resistance, intermittent power, or simply no connection at all. Tighten everything down to spec.
- Fuses and Breakers: This is a common culprit. Check all your fuses (DC and AC) and ensure all circuit breakers are in the "on" position. A blown fuse indicates an overcurrent event, so investigate the cause before simply replacing it. If a breaker trips repeatedly, there's an underlying problem you need to address.
- Battery State of Charge: Is your battery bank actually charged? Your battery monitor is invaluable here. If batteries are deeply discharged, the inverter might shut off to protect them. Check your solar input to see if panels are charging effectively.
- Charge Controller Errors: Many modern charge controllers have diagnostic screens or indicator lights that can signal faults, such as over-voltage, reverse polarity, or low battery voltage. Consult your specific charge controller's manual for error codes.
Voltage Drop and Undersized Wiring
If your system is technically working but your appliances seem sluggish or your lights aren't as bright as they should be, you might be experiencing voltage drop. This happens when the wires connecting your components are too long or too thin (undersized) for the amount of current flowing through them.
Voltage drop leads to wasted energy (heat in the wires) and reduced performance from your appliances. For DC circuits, where voltage is typically lower and currents higher, this is a significant concern. To diagnose, measure the voltage at the source (e.g., battery terminals) and then at the load (e.g., at the inverter input terminals). A significant difference indicates voltage drop. The solution often involves shortening cable runs, using thicker gauge wire (lower AWG number), or in some cases, increasing your system's voltage (e.g., going from 12V to 24V or 48V). Always refer to wire sizing charts for your specific application and current needs.
Inverter Overload or Shutting Down
Your inverter is designed to convert DC to AC, but it has limits. If you're consistently experiencing the inverter shutting down or emitting error codes, it's likely due to an overload or an issue with its input power.
- Overload: This is when the total wattage of the AC appliances you're running exceeds the continuous rating of your inverter. The inverter will often shut down to protect itself. To troubleshoot, turn off all AC loads and restart the inverter. Then, add loads one by one until it trips, identifying the culprit. You might need to adjust your energy consumption habits or, in some cases, upgrade to a larger inverter.
- Low Battery Voltage: Inverters typically have a low voltage disconnect to prevent deep discharging of your batteries, which can cause irreversible damage. If your inverter is shutting down, check your battery monitor. If the voltage is low, you might need more solar panels, a larger battery bank, or better energy management.
- DC Input Issues: Ensure the DC voltage from your batteries is within the inverter's operating range. Check the heavy-gauge cables and fuses between the batteries and inverter for any signs of damage or loose connections that could impede power flow. Always ensure you understand What Size Inverter to Run A Refrigerator and other large appliances, matching your inverter's capacity to your needs.
By systematically working through these common issues, you'll gain a deeper understanding of your system and quickly get your off-grid power back on track.
Maintaining Your Off-Grid Solar Wiring
Wiring your off-grid solar kit is not a one-and-done deal. Like any electrical system, it requires periodic inspection and maintenance to ensure continued safety, efficiency, and longevity. Neglecting these checks can lead to degraded performance, reduced component lifespan, or even dangerous situations.
Regular Visual Inspections
Think of visual inspections as your first line of defense. At least once a year, or more frequently if you notice any performance drops, give your entire system a thorough once-over. This includes:
- Cable Integrity: Look for any signs of wear, fraying, cracking, or rodent damage on all cables, especially those exposed to the elements. UV degradation can affect outdoor cables over time, making them brittle.
- Connector Condition: Check MC4 connectors on your solar panels and ring terminals on your batteries and charge controller. Are they still tight? Is there any corrosion, discoloration, or signs of overheating (melted plastic)? Loose or corroded connections can cause resistance, leading to heat buildup and power loss.
- Component Housings: Inspect your charge controller, inverter, and battery housings for any physical damage, moisture ingress, or signs of pests. Ensure ventilation openings are clear and unobstructed.
- Panel Condition: Briefly check your solar panels for any cracks in the glass, delamination, or excessive debris buildup. While not strictly wiring, it impacts overall system efficiency.
Addressing minor issues like loose connections or early signs of cable wear proactively can prevent major problems down the road. Regularly referring to a guide like Off-Grid Solar Maintenance Guide can help you stay on top of these essential checks.
Testing Connections and Performance
Beyond visual checks, it's good practice to perform some basic electrical tests periodically to ensure everything is operating within expected parameters.
- Voltage Checks: Use your multimeter to verify voltages at key points – open-circuit voltage (Voc) of your solar panels (when disconnected), battery bank voltage, and inverter output voltage (AC). These values should align with your system design and component specifications.
- Tightness Checks: Using a properly calibrated torque wrench, re-check the tightness of all terminal connections, especially those on batteries, charge controllers, and inverters. Over time, vibrations or temperature fluctuations can cause connections to loosen, increasing resistance and generating heat.
- Grounding Continuity: Verify that your grounding connections are still solid. Use your multimeter's continuity setting to ensure there's a low-resistance path from metal enclosures and panel frames to your ground rod.
- Battery Health: For lead-acid batteries, check electrolyte levels (if applicable for flooded batteries) and perform specific gravity tests. For all battery types, monitor your battery monitor's data for any unusual discharge patterns or inability to hold a charge, which could signal battery degradation. Knowing when to look into Cost to Replace Off-Grid Solar Batteries is part of long-term planning.
These tests help ensure that your system isn't just "on" but is performing optimally and safely.
Upgrading and Expansion Considerations
As your off-grid lifestyle evolves, your energy needs might change. What started as a small kit for a weekend cabin might grow into powering a full-time homestead. A well-designed wiring scheme can accommodate future expansion.
- Planning for Scalability: When you initially wire your system, consider if you might want to add more solar panels or increase battery capacity down the line. Installing slightly oversized wiring and conduit, or leaving space for additional disconnects, can save you significant rework later. For instance, if you designed your initial array for parallel wiring and used sufficiently thick cables, adding more panels in parallel might be straightforward.
- Component Compatibility: When upgrading, ensure new components are compatible with your existing system's voltage and technology. For example, if you have an MPPT charge controller, adding panels that fall within its voltage and current limits is usually easy. However, if you plan a major upgrade, you might need to reconsider system voltage or replace core components like the charge controller or inverter.
- Professional Consultation: For significant expansions or complex additions, don't hesitate to consult with an experienced off-grid solar installer or electrician. They can help ensure your upgraded system remains safe, compliant, and optimized for your growing energy demands. This thoughtful approach to maintenance and future-proofing ensures your initial investment in an off-grid solar kit continues to serve you well for years to come.
| Component | Primary Function | Key Wiring Consideration | Safety Feature (Example) |
|---|---|---|---|
| Solar Panels | Convert sunlight into DC electricity | Series/Parallel wiring for desired voltage/current | MC4 connectors, Panel disconnect |
| Charge Controller | Regulate power from panels to batteries | Sized to panel array & battery voltage | DC input/output fuses, Temp sensor |
| Battery Bank | Store DC electricity | Series/Parallel for desired voltage/capacity | Battery disconnect, Main DC fuse |
| Inverter | Convert DC from batteries to AC for appliances | Sized to total AC load, connected directly to batteries | Inverter circuit breaker, AC output fuse |
| Wiring & Cables | Carry electricity between components | Proper gauge for current & length, secure connections | Conduit, Overcurrent protection |
Disclaimer
This guide provides general information about wiring an off-grid solar kit and is not a substitute for professional advice. Always consult your kit's specific instructions, local electrical codes, and a qualified electrician for installation. Working with electricity can be dangerous; proceed with caution and at your own risk.