How to Install an Off-Grid Transfer Switch
Navigating the world of off-grid living brings incredible freedom, but it also means taking on the responsibility for your power supply, especially when it comes to switching between your primary solar setup and a backup generator. It can be a real headache trying to figure out how to safely and efficiently transition between these power sources without risking damage to your system or, more importantly, your personal safety. This comprehensive guide is here to walk you through the essential steps for installing an off-grid transfer switch, ensuring your system operates smoothly and securely.
Understanding Off-Grid Transfer Switches
Living off the grid often means relying on a primary power source, like your beautiful solar array, but also having a backup plan for those cloudy days or periods of high demand. That backup usually comes in the form of a generator, whether it’s a small portable unit or a larger standby model. The crucial link between these two power producers and your home is the transfer switch. Without it, you’re not just inefficient; you’re inviting serious safety hazards.
What an Off-Grid Transfer Switch Does
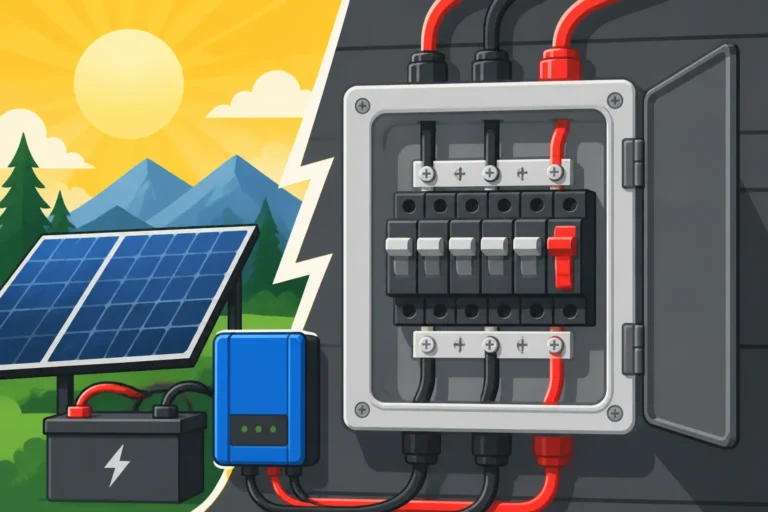
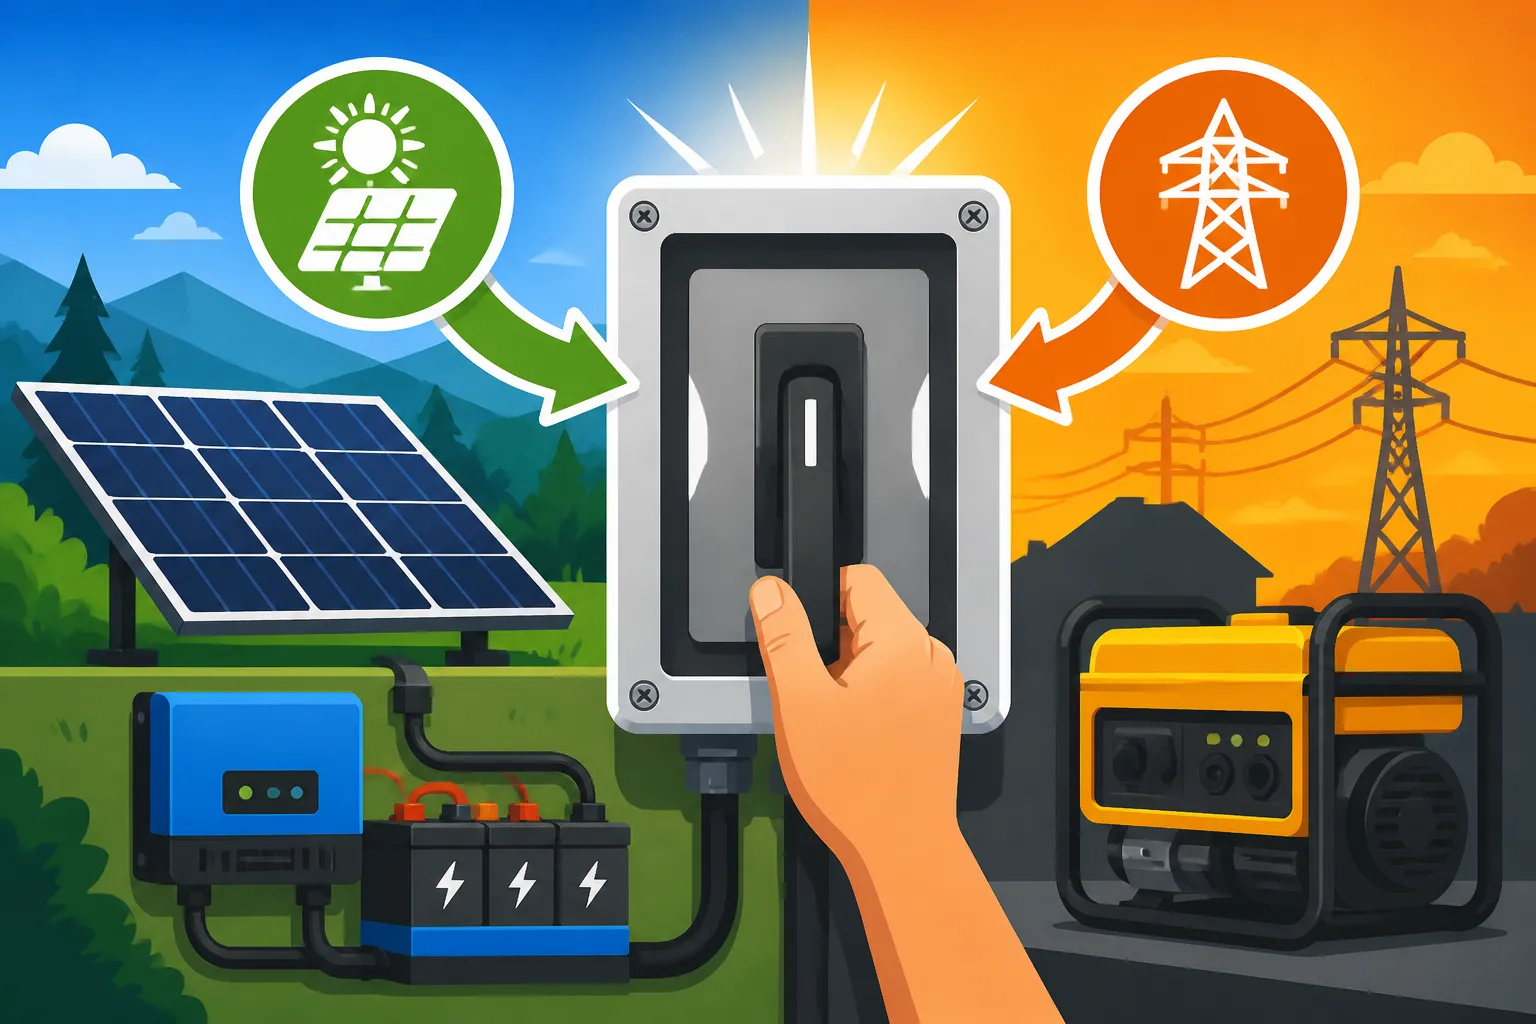
At its core, an off-grid transfer switch is a device that safely switches your electrical load from one power source to another. Think of it as a traffic cop for your electricity. When your solar battery bank is running low, or you need more power than your solar system can provide, you might fire up your generator. The transfer switch ensures that your home is connected *only* to either the solar inverter or the generator at any given time, never both simultaneously. This is paramount for preventing what’s known as “backfeeding.”
Backfeeding is incredibly dangerous. It means sending electricity from your generator back out onto your solar inverter’s input or, even worse, onto utility lines (though less likely in a true off-grid setup, it’s the same principle). This can cause severe damage to your solar equipment, pose an electrocution risk to anyone working on nearby power lines (if you were grid-tied, which you’re not, but the danger of crossing power sources remains), and create a fire hazard. A proper transfer switch acts as a mechanical or electrical interlock, physically separating the two power sources to guarantee safety and system integrity.
Types of Transfer Switches for Off-Grid Systems
When you’re looking into transfer switches for your off-grid setup, you’ll primarily encounter two types: manual and automatic. Each has its pros and cons, and the best choice for you will depend on your budget, comfort level with hands-on management, and desired level of convenience.
Manual transfer switches are exactly what they sound like. When your batteries get low, or your solar production isn’t cutting it, you’d manually go to the switch, flip a lever or turn a knob to disconnect from your inverter and connect to your generator. Then you’d start the generator. When the sun comes back out and your batteries are charged, you’d reverse the process. These are generally more affordable and simpler in design, making them a popular choice for smaller cabins, RVs, or those who enjoy the hands-on aspect of managing their power. You can often find solid options for smaller systems from brands like Renogy, available through retailers like Amazon, perfect for a hunting cabin or a shed.
Automatic transfer switches (ATS), on the other hand, handle the entire process without any intervention from you. These sophisticated devices monitor your inverter’s output or battery state of charge. When the power drops below a certain threshold, the ATS automatically disconnects your home from the solar system, sends a signal to start your generator, and then connects your home to the generator’s power. Once your solar system recovers (e.g., batteries are recharged), the ATS will switch back to solar power and shut down the generator. While more expensive and complex to install, an ATS offers unparalleled convenience and peace of mind, especially for full-time off-grid homes where constant monitoring isn’t practical or desired.
Why You Need One for Seamless Power
Beyond the critical safety aspect of preventing backfeeding, a transfer switch provides the operational flexibility and reliability that off-grid living demands. Imagine having to manually unplug critical appliances, then plug them into your generator, and then reverse the process every time you needed backup power. It’s not just tedious; it’s prone to error and can lead to power surges or interruptions that could damage sensitive electronics.
A transfer switch makes the transition smooth and, in the case of an ATS, completely automatic. This means your refrigerator keeps running, your lights stay on (with only a momentary flicker during the switchover), and your well pump continues to draw water. It’s about maintaining a consistent lifestyle, even when your primary solar source is temporarily insufficient. It’s an integral part of designing an off-grid solar system step by step that truly delivers reliable power, much like how you would plan for how to add a generator to your design safely and effectively.
Preparing for Transfer Switch Installation
Installing a transfer switch, whether manual or automatic, involves working with high voltage electricity. This is not a task to take lightly. Proper preparation is key, not only for a successful installation but, more importantly, for ensuring your safety and the longevity of your off-grid system. Don’t rush this part; careful planning now can save you a lot of trouble (and potential danger) down the road.
Safety First: Essential Precautions
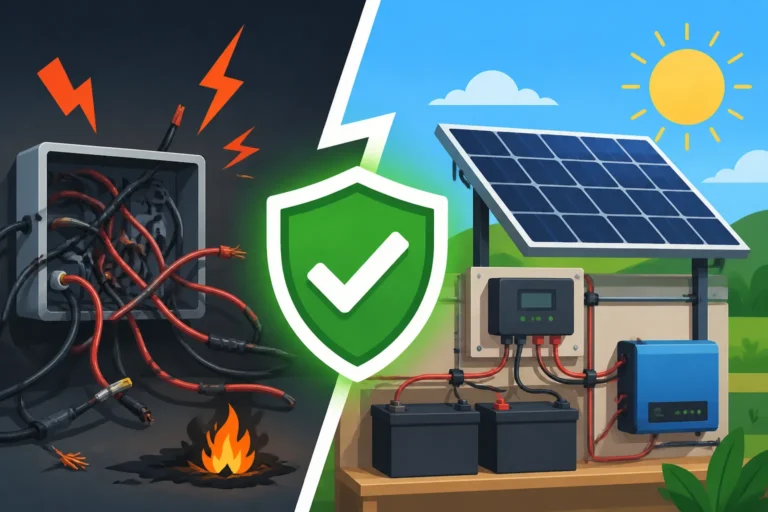
Before you even think about touching a wire, safety must be your absolute priority. Electrical work carries inherent risks, and neglecting precautions can have dire consequences. The first and most critical step is to completely de-energize your entire off-grid solar system. This means turning off your solar panels at the combiner box or disconnects, shutting down your inverter, and disconnecting your battery bank. If your battery bank has a main breaker, trip it. If not, carefully disconnect the positive terminal of your battery bank (wearing appropriate insulated gloves and using insulated tools) to ensure no power is flowing. You might want to refer to our guide on off-grid solar safety and grounding for more detailed steps.
Always assume wires are live until you’ve verified otherwise with a non-contact voltage tester. Wear appropriate personal protective equipment (PPE), including insulated gloves, safety glasses, and sturdy, non-conductive footwear. Keep a fire extinguisher (rated for electrical fires) nearby. It’s also wise to have someone else present who knows basic first aid and how to call for emergency services, just in case. If you’re unsure about any step, please, do not hesitate to consult or hire a qualified electrician. This isn’t the place to guess or cut corners.
Tools and Materials You’ll Need
Having the right tools and materials on hand will make the installation process much smoother and safer. Before you begin, gather everything you’ll need. This typically includes:
- **The Transfer Switch:** Manual or automatic, sized appropriately for your system’s amperage.
- **Wire Strippers and Cutters:** For preparing your electrical cables.
- **Screwdrivers:** Various types (Phillips, flathead) for terminal connections.
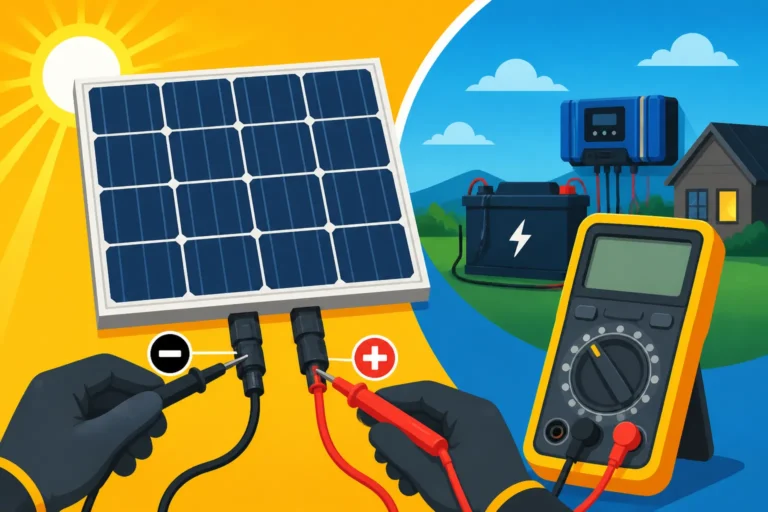
- **Multimeter or Voltage Tester:** Absolutely essential for verifying circuits are dead and testing connections.
- **Conduit and Fittings:** If you’re running wires through walls or exposed areas, conduit protects them.
- **Electrical Tape and Wire Nuts:** For securing connections.
- **Gloves and Safety Glasses:** Your essential PPE.
- **Breakers or Fuses:** For proper circuit protection on both the generator and inverter side.
- **Appropriate Gauged Wire:** Ensure your wire gauge matches the current rating of your generator, inverter, and transfer switch, typically found by following an off-grid solar wiring diagram explained specifically for your system.
When purchasing your transfer switch and other components, consider looking at reputable electrical supply stores or online marketplaces like Amazon, which often carry a wide range of options from various manufacturers. Brands like Renogy, while primarily known for solar panels and batteries, also offer some essential electrical components or complete kits that might include simpler transfer solutions suitable for smaller applications. Always double-check compatibility with your existing off-grid solar equipment explained.
Choosing the Right Location for Your Switch
The placement of your transfer switch is more important than you might think. It needs to be easily accessible for operation (especially if it’s a manual switch) and maintenance, but also protected from the elements if installed outdoors. Ideally, the transfer switch should be mounted near your main off-grid load center (breaker panel) or your inverter, as this is where the power from both sources will converge before being distributed throughout your property.
Consider the distance to your generator and your inverter. Shorter wire runs mean less voltage drop and less expense on heavy-gauge wiring. Ensure the location is dry, well-ventilated, and free from combustible materials. If you’re installing outdoors, the enclosure must be rated for outdoor use (e.g., NEMA 3R or 4X). Take into account the ambient temperature and humidity to ensure the switch operates reliably over time. Always leave enough clear space around the switch for safe access and future servicing, adhering to any local electrical codes or best practices, much like when you’re deciding how to mount off-grid solar panels.
Step-by-Step Installation Process
Now that you’ve got your safety gear on, your tools ready, and a chosen location, it’s time to tackle the actual installation. Remember, while I’m giving you a detailed walkthrough, every system is a little different. Always consult your specific transfer switch’s manual and your system’s wiring diagrams. If you’re ever in doubt, a professional electrician specializing in off-grid systems is your best friend.
Wiring the Generator Input
This is where you connect your backup generator to the transfer switch. First, ensure your generator is turned off and disconnected from any fuel source, and *definitely* not running. Locate the generator input terminals on your transfer switch. These will usually be clearly labeled “Generator Input” or “Utility Input” in some hybrid models. You’ll run appropriate gauge wire from your generator’s output (often through a dedicated generator plug or subpanel) to these terminals. This wiring needs to be protected by a breaker or fuse at the generator’s source, ensuring that the circuit is properly protected.
Typically, you’ll have a hot (or two hot wires for 240V systems), a neutral, and a ground wire coming from your generator. Connect the hot wire(s) to the corresponding generator hot terminals, the neutral wire to the neutral terminal, and the ground wire to the grounding lug within the transfer switch enclosure. Make sure all connections are tight and secure. Loose connections are a common cause of electrical issues and can generate heat. It’s a critical step that should be done meticulously, similar to how you would approach how to wire an off-grid solar system safely.
Connecting to Your Inverter/Battery Bank
Next, you’ll connect the output from your off-grid solar inverter to the transfer switch. Just like with the generator, make sure your inverter is completely shut down and disconnected from its battery bank. The inverter’s AC output will typically connect to the “Inverter Input” or “Main Power Input” terminals on the transfer switch. The same principles apply here: hot (or two hot wires for 240V), neutral, and ground.
The inverter output usually goes through its own breaker or fuse panel before reaching the transfer switch. This provides critical overcurrent protection for your inverter. Connect the hot wire(s) from your inverter’s output breaker to the designated inverter input terminals on the transfer switch. The neutral from your inverter output goes to the neutral bus bar in the transfer switch, and the ground goes to the grounding bar. This connection point essentially brings your solar power right up to the doorstep of your transfer switch, ready to be routed to your home. Understanding how to connect an inverter to batteries is a foundational skill before tackling this step.
Integrating with Your Load Center
With both your generator and inverter connected to the transfer switch, the final step is to connect the transfer switch’s “Load Output” to your main off-grid load center (your breaker panel). This is the part of your electrical system that distributes power to all the circuits in your home – your lights, outlets, appliances, etc. The transfer switch acts as the gateway, feeding power from whichever source is currently selected into your home’s electrical panel.
The load output from the transfer switch will have its own hot (or two hot wires), neutral, and ground. These wires will connect to the main breaker (or main lugs) of your off-grid load center. The neutral will connect to the neutral bus bar, and the ground to the grounding bus bar in your load center. Once this connection is made, your entire home’s electrical system will be ready to receive power from either your solar inverter or your generator, seamlessly switching between the two via the transfer switch. Always check that the amperage rating of your transfer switch is sufficient for your entire off-grid solar load calculation explained, including potential surge loads.
Testing and Verification
Once all your physical connections are made and tightened, it’s time for the critical testing phase. Do not skip this! First, visually inspect every connection. Are there any loose wires? Is all insulation intact? Are all grounds and neutrals correctly connected?
Before re-energizing your system, use your multimeter to perform continuity tests and resistance checks to ensure there are no short circuits. Once you’re confident in your wiring, it’s time to bring your system back online, one step at a time. Start by re-engaging your battery bank and turning on your inverter. Verify that power is flowing from your inverter to the “Inverter Input” side of the transfer switch using your voltage tester. Then, with the transfer switch set to the inverter position, confirm that power is reaching your main load center. Test a few circuits in your home (lights, outlets) to ensure they are receiving power.
Next, with the inverter still on and powering your home, start your generator. With the transfer switch still on the inverter setting, verify that no power from the generator is backfeeding into your home circuits. Then, and only then, operate the transfer switch to the generator position. The power to your home should switch over to the generator. Verify this with your voltage tester and by checking your home circuits again. Finally, switch back to your inverter, shut down the generator, and confirm everything returns to normal. This systematic approach ensures safety and functionality. For deeper checks, our guide on how to test an off-grid solar system can provide more insights.
Common Challenges and Troubleshooting
Even with careful planning, things can sometimes go awry during or after the installation of an off-grid transfer switch. It’s part of the learning curve, especially with complex electrical systems. Knowing what to look out for and how to approach common issues can save you a lot of frustration and potential system damage.
Voltage Mismatches and Overloads
One of the most frequent issues DIYers encounter is a voltage mismatch between their generator and inverter, or overloading the transfer switch itself. If your inverter outputs 120V AC, but your generator can provide both 120V and 240V, you need to ensure your transfer switch is designed to handle this, and that you’re connecting the correct voltage to the appropriate terminals. Connecting 240V where only 120V is expected can instantly damage your appliances and wiring.
Similarly, ensure the transfer switch’s amperage rating is sufficient for the maximum potential load your home could draw from either source. If your home has a 200-amp main panel, but you install a 100-amp transfer switch, you’re creating a bottleneck and a potential fire hazard. The transfer switch must be rated to safely carry the full current of your main service. If you’ve undertaken a significant project like learning how to install an off-grid inverter, you know the importance of matching component ratings. Always double-check the specifications of all your components, especially your inverter’s output and your generator’s capacity, and ensure they are compatible with the transfer switch.
Ensuring Proper Grounding
Proper grounding is non-negotiable for safety in any electrical system, and off-grid solar with a generator backup is no exception. A transfer switch itself needs to be properly grounded to your system’s main grounding electrode system. This typically means a dedicated ground wire from the transfer switch’s grounding lug connecting to your main grounding bar, which is then connected to a ground rod or other approved grounding electrode.
The challenge in off-grid systems, especially with generators, is ensuring that only one point acts as the main bonding jumper (where neutral and ground are bonded). In many generators, the neutral and ground are bonded internally. When connecting a generator to an off-grid transfer switch, you typically need to ensure that the neutral is only bonded to the ground *once* in the entire system – usually at your main service panel or your inverter (if it’s the main source). If your generator bonds neutral and ground internally, and your inverter or main panel also bonds them, you create a “ground loop” or multiple neutral-ground bonds, which can lead to nuisance trips, equipment damage, and serious safety hazards. Consult your generator’s manual for instructions on floating the neutral, if necessary, or seek expert advice on how to ground an off-grid solar system with multiple sources.
When to Call a Professional
While DIY off-grid projects can be incredibly rewarding, there are times when it’s just plain smart to call in a professional. Installing an off-grid transfer switch is definitely one of those times if you’re not entirely confident in your electrical skills. Here are some scenarios where a pro is highly recommended:
- **Lack of Experience:** If you’ve never done electrical wiring before, or feel uneasy about working with high voltage, don’t risk it.
- **Complex Systems:** If you have a large off-grid home with multiple subpanels, a sophisticated inverter charger, or specific requirements for generator auto-start, a professional can ensure proper integration.
- **Permit Requirements:** Some jurisdictions require permits and inspections for electrical work, even off-grid. A licensed electrician can ensure your installation meets all local off-grid solar permit requirements and codes.
- **Troubleshooting Persistent Issues:** If you’ve installed the switch but are experiencing continuous problems like intermittent power, tripped breakers, or strange noises, a professional can diagnose and fix the issue safely. Remember, the cost of a professional for a few hours of work is often far less than the cost of damaged equipment, injury, or potential fire.
Comparing Manual vs. Automatic Transfer Switches
To help you decide which type of transfer switch is best for your off-grid setup, here’s a quick comparison:
| Feature | Manual Transfer Switch | Automatic Transfer Switch (ATS) |
|---|---|---|
| Operation | Requires manual intervention to switch power sources | Automatically detects power loss/recovery and switches |
| Cost | Generally less expensive (typically $100 – $500) | More expensive (typically $500 – $3,000+) |
| Complexity | Simpler wiring, fewer components | More complex wiring, integrated control logic, generator auto-start |
| Convenience | Low; requires physical presence and action | High; completely hands-off operation |
| Setup Time | Faster for basic models | Slower due to advanced features and generator integration |
| Ideal For | Small cabins, RVs, occasional generator use, budget-conscious users | Full-time off-grid homes, critical loads, remote monitoring, convenience-seekers |
| Generator Start | Manual start required | Automatic start signal sent to generator |
Disclaimer
The information provided in this guide is for general informational purposes only and does not constitute professional electrical advice. Working with electricity can be dangerous and should only be performed by qualified individuals. Always consult local codes and a licensed electrician for specific installation requirements and safety guidelines. The author and publisher are not liable for any injury or damage resulting from the use of this information.