How to Plan Your Off-Grid Installation
Feeling overwhelmed by the sheer thought of going off-grid with solar? You're not alone. Many folks dream of energy independence but get bogged down by the initial planning stages, wondering where to even begin with panels, batteries, and wires. This comprehensive guide is designed to cut through that confusion, walking you through every crucial step of planning your off-grid solar installation, ensuring you build a system that perfectly suits your needs and budget without the usual headaches.
Understanding Your Energy Needs and Site Evaluation
Before you even think about buying a single solar panel, the most critical step in planning your off-grid installation is to intimately understand your energy consumption and the unique characteristics of your chosen site. Skipping this phase is like trying to bake a cake without knowing the ingredients – it's a recipe for disaster and wasted money.
Conducting a Detailed Load Analysis
This is where the rubber meets the road. A load analysis is essentially a meticulous inventory of every electrical device you plan to power, how much electricity each one consumes (in watts), and for how long each day (in hours). It's not enough to just say "I need to run a fridge." You need to know if it's an energy-efficient DC fridge that sips power or an older AC model that guzzles it, and precisely how many hours it runs in a 24-hour cycle.
Start by listing every single appliance, light, and electronic gadget. For each item, find its wattage – it's usually on a sticker or in the user manual. If you can't find it, consider using a kill-a-watt meter (easily found on Amazon) to measure actual consumption over a few days for typical usage patterns. Multiply the wattage by the average daily run time to get its daily watt-hour (Wh) consumption. Sum these up, and you'll have your total daily energy requirement in watt-hours. Don't forget to account for seasonal variations; for instance, you might run an air conditioner more in summer or a space heater in winter. This detailed accounting is the foundation for properly sizing your entire system, and you can dive deeper into the specifics with our guide on How to Calculate Daily Energy Usage.
Consider hypothetical scenarios. Are you planning on working from your remote cabin full-time, running a powerful desktop computer and multiple monitors eight hours a day? Or is it a weekend retreat where a few LED lights and phone charging are the main demands? Perhaps you're outfitting a food truck with refrigeration and cooking equipment. Each scenario has vastly different power needs, and accurately projecting them now will save you from either an undersized, constantly struggling system or an oversized, unnecessarily expensive one.
Assessing Your Site's Solar Potential
Once you know how much power you need, you need to figure out how much power your location can realistically provide. This involves a thorough evaluation of your site's solar potential. The sun is your fuel source, so understanding its availability is paramount.
First and foremost, observe the path of the sun throughout the day and across different seasons. Are there any trees, buildings, or geographical features that cast shadows on your potential solar panel location? Even a small shadow on one part of a panel can significantly reduce the output of an entire array. Ideally, your panels should be facing true south (in the Northern Hemisphere) or true north (in the Southern Hemisphere) at an angle optimized for your latitude and seasonal usage. You might even consider adjustable mounts to change the tilt angle for winter and summer sun.
Next, research the "peak sun hours" for your specific location. This isn't just about how many hours the sun is visible, but how many hours of effective full-strength sunlight your area receives per day, averaged throughout the year or by season. Websites like the National Renewable Energy Laboratory (NREL) provide excellent data. This crucial metric helps determine how many solar panels you'll need to generate your required daily watt-hours. Understanding Peak Sun Hours Explained will give you a significant advantage in this part of the planning. Without an accurate assessment of your site's solar insolation, you might grossly miscalculate the size of your solar array, leading to power shortages on cloudy days or during shorter winter daylight hours.
Designing Your Off-Grid Solar System Architecture
With your energy needs quantified and your site's solar potential understood, it's time to translate that data into a functional system design. This involves selecting the right components and configuring them to work together seamlessly and efficiently.
Sizing Your Core Components
Each component plays a vital role, and they all need to be appropriately sized relative to each other and your overall energy demands. Think of it like building a well-oiled machine; if one part is too weak or too strong, the whole system suffers.
-
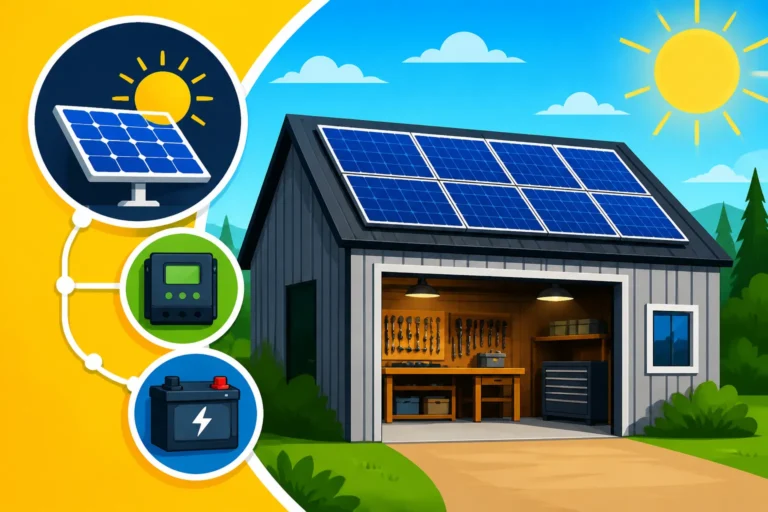
Solar Panels: Based on your daily watt-hour needs and your site's peak sun hours, you can calculate the total wattage of solar panels required. It's often wise to slightly oversize your array, especially if you anticipate future expansion or live in a region with frequent cloudy days. For instance, if you need 5000 Wh per day and get 5 peak sun hours, you'll need a 1000W array (5000 Wh / 5h). This initial calculation can then be refined to account for efficiency losses and desired buffer. Learning How Many Solar Panels for Off-Grid Living will guide you through this process. You'll find a wide variety of monocrystalline and polycrystalline panels on the market, with brands like Renogy offering reliable options for various budgets and applications.
-
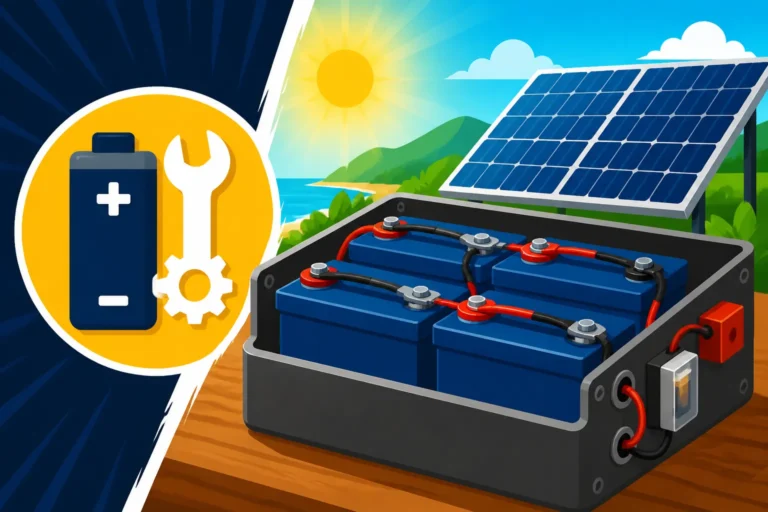
Battery Bank: Your batteries are the heart of your off-grid system, storing the energy generated by your panels for use when the sun isn't shining. The key metric here is "days of autonomy" – how many days your system can run solely on battery power without any solar input. For a critical system, you might aim for 3-5 days of autonomy. You'll also need to consider battery chemistry, with LiFePO4 (lithium iron phosphate) batteries becoming increasingly popular for their longer lifespan, higher efficiency, and deeper discharge capabilities compared to traditional lead-acid batteries. Calculate your total daily watt-hour needs, multiply by your desired days of autonomy, and then divide by your chosen battery voltage to get the required amp-hours. Our guide on How Many Batteries for an Off-Grid System can offer more precise calculations.
-
Inverter: The inverter converts the DC (direct current) power from your batteries into usable AC (alternating current) power for your household appliances. The inverter's continuous wattage rating must be greater than the sum of all AC loads you anticipate running simultaneously. Crucially, you also need to account for "surge wattage" – the brief, higher power draw many appliances (like refrigerators, well pumps, or power tools) require when they first start up. Choose a pure sine wave inverter to ensure compatibility with all your electronics and appliances. A modified sine wave inverter, while cheaper, can damage sensitive electronics. For a deeper understanding, check out How to Size an Off-Grid Inverter.
-
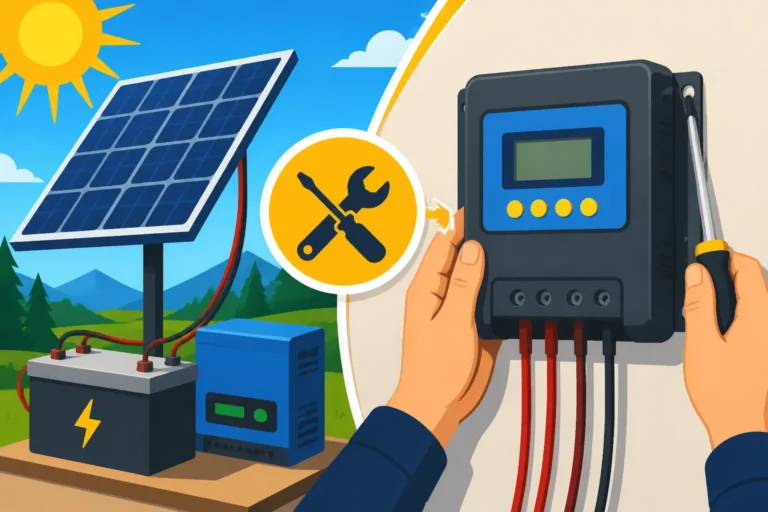
Charge Controller: This essential device regulates the voltage and current coming from your solar panels to your battery bank, preventing overcharging and optimizing the charging process. There are two main types: PWM (Pulse Width Modulation) and MPPT (Maximum Power Point Tracking). MPPT controllers are more efficient, especially in colder weather or low-light conditions, typically yielding 10-30% more power than PWM controllers. Match your charge controller's voltage and current ratings to your solar array and battery bank. You can learn more about How to Size a Charge Controller for your specific setup.
Choosing System Voltage and Wiring Strategy
Deciding on your system voltage (12V, 24V, or 48V) is a foundational decision that impacts everything from wire gauge to inverter selection. Generally, larger systems benefit from higher voltages (24V or 48V) because they allow for smaller wire gauges, reducing voltage drop and material costs over longer distances. Smaller systems, like those for an RV or small cabin, might be perfectly fine with a 12V setup. Our resource on 12V vs 24V vs 48V: Which to Choose can help you make an informed decision.
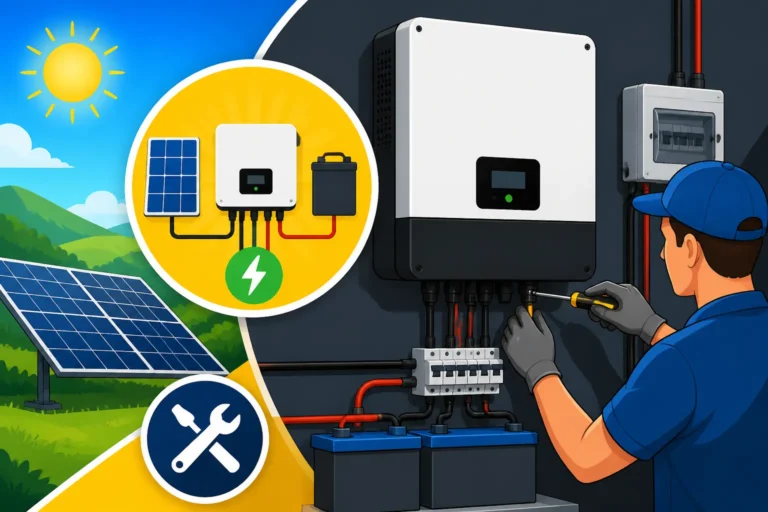
Your wiring strategy involves how you connect your solar panels and batteries. Panels can be wired in series to increase voltage, in parallel to increase amperage, or a combination of both (series-parallel) for larger arrays. Batteries are similarly wired to achieve the desired voltage and capacity. This is a critical area where safety and efficiency converge. Improper wiring can lead to dangerous conditions, system inefficiencies, or component damage. Always use appropriate wire gauges, fuses, and circuit breakers to protect your system from overcurrents and short circuits. Understanding How to Size Wire and Cables is crucial for both performance and safety in your off-grid setup.
Navigating Logistics, Permitting, and Budgeting
Once the design is solid, the practicalities of acquiring components, navigating regulations, and managing finances come into play. These steps, while less glamorous than system design, are absolutely vital for a successful and compliant installation.
Sourcing Equipment and Planning Delivery
With your component list in hand, it's time to start shopping. You have a few options: purchasing a complete off-grid solar kit or buying individual components. Kits, often available from reputable brands like Renogy or through marketplaces like Amazon, can be a great starting point for beginners or for smaller, simpler systems, as they typically include panels, a charge controller, an inverter, and necessary cables. However, they might not perfectly match highly customized needs. For larger or more specific systems, buying individual components allows for greater flexibility and optimization.
Regardless of your purchasing strategy, think about logistics. Solar panels are large and fragile, batteries are heavy and sometimes hazardous. Plan for delivery to your remote site. Do you have a suitable place to store them safely until installation? Are there specific freight delivery requirements? Factor in lead times, especially for specialized equipment, as supply chain issues can cause delays. Always inspect all components immediately upon arrival for any shipping damage or missing parts before signing off on the delivery.
Understanding Permits, Codes, and Inspections
This is often the part that sends shivers down an off-gridder's spine, but it's essential. Even if you're not connecting to the utility grid, many jurisdictions still require permits for solar installations, especially if they're attached to a permanent structure. Building codes, particularly the National Electrical Code (NEC), contain specific requirements for solar PV systems to ensure safety. These codes dictate everything from wire sizing and overcurrent protection to grounding and disconnect switches.
Failing to obtain necessary permits or adhere to codes can lead to fines, forced system removal, or even make your property unsellable in the future. Check with your local county or municipal planning and building departments early in your planning process. They can inform you about specific local requirements, necessary inspections, and approved installation methods. While navigating these regulations can feel daunting, it's an investment in the safety and legality of your system. Our article on Off-Grid Solar Permits and Codes can help you understand the common regulations you might encounter. If you're unsure about the electrical specifics, consulting with a licensed electrician or an experienced solar installer is always a wise decision.
Crafting a Realistic Budget and Timeline
Going off-grid is an investment, and a well-structured budget is crucial. Your budget should account for more than just the main components. Consider:
- Major Components: Panels, batteries, inverter, charge controller, mounting hardware.
- Balance of System (BOS) Components: Wiring, fuses, breakers, disconnects, combiner boxes, conduit, grounding equipment.
- Installation Costs: If hiring professionals, this can be a significant chunk. For DIY, factor in tool rentals or purchases.
- Permitting Fees: Varies by location.
- Contingency Fund: Always add 10-20% for unexpected costs or design changes.
- Ongoing Maintenance: Battery replacement (especially lead-acid), cleaning, monitoring equipment.
| Component Category | Small System (e.g., RV/Tiny Cabin) | Medium System (e.g., Small Home/Cabin) | Large System (e.g., Full-Size Home/Homestead) |
|---|---|---|---|
| Solar Panels | $500 – $1,500 | $1,500 – $5,000 | $5,000 – $15,000+ |
| Battery Bank | $800 – $2,500 | $2,500 – $8,000 | $8,000 – $30,000+ |
| Inverter | $200 – $800 | $800 – $3,000 | $3,000 – $10,000+ |
| Charge Controller | $100 – $400 | $400 – $1,000 | $1,000 – $2,500+ |
| Mounting Hardware | $100 – $500 | $500 – $2,000 | $1,000 – $5,000+ |
| Wiring & Safety | $100 – $300 | $300 – $800 | $800 – $2,000+ |
| Total DIY Est. | $1,800 – $6,000 | $8,000 – $20,000 | $18,000 – $64,500+ |
| Add 20% for Pro Install | $360 – $1,200 | $1,600 – $4,000 | $3,600 – $12,900+ |
Note: These are rough estimates and can vary wildly based on brands, quality, location, and specific system requirements.
Developing a realistic timeline also prevents frustration. Off-grid solar installations, especially for whole homes, are not weekend projects. Break down the process into phases: research and design, permitting, equipment sourcing, site preparation, actual installation (panels, then batteries, then inverter, then wiring), and finally, testing and commissioning. Some folks choose to How to Phase an Off-Grid Solar Build to Spread Cost over several months or even years, especially if budget is a constraint. Factor in weather delays and unforeseen challenges. Our comprehensive guide on How to Budget for an Off-Grid Solar System will help you refine your financial planning even further.
Setting Up for a Smooth Installation
The planning is done, the components are ordered, and permits are in hand. Now, it's time to prepare for the physical work. Proper preparation at this stage will save you immense time, effort, and potential headaches during the actual installation.
Preparing Your Site for Installation
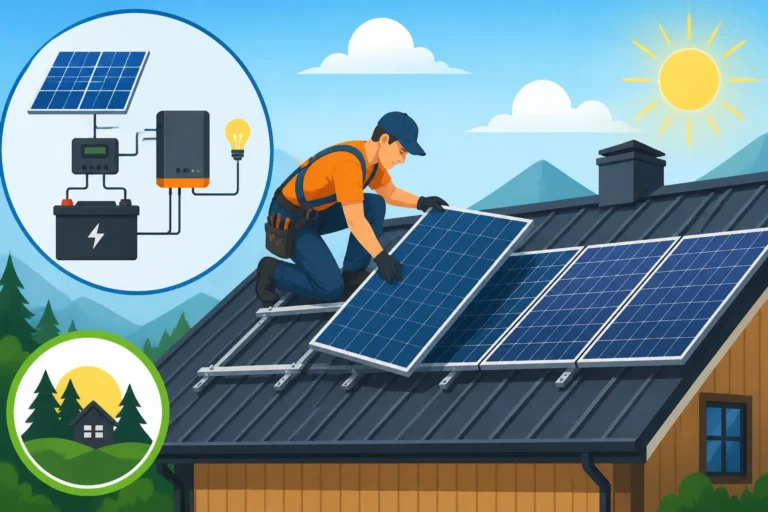
Before any equipment arrives, ensure your installation site is ready. If you're doing a ground mount, this might involve clearing vegetation, leveling the ground, and pouring concrete footings or assembling a robust base. For roof mounts, ensure your roof structure is sound and can handle the added weight and wind load of the panels.
Think about access. Can a delivery truck reach your desired storage location? Do you have a safe, dry, and secure place to store sensitive electronic components (inverter, charge controller) and heavy batteries? For lead-acid batteries, ensure the storage area is well-ventilated to prevent the buildup of hydrogen gas. Having a clear, organized workspace will make the installation process much more efficient and safer. Consider temporary power for tools during the installation if your primary power source isn't yet operational.
Organizing Tools and Materials
There's nothing more frustrating than being in the middle of a critical wiring step and realizing you're missing a specific tool or a connector. Before starting, gather all the necessary tools. This will typically include:
- Standard hand tools: wrenches, screwdrivers, pliers, wire strippers, crimpers.
- Electrical tools: a high-quality multimeter for testing voltage and continuity, a circuit tester.
- Safety equipment: insulated gloves, safety glasses, hard hat, appropriate footwear.
- Specialized tools: MC4 crimping tool for solar connectors, torque wrench for proper terminal tightening, possibly a hole saw or conduit bender.
Beyond tools, make sure all your materials are accounted for and organized. This includes all the "balance of system" components like fuses, breakers, disconnect switches, appropriately sized wire, conduit, and connectors. Double-check your bill of materials against what you've received. It's often helpful to lay out components and group them by where they will be installed. If you're installing a Renogy kit, for instance, make sure every piece listed in their manual is present and accounted for.
Safety First: A Non-Negotiable Step
Installing an off-grid solar system involves significant electrical hazards, working at heights, and heavy lifting. Safety must be your absolute top priority. Never underestimate the power of electricity, even DC.
Always assume wires are live and follow lockout/tagout procedures if applicable. Ensure your system is properly grounded to protect against electrical surges and faults – our guide on Off-Grid Solar Safety and Grounding covers this in detail. When working on roofs or elevated structures, use proper fall protection. Wear insulated gloves and eye protection when handling batteries or working with electrical connections. Lifting heavy batteries requires proper technique or assistance to prevent injury. If you're ever unsure about a step, stop and consult an expert or refer to detailed installation manuals. There's no shame in asking for help; your safety and the longevity of your system depend on it.
Disclaimer
The information provided in this guide is for general informational purposes only and does not constitute professional advice. Off-grid solar installations involve complex electrical systems and potential hazards. Always consult with qualified professionals, adhere to local building codes and regulations, and prioritize safety when planning and installing your system.