Off-Grid Solar Installation Timeline
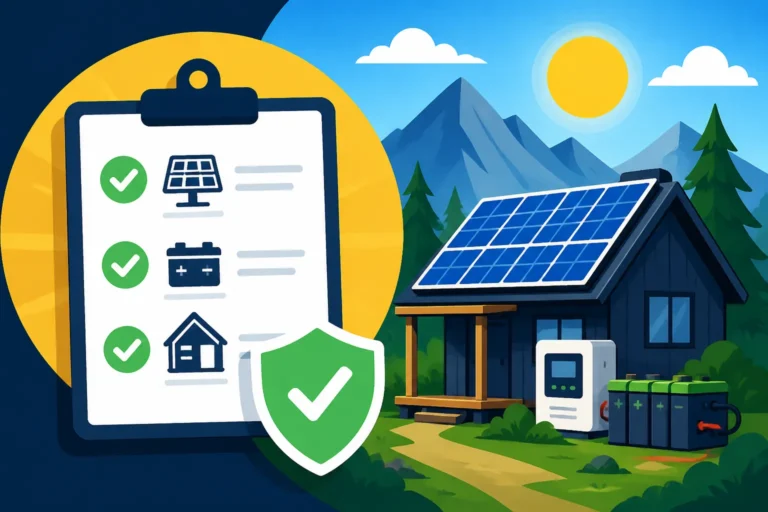
Embarking on the journey to power your life off the grid with solar is incredibly exciting, but the sheer thought of how long the entire process will take can feel a bit overwhelming. Many folks dive in with visions of quick installations, only to hit snags they never anticipated, leaving them feeling frustrated and behind schedule. This comprehensive guide is here to demystify the off-grid solar installation timeline, breaking down each phase so you know exactly what to expect, from initial daydreaming to flipping that final switch.
Phase 1: Planning and Preparation (Laying the Groundwork for Success)
This is arguably the most crucial phase, and often, the one people underestimate the most when it comes to time commitment. You might think you can just buy some panels and slap them on, but true off-grid independence requires meticulous planning. Skimping here almost always leads to headaches and extra costs down the road.
Understanding Your Energy Needs and System Design
Before you even think about buying a single component, you need a crystal-clear picture of your energy consumption. This means doing a detailed load analysis, listing every appliance, light, and electronic device you plan to run, along with how many watts they draw and for how long each day. It's not just about the big things like refrigerators or well pumps; it's also about your phone chargers, your coffee maker, and even those little phantom loads. This process alone can take a week or two as you diligently track your usage or research appliance specs.
Once you have your load analysis, you can begin to design your system. This involves calculating how many solar panels you'll need to generate enough power, how large your battery bank should be to store that power (especially for cloudy days or nighttime use), and what size inverter you'll require to convert DC power to AC for your household appliances. There are many fantastic online resources and calculators, but going through the "How to Size an Off-Grid Solar System" and "How to Calculate Off-Grid Solar Needs" guides can be a real game-changer here. Many DIYers spend anywhere from 2 weeks to 2 months on this iterative design process, adjusting components to fit budgets and energy goals.
Budgeting and Component Sourcing
With a preliminary system design in hand, you'll need to figure out your budget. Off-grid solar isn't a small investment, and costs can vary wildly depending on system size and component quality. Researching the "How Much Does an Off-Grid Solar System Cost" can give you a realistic idea. This involves getting quotes for major components like solar panels, batteries, inverters, and charge controllers. You'll want to compare different brands and suppliers. Some folks find great deals on platforms like Amazon for smaller components or even full kits from reputable brands like Renogy.
This phase also involves deciding between a complete off-grid solar kit or piecing together individual components. Kits can save you design time but might not be perfectly tailored to your unique needs, whereas individual components offer ultimate customization but require more research. Factor in shipping costs, potential tariffs, and lead times, especially for specialized equipment. Budgeting and sourcing can easily add another 2-4 weeks to your timeline.
Permits, Regulations, and Site Assessment
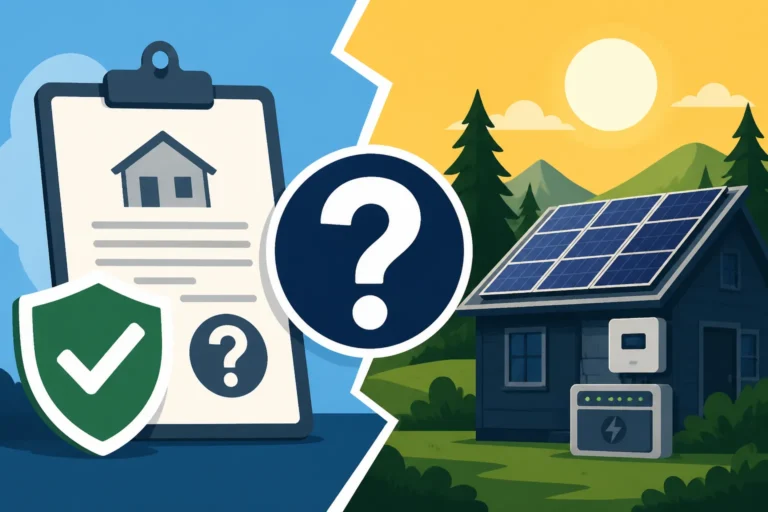
Ah, the paperwork! This is where things can get tricky and often extend the timeline unexpectedly. While going off-grid might feel like you're escaping the system, most jurisdictions still require permits for electrical and structural work, even if you're not connected to the grid. Failing to get the necessary "Off-Grid Solar Permits and Codes" can lead to fines, forced system removal, or difficulties with insurance or selling your property later. Researching your local building department's requirements, drawing up detailed plans, and submitting applications can take anywhere from 1 month to 6 months or more, depending on how fast your local authorities process permits and how complex your system is. Some rural areas might be more lenient, but it's always best to check.
Simultaneously, you'll need to conduct a thorough site assessment. This includes evaluating sun exposure throughout the year, identifying potential shading issues (trees, other buildings), determining the best location for your solar array (roof vs. ground mount), and planning the placement of your battery bank, inverter, and other electrical components. Access for delivery and installation equipment also needs to be considered. This site assessment can take a few days to a week, but its implications inform the design and permit drawings for months.
Phase 2: Component Acquisition and Site Preparation (Getting Ready for the Build)
Once your plans are approved and your budget is set, it's time to bring all those carefully selected components to your property and get the site ready.
Ordering and Receiving Components
This step sounds straightforward, but logistics can be a beast. Large items like solar panels and batteries aren't always quick-ship items. Depending on the supplier and your location, shipping can take anywhere from 1 week to 4 weeks or even longer for specialized equipment or if there are supply chain delays. You'll need to coordinate delivery, ensure you have a safe place to store everything, and be ready to inspect items for damage upon arrival. It’s always a good idea to confirm delivery schedules and make sure you’ll be available. Companies like Battle Born Batteries or Victron Energy, for example, have excellent reputations for product quality, but their larger components still need careful handling and sometimes specialized freight.
Receiving everything can be a big moment, but it's also a point where you might discover missing parts or damaged goods. Account for potential reordering and reshipping times in your overall schedule.
Site Clearing and Foundation Work
While your components are en route, you can get started on preparing the physical site for installation. If you're doing a ground mount, this means clearing vegetation, leveling the ground, and pouring concrete foundations for your solar panel racking system. For roof mounts, it might involve reinforcing roof trusses or performing repairs to ensure the structure can handle the additional weight and wind load. You'll also need to plan for trenching if your panels are far from your power shed or main building, to run conduit and cables safely underground.
This stage is heavily dependent on the complexity of your site and the size of your system. A simple shed setup might only take a few days, while a large ground-mounted array on uneven terrain could take 1-3 weeks to prepare properly. Don't rush this; a solid foundation is essential for the longevity and safety of your system.
Phase 3: Installation and Wiring (Bringing Your System to Life)
This is where the magic really starts to happen, as you see your plans take physical form. This phase is often the most physically demanding but also the most rewarding.
Mounting Solar Panels and Racking
With your foundations or roof prepped, you can install the racking system for your solar panels. This involves assembling frames for ground mounts or securing rails to your roof. Once the racking is in place, the solar panels themselves are installed and secured. Depending on the size of your array and whether you're working alone or with a team, mounting the panels can take anywhere from 2 days to 1 week. Remember, panels can be heavy and awkward, so safety is paramount. Ensure you have the right tools and possibly some extra hands for lifting.
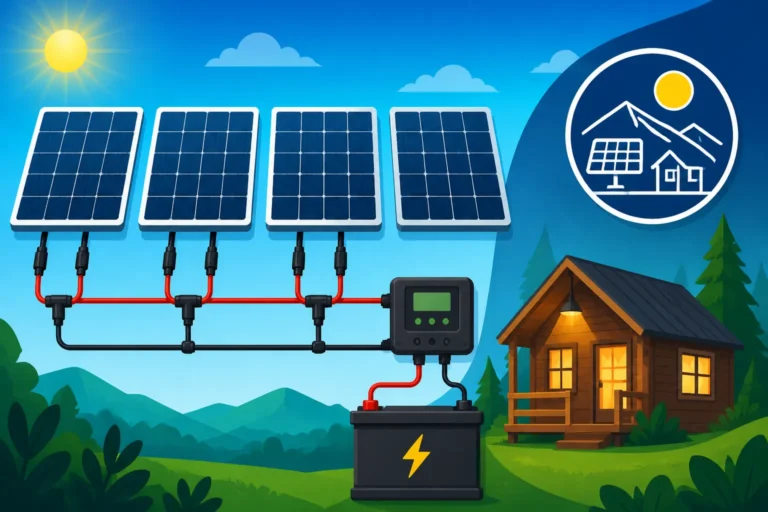
Wiring the solar panels together, whether in series or parallel (or a combination), is a critical step covered in detail in our "How to Wire Off-Grid Solar Panels" guide. This also includes running the DC wiring from your array to your charge controller, often through conduit to protect it from the elements and physical damage.
Connecting Major Components
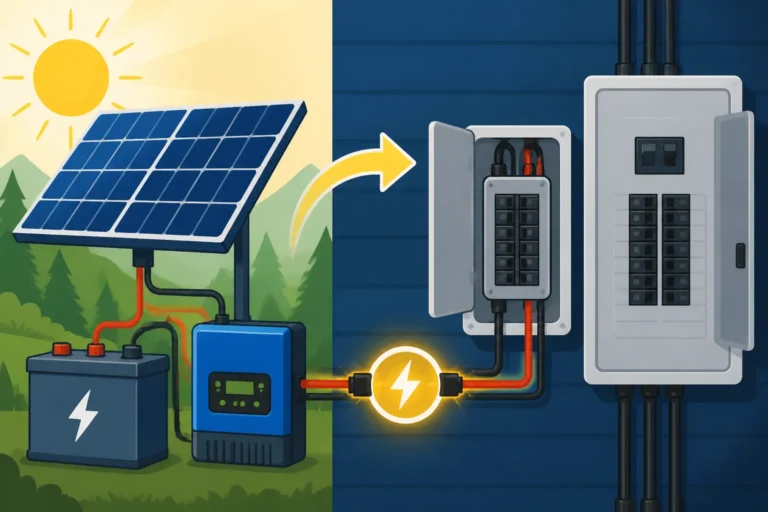
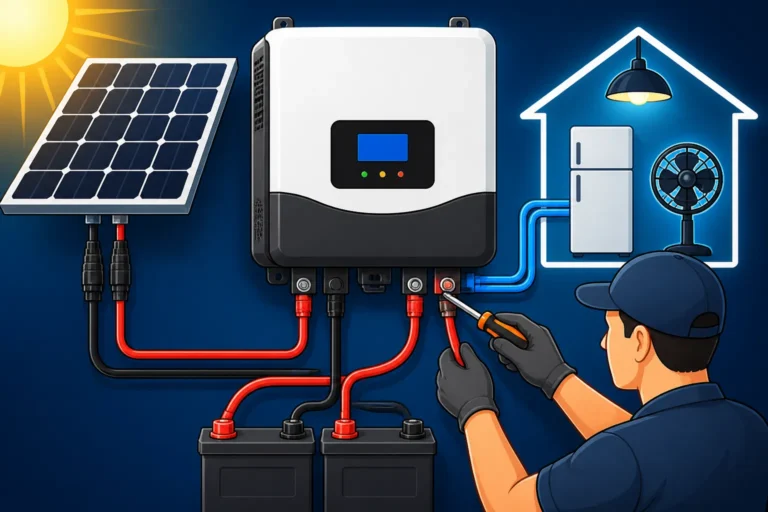
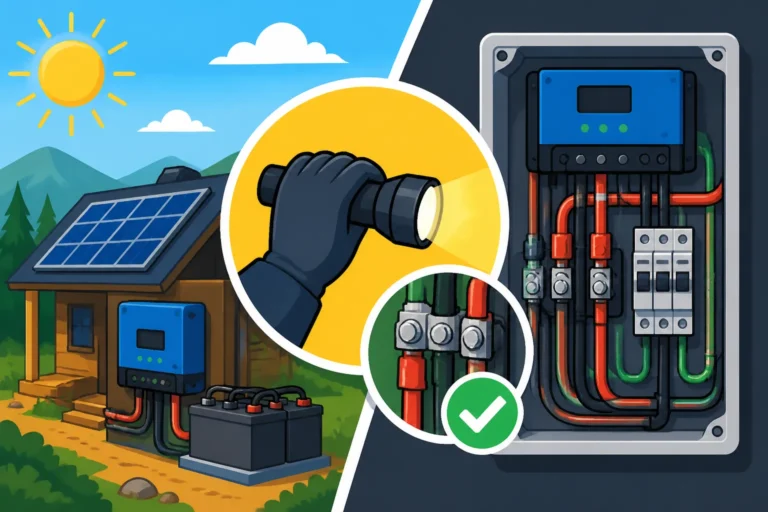
This is the heart of your off-grid system coming together. You'll connect your solar array to your charge controller, which regulates the power flowing into your batteries. Next, you'll wire your battery bank, ensuring proper series and/or parallel connections, and connect it to your inverter. The inverter is then wired to your main electrical panel or subpanel, which will distribute AC power to your home's appliances. Each of these connections requires careful attention to detail, using the correct gauge wire, fuses, and breakers to ensure safety and efficiency.
The specific "How to Connect Batteries, Inverter, and Panels" guide goes into this in depth. Depending on the complexity of your system, the number of components, and your experience level, this part of the installation can take 3 days to 2 weeks. For a comprehensive system with multiple components, it's not unusual to spend a good week on just wiring alone. Remember, even with DIY kits from popular brands, detailed instructions and careful execution are key.
Grounding and Safety Checks
Proper grounding is non-negotiable for any electrical system, and off-grid solar is no exception. Grounding protects you and your equipment from lightning strikes and electrical faults. This involves running ground wires from your panels, racking, inverter, and other components to a dedicated grounding rod. This is a critical safety step that should never be overlooked or rushed.
Throughout the installation, constant safety checks are crucial. Double-checking all connections, ensuring proper wire gauges, verifying fuse and breaker sizing, and confirming that all components are securely mounted are ongoing tasks. It’s a good idea to have an electrician or someone experienced with off-grid solar give your system a once-over before you power it up, especially if you're undertaking a large or complex build. This final review can take half a day to a full day.
Phase 4: Testing, Commissioning, and Ongoing Enjoyment (The Payoff!)
You're almost there! This is the phase where you confirm everything works as intended and begin enjoying your newfound energy independence.
System Testing and Commissioning
Once all components are connected and safety checks are complete, it's time to test your system. This involves a step-by-step power-up process, starting with your battery bank, then your charge controller, and finally your inverter. You'll monitor voltages, currents, and power output to ensure everything is operating within expected parameters. This might involve using a multimeter to check for continuity and correct voltage readings at various points. Many inverters and charge controllers have diagnostic screens or companion apps (like those offered by Victron or Renogy) that allow you to monitor system performance.
Initial testing can take a few hours to a full day. During this time, you'll want to gradually introduce loads to your system to see how it responds. Don't just flip on everything at once! It's a process of verification and calibration to ensure everything is working harmoniously. Addressing any minor issues or unexpected readings might add another day or two.
Living Off-Grid and Maintenance
Congratulations, you're officially off the grid! The initial commissioning phase usually transitions into a period of monitoring and fine-tuning. You'll want to pay close attention to your energy consumption and generation patterns. Are your batteries consistently getting a full charge? Are you running low on power more often than expected during cloudy spells? This initial learning period can last for a few weeks as you get a feel for your system's capabilities and your actual daily energy habits.
Regular maintenance is key to the longevity and efficiency of your off-grid solar system. This includes cleaning your solar panels, checking battery terminals for corrosion, inspecting wiring for wear and tear, and ensuring all connections remain tight. While a deep "Off-Grid Solar Maintenance Costs" dive shows that these are usually minimal, routine checks should ideally be done quarterly or semi-annually. Think of it as caring for a complex machine – a little proactive care goes a long way.
Typical Off-Grid Solar Installation Timeline Summary
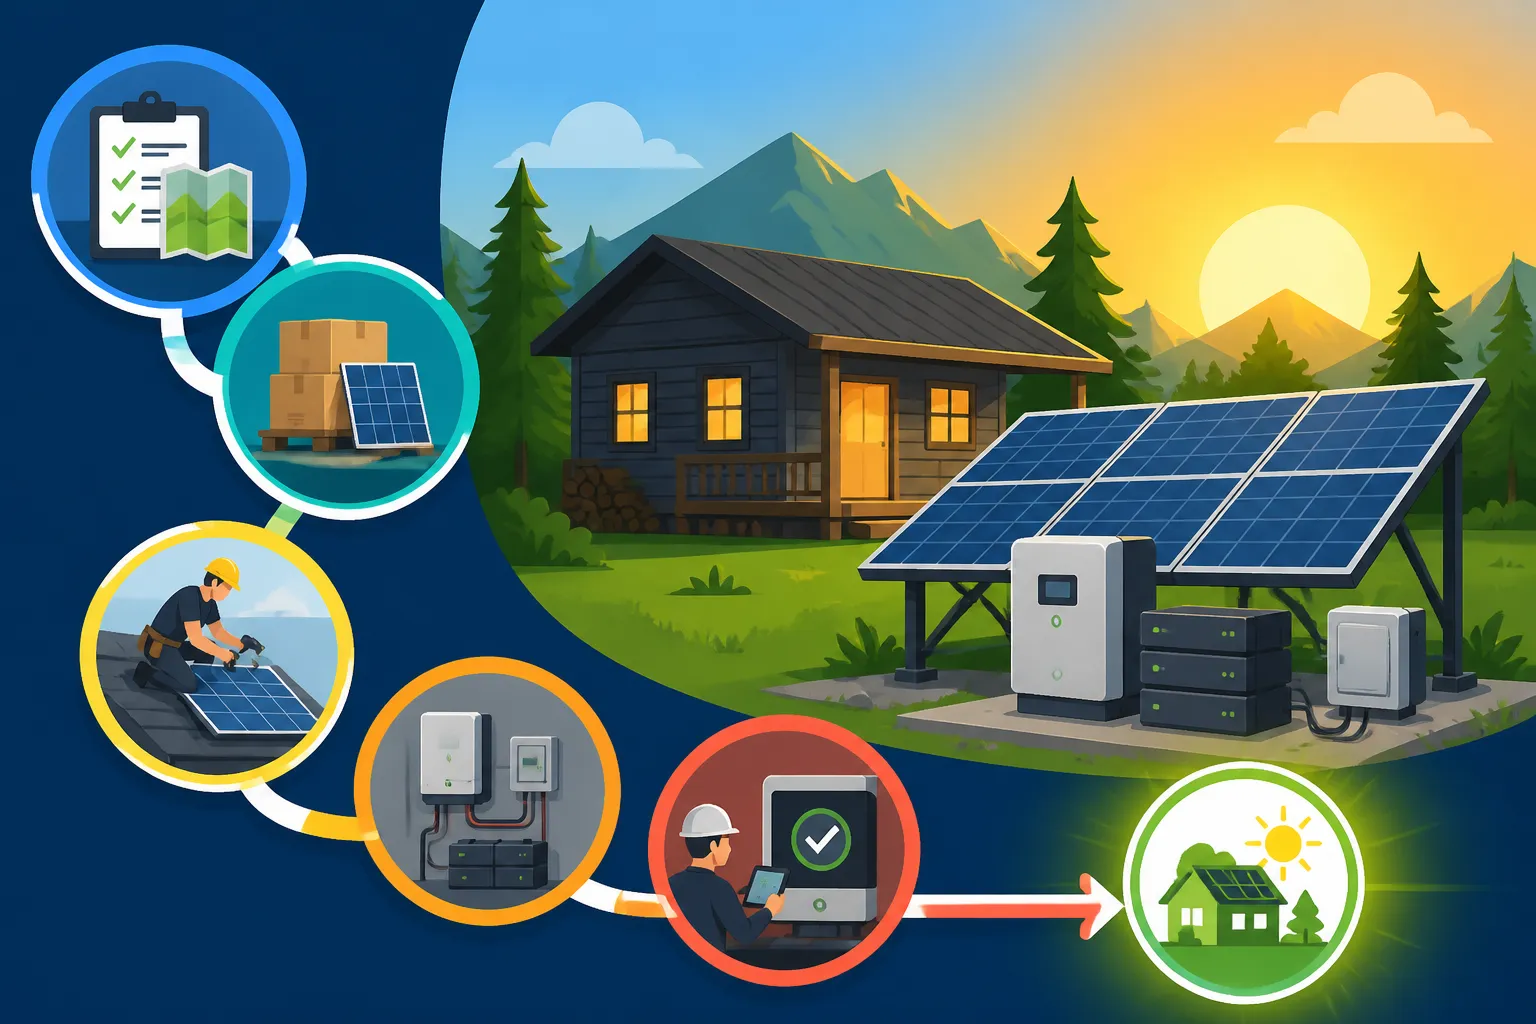
To give you a clearer picture, here's a general breakdown of how long each phase might take for a typical medium-sized off-grid system (e.g., for a cabin or small home), keeping in mind that these are highly variable estimates:
| Phase | Estimated Duration (DIY) | Estimated Duration (Professional) | Key Activities |
|---|---|---|---|
| 1. Planning and Preparation | 1.5 – 4+ Months | 1 – 3 Months | Load analysis, system design, budgeting, component research, permit acquisition, site assessment |
| 2. Component Acquisition & Site Prep | 1 – 2 Months | 2 – 6 Weeks | Ordering/receiving components, clearing land, foundation work, trenching |
| 3. Installation & Wiring | 2 Weeks – 2 Months | 1 – 3 Weeks | Mounting panels, wiring array, connecting charge controller, batteries, inverter, grounding, safety checks |
| 4. Testing, Commissioning & Ops | 1 Week – 1 Month (initial) | 3 Days – 2 Weeks (initial) | Initial power-up, system testing, performance monitoring, load introduction, ongoing learning and maintenance |
| Total Estimated Time | ~4 – 9+ Months | ~2.5 – 6 Months | From idea to fully operational system |
As you can see, the DIY route often takes significantly longer, primarily because you're responsible for all the research, design, permitting, and labor yourself. Hiring a professional can condense the timeline, particularly in the planning and installation phases, as they have expertise in permitting, efficient installation techniques, and established supplier relationships. However, even with a professional, you're still looking at a multi-month process. If you're comparing "DIY vs Professional Off-Grid Solar Cost," remember to factor in the value of your time.
Factors That Can Significantly Impact Your Timeline
While the summary table gives a good average, several elements can drastically shorten or extend your off-grid solar installation timeline.
System Complexity and Size
This is perhaps the most obvious factor. A small system for a garden shed or an RV with a few panels and a portable power station will have a much shorter timeline than a full-sized system for a year-round off-grid home. More panels, more batteries, more powerful inverters, and complex wiring schemes inherently require more planning, more labor, and more coordination. Installing an "Off-Grid Solar Cost for a Whole House" is a much bigger undertaking than an "Off-Grid Solar Cost for an RV".
Think about the difference between setting up a small portable solar generator for camping versus building a permanent 48V system with multiple strings of panels, a large server-rack battery bank, and a powerful inverter capable of running multiple 240V appliances. The latter will clearly take a lot more time at every stage.
Local Permitting and Regulations
As mentioned earlier, local government bureaucracy is often the biggest wild card. Some rural counties might have very relaxed (or even non-existent) permitting requirements for off-grid systems, leading to a much faster start. Other areas, especially those with strict building codes or in fire-prone regions, might have extensive requirements, multiple inspection stages, and long processing times for applications. It's not uncommon for permit approval alone to add months to a project. Be prepared to be patient and persistent with your local authorities.
It's crucial to investigate "Do You Need a Permit for Off-Grid Solar" early in your planning. Some folks try to avoid permits altogether, but this can lead to serious legal and safety issues down the line.
DIY Skills and Availability
If you're tackling this project yourself, your personal skill set and available time will play a huge role. If you're already handy with electrical work, comfortable with construction, and have a good grasp of solar principles, you'll move through the installation phase much faster than someone learning everything from scratch. Learning "How to Wire an Off-Grid Solar System" or "How to Install an Off-Grid Solar System" takes time. Moreover, your availability to work on the project – evenings, weekends, or dedicating full-time efforts – will directly impact how quickly you progress. Many DIYers stretch the installation over several months as they fit it in around other commitments.
Consider your comfort level with tasks like roofing, trenching, heavy lifting, and intricate electrical wiring. If you're unsure, it might be worth hiring professionals for specific parts of the installation, even if you do the rest yourself, to save time and ensure safety.
Weather and Seasonal Considerations
Mother Nature can be a real project manager. Installing solar panels in the scorching summer heat, freezing winter temperatures, heavy rain, or strong winds is not only difficult but can also be dangerous. Planning your installation during favorable weather windows can significantly impact your timeline. For instance, if you live in a region with heavy snowfall, you might be limited to spring, summer, and fall for outdoor work. Similarly, extreme heat can make roof work unbearable and even affect the performance of some equipment during installation.
These environmental factors can lead to delays as you wait for better conditions, adding unexpected pauses to your schedule. Always build in some buffer time for weather-related interruptions.
Disclaimer
The information provided in this article is for general informational purposes only and does not constitute professional advice. Off-grid solar system design and installation can be complex and involve significant electrical work. Always consult with qualified professionals, such as certified electricians or solar installers, and adhere to all local building codes and regulations before undertaking any off-grid solar project. Incorrect installation can lead to serious injury, property damage, or fire.