How to Phase an Off-Grid Solar Build to Spread Cost
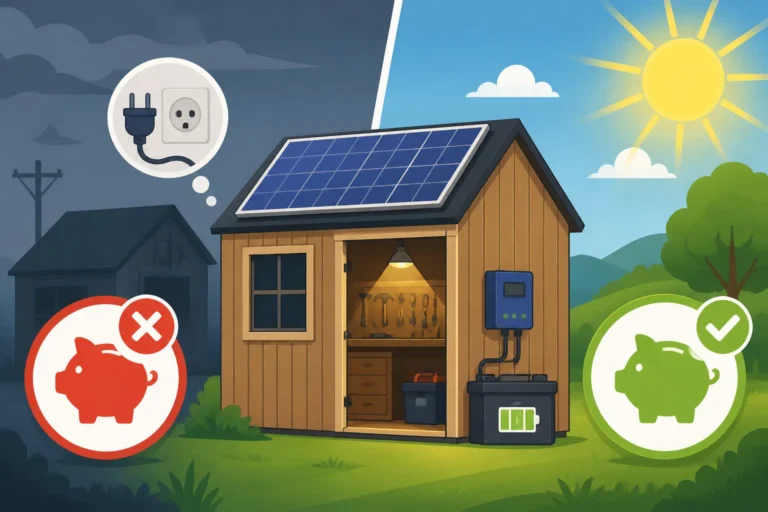
The dream of casting off the shackles of monthly utility bills and living a life powered by the sun is incredibly alluring, but for many, the sheer upfront cost of building an entire off-grid solar system feels like an impossible hurdle. It’s tough to save up tens of thousands of dollars all at once, and that sticker shock can stop an off-grid journey before it even begins. This comprehensive guide is here to show you exactly how to break down that monumental task into manageable, budget-friendly stages, allowing you to gradually achieve energy independence without breaking the bank.
Understanding the Upfront Cost Challenge of Off-Grid Solar
Let's be real, stepping into the world of off-grid solar can feel a lot like trying to buy a house in a market where prices just keep climbing. You know you want the freedom, the resilience, and the long-term savings, but that initial investment can be daunting. It’s not just one big purchase; it's a collection of critical components, each with its own significant price tag, all needing to work together flawlessly.
Why Off-Grid Solar Feels So Expensive Initially
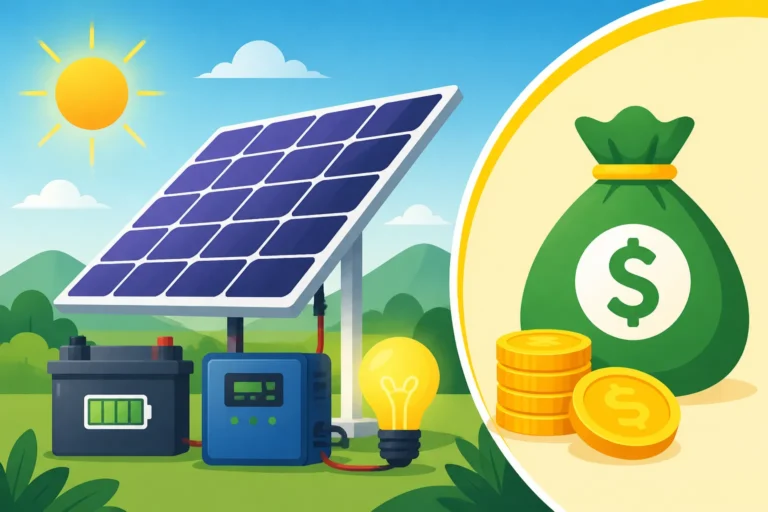
When you look at a complete off-grid system, you’re not just buying solar panels. You're investing in an entire mini-power plant for your home, cabin, or RV. This typically includes a robust solar array, a substantial battery bank to store power for nights and cloudy days, an inverter to convert DC power to usable AC power, and a charge controller to manage the flow of energy. Each of these components, especially the batteries and the inverter, can represent a significant portion of the total cost. When you factor in wiring, safety equipment, mounting hardware, and potentially installation labor, the numbers add up quickly. It’s easy to feel overwhelmed when contemplating how much an off-grid solar system costs in its entirety.
The reality is that unlike a grid-tied system, which can sometimes feed excess power back to the utility and receive credits, an off-grid setup needs to be entirely self-sufficient from day one. This means oversizing certain components, especially the battery bank, to ensure you have enough power even during extended periods of low sunlight. This necessity for robust redundancy directly translates to higher initial expenditures. Many folks dream of powering their entire lives off-grid, but the cost associated with a truly comprehensive setup, especially for a whole house, can be a major wake-up call.
The Dream Versus the Reality of Immediate Independence
We all picture that idyllic cabin deep in the woods, humming along silently on solar power, or that fully-equipped RV exploring remote landscapes without ever needing a hookup. That dream is powerful, and it’s what draws many of us to off-grid living. However, the reality of achieving that full independence instantly can be a harsh financial blow. Few people have $20,000, $30,000, or even $50,000 sitting around to drop on a complete system all at once, which is often what it takes for a robust, year-round off-grid home.
The desire for immediate, full energy freedom is understandable, but trying to achieve everything in one go often leads to either significant debt or postponing the dream indefinitely. Instead of seeing it as a single, insurmountable mountain, think of it as a series of smaller, more achievable hills. Phasing your off-grid build allows you to start small, learn the ropes, and grow your system as your budget and needs evolve. It's a much more sustainable and less stressful path to self-sufficiency.
Strategic Phasing: Breaking Down Your Off-Grid Solar Project
The secret to making off-grid solar achievable is to approach it like a long-term project, building it out in stages. This isn't just about saving money; it's also about learning, adapting, and ensuring your investment truly meets your evolving needs without overspending initially.
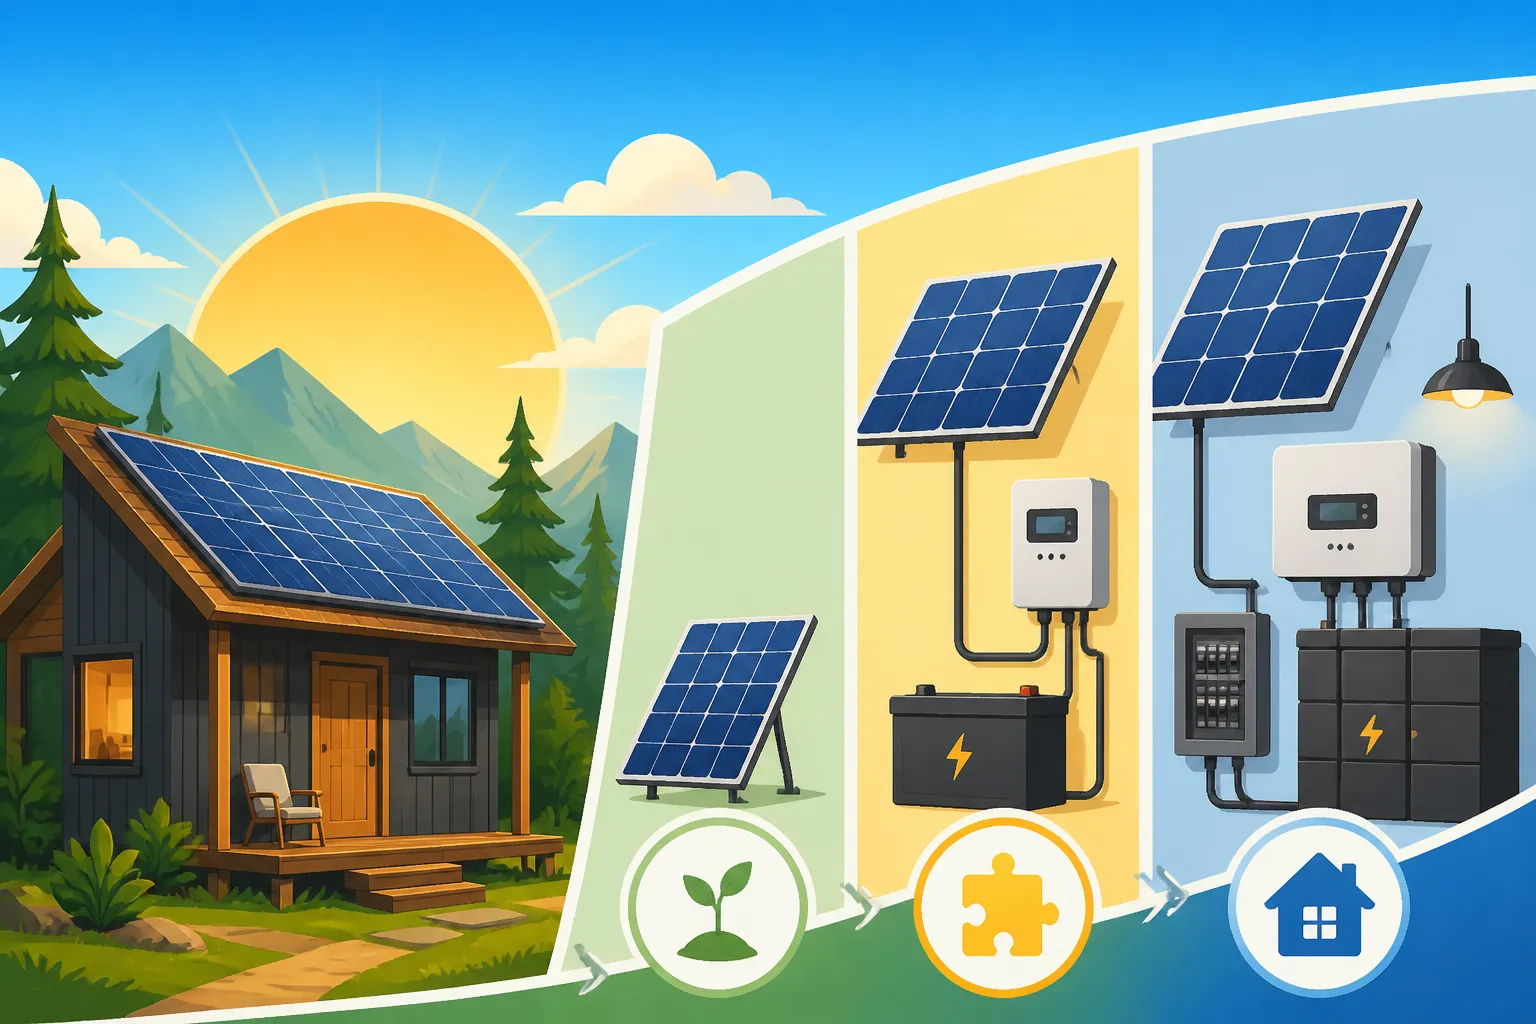
Phase 1: Essential Loads and Core Components
This is where you dip your toes in the water. The goal here is to power your most critical, essential loads – the things you absolutely cannot live without. Think lighting, phone charging, a laptop, and maybe a small fan. This phase often involves a smaller, more portable setup that could even start with something like a robust solar generator. For example, a reliable unit from brands like Jackery could provide immediate, portable power for basic needs. You're looking at a modest number of solar panels (perhaps 100W-400W), a small battery bank (like a single 100Ah lithium battery), a charge controller, and a small inverter.
Focus on setting up a basic system that gives you a taste of solar power and proves the concept. This initial setup is usually 12V DC, keeping things simpler and more affordable. It's about establishing a baseline of power for immediate necessities. This phase is perfect for a small shed, an RV weekend warrior, or even just for emergency backup at home. You'll gain invaluable experience with how solar works, how to manage your power, and what your real essential loads actually are before committing to a larger, more complex system.
Phase 2: Expanding Capacity for Comfort and Convenience
Once you've mastered Phase 1 and perhaps saved up a bit more, it's time to expand. This phase aims to introduce more significant loads that enhance comfort and convenience. Now we’re talking about running a small refrigerator, a water pump for a cabin, or perhaps some basic kitchen appliances like a toaster or a microwave. To handle these demands, you'll need to increase your solar array, add more battery capacity, and likely upgrade your inverter to handle higher surge loads. This might mean adding another 400-800 watts of solar panels and expanding your battery bank to 200-400Ah.
At this stage, many people consider stepping up their system voltage from 12V to 24V or even 48V, especially if they anticipate future expansion or heavier loads like a well pump or a small air conditioner. This move to a higher voltage system can significantly improve efficiency and reduce wire sizing needs, though it does mean upgrading your charge controller and potentially your inverter if you didn't plan for scalability from the start. Remember, thinking ahead about how to choose an off-grid solar system that allows for expansion is key in this phase.
Phase 3: Achieving Full Self-Sufficiency and Redundancy
This is the big leap – moving toward powering a substantial portion, if not all, of your daily energy needs, including larger appliances and ensuring multiple days of autonomy. This phase often involves a significant expansion of your solar array, potentially moving to a larger ground mount or filling up your roof space. Your battery bank will grow substantially, perhaps to 800Ah or more, utilizing multiple batteries wired together to meet demand. You’ll also be looking at a robust inverter/charger that can handle peak loads and potentially integrate with a backup generator for those rare, extended cloudy spells.
Here, you're designing for resilience and long-term reliability. This means considering how to account for cloudy days and sizing your system for year-round off-grid power, even in winter. You might add monitoring systems to track your power production and consumption in real-time, helping you fine-tune your energy habits. This stage is about solidifying your independence, ensuring you have ample power for everything from washing machines to mini-split air conditioners, truly embracing the full off-grid lifestyle.
Practical Strategies for Cost-Effective Phased Building
Successfully phasing your off-grid solar build isn't just about adding components; it's about smart planning and strategic choices at every step to maximize your budget and minimize headaches.
Prioritizing Your Energy Needs
Before you even think about buying a single solar panel, the absolute first step is to sit down and meticulously calculate your energy needs. This is called a load analysis, and it's the bedrock of a successful off-grid system. You need to know exactly what appliances you want to run, how many hours a day, and their wattage. This will determine how much solar to run a refrigerator, or how many panels you need for lights and electronics. Don’t guess; measure or look up the specific power draw of your devices.
Start by listing everything, then separate them into "must-haves," "nice-to-haves," and "dream items." In Phase 1, you only focus on the must-haves. As you move to Phase 2, you incorporate some of the nice-to-haves, and so on. This prioritization allows you to tailor your initial system to your immediate budget and prevent costly oversizing for items you might not even need right away. Understanding your daily energy usage is a non-negotiable step to avoid unnecessary spending.
Choosing the Right Components for Each Phase
Selecting components that are both cost-effective for your current phase and scalable for future expansion is a delicate balance. For your initial phase, you might opt for a smaller, integrated solar kit from a reputable brand that includes panels, a charge controller, and a small inverter. These kits, often found on platforms like Amazon, are designed for simplicity and ease of installation, making them perfect for beginners.
As you plan to expand, focus on components known for their compatibility and scalability. Many manufacturers, such as Victron Energy or Renogy, design their equipment with modularity in mind, allowing you to easily add more panels, batteries, or even integrate additional charge controllers. This foresight can save you from having to replace entire systems down the line. For example, when considering your power storage, research the best off-grid solar batteries that can be added in parallel or series as your needs grow, rather than buying a single large battery that might be difficult to expand upon.
Leveraging DIY vs Professional Help Strategically
One of the biggest variables in the cost equation is labor. Going the DIY route can significantly reduce your initial outlay, but it requires a solid understanding of electrical principles and safety. For Phase 1, many people comfortably install smaller systems themselves. Basic panel mounting on an RV or shed, connecting a few wires to a charge controller, and plugging into a battery bank are often within reach for the average handy person. This is where researching how much cheaper is DIY off-grid solar really pays off.
However, as your system grows in complexity, especially when dealing with higher voltages, larger battery banks, or integrating with a home's existing electrical panel, professional help becomes invaluable. For Phase 2 or 3, you might consider hiring an electrician for specific parts of the installation, such as wiring your inverter into a subpanel, ensuring everything meets local codes, and properly grounding your system. This hybrid approach – doing what you can yourself and bringing in experts for the tricky parts – can be a fantastic way to spread the cost and ensure safety and compliance.
Financial Planning and Budgeting for Each Stage
The key to a successful phased build is a clear financial roadmap. Instead of looking at the total cost of an off-grid solar system, break it down by phase. Estimate the cost of off-grid solar panels for your initial needs, then the cost of an off-grid solar inverter, and finally, the cost of an off-grid solar battery bank for that specific phase. This makes the numbers far less intimidating.
Set realistic savings goals for each phase. Perhaps you save for six months for Phase 1, then another year for Phase 2. This methodical approach not only makes the goal feel achievable but also allows you to learn from each stage and refine your plans. Explore financing options specifically for off-grid solar if available, or consider utilizing credit for smaller, manageable chunks. Remember, the goal is to save money long-term and avoid the hidden costs of going off-grid, so patience and careful budgeting are your best friends.
Real-World Scenarios and Examples of Phased Builds
Seeing how others have successfully phased their off-grid journeys can provide invaluable inspiration and practical ideas. It proves that this strategy isn't just theoretical; it's a proven path to energy independence.
The Weekend Cabin Setup
Imagine a rustic cabin tucked away in the mountains of North Carolina, used only on weekends. Starting with a full-blown system would be overkill and incredibly expensive.
- Phase 1: Basic Lighting and Charging (Year 1): The owner starts with a couple of 100W solar panels, a small charge controller, and a single 12V 100Ah LiFePO4 battery. This setup, often purchased as an affordable kit, powers LED lights, charges phones and laptops, and runs a small portable fan. Total investment might be around $1,000-$2,000. They learned how to manage power, prioritize usage, and understand the basic components.
- Phase 2: Adding a Refrigerator and Water (Year 2-3): After enjoying the basic amenities, they decide to add a small, energy-efficient 12V refrigerator and a simple water pump for a sink. This requires adding another 200W of solar panels and a second 100Ah battery to double their storage. They might also upgrade their inverter to a 2000W pure sine wave model to handle potential appliance surges. The investment for this phase could be another $1,500-$3,000.
- Phase 3: Expanding for Extended Stays (Year 4-5): Now, the cabin is used more frequently, sometimes for a week at a time. They install two more 200W panels (totaling 800W), bringing their battery bank to 400Ah. They might add a small propane water heater and a more robust inverter, allowing for a small microwave or even a TV. The total cost for this stage might be around $2,000-$4,000, bringing their overall investment much closer to a comfortable, functional off-grid cabin over time. This gradual approach made the cost to power a cabin with solar much more digestible.
The Van Life Progression
Van life often begins with minimal power needs, but as travelers spend more time on the road, their demands grow.
- Phase 1: Charging Essentials (Month 1-3): A new van dweller might start with a simple portable solar panel (around 100-200W) plugged into a compact solar generator like an EcoFlow or a Jackery. This powers their phone, laptop, and some string lights. The setup is highly flexible, easy to move, and can be purchased for $500-$1,500. It's a fantastic entry point to see if solar is right for their lifestyle.
- Phase 2: Integrated System for a Fridge and Fan (Month 4-12): Realizing the need for a permanent fridge and consistent air circulation, they install two rigid 100W panels on the roof, a dedicated charge controller, and a 200Ah LiFePO4 battery under the bed. They also add a small 1000W inverter. This allows for constant refrigeration, powerful fans, and more consistent charging. This phase might cost $1,500-$3,000.
- Phase 3: Full-Time Comfort (Year 2+): For full-time living, they decide to power a small induction cooktop, a more robust water pump, and potentially a mini-split AC unit for summer. This means adding another 400W of panels, bringing their total to 600-800W, and expanding their battery bank to 400-600Ah. They upgrade to a 3000W inverter/charger to handle higher loads and integrate a shore power hookup for occasional grid charging. This substantial upgrade could be another $3,000-$6,000, making the off-grid solar cost for a van a significant but phased investment.
The Homestead Expansion
For a large property aiming for complete energy independence, phasing is almost essential due to the scale and cost involved.
- Phase 1: Workshop and Well Pump (Year 1-2): A homesteader building a new property might first focus on critical infrastructure. They install a 2kW solar array with a 48V 200Ah battery bank and a 5000W inverter to power their well pump and a workshop for construction and repairs. This might cost $8,000-$15,000. This provides essential utilities without relying on grid extension, which can often be incredibly expensive.
- Phase 2: Main House Essentials (Year 3-4): Once the house is built, they extend power to it. They add another 3kW of solar panels (total 5kW) and expand the battery bank to 400Ah, integrating it with the existing system. This powers basic lighting, refrigeration, and electronics in the main dwelling. This phase might cost an additional $10,000-$18,000.
- Phase 3: Full House Power and Redundancy (Year 5+): To achieve full independence, they might add another 5kW of solar (total 10kW) and bring their battery bank to 800-1000Ah or more. They install a larger, grid-interactive inverter/charger and integrate a propane or diesel generator for automatic backup during prolonged poor weather. This allows them to run larger appliances like a washing machine, electric water heater, and central heating/cooling systems. The final phase could range from $15,000-$30,000 or more, completing their robust off-grid home system incrementally, spreading the cost of going off-grid for a family home over several years.
These examples illustrate that no matter your specific off-grid dream, a phased approach can make it a tangible reality, allowing you to learn, adapt, and invest wisely over time.
| Phase | Description | Typical Components | Estimated Initial Budget Range | Key Goals Achieved |
|---|---|---|---|---|
| Phase 1: Basic Needs | Powering essential low-draw devices (lights, charging, small fan) | 100-400W Solar Panels, 100Ah 12V Battery, Small Charge Controller, Small Inverter (or Solar Generator) | $500 – $2,500 | Emergency backup, basic cabin/RV power, learning system basics |
| Phase 2: Comfort & Convenience | Adding medium-draw appliances (fridge, water pump, TV) | 400-1000W Solar Panels, 200-400Ah 12V/24V Batteries, Larger Charge Controller, 1500-3000W Inverter | $2,500 – $7,500 | More extensive RV/cabin use, partial home power, improved daily living |
| Phase 3: Full Self-Sufficiency | Powering major appliances (AC, washing machine, well pump) and extended autonomy | 1000W+ Solar Panels, 400Ah+ 24V/48V Batteries, High-Capacity Charge Controller, 5000W+ Inverter/Charger | $7,500 – $25,000+ | Complete off-grid home, robust backup, year-round living comfort |
Disclaimer
The information provided in this guide is for general informational purposes only and does not constitute professional advice. Off-grid solar system design and installation can be complex and involve electrical hazards. Always consult with qualified professionals and adhere to all local codes, regulations, and safety guidelines when planning or installing any solar power system.