How to Install Off-Grid Solar on a Off-Grid Home
Living off-grid is a powerful dream, isn't it? The thought of unplugging from utility companies, generating your own power, and truly being self-sufficient in your own home is incredibly appealing. But let's be honest, the actual process of installing an off-grid solar system can feel daunting, like trying to assemble a complex engine without a manual. You're probably wondering where to even begin, what components you really need, and how to put it all together safely. This guide is designed to cut through that confusion, walking you through every step of installing an off-grid solar system on your home, from the initial planning stages to flipping the switch on your newfound energy independence.
The Foundation: Planning Your Off-Grid Solar System
Before you even think about buying a single solar panel or battery, the absolute most critical step is planning. Trying to build an off-grid system without a solid plan is like building a house without blueprints – you'll inevitably run into costly mistakes and frustrations down the line. This initial phase sets the stage for everything that follows, ensuring your system is perfectly tailored to your unique energy needs and location.
Assessing Your Home's Energy Consumption
This isn't just about guessing; it's about getting down to the nitty-gritty details of every electrical appliance and device in your off-grid home. Most people underestimate their power usage, especially when they transition from a grid-tied mindset where electricity is just "there." You need to understand not only the running wattage of each item but also its surge wattage (the brief spike in power when a motor starts, like for a refrigerator or well pump) and how many hours per day or week it will be used.
Grab a notepad, or even better, a spreadsheet. Walk through every room in your home and list everything that plugs in. For each item, look for a label indicating its wattage. If it's only in amps and volts, you can multiply them (Amps x Volts = Watts). Then, estimate how many hours per day or week you'll use it. Don't forget those smaller, often overlooked items like phone chargers, LED lights, and even your router – they add up! This detailed inventory forms the basis of your How to Do an Off-Grid Load Analysis. For instance, a typical off-grid home might have a low-power refrigerator that draws 60-100 watts but runs for perhaps 8-12 hours a day, accumulating significant watt-hours. A microwave might draw 1500 watts, but only for a few minutes. Your well pump, however, could be a beast, demanding 1000-2000 watts for 20-30 minutes, multiple times a day, with a significant starting surge. Getting this right prevents you from having an undersized system that leaves you in the dark or an unnecessarily oversized one that breaks the bank.
| Appliance/Device | Typical Running Wattage | Est. Hours/Day | Daily Watt-Hours (Wh) | Surge Wattage (if applicable) |
|---|---|---|---|---|
| Refrigerator (energy-efficient) | 60-100 W | 8-12 | 480 – 1200 Wh | 300-600 W |
| LED Lighting | 5-10 W per bulb | 4-6 (avg) | 20 – 60 Wh (per bulb) | N/A |
| Laptop | 40-70 W | 3-5 | 120 – 350 Wh | N/A |
| TV (40-50 inch LED) | 50-100 W | 2-4 | 100 – 400 Wh | N/A |
| Well Pump (1/2 HP) | 750-1200 W | 0.5-1 (intermittent) | 375 – 1200 Wh | 2000-3000 W |
| Microwave | 1000-1500 W | 0.1-0.2 (intermittent) | 100 – 300 Wh | N/A |
| Toaster | 800-1200 W | 0.1 (intermittent) | 80 – 120 Wh | N/A |
| Washing Machine | 500-2000 W (peak) | 0.5-1 (cycle) | 250 – 2000 Wh | N/A |
| Electric Kettle | 1500-2000 W | 0.1 (intermittent) | 150 – 200 Wh | N/A |
Determining System Size and Component Selection
Once you have your total daily watt-hour consumption, you can start to size your system. This involves calculating how many solar panels you'll need, the capacity of your battery bank, the size of your inverter, and the rating of your charge controller. It's a critical step that dictates the overall performance and cost of your system. A common mistake is to ignore factors like "days of autonomy" – how many days your batteries can power your home without any sun, which is crucial for cloudy weather or winter. You'll also need to consider your location's "peak sun hours" to accurately determine how many panels are required to generate enough power.
The system voltage (12V, 24V, or 48V) you choose will significantly impact wire sizing, efficiency, and component availability. For an off-grid home, a 48V system is almost always recommended for its efficiency, especially when dealing with higher power draws and longer cable runs. This higher voltage means lower amperage, which in turn allows for thinner (and cheaper) wires and reduces voltage drop. When it comes to specific components, aim for monocrystalline solar panels for their higher efficiency, robust deep-cycle batteries (LiFePO4 are excellent for their longevity and depth of discharge), and a pure sine wave inverter to safely power all your household electronics. For a deeper dive into these calculations, check out our guide on How to Size an Off-Grid Solar System. Don't forget that the battery bank is often the most expensive component, so understanding How Many Batteries for an Off-Grid System is paramount to your budget.
Gathering Your Gear and Prepping the Site
With your system design firmly in hand, it's time for the exciting part: acquiring the physical components and preparing your home for installation. This phase is about making smart choices for equipment that will last for years and setting up a safe and efficient workspace.
Sourcing Quality Components
The market for off-grid solar equipment has exploded, offering a wide array of choices. It's vital to invest in quality components from reputable manufacturers. For solar panels, look for brands with good warranties and proven performance in various conditions. Inverters and charge controllers are the brains of your system, so reliability is key. Brands like Victron Energy are renowned for their robust, high-performance inverters and charge controllers, offering excellent monitoring and control capabilities. For batteries, while lead-acid options are cheaper upfront, modern Lithium Iron Phosphate (LiFePO4) batteries from companies like Battle Born or EG4 are a far superior long-term investment due to their vastly longer lifespan, higher efficiency, and deeper discharge capabilities.
For many DIYers, integrated solutions or individual components from a brand like Renogy can be a good starting point, especially if you're building a smaller or modular system. They offer a comprehensive range of products, from panels and charge controllers to complete kits, making it easier to ensure compatibility. You can often find smaller components, wiring, fuses, and mounting hardware through online retailers like Amazon, but always be meticulous about checking specifications and reading reviews. Sometimes, local electrical supply houses can be great resources for things like conduit, wire, and circuit breakers, offering expert advice and ensuring compliance with local standards. Remember, Best Off-Grid Solar Equipment Explained can help you make informed decisions about each part of your system.
Essential Tools and Site Preparation
You'll need a specific set of tools for a successful off-grid solar installation. Beyond your basic hand tools (wrenches, screwdrivers, tape measure), you'll definitely need a good multimeter for testing voltage and continuity, wire strippers and crimpers designed for heavy-gauge electrical wire, a power drill for mounting hardware, and potentially a conduit bender if you plan on running wires in rigid conduit. Safety gear is non-negotiable: work gloves, safety glasses, and appropriate clothing are a must. For larger projects, a sturdy ladder and potentially scaffolding might be needed for roof work.
Site preparation involves several key aspects. First, identify the optimal location for your solar panels. Ideally, this should be a south-facing (in the Northern Hemisphere) area with maximum exposure to direct sunlight throughout the day, free from any shading from trees, buildings, or other obstructions. If you're ground-mounting, ensure the ground is level and stable. Second, you need a cool, dry, and well-ventilated space for your battery bank, inverter, and charge controller. This area, often referred to as the "power center" or "equipment room," should be protected from the elements, accessible for maintenance, and well-ventilated to dissipate heat from the inverter and any gases from certain battery types. Proper ventilation is especially critical for lead-acid batteries. Finally, ensure you have a clear, organized workspace. Lay out your components, tools, and wiring to minimize confusion and improve safety during the installation process.
Step-by-Step Installation Process
This is where your meticulous planning comes to life! Installing an off-grid solar system involves a logical sequence of steps, from securing your panels to connecting all the electrical components. Taking your time, following instructions carefully, and prioritizing safety are paramount.
Mounting Solar Panels and Running DC Wiring
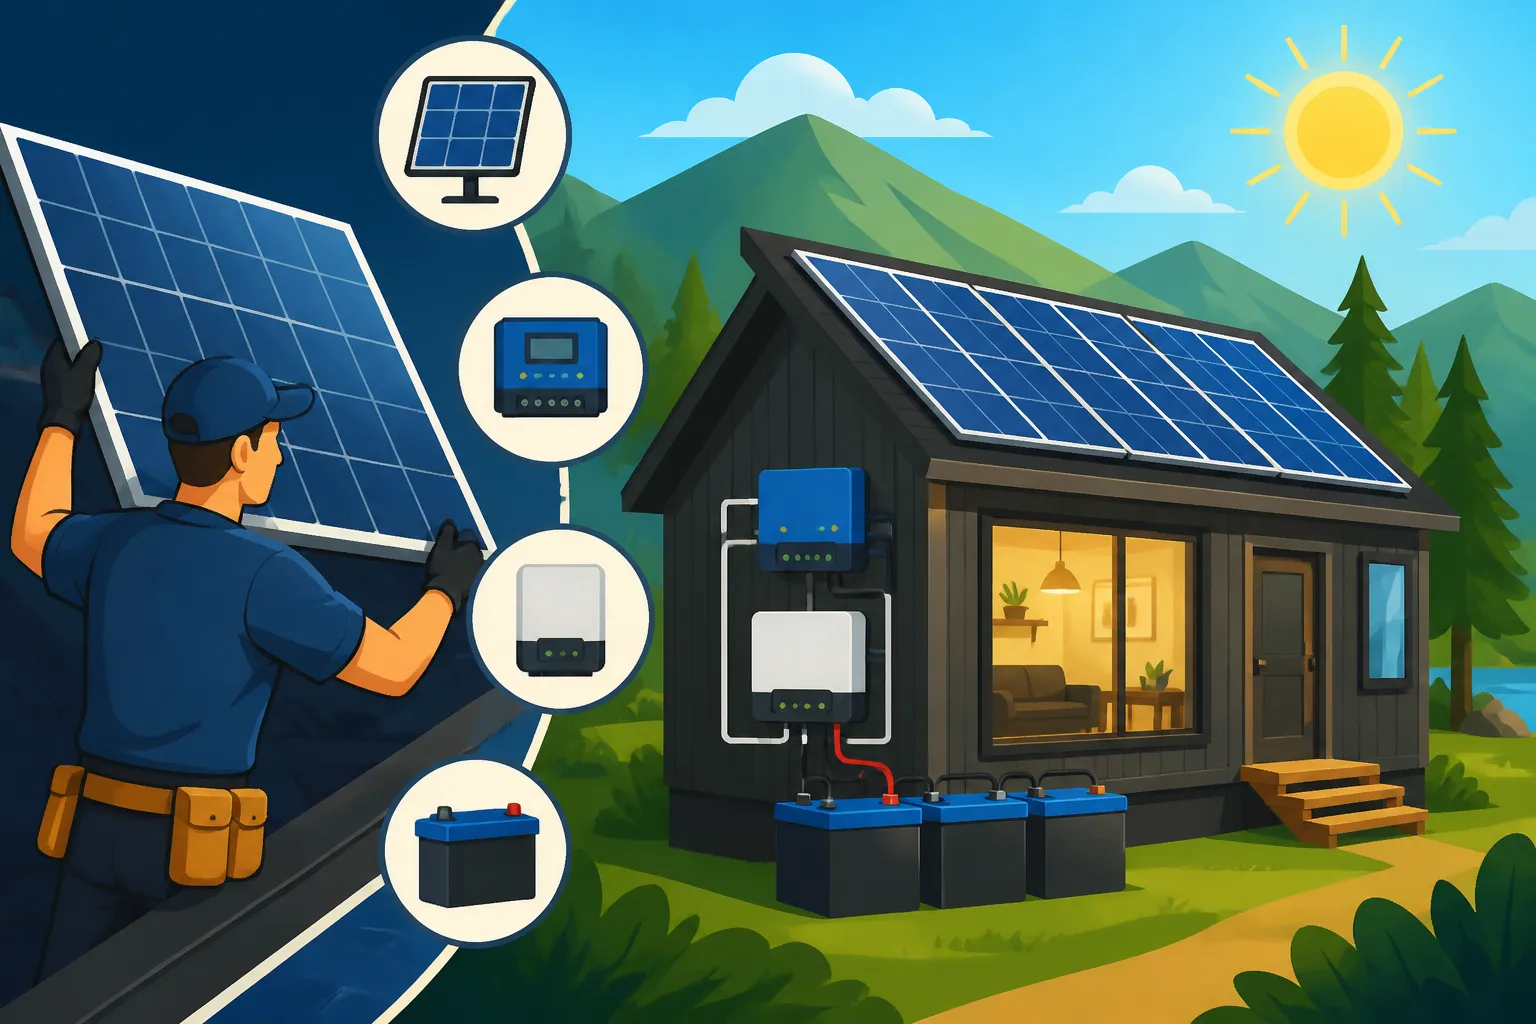
The first major physical step is mounting your solar panels. Whether you're opting for a roof mount or a ground mount, ensuring a sturdy, secure installation is critical to withstand wind, snow, and other environmental factors. For roof mounts, you'll install racking systems directly to the roof rafters, ensuring proper flashing and sealing to prevent leaks. For ground mounts, a sturdy framework (often concrete-based) is essential to elevate the panels and allow for optimal tilt angles. Once the racking is in place, the panels are carefully lifted and bolted down. You can learn more about this in our guide on How to Install Off-Grid Solar Panels.
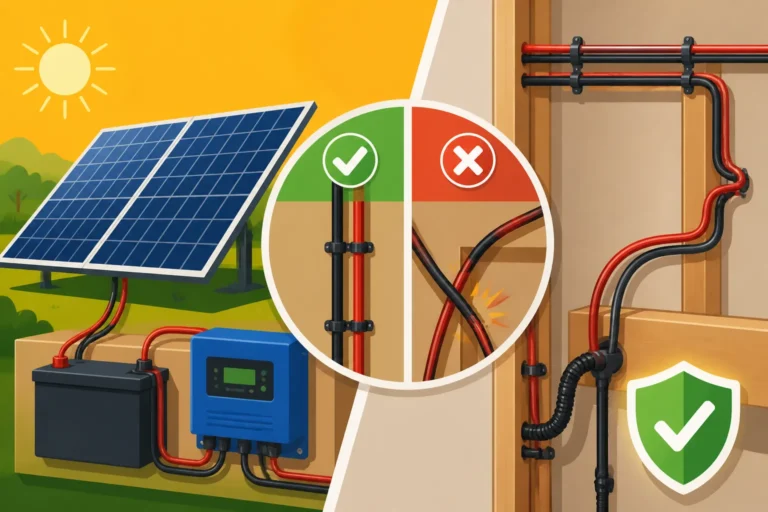
After mounting, it's time for the DC wiring. Panels are typically wired in series, parallel, or a combination (series-parallel) to achieve the desired voltage and amperage for your charge controller. Series wiring increases voltage, while parallel wiring increases current. Your system design will dictate the best configuration. For instance, if you have 60-cell panels and a 48V battery bank, you might wire two panels in series to get around 80V (suitable for an MPPT charge controller), and then wire multiple such strings in parallel. These DC wires run from your panels, often through a combiner box with fuses or breakers for protection, down to your charge controller location. Always use appropriately sized UV-resistant solar cables (MC4 connectors are standard) and protect them by running them through conduit, especially where exposed to the elements or potential damage. For more on wiring, consult How to Wire Solar Panels in Series.
Connecting Charge Controller, Batteries, and Inverter
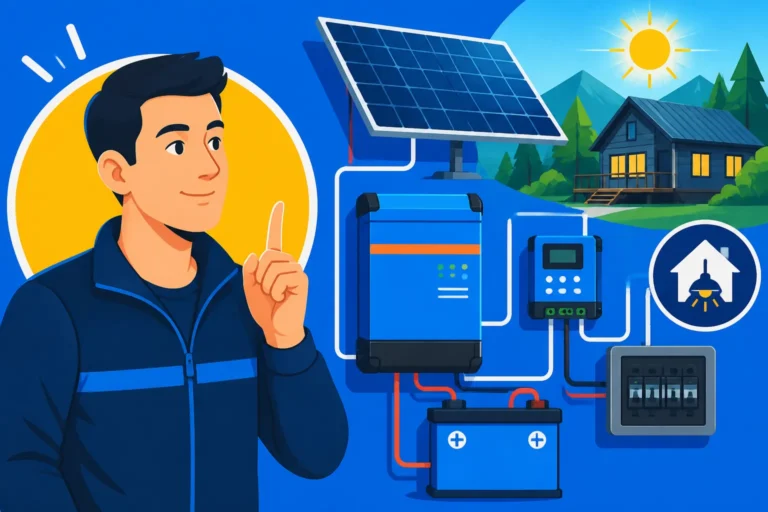
This is the core of your off-grid power system, and precise wiring is non-negotiable. Always start by connecting the charge controller to the battery bank first. This allows the charge controller to sense the battery voltage and properly initialize. Use heavy-gauge battery cables with appropriate ring terminals, ensuring a solid, clean connection to the battery terminals. Install a DC-rated fuse or circuit breaker between the charge controller and the batteries, close to the battery bank, to protect against overcurrent. Next, connect your solar array to the charge controller. Ensure the PV (photovoltaic) input terminals are properly connected, again with a DC breaker or fuse on the solar side.
Finally, connect your inverter to the battery bank. The inverter will typically require the heaviest gauge cables due to the high currents it draws from the batteries, especially when converting DC to AC power. Again, install a properly sized DC fuse or breaker (often a large one, like 250A or 400A) between the inverter and the battery bank, as close to the batteries as possible. This is your main DC disconnect for the inverter. Always double-check polarity at every connection point before tightening. Reversing polarity can severely damage components. It’s a bit like a surgical operation, where precision and knowing the order of operations are crucial for success and safety. For a comprehensive walkthrough of these connections, our guide on How to Connect Batteries, Inverter, and Panels is invaluable, as is understanding How to Wire an Off-Grid Battery Bank for optimal performance.
Integrating AC Loads and Safety Measures
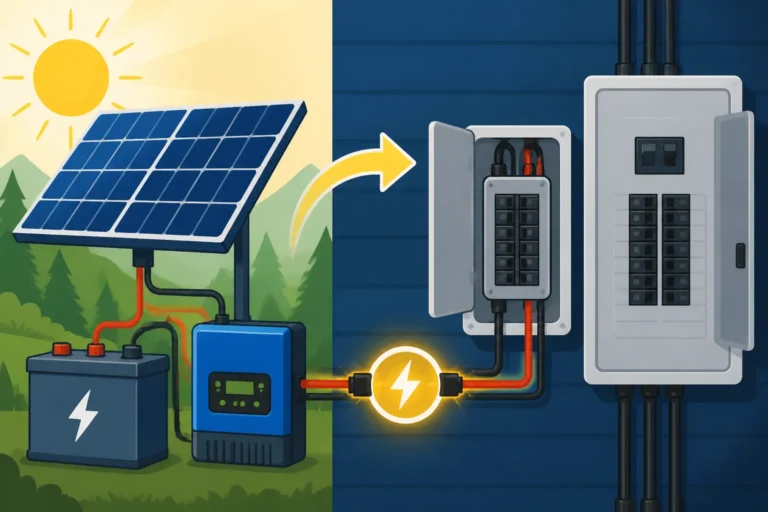
With the DC side of your system connected, you can now focus on the AC output from your inverter. The inverter will produce household AC power, typically 120V or 240V, depending on your system design. This AC output needs to be connected to your home's main electrical panel or, more commonly in off-grid setups, a dedicated subpanel. For this, you'll run appropriate AC-rated wiring from the inverter's AC output terminals to a main breaker in your designated AC panel. This connection should always be done by someone with electrical knowledge, as improper AC wiring can be extremely dangerous.
Beyond connections, integrating robust safety measures is paramount. Proper grounding is critical for any electrical system. All metal components, including your solar panel frames, racking, inverter chassis, and electrical panels, must be bonded together and connected to a ground rod (or multiple ground rods) driven into the earth. This provides a safe path for fault currents in case of a short circuit or lightning strike. Additionally, every circuit, both DC and AC, needs overcurrent protection in the form of fuses or circuit breakers. These devices are designed to trip and cut power if a circuit draws too much current, preventing overheating, fire, and damage to components. Finally, clear and accurate labeling of all wires, breakers, and disconnects is essential for safety, troubleshooting, and future maintenance. Even for off-grid homes not subject to strict municipal codes, adhering to National Electrical Code (NEC) standards is highly recommended for safety and peace of mind. For a deeper understanding of these crucial safety steps, refer to Off-Grid Solar Safety and Grounding.
Commissioning, Maintenance, and Future-Proofing
You've built it! Now it's time to bring your system to life, learn how to care for it, and prepare for whatever your off-grid future holds. This final stage is about ensuring reliability and maximizing your investment.
Initial System Startup and Testing
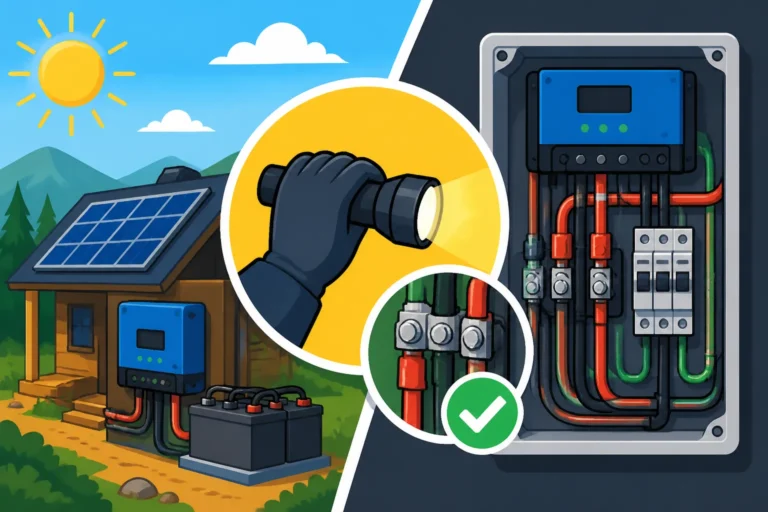
The moment of truth! Before you flip the main switch, double-check every single connection: every wire, every fuse, every breaker. Ensure all components are securely mounted and properly grounded. Use your multimeter to verify voltages at various points, ensuring they match your design specifications and that there are no unexpected readings. Start by turning on the main DC breaker from the battery bank to the inverter, then activate the charge controller and solar array breakers. Listen for any unusual sounds, and check for any smoke or burning smells. Assuming everything looks good, carefully power up your inverter. Many inverters will perform a self-test before providing AC output.
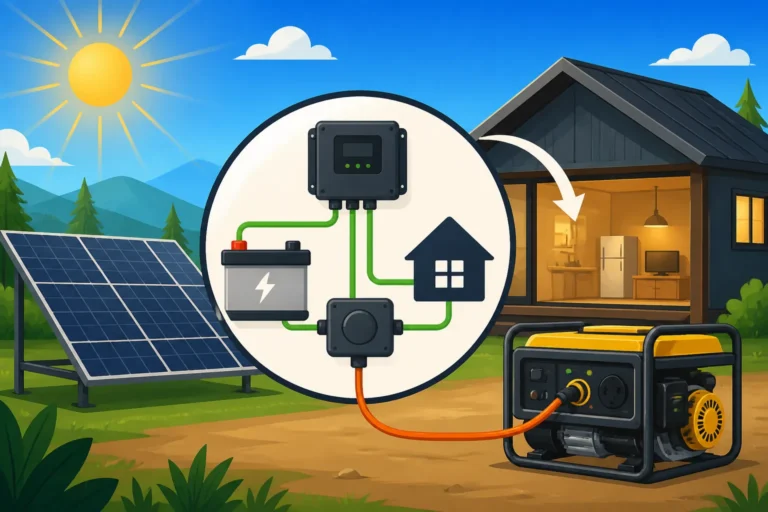
Once the inverter is online and providing AC power, you can start testing your home's loads. Begin with small, non-critical loads (like a single light bulb) and gradually add more appliances, monitoring your system's performance at each step. Keep an eye on your battery monitor – it will show you the current flowing in and out of your batteries, their state of charge, and voltage. This initial testing phase is also when you'll configure your charge controller and inverter settings, such as battery charging parameters, low-voltage disconnects, and generator auto-start (if applicable). Don't panic if everything isn't perfect immediately; minor adjustments and troubleshooting are common. Our guide on How to Test an Off-Grid Solar System offers more detailed steps for this exciting phase.
Long-Term Maintenance for Peak Performance
An off-grid solar system, like any complex machine, requires ongoing care to operate efficiently and reliably for years to come. Neglecting maintenance can lead to reduced performance, premature component failure, and costly repairs. The good news is that most maintenance tasks are relatively straightforward and can be handled by the homeowner.
Regularly inspect your solar panels for dirt, dust, leaves, or snow accumulation. Cleaning them periodically, especially in dry, dusty areas or after a heavy winter, can significantly improve their energy production. Check all wiring connections annually for corrosion or loose terminals, especially on the battery bank, and tighten them as needed. For lead-acid batteries, monitor water levels and check specific gravity. Lithium batteries require less direct maintenance but benefit from monitoring their Battery Management System (BMS) data. Pay attention to your inverter and charge controller displays for any error codes or unusual readings. Seasonal adjustments to your panel tilt angle can dramatically increase energy harvest, especially in winter when the sun is lower in the sky. Keeping a log of your system's performance, like daily energy production and consumption, can help you identify any subtle dips in performance that might indicate an issue. For a detailed checklist, check out our Off-Grid Solar Maintenance Guide.
Expanding Your System as Needs Grow
One of the great advantages of a well-designed off-grid solar system is its modularity, allowing for future expansion. It's smart to think about potential future needs even during your initial planning phase. Perhaps you start with a small cabin system, but later decide to add more appliances like a freezer, or even expand your living space.
Designing for expansion often means selecting an inverter and charge controller that have some headroom for additional capacity. For example, if your initial needs suggest a 3000W inverter, opting for a 5000W model from a brand like Sol-Ark or Victron initially might seem like an overspend, but it could save you the cost of a full inverter upgrade later. Similarly, choose a charge controller that can handle more solar input than your current array. Adding more panels is often as simple as wiring them into an existing string or adding new strings to your charge controller, provided it has the capacity. Expanding your battery bank is also straightforward, assuming you stick to the same battery type and voltage. You can simply add more batteries in parallel to increase amp-hour capacity. However, it's crucial to ensure all batteries in an expanded bank are of similar age and state of health for optimal performance. Planning for this kind of growth from the outset, as discussed in How to Design an Expandable System, ensures your off-grid home can adapt to your evolving lifestyle without requiring a complete system overhaul.
Disclaimer
The information provided in this guide is for general informational purposes only and does not constitute professional electrical advice. Working with electricity can be dangerous. Always consult with a qualified electrician or solar professional before installing or modifying any electrical system to ensure safety and compliance with all applicable codes and regulations.