How to Install Ground-Mounted Solar Panels
Tired of wrestling with complex roof angles, worrying about structural integrity, or dealing with persistent shading issues on your home or cabin? Ground-mounted solar panels offer a fantastic alternative, providing unmatched flexibility in placement and often superior performance, but figuring out how to properly install them can feel like a daunting challenge. This comprehensive guide is here to demystify the process, walking you through every step to confidently set up your ground-mounted off-grid solar array for reliable, independent power.
Why Choose Ground-Mounted Solar Panels for Your Off-Grid Setup
When you're building an off-grid solar system, one of the biggest decisions you'll face is where and how to install your solar panels. While roof mounts are common, ground mounts offer a host of advantages, especially for properties with ample space or specific site challenges. It's not just about getting the panels up; it's about optimizing their performance and ensuring their longevity.
Advantages Over Roof-Mounted Systems
Ground-mounted systems offer a level of flexibility that roof-mounted setups simply can't match. For starters, you're not constrained by the existing angle or orientation of your roof. This means you can perfectly position your panels to capture the maximum amount of sunlight throughout the day and across seasons, which is crucial for maximizing your energy harvest when living off-grid. Think about those long winter months when the sun sits lower in the sky; with an adjustable ground mount, you can easily tweak the tilt angle to catch those precious rays, significantly improving your system's efficiency.
Furthermore, ground mounts make maintenance a breeze. Cleaning snow, leaves, or dust off panels that are just a few feet off the ground is much safer and easier than climbing onto a potentially steep or slick roof. This improved accessibility translates directly into better performance over time, as clean panels generate more power. If you ever need to perform repairs or expand your system, working at ground level is inherently less risky and more convenient. For anyone serious about long-term, self-sufficient living, the ease of access and maintenance can be a game-changer.
Common Scenarios Where Ground Mounts Excel
Ground mounts are particularly well-suited for several specific off-grid scenarios. If you have a large property with open, unshaded areas, a ground mount allows you to fully utilize that space for maximum solar gain without impacting the aesthetics or structural integrity of your buildings. Consider a remote homestead in Montana with sprawling fields; a ground mount can be placed far from any trees or future construction, ensuring uninterrupted sunlight.
They are also ideal for properties where the roof isn't suitable for solar — perhaps it's too old, too small, oddly shaped, or heavily shaded by surrounding trees or other structures. For instance, if you're setting up a Off-Grid Solar Cost for a Remote Cabin deep in the woods, and the cabin roof is constantly shaded by tall pines, a ground mount in a nearby clearing becomes the obvious solution. They also offer greater customization for system expansion; as your energy needs grow, adding more panels to a ground array is often simpler than re-engineering a roof system. This scalability is a huge benefit for those who plan to incrementally build out their off-grid capabilities.
The Essential Planning Stage for Ground Mount Installation
Before you even think about digging holes or ordering equipment, a thorough planning stage is absolutely critical. Skipping this step is one of the biggest Off-Grid Solar Panels Installation Mistakes to Avoid and can lead to costly errors, poor performance, and even safety hazards down the line. Proper planning ensures your system is optimized for your specific needs and location.
Site Selection and Shading Analysis
Choosing the right spot for your ground mount is paramount. You need an area that receives ample, unobstructed sunlight throughout the entire day, every day of the year. This isn't just about the summer sun; remember to consider the sun's path in winter when it's lower in the sky and shadows are longer. Use a sun path calculator or a simple shade analysis tool (or even just observe with a compass and your own eyes at different times of day and seasons) to map out potential shading from trees, buildings, and other obstacles. A single branch causing shade on even one panel can significantly reduce the output of an entire series string.
Optimal orientation is usually true south in the Northern Hemisphere (or true north in the Southern Hemisphere). However, depending on your energy usage patterns, a slightly southeast or southwest tilt might be beneficial to capture more morning or afternoon sun, respectively. Consider factors like soil stability — a rocky, uneven, or excessively wet area will complicate foundation work. Think about future plans for your property; will you plant trees that will eventually cast shadows, or build a shed that obstructs light? Planning for the long haul will save you headaches and ensure your ground mount delivers consistent power for years to come.
Permitting, Regulations, and Local Codes
While many off-grid installations, especially in very remote areas, might bypass traditional permitting processes, it's always wise to check your local county or municipal regulations. Even if you're off-grid, there might be zoning restrictions on structure height or proximity to property lines. Some areas may require electrical permits even for self-contained systems, particularly if you're integrating with a cabin's existing wiring or installing a larger setup that could be considered a "structure."
For example, in many parts of Arizona, even if you're off-grid, installing a substantial ground-mount structure might require a building permit due to its size and impact on the land. Ignoring these can lead to fines, forced removal, or difficulties if you ever decide to sell the property. It's always best to make a quick call to your local building department. They can clarify requirements and provide guidance on complying with the National Electrical Code (NEC) standards, which are often adopted even in areas without direct utility connection mandates. Understanding Off-Grid Solar Permits and Codes from the outset will prevent costly delays or rework later.
System Sizing and Component Compatibility
Before you purchase anything, you need a clear picture of your energy needs. This involves doing a thorough Off-Grid Solar System Sizing Guide by calculating your daily energy usage in watt-hours. List every appliance, light, and electronic device you plan to run, noting its wattage and how many hours per day you'll use it. Don't forget those high-surge items like well pumps or power tools! This will determine how many solar panels you need, the size of your battery bank, and the capacity of your inverter and charge controller.
Once you have your sizing, ensure all components are compatible. For example, your charge controller needs to be able to handle the voltage and current output of your solar array, and your inverter must be able to convert your battery's DC power into the AC power needed by your appliances. Many off-grid enthusiasts often recommend brands like Renogy for their integrated kits and comprehensive component ranges, making compatibility easier. You'll also need to decide on your system voltage — 12V, 24V, or 48V — which impacts wiring requirements and component choices. Understanding How to Choose System Voltage is critical for efficiency and safety.
Gathering Your Ground Mount Components and Tools
Once your planning is done, it's time to gather everything you'll need. This is where your detailed planning pays off, as you'll know exactly what components and tools are necessary for a smooth installation. Don't skimp on quality, especially for structural and electrical components; your off-grid power depends on it.
Essential Components of a Ground-Mounted System
At the heart of any ground-mounted solar system are, of course, the solar panels themselves. For off-grid use, monocrystalline panels are a popular choice due to their efficiency and durability, and you can find a wide variety of these on platforms like Amazon. You'll also need a robust racking system designed specifically for ground mounting. These come in various forms, from simple fixed-tilt structures to more advanced adjustable-tilt designs that allow you to change the angle seasonally. Some kits even include everything from the panels to the mounting hardware, streamlining the process.
Beyond the panels and racking, you'll require electrical components:
- Charge Controller: This regulates the power flowing from your panels to your batteries, protecting them from overcharging. MPPT controllers are generally recommended for their higher efficiency, especially in larger systems.
- Battery Bank: The cornerstone of any off-grid system, storing the energy generated by your panels. Lithium iron phosphate (LiFePO4) batteries are increasingly popular for their long lifespan and deep discharge capabilities, though lead-acid options are still viable for tighter budgets.
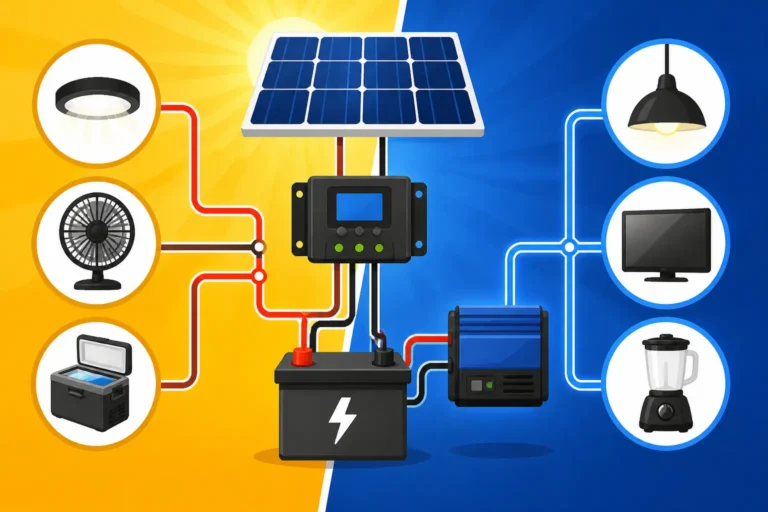
- Inverter: Converts the DC power stored in your batteries into usable AC power for your household appliances. Ensure it's sized correctly for your peak load, including any surge requirements.
- Disconnects and Fuses/Breakers: Crucial safety components that allow you to safely shut down different parts of your system and protect against overcurrents.
- Wiring and Cabling: You'll need appropriate gauge wires for both the DC (panel to charge controller, charge controller to battery) and AC (inverter to loads) sides of your system, along with MC4 connectors for your panels. Remember, How to Size Wire and Cables correctly is not just about efficiency but also safety.
Necessary Tools and Safety Gear
A successful and safe installation requires the right tools. Here's a comprehensive list:
| Category | Specific Tools & Gear | Purpose |
|---|---|---|
| Site Prep | Shovel, Post-hole digger, Level, Tape measure, String line | Digging foundations, ensuring level ground and alignment |
| Structural | Wrenches (adjustable & specific sizes), Socket set, Drill with appropriate bits, Impact driver, Concrete mixer (if pouring footings) | Assembling racking, securing bolts, preparing foundations |
| Electrical | Wire strippers, Crimping tool (for MC4s, lugs), Multimeter, Volt/Amp meter, Cable ties, Conduit bender (if using conduit) | Preparing and connecting wiring, testing circuits, organization |
| Safety | Safety glasses, Work gloves, Hard hat, Steel-toe boots, First-aid kit | Personal protection, emergency preparedness |
| Marking/Misc. | Marking paint or chalk, Pencil, Utility knife, Saw (for wood/conduit) | Layout, cutting materials |
Always prioritize safety. Wear your safety glasses when drilling or cutting, use gloves to protect your hands, and ensure you have a clear workspace. Working with electricity, even low-voltage DC, carries risks, so a How to Ground an Off-Grid Solar System plan and careful attention to detail are paramount.
A Step-by-Step Guide to Ground-Mounted Solar Panel Installation
Now that you've planned everything out and gathered your components and tools, it's time to get your hands dirty! This section will walk you through the physical installation process, from laying the foundation to mounting your panels.
Preparing the Site and Laying the Foundation
The first real step is to meticulously prepare your chosen site. Clear any vegetation, rocks, or debris that might interfere with your installation or cast shadows. Mark out the exact footprint of your ground mount racking system according to your design and the manufacturer's instructions. Use string lines and a tape measure to ensure everything is perfectly square and level. This precision at the start prevents major headaches later on.
Next comes the foundation. The most common methods involve concrete piers or ground screws.
- Concrete Piers: Dig post holes to the recommended depth, typically below the frost line in colder climates to prevent shifting. These holes should be wider at the bottom (a "bell" shape) for better anchorage. Pour concrete, ensuring that the posts or brackets that will hold your racking are perfectly plumb and level. Allow the concrete to fully cure, which can take several days, before putting any significant weight on it. This is a critical step for stability.
- Ground Screws (Earth Screws): These are heavy-duty, helical screws that are driven directly into the ground, often with specialized machinery or a large impact wrench. They are quicker to install and require no curing time, making them a popular choice for their efficiency. However, they may not be suitable for all soil types (e.g., very rocky or unstable ground).
Regardless of the method, double-check that your foundation points are precisely spaced and perfectly aligned before proceeding. A slight misalignment here can make assembling the racking nearly impossible or compromise its structural integrity.
Assembling the Racking Structure
With your foundation secure, it's time to build the actual racking that will support your solar panels. This process will vary slightly depending on the specific ground mount kit you've chosen, but generally involves assembling a frame of rails and support beams.
Start by attaching the main upright posts to your foundation elements. These are often adjustable in height, allowing you to fine-tune the tilt angle of your array. Once the uprights are securely fastened, connect the cross-members or horizontal rails. These rails are what the solar panels will eventually clamp onto. It's crucial during this stage to use your level frequently. Ensure all horizontal rails are perfectly level with each other and that the entire structure is plumb and square. Loose connections or an uneven frame will stress your panels and could lead to damage over time.
Follow the manufacturer's instructions meticulously for bolt tightening specifications. Over-tightening can strip threads or warp components, while under-tightening can lead to a wobbly, insecure array. Many systems, like those offered by Renogy, come with detailed assembly manuals that are a lifesaver during this stage. Remember, this structure needs to withstand strong winds, heavy snow loads, and the test of time, so take your time and do it right.
Mounting the Solar Panels
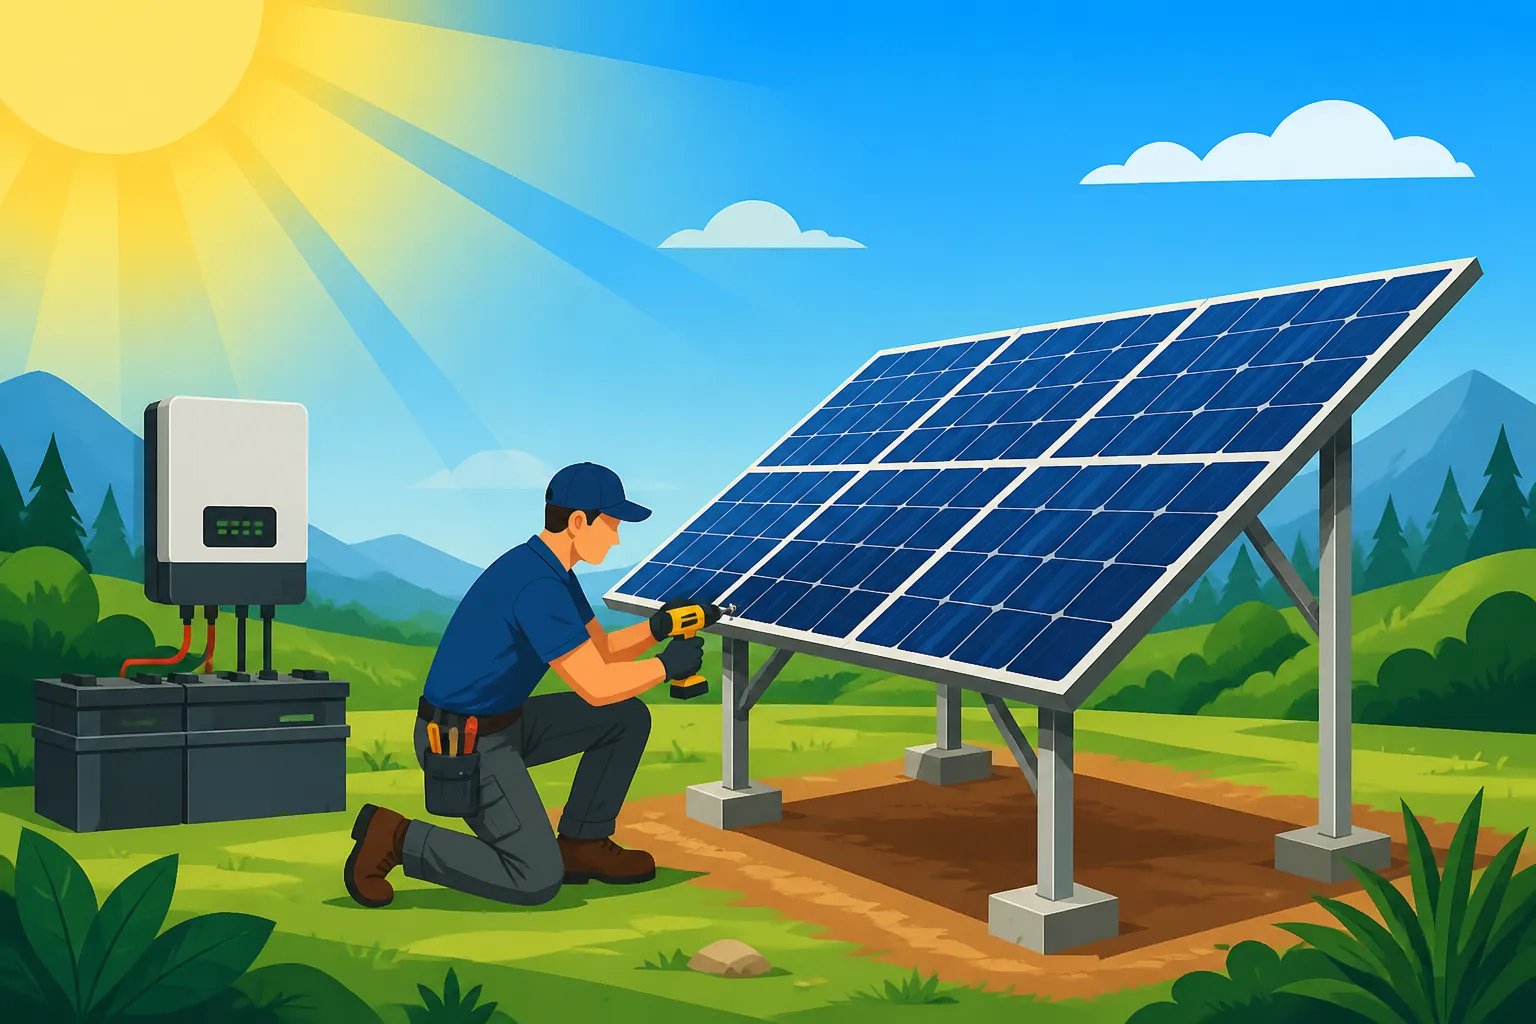
This is the most satisfying part of the physical installation – seeing your solar panels go onto the frame! Carefully lift each solar panel onto the racking structure. It's often a two-person job, especially for larger panels, to avoid bending or dropping them. Position the panels according to your design, leaving appropriate spacing between them if required by your specific mounting clamps.
Once positioned, secure the panels using the provided mid-clamps and end-clamps. Mid-clamps sit between two panels, while end-clamps secure the panels at the very ends of each row. These clamps typically slide into channels on the racking rails and are then tightened down. Ensure they are snug and secure, gripping the panel frames firmly without overtightening, which could damage the glass or frame. Double-check that all panels are flush and evenly spaced, creating a clean, professional-looking array.
Before you celebrate, walk around and give each panel a gentle tug. They should feel absolutely rock-solid. This final check ensures that your panels are securely mounted and ready to face the elements. You're now a big step closer to producing your own power! If you're looking for more general mounting advice, check out our guide on How to Mount Off-Grid Solar Panels.
Connecting Your Ground Mount Array to Your Off-Grid System
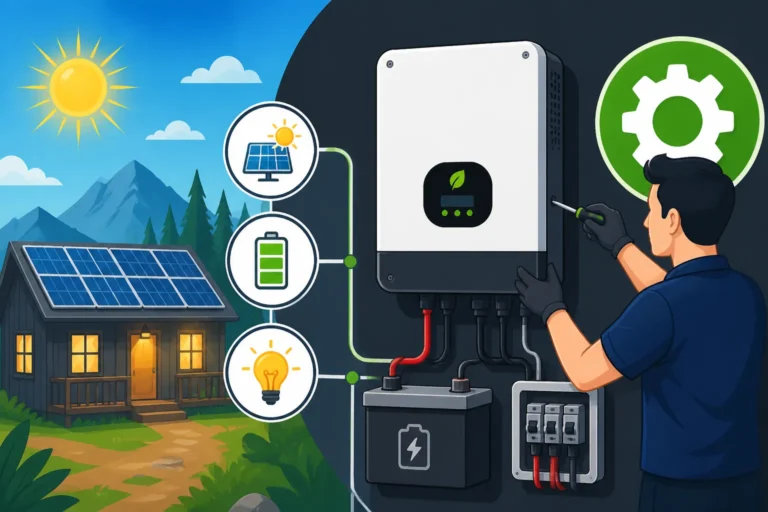
Once your ground-mounted solar panels are physically installed, the next critical phase is the electrical connection to your main off-grid power system. This involves a series of connections that safely route the generated electricity to your batteries and then to your appliances.
Wiring Solar Panels in Series and Parallel
The way you wire your solar panels together (your "array") determines the total voltage and current they produce. This, in turn, impacts the type and size of charge controller you'll need.
- Series Wiring: Connects the positive terminal of one panel to the negative terminal of the next. This increases the overall voltage of the array while keeping the current the same. For example, two 12V panels in series will produce 24V. Higher voltage arrays (e.g., 48V) are often more efficient for longer cable runs and larger systems, as they reduce current and thus minimize voltage drop and require thinner wires.
- Parallel Wiring: Connects all positive terminals together and all negative terminals together. This increases the total current while keeping the voltage the same. For example, two 10A panels in parallel will produce 20A at the same voltage as a single panel. This is useful for charging lower voltage battery banks (like 12V systems) without excessively high voltage.
Often, you'll use a combination of both series and parallel wiring. For instance, you might wire several panels in series to create a higher voltage string, and then connect multiple strings in parallel to achieve the desired total current at that higher voltage. Always refer to your Off-Grid Solar System Design Basics and the specifications of your charge controller to ensure your array's voltage and current are within its operating range. For safety and organization, consider using a combiner box where your series strings can be safely combined in parallel before heading to the charge controller. These boxes typically include fuses or breakers for each string, adding an extra layer of protection.
Connecting the Charge Controller and Battery Bank
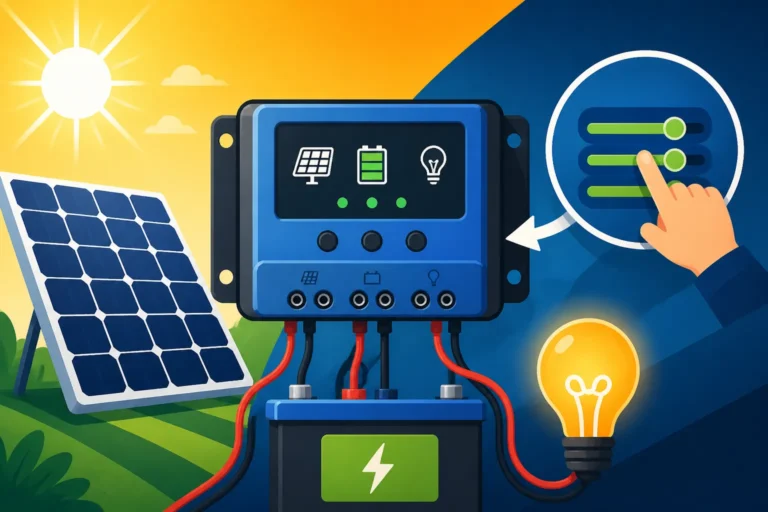
The charge controller is the brain that manages the power flow from your solar panels to your batteries. Choosing the right type, such as an MPPT controller, is crucial for maximizing efficiency. Once you have your array wired, run the positive and negative wires from your solar array (or combiner box) to the "PV Input" terminals on your charge controller.
Next, connect the charge controller to your battery bank. Run appropriately sized wires from the "Battery Output" terminals of the charge controller to the positive and negative terminals of your battery bank. It is absolutely essential to install an inline fuse or circuit breaker on the positive battery cable, as close to the battery as possible. This protects your system from short circuits originating from the battery. When connecting to your batteries, connect the positive first, then the negative, to avoid sparks. For lithium batteries, ensure your charge controller's settings are configured specifically for LiFePO4 chemistry to ensure proper charging and longevity. Our guide on How to Connect a Charge Controller offers more detailed instructions.
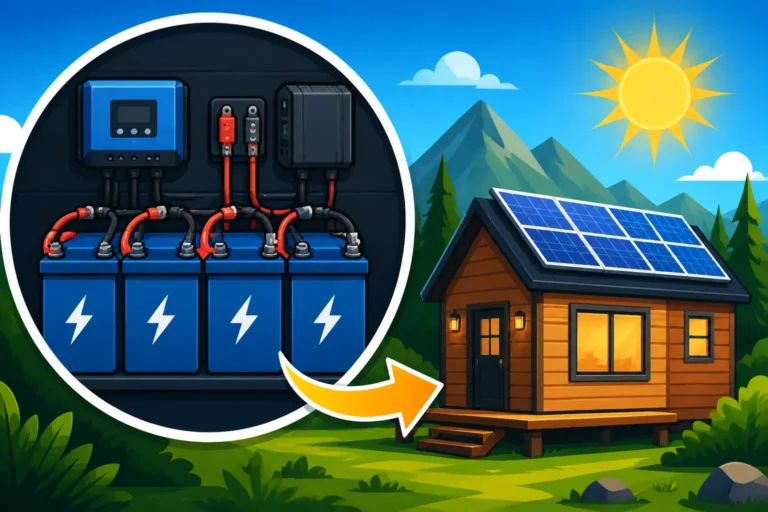
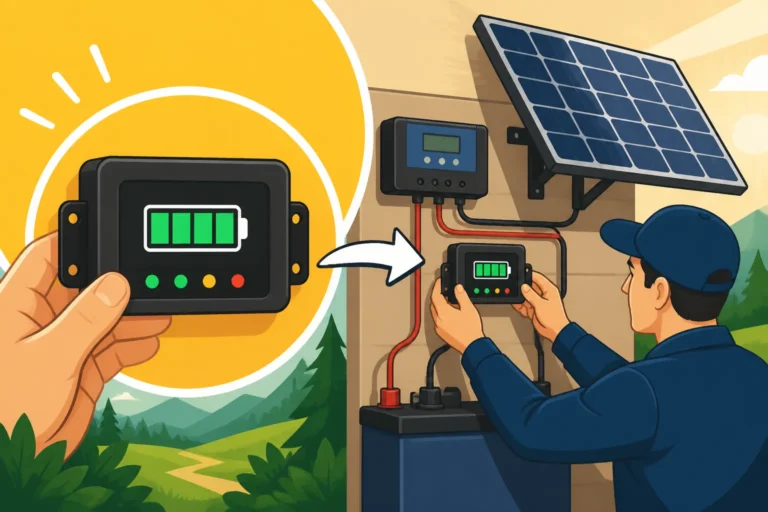
Your battery bank itself might involve multiple batteries wired together in series, parallel, or a combination, depending on your desired voltage and amp-hour capacity. For safety and optimal performance, especially with large banks, consider adding a battery monitor to keep an eye on your state of charge, voltage, and current.
Integrating the Inverter and Grounding the System
The inverter is the final link in getting usable power to your home. It connects directly to your battery bank, not the charge controller. Run heavy-gauge cables from your battery bank (with another appropriate fuse/breaker) to the DC input terminals of your inverter. The size of these cables is crucial due to the high currents involved on the DC side of a large inverter.
Once the DC side is connected, you'll connect your AC loads (your household wiring or individual appliances) to the AC output terminals of the inverter. Many modern off-grid inverters, especially those designed for whole-home use, have an integrated AC distribution panel or can be wired into a separate subpanel. Ensure your inverter is a pure sine wave inverter if you plan to run sensitive electronics, as it produces clean power identical to grid power.
Finally, and this is non-negotiable for safety, you must properly ground your entire system. This means connecting the metal frames of your solar panels, the racking structure, the charge controller, the inverter chassis, and your battery enclosure to an earth ground. This is typically done by driving copper grounding rods into the earth and connecting all metal components to these rods with heavy-gauge grounding wire. A proper ground provides a safe path for fault currents, protecting you and your equipment from electrical surges and lightning strikes. Consult the NEC guidelines and local codes for specific grounding requirements in your area. Off-Grid Solar Safety and Grounding is a topic you absolutely cannot afford to overlook.
Maintaining and Optimizing Your Ground-Mounted Off-Grid Solar System
Installing your ground-mounted solar system is a significant achievement, but it's not a set-it-and-forget-it endeavor. Regular maintenance and occasional optimization are key to ensuring your off-grid power supply remains reliable and efficient for decades.
Routine Cleaning and Inspections
Just like anything exposed to the elements, your solar panels will get dirty. Dust, pollen, bird droppings, and leaves can accumulate on the surface, significantly reducing their power output. Make it a habit to inspect and clean your panels regularly. How often depends on your environment – a dusty desert climate might require weekly cleaning, while a rural area with less airborne particulate might only need a quarterly wipe-down.
Use a soft brush or cloth and plain water (a hose is usually sufficient) for cleaning. Avoid harsh chemicals or abrasive materials that could scratch the panel surface. The best time to clean is usually in the morning or evening when the panels are cool to the touch, preventing water from evaporating too quickly and leaving streaks. Beyond cleaning, conduct visual inspections of your entire array. Look for any loose wiring, damaged cables, corrosion on terminals, or signs of animal nesting under the panels. Check the racking for any loose bolts, signs of rust, or structural fatigue. Addressing small issues proactively can prevent major problems down the road. Our comprehensive Off-Grid Solar Maintenance Guide offers more tips.
Seasonal Adjustments and Performance Monitoring
One of the great advantages of many ground-mounted systems is the ability to adjust the tilt angle of your panels. In most Northern Hemisphere locations, the optimal tilt angle for year-round power is roughly equal to your latitude. However, for maximum winter performance, you'll want a steeper angle (latitude + 15 degrees or more) to better catch the lower sun. In summer, a shallower angle (latitude – 15 degrees) helps maximize output.
Making these seasonal adjustments, often in spring and fall, can significantly boost your energy harvest during critical times. For instance, in a cabin in northern Minnesota, adjusting the panels to catch more winter sun can mean the difference between relying heavily on a generator and having sufficient solar power. You can learn more about this in our guide on How to Orient Off-Grid Panels for Winter. Beyond physical adjustments, consider monitoring your system's performance. Many charge controllers and inverters come with displays or apps that show real-time power generation, battery state of charge, and historical data. By regularly checking these metrics, you can identify any dips in performance, troubleshoot issues, and ensure your system is running at its peak. If you notice your daily output decreasing without a clear reason (like excessive cloud cover), it might be time for a deeper inspection.
Troubleshooting Common Issues
Even with the best planning and installation, minor issues can pop up. Knowing how to troubleshoot common problems can save you from unnecessary service calls or frustrating power outages.
- No Power Output: First, check all breakers and fuses in your system, from the combiner box to the inverter. A tripped breaker or blown fuse is a frequent culprit. Then, check the connections at your solar panels, charge controller, and batteries. Ensure all wires are firmly seated and free from corrosion.
- Low Power Output: This often points to shading, dirty panels, or an issue with one or more panels in your array. Re-evaluate your shade analysis, clean your panels, and use a multimeter to check the voltage and current output of individual panels or strings. A faulty diode in one panel can impact an entire string.
- Battery Issues: If your batteries aren't charging fully or are discharging too quickly, check the charge controller settings to ensure they match your battery chemistry and voltage. Verify that your battery terminals are clean and tight. For lead-acid batteries, check electrolyte levels.
- Inverter Problems: If your inverter isn't producing AC power, check its fault codes or indicator lights. It might be due to low battery voltage, an overload, or an internal fault. Disconnect some loads to see if it's an overload issue, or check your battery voltage.
Always ensure you safely disconnect power from relevant components before troubleshooting electrical issues. If you're unsure or uncomfortable, don't hesitate to consult with a qualified electrician or solar technician. A little vigilance goes a long way in ensuring your off-grid power is always there when you need it.
Disclaimer
The information provided in this guide is for general informational purposes only and does not constitute professional advice. Off-grid solar installation involves working with electricity and heavy equipment, which can be dangerous. Always consult with qualified professionals, adhere to local building codes, and prioritize safety. The author and publisher are not responsible for any injury, damage, or loss incurred as a result of following the information presented herein.