Best 400W Off-Grid Solar Kit
Feeling overwhelmed trying to figure out how to get reliable power off-grid, especially for smaller needs? Many folks grapple with finding a solar solution that's powerful enough to run essentials but not so massive it breaks the bank or becomes a complex installation nightmare. This guide is all about cutting through the noise to help you discover the best 400W off-grid solar kit that perfectly balances your power needs with practicality and budget.
Understanding What a 400W Off-Grid Solar Kit Can Power
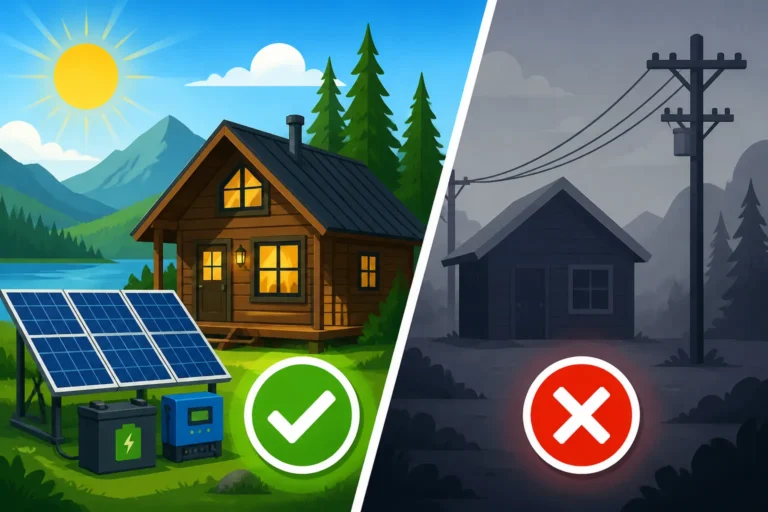
When you're looking at a 400-watt off-grid solar kit, it's easy to get caught up in the numbers and wonder, "Is this actually enough for my stuff?" The truth is, 400 watts isn't going to run a full-sized household with a central air conditioner and an electric dryer, but that's not what it's designed for. This wattage sweet spot is ideal for specific, often smaller-scale applications where you need dependable power for a handful of essential items. It’s perfect for those stepping into the off-grid world, looking for a robust solution for recreational vehicles, tiny homes, cabins, or as a reliable emergency backup.
Typical Use Cases for a 400W System
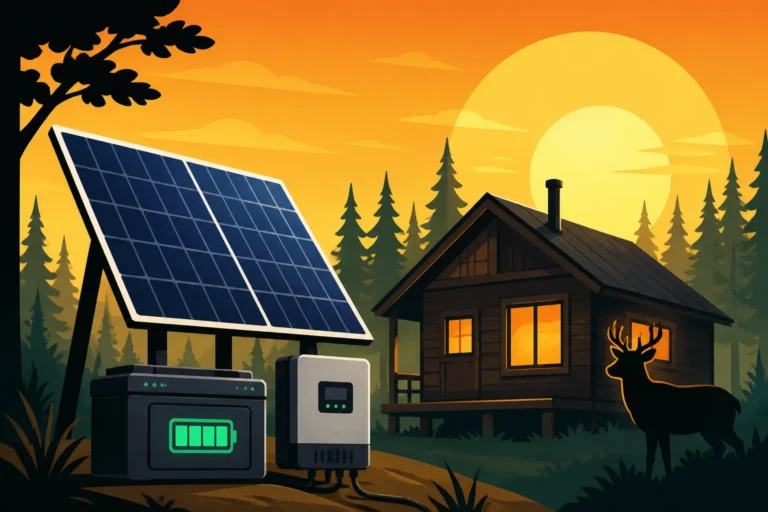
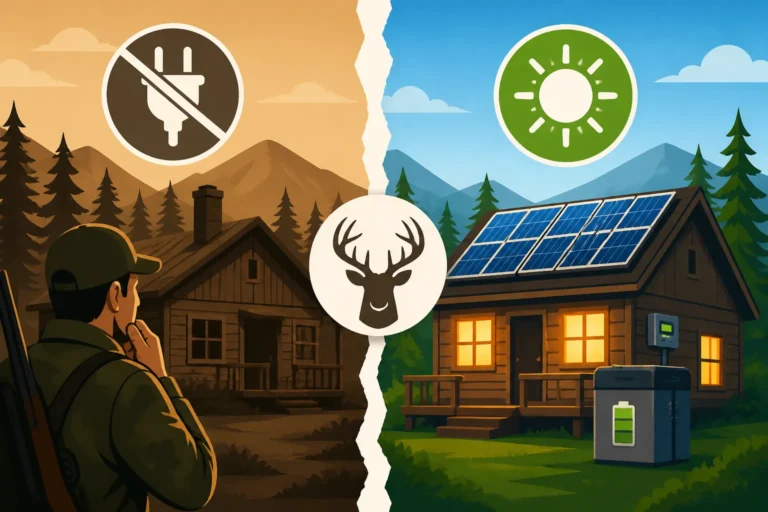
Imagine your small hunting cabin nestled deep in the woods, or your trusty RV that takes you on weekend adventures. Maybe you have a remote workshop where you tinker with projects, or a small shed that needs some lighting and power for a few tools. This is where a 400W kit truly shines. It’s about powering necessities and creature comforts without overdoing it. Think about charging your laptop and phone, running a few LED lights, keeping a small refrigerator or cooler cold, and even powering a fan on a hot afternoon. For many, this level of power offers a significant step towards energy independence without the monumental commitment of a full-scale residential system.
What Appliances You Can Run
To give you a real-world picture, let's break down what kind of appliances a 400W system can realistically handle. The key here isn't just the "wattage" of the solar panels, but how much energy (watt-hours or amp-hours) your battery bank can store, and how much power your inverter can deliver at any given moment.
A typical 400W solar panel array, assuming good sun exposure for several hours a day, could theoretically generate around 1.6 to 2.4 kilowatt-hours (kWh) per day in optimal conditions (that's 400W x 4-6 peak sun hours). That stored energy, delivered through a capable inverter, allows you to run things like:
- Small Refrigerators/Coolers: A highly efficient 12V mini-fridge might draw 40-60 watts when running, but it cycles on and off. A 400W system can comfortably keep one cold.
- LED Lighting: Multiple LED bulbs (5-10 watts each) can be run for hours.
- Charging Devices: Laptops (20-60W), smartphones (5-15W), tablets, and camera batteries are easily charged.
- Fans: A small oscillating fan (20-50W) for comfort.
- Water Pumps: Small 12V water pumps for a sink or shower (typically 50-100W) can be used periodically.
- Basic Entertainment: A small TV (50-100W) or a sound system.
It's all about balancing your energy consumption with your generation and storage. If you're wondering how to figure this out for your specific setup, a deep dive into How Many Watts of Solar You Need can be incredibly helpful for tailoring your expectations.
Key Components of a Quality 400W Off-Grid Solar Kit
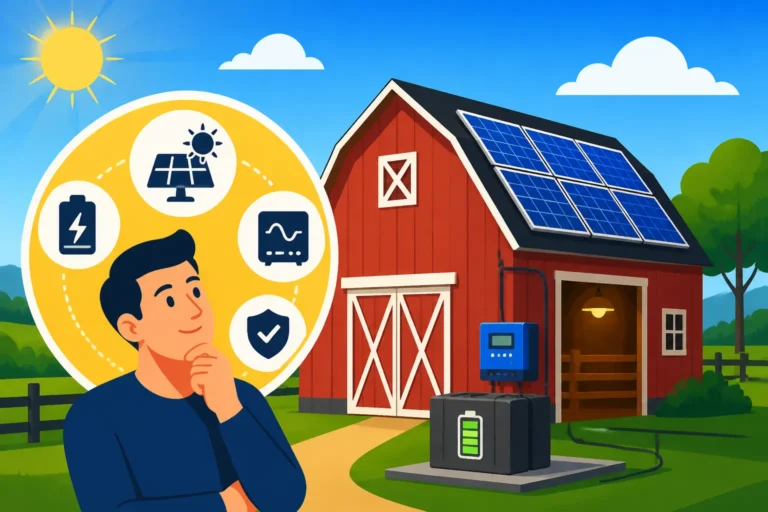
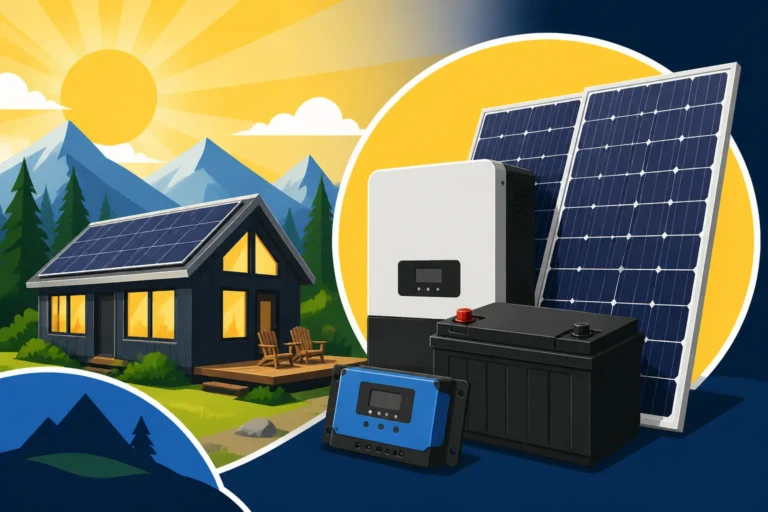
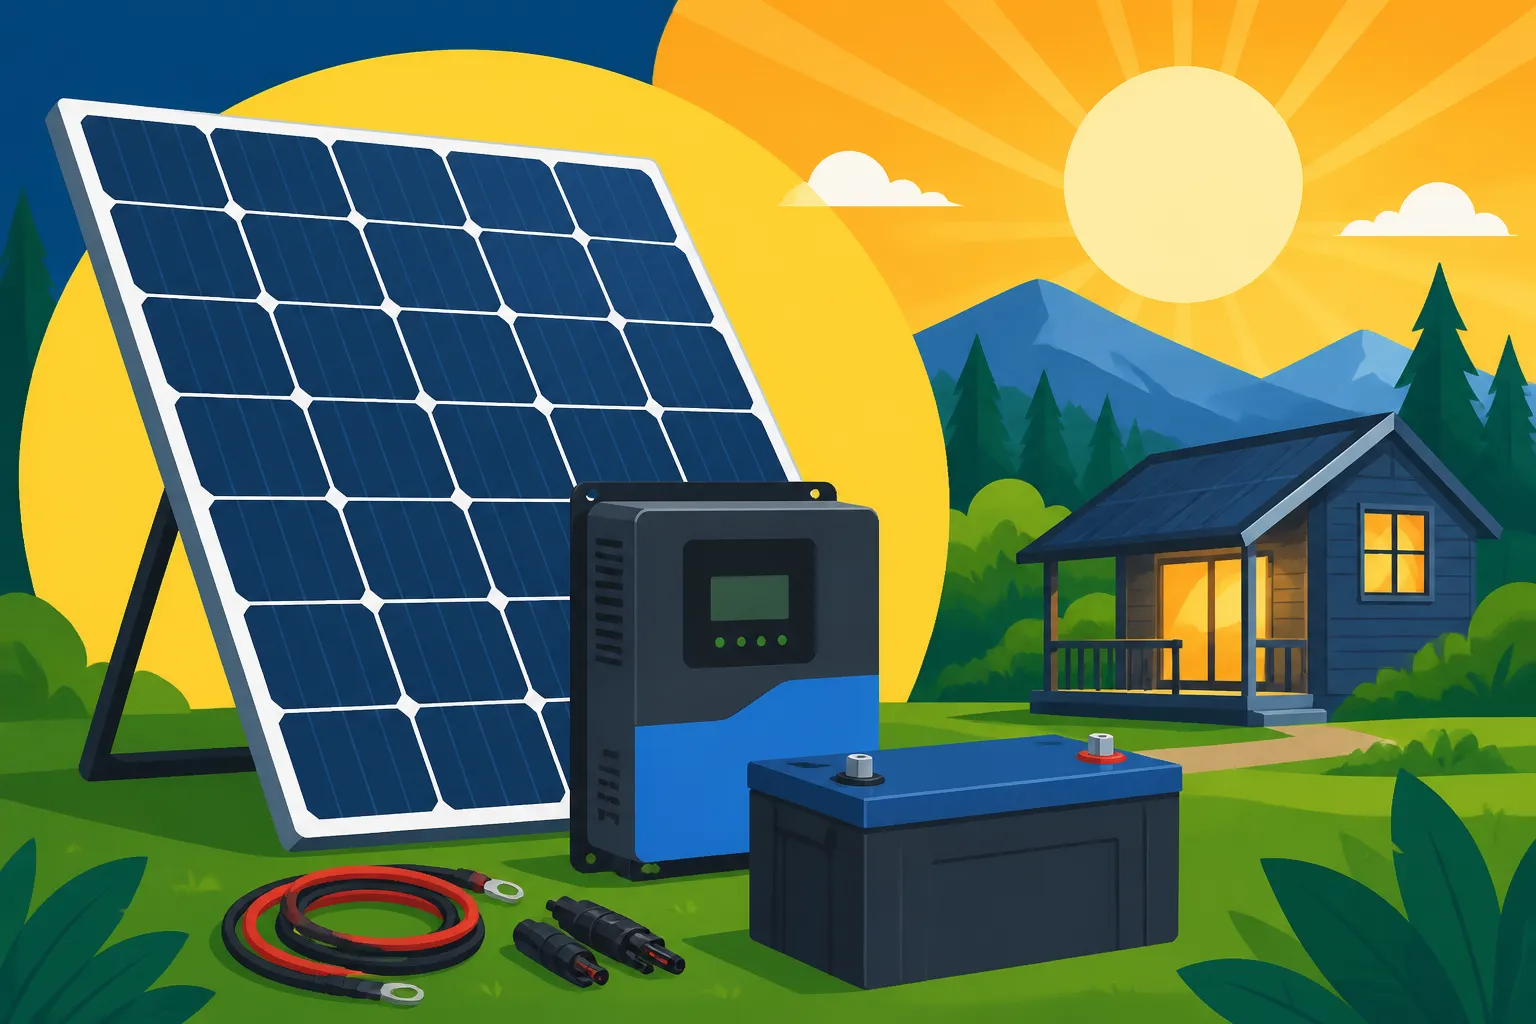
When you're sifting through various 400W off-grid solar kits, you'll quickly realize they aren't all created equal. The heart of any reliable off-grid system lies in its components. A good kit will provide a balanced set of high-quality parts that work seamlessly together, offering efficiency, durability, and safety. Understanding each piece helps you make an informed decision, especially if you're leaning towards a more DIY approach or expanding an existing setup.
The Solar Panels
Naturally, the solar panels are the stars of the show. For a 400W kit, you'll typically see either two 200W panels, four 100W panels, or sometimes even a single larger panel. The choice here often comes down to available space and desired flexibility. Monocrystalline panels are generally preferred for their higher efficiency and better performance in low-light conditions, making them a solid choice for most off-grid applications.
Consider the physical characteristics:
- Rigid vs. Flexible: Rigid panels are more durable and efficient per square foot but are heavier and require more robust mounting. Flexible panels are lighter and can be curved, making them excellent for RVs or boats where weight and aerodynamics matter, though they tend to be less efficient and have a shorter lifespan.
- Mounting: Does the kit include mounting hardware? For a roof mount on a cabin or an RV, you'll need sturdy brackets. For portable kits, a kickstand design is often included.
- Connectors: Look for standard MC4 connectors, which are common and ensure easy, secure connections.
The Charge Controller
This often-overlooked component is crucial. The charge controller acts as the brain between your solar panels and your battery bank. Its job is to regulate the voltage and current coming from the panels, ensuring your batteries are charged efficiently and, more importantly, safely, preventing overcharging which can damage batteries.
You'll usually encounter two main types:
- PWM (Pulse Width Modulation): These are simpler, more affordable, and work best when the voltage of your solar array closely matches your battery bank's voltage (e.g., 12V panels for a 12V battery). They effectively reduce the panel voltage to match the battery.
- MPPT (Maximum Power Point Tracking): MPPT controllers are more advanced and significantly more efficient, especially in varying weather conditions or when panel voltage is higher than battery voltage (e.g., 24V or 48V panels charging a 12V battery). They convert excess voltage into amperage, maximizing the power harvested from your panels. For a 400W system, an MPPT controller is generally recommended if budget allows, as it extracts more power from your panels throughout the day. If you want to know more about the different types, check out MPPT vs PWM Charge Controllers.
The Battery Bank
The battery bank is your energy storage. Without it, your solar power is only available when the sun is shining directly on your panels. For a 400W kit, you'll typically be looking at a 12V system, though some larger kits might venture into 24V.
Battery chemistry is a big decision:
- Lead-Acid (AGM or Gel): These are traditional, more affordable upfront, but heavier, have a shorter lifespan (typically 2-5 years), and require more careful management (like not discharging them below 50%). They also often need more ventilation.
- Lithium Iron Phosphate (LiFePO4): These are the modern champions. They cost more initially but offer a significantly longer lifespan (10+ years), are much lighter, can be discharged almost completely without damage, and charge faster. For a reliable, low-maintenance 400W system, especially for continuous use in an RV or cabin, LiFePO4 batteries like those from brands like Battle Born or EG4 are often the superior choice. Learn more about the comparison in LiFePO4 vs Lead-Acid Battery Cost.
For a 400W system, a battery capacity of at least 100-200 amp-hours (Ah) at 12V is a good starting point to give you a day or two of autonomy for basic needs, depending on your actual usage. If you're considering expanding your system in the future, it's wise to consider How to Budget for an Off-Grid Solar System from the start.
The Power Inverter
Your inverter is what converts the DC (direct current) power stored in your batteries into AC (alternating current) power, which is what most standard household appliances use.
For a 400W solar kit, you might see inverters ranging from 500W to 1500W. The wattage rating of the inverter needs to be higher than the combined surge wattage of all AC appliances you plan to run simultaneously.
Key inverter considerations:
- Pure Sine Wave: This is essential for sensitive electronics like laptops, medical devices (like CPAP machines), and anything with a motor. It produces clean, reliable power that mirrors grid power.
- Modified Sine Wave: These are cheaper but can damage or run certain electronics inefficiently. Avoid them for anything more than basic resistive loads like incandescent lights or simple heating elements.
- Inverter Size: While your solar array is 400W, your inverter might be larger (e.g., 1000W or 1500W). This is normal and necessary to handle the momentary "surge" power that appliances like refrigerators or power tools demand when they first start up.
Many modern kits, especially all-in-one solar generators, integrate the charge controller and inverter into a single unit, simplifying wiring and setup.
Choosing the Best 400W Off-Grid Solar Kit for Your Needs
Navigating the landscape of 400W off-grid solar kits can feel like a maze, especially with so many options promising the world. The "best" kit isn't a one-size-fits-all answer; it's the one that aligns perfectly with your specific power requirements, budget, technical comfort level, and intended application. Are you a weekend warrior, a full-time van lifer, or setting up emergency backup? Your answer will guide your choice.
All-in-One Solar Generators vs. Component-Based Kits
This is often the first big decision point for anyone looking at a 400W system. Both have their distinct advantages and disadvantages.
All-in-One Solar Generators
These are pre-assembled units that combine the battery, inverter, and charge controller into a single, portable box. They are incredibly user-friendly and essentially plug-and-play. You simply connect your solar panels to the input, and you have AC and DC outlets ready to go.
- Pros:
- Simplicity: No complex wiring, just plug in your panels and devices.
- Portability: Many models are designed to be easily moved, making them great for camping, RVs, or tailgating.
- Integrated Monitoring: Often come with digital displays showing input/output wattage, battery state of charge, and other useful data.
- Quick Setup: Can be up and running in minutes.
- Cons:
- Less Customizable: You're limited to the components inside. Upgrading one part (like the battery) usually isn't an option without replacing the whole unit.
- Higher Cost Per Watt-Hour: Often more expensive for the equivalent storage and output compared to a DIY component system.
- Limited Expandability: While some units allow external battery expansion, it's not as flexible as a component system.
Brands like Jackery are very popular in this space, offering units that integrate a capable battery and inverter, often paired with their own foldable solar panels. For example, a Jackery Explorer 1000 Pro paired with a 200W solar panel (you'd need two to reach 400W input capability effectively) offers a complete, highly portable power solution that’s ready to go. Their units are known for reliability and ease of use, making them an excellent choice for casual users or those who prioritize convenience.
Component-Based Kits
These kits provide individual components (panels, battery, charge controller, inverter, wiring) that you assemble yourself. They require more technical know-how for installation but offer unparalleled flexibility.
- Pros:
- Customization: You can choose specific components that best fit your needs and budget. Want a super long-lasting LiFePO4 battery? You can pick it. Need a robust inverter for high surge loads? You can choose that too.
- Expandability: Easier to add more panels or batteries later as your power needs grow.
- Cost-Effective (often): Can sometimes be cheaper per watt-hour if you're willing to shop around and do the installation yourself.
- Repairability: If one component fails, you can replace just that part, not the entire system.
- Cons:
- Complexity: Requires more wiring knowledge and understanding of electrical principles.
- Time-Consuming: Installation takes longer and requires more tools.
- Less Portable: Usually designed for more permanent installations in cabins, RVs, or homes.
For a 400W setup, you might find kits from companies like Renogy or BougeRV that provide a full set of individual components. These are fantastic for those who want to understand their system inside and out, or who have specific requirements that an all-in-one unit just can't meet. Consider learning about Off-Grid Solar Kit Buying Mistakes to Avoid before diving into a component-based build.
Evaluating Key Features and Specifications
Once you've decided between an all-in-one or component kit, you'll need to drill down into the specifics.
- Battery Capacity: For a 400W array, a 100Ah to 200Ah 12V LiFePO4 battery (or equivalent in lead-acid) is a common starting point. This provides enough reserve for overnight power or cloudy days. The more autonomy you need, the larger your battery bank should be. You can dive deeper into How Many Batteries for an Off-Grid System for more precise calculations.
- Inverter Output: Make sure the continuous power rating of the inverter meets your highest expected simultaneous load. Don't forget to account for surge wattage, which can be 2-3 times higher for motors (like a fridge compressor) at startup.
- Charge Controller Type: As discussed, MPPT is generally superior for efficiency, especially if you have space constraints for panels or experience variable weather.
- Panel Quality and Durability: Check panel efficiency ratings and construction. Look for high-quality tempered glass and robust frames that can withstand weather.
- Included Cables and Accessories: Ensure the kit comes with all necessary cables (solar extension cables, battery cables), connectors, and fuses/breakers. The gauge of the wires is critical for safety and efficiency, especially for longer runs.
- Warranties and Customer Support: A good warranty on all components, especially the battery and inverter, provides peace of mind. Reliable customer support is invaluable if you encounter issues during installation or operation. Brands like Victron Energy, while not always offering full "kits" at 400W, are renowned for their individual components' quality and robust support, giving you a benchmark for what to look for even in smaller kit suppliers.
Considering Your Budget
The cost of a 400W off-grid solar kit can vary widely, typically ranging from $500 to $2,000 or more, depending on battery chemistry, inverter size, and whether it's an all-in-one unit or a component kit.
- Entry-Level (Under $1000): You'll usually find basic component kits with lead-acid batteries, or smaller all-in-one solar generators in this range. These are good for minimal power needs or occasional use.
- Mid-Range ($1000 – $1500): This segment often includes component kits with decent MPPT controllers and possibly smaller LiFePO4 batteries, or more capable all-in-one solar generators. This is a popular sweet spot for RVs and small cabins.
- Premium ($1500+): These kits will feature higher capacity LiFePO4 batteries, top-tier MPPT charge controllers, pure sine wave inverters with larger surge capacities, and often higher quality panels. This is where you'll find more robust and expandable systems for long-term off-grid living.
Remember that while upfront cost is a factor, considering the Off-Grid Solar Payback Period Explained and long-term costs like battery replacement will give you a clearer picture of true value. For instance, a more expensive LiFePO4 battery may save you money in the long run by lasting significantly longer than a cheaper lead-acid option.
Installation and Maintenance for Your 400W Off-Grid System
Once you've got your 400W off-grid solar kit, the journey doesn't end there! Proper installation and ongoing maintenance are absolutely critical to ensure your system performs optimally, stays safe, and provides reliable power for years to come. Even for a smaller 400W setup, cutting corners can lead to inefficiencies, potential hazards, or premature component failure.
Simple Steps for Installation
Installing a 400W kit can be surprisingly straightforward, especially if you opt for an all-in-one solar generator. For component-based kits, a little more planning and attention to detail are required.
For All-in-One Solar Generators
If you've chosen an all-in-one unit, like a Jackery Explorer, your installation process is typically very simple:
- Unpack and Place: Take the unit out of its box and place it in a dry, well-ventilated area.
- Unfold/Position Panels: Set up your solar panels in a sunny spot, orienting them towards the sun. Many portable panels come with kickstands for easy positioning.
- Connect Panels to Generator: Use the provided adapter cables to connect your solar panels directly to the input port on your solar generator. Double-check polarity (positive to positive, negative to negative).
- Power On and Monitor: Turn on the generator, and you should see it start charging. The display will show you the incoming wattage.
- Plug in Devices: Once the battery has some charge, you can plug in your AC or DC devices.
This simplicity is a huge draw for many, particularly for those using their system for camping, RV trips, or emergency preparedness. For a more detailed look, you might find How to Install an Off-Grid Solar Generator helpful.
For Component-Based Kits
Installing a component-based 400W kit requires a bit more hands-on work, but it's very manageable for a DIY enthusiast.
- Mount Your Panels: Decide on your mounting location (roof, ground, or RV mount). Securely attach your solar panels using appropriate mounting hardware. Ensure they are angled for optimal sun exposure. For guidance, check out How to Install Roof-Mounted Solar Panels or How to Install Ground-Mounted Solar Panels.
- Connect Panels to Charge Controller: Run your solar panel wiring (using MC4 connectors) to your charge controller. Always connect the panels to the charge controller before connecting the charge controller to the battery. This ensures the controller doesn't get a surge of power without a load.
- Connect Charge Controller to Battery Bank: Connect the charge controller to your battery bank. Observe proper polarity. It’s crucial to have a fuse or breaker between the charge controller and the battery for safety.
- Connect Inverter to Battery Bank: Connect your power inverter directly to your battery bank using heavy-gauge cables. Again, observe polarity and install a high-current fuse or breaker as close to the battery as possible on the positive cable. The inverter draws a lot of power, so these cables need to be robust.
- Grounding and Safety: This is paramount. Ensure your solar array frame and any metal enclosures are properly grounded according to local electrical codes. Install all necessary fuses and breakers to protect your components and prevent electrical hazards. A deep understanding of Off-Grid Solar Safety and Grounding is non-negotiable.
- Test Your System: Before connecting any loads, carefully test your system's voltage and continuity at various points to ensure everything is wired correctly. Power it on, let the batteries charge, and then slowly introduce your loads.
Essential Maintenance Tips
Even the most robust off-grid solar system needs a little love and attention to keep running smoothly. Good maintenance can extend the life of your components and maximize your energy harvest.
- Keep Panels Clean: Dust, dirt, leaves, and bird droppings can significantly reduce your panels' efficiency. Clean them regularly with water and a soft brush or sponge. In very dusty areas, this might be a weekly task.
- Inspect Wiring and Connections: Periodically check all wiring for wear, fraying, or rodent damage. Ensure all connections (especially MC4 connectors and battery terminals) are tight and free of corrosion. Loose connections can lead to power loss and even fire hazards.
- Monitor Battery Health:
- Lead-Acid: Check electrolyte levels (if applicable) and top up with distilled water as needed. Keep terminals clean and greased to prevent corrosion. Avoid deep discharges, as they severely shorten battery life.
- LiFePO4: These are generally low-maintenance, but it's still good practice to monitor their state of charge and ensure they are operating within their specified temperature ranges. Avoid operating them in extreme cold without proper heating. More on this can be found in How to Maintain an Off-Grid Battery Bank.
- Check Charge Controller Readings: Keep an eye on your charge controller's display to ensure it's functioning correctly and delivering appropriate charge to your batteries. Look for any error codes.
- Inverter Check: Listen for unusual noises and ensure any cooling fans are clear of obstructions. If your inverter has filters, clean them as per the manufacturer's instructions.
- Seasonal Adjustments: If your panels are on adjustable mounts, consider adjusting their tilt angle seasonally to optimize sun exposure. A steeper angle in winter helps shed snow and catch lower sun, while a shallower angle in summer maximizes overhead sun.
By following these installation guidelines and maintenance tips, your 400W off-grid solar kit will provide you with reliable, clean power for many years, truly enabling that independent lifestyle you're striving for.
Top Picks for 400W Off-Grid Solar Kits and Components
When it comes to outfitting your off-grid dreams, having reliable gear makes all the difference. For a 400W setup, there are several standout kits and individual components that consistently earn high marks for performance, durability, and user satisfaction. While the "best" is always subjective to individual needs, these options represent solid choices for various scenarios.
All-in-One Portable Solar Generators (400W Input Capable)
For those prioritizing ease of use, portability, and minimal setup, all-in-one solar generators with at least a 400W solar input capacity are excellent.
- Jackery Explorer Series: As mentioned before, Jackery is a dominant player in the portable power station market. While they don't have a single "400W kit" per se, models like the Jackery Explorer 1000 Pro or Explorer 2000 Pro can handle 400W (or more) of solar input. You'd typically purchase the power station and then pair it with two of their 200W SolarSaga panels (or more, depending on the model's max input). These units are incredibly user-friendly, robust, and perfect for RVs, vans, camping, or emergency home backup. The simplicity of connecting their foldable panels to the unit means you can be generating power within minutes.
- EcoFlow DELTA Series: EcoFlow offers similar, highly capable solar generators that often boast faster charging speeds and higher solar input capabilities than some competitors. Their DELTA 2 or DELTA Max models, when combined with 200W or 400W flexible or rigid solar panels, can easily form a powerful and portable 400W off-grid solution. They often allow for additional battery expansion, giving you more flexibility.
- Goal Zero Yeti Series: Another long-standing name in portable power, Goal Zero's Yeti power stations are known for their rugged construction and reliability. Models like the Yeti 1000 Core or Yeti 1500X can certainly handle a 400W solar input, providing dependable power for a range of applications.
These brands are fantastic because they simplify the off-grid experience, especially for those new to solar or who need a flexible power solution.
Component-Based Kits for Custom Builds
If you prefer to assemble your system, or need specific components, these brands offer excellent quality for a 400W setup:
- Renogy: Renogy is one of the most popular brands for DIY off-grid solar kits and components. They offer various starter kits that can be easily scaled up to 400W or beyond. For instance, you could purchase a 400W solar kit that includes four 100W monocrystalline solar panels, an MPPT charge controller (like their Rover series), battery cables, and MC4 connectors. You'd then add your choice of battery (Renogy offers both lead-acid and LiFePO4) and an inverter. Renogy's components are generally well-regarded for their balance of performance and affordability, making them a great choice for beginners building a robust cabin or RV system.
- BougeRV: Similar to Renogy, BougeRV offers well-priced, comprehensive solar kits that are easy to expand. Their 400W kits often come with flexible solar panels, which are ideal for RVs or curved surfaces. They also offer a good range of LiFePO4 batteries, which pair excellently with their panels and charge controllers for a long-lasting, low-maintenance system.
- Midnite Solar / Outback Power (for higher-end components): If you're building a more robust, permanent 400W system (e.g., for year-round cabin living) and want top-tier reliability, you might look at individual components from brands like Midnite Solar for charge controllers and combiner boxes, and Outback Power for inverters. While not usually packaged as "400W kits," their products are known for industrial-grade quality and longevity, allowing you to piece together a truly premium system.
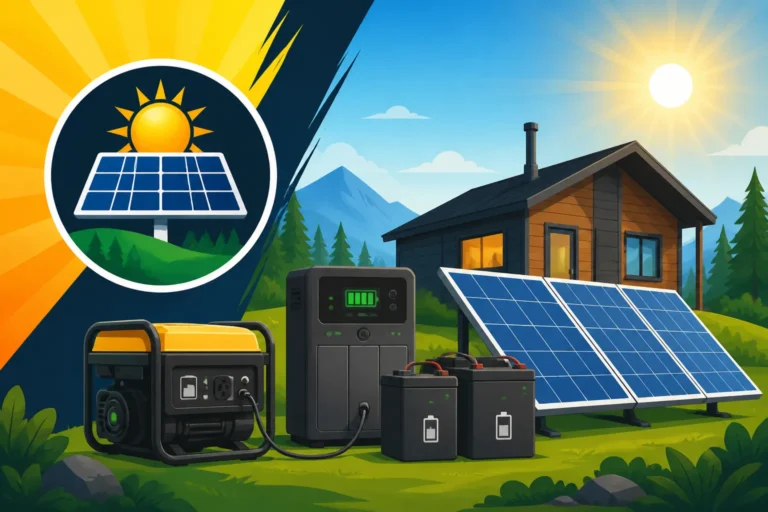
A Quick Comparison Table: All-in-One vs. Component-Based Kits
| Feature | All-in-One Solar Generator (e.g., Jackery) | Component-Based Kit (e.g., Renogy) |
|---|---|---|
| Setup Difficulty | Very Easy (Plug-and-play) | Moderate (Requires wiring knowledge) |
| Portability | High | Low (typically fixed installation) |
| Expandability | Limited (some allow external batteries) | High (add panels, batteries easily) |
| Customization | Very Low | Very High |
| Troubleshooting | Simple (often integrated display codes) | Requires component-level diagnosis |
| Initial Cost | Often higher per Watt-hour | Can be lower, but installation adds cost |
| Best For | RVs, camping, emergency backup, van life | Cabins, tiny homes, workshops, permanent RV setups |
Choosing the best 400W off-grid solar kit ultimately boils down to your comfort level with DIY, your specific power needs, and your budget. Whether you opt for the simplicity of a Jackery Explorer with its dedicated panels or the flexibility of a Renogy component kit, a 400W system provides a fantastic entry point into the world of off-grid power. Remember to weigh the pros and cons carefully, and don't hesitate to seek advice on your specific setup, perhaps from an article like How to Choose an Off-Grid Solar System.
Disclaimer
The information provided in this guide is for general informational purposes only and does not constitute professional advice. Off-grid solar system design and installation can be complex and involve electrical hazards. Always consult with qualified professionals and adhere to local electrical codes and regulations.