How to Set Up an EG4 System
Getting started with an off-grid solar system, especially when you’re dealing with a specific brand like EG4, can feel like navigating a maze blindfolded. You've got these fantastic components, but the thought of connecting them all and making sure they play nice together can be incredibly overwhelming. This comprehensive guide is designed to cut through that complexity, offering you a realistic, step-by-step walkthrough for setting up your EG4 off-grid solar system so you can enjoy reliable, independent power.
Understanding Your EG4 System Components
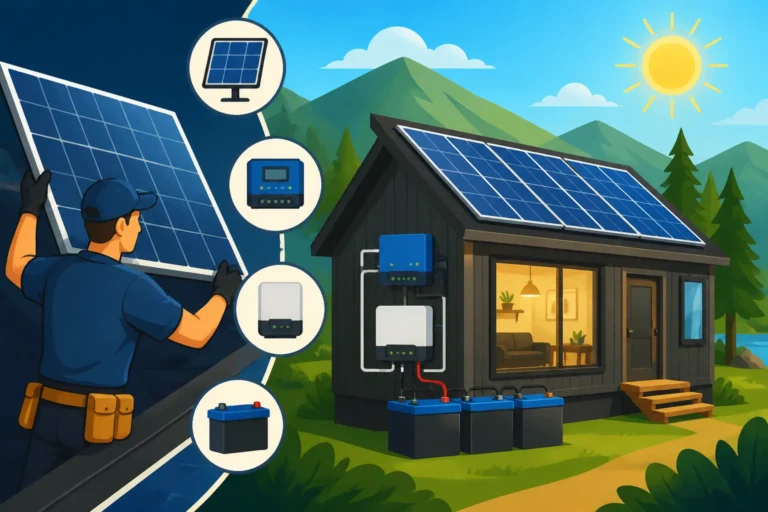
Before you even think about grabbing a wrench, it's absolutely crucial to get intimately familiar with the core components of your EG4 system. Thinking of it like a body: you have the brain, the heart, and the lungs, all needing to work in harmony. If you try to jump ahead without truly understanding each piece, you're setting yourself up for frustration and potential electrical hazards down the line.
The Heart of the System: EG4 Inverter/Charger
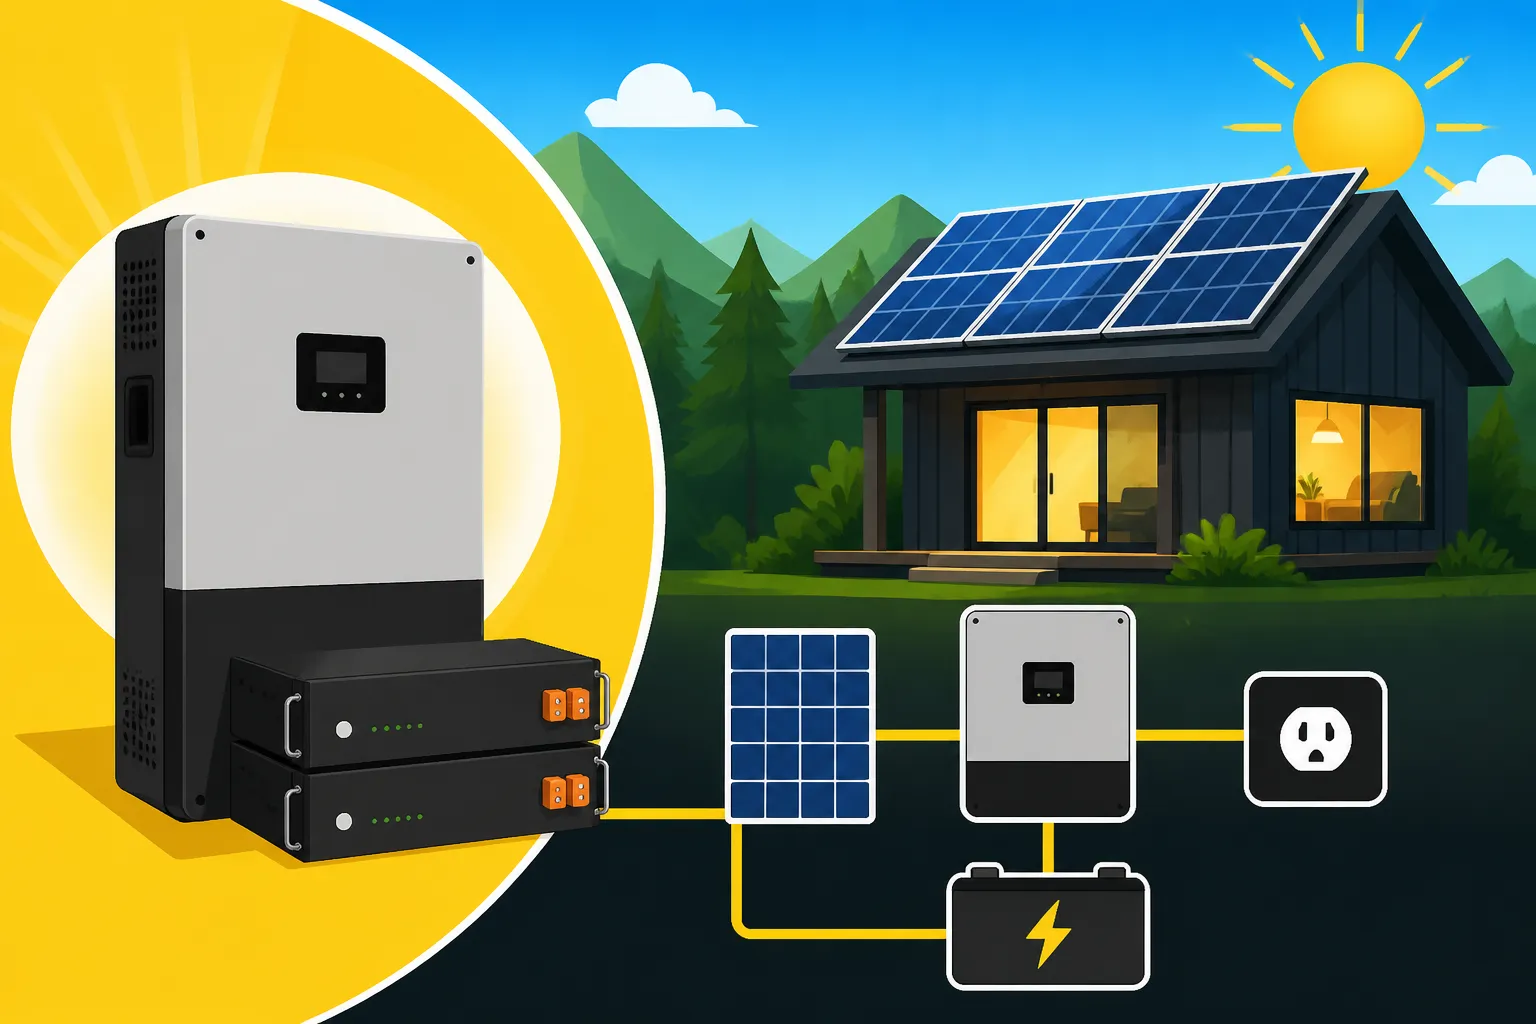
The EG4 inverter/charger is, without exaggeration, the central nervous system of your entire off-grid setup. It's not just an inverter that converts your battery's DC power into usable AC power for your appliances; it's also a charge controller that manages the flow of electricity from your solar panels to your batteries, and often a battery charger that can accept input from a generator if you have one. These integrated units are a godsend for simplifying installations, as you don't have to buy and wire three separate components. For example, popular models like the EG4 6500EX are hybrid beasts, combining all these functions into one robust package. Understanding its specifications—like continuous power output, surge capacity, voltage input ranges for solar and batteries, and charge current capabilities—is paramount. If your inverter isn't sized correctly for your anticipated power usage, you'll constantly be tripping breakers or, worse, damaging your equipment. This is where getting your initial calculations right, such as understanding How to Size an Off-Grid Inverter, becomes critical.
Power Storage: EG4 Batteries
Your EG4 batteries are the lifeblood of your off-grid system, storing the energy harvested by your solar panels for use when the sun isn't shining. EG4 is particularly known for its reliable and robust lithium iron phosphate (LiFePO4) batteries, which are a fantastic choice for off-grid living due to their long cycle life, high depth of discharge, and relatively compact size compared to traditional lead-acid batteries. When you're dealing with batteries, especially high-capacity LiFePO4 packs, safety is non-negotiable. Each battery unit comes with an integrated Battery Management System (BMS) that protects against overcharging, over-discharging, over-current, and extreme temperatures. It's like having a tiny, diligent guardian inside each battery, ensuring its longevity and safe operation. You'll need to know the nominal voltage of your battery bank (e.g., 48V is common for larger EG4 setups) and its total amp-hour or kilowatt-hour capacity. For a deeper dive into the specific advantages, you might want to check out an EG4 Battery Review for Off-Grid Solar.
Capturing the Sun: Solar Panels
Of course, no off-grid solar system would be complete without the solar panels themselves. These are your energy harvesters, converting sunlight directly into electricity. While EG4 themselves don't typically manufacture panels (though they might offer rebranded options in their kits), you'll be pairing their inverters and batteries with standard photovoltaic (PV) modules from other reputable manufacturers. When selecting panels, consider their wattage, physical dimensions, voltage at maximum power (Vmp), and open-circuit voltage (Voc). These electrical characteristics are vital for matching them correctly with your EG4 charge controller's input specifications. You'll be arranging these panels into an array, often connecting them in series or parallel (or both) to achieve the desired voltage and current for your system. The way you connect them impacts overall efficiency and safety, so understanding how to wire them correctly is crucial, which is detailed in guides like How to Install Off-Grid Solar Panels.
Pre-Installation Planning and Safety First
Before any wires are cut or panels are mounted, a solid pre-installation plan is absolutely critical. Think of it as mapping out your journey before you hit the road; without it, you're likely to get lost, make costly detours, or worse, end up in a ditch. Many common issues during off-grid solar setups stem from inadequate planning, so let's make sure you're fully prepared.
Site Selection and Layout
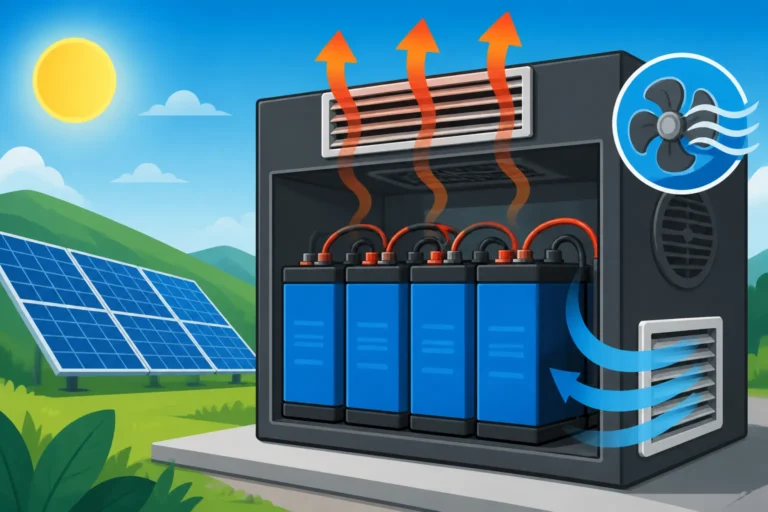
Choosing the right location for your solar panels, batteries, and inverter is paramount. For panels, you need an area that receives maximum direct sunlight throughout the day, year-round. This often means a south-facing roof or a clear ground-mount location free from shading by trees, buildings, or other obstructions. Consider the sun's path not just at noon, but from sunrise to sunset, and how it changes seasonally. For your EG4 inverter and batteries, you'll need a cool, dry, well-ventilated space, ideally protected from extreme temperatures. Garages, dedicated equipment sheds, or utility rooms are common choices. Batteries should not be exposed to direct sunlight or freezing temperatures, and ventilation is important for both battery safety and inverter cooling. Planning the physical layout also involves thinking about cable runs – minimizing long cable runs reduces voltage drop and material costs. Sketching out your proposed panel layout, battery bank location, and inverter placement will help you visualize the system and identify potential challenges early on. Remember, good Off-Grid Solar Safety and Grounding practices start with smart placement.
Essential Tools and Safety Gear
Attempting a solar installation without the right tools and safety gear is like trying to bake a cake without an oven – it just won't work, and you might get hurt. Here’s a basic checklist of what you’ll need:
- Safety Gear: Insulated gloves, safety glasses, a hard hat (if working on a roof), appropriate footwear, and a fire extinguisher rated for electrical fires (Class C).
- Electrical Tools: Multimeter (for checking voltage and continuity), wire strippers, crimpers for MC4 connectors and battery lugs, a torque wrench for proper terminal tightening, a voltage tester, and an AC clamp meter.
- General Tools: Drills, various bits, wrenches, screwdrivers, tape measure, level, and a pencil or marker.
- Wiring Components: Appropriately sized solar cables (PV wire), battery cables, AC wiring, MC4 connectors, fuses, circuit breakers, and conduit for cable protection where necessary.
Always, always prioritize safety. Working with high voltage DC and AC electricity can be dangerous if you're not careful. Disconnect all power sources before working on any part of the system, and double-check with your multimeter before touching wires. When buying tools or wiring components, consider reputable brands. While you might find some deals on Amazon, investing in quality, durable tools, especially for electrical work, is always a wise decision.
Step-by-Step EG4 System Installation
Now that you've got your components and a solid plan, it’s time to get hands-on. This section walks you through the practical steps of setting up your EG4 system, ensuring each component is properly integrated. This is where all that planning truly pays off!
Mounting Solar Panels
Your solar panels need to be securely mounted to withstand weather conditions and oriented for optimal sun exposure. Whether you're doing a roof mount on your cabin or a ground mount at your homestead, the principles are similar:
- Racking Assembly: Start by assembling your solar panel racking system according to the manufacturer's instructions. These systems typically consist of rails, feet (for roof mounts) or ground anchors (for ground mounts), and clamps. Ensure your mounting structure is level and robust enough to support the weight of the panels and resist wind uplift.
- Panel Placement: Carefully lift and place each solar panel onto the rails. It often helps to have a friend assist, as panels can be bulky. Arrange them in the configuration you planned (e.g., two rows of three panels).
- Secure Fastening: Use mid-clamps and end-clamps to firmly secure the panels to the rails. Double-check all bolts and nuts to ensure they are tightened to the manufacturer's specified torque settings. Loose panels are a hazard and can lead to system failure.
- Grounding: Crucially, each panel and the entire racking system must be properly grounded to prevent electrical shock and protect against lightning strikes. This usually involves running a bare copper wire or a green insulated wire from the panel frames and racking to a central grounding point, then to a ground rod. This is a vital part of your Off-Grid Solar Safety and Grounding protocol.
Wiring the Solar Array to the EG4 Charge Controller
This is where the direct current (DC) power from your panels starts its journey into your system. Correct wiring here ensures maximum power transfer and safety.
- Series or Parallel Connections: Decide if you're wiring your panels in series, parallel, or a combination (series-parallel).
- Series wiring increases voltage. You connect the positive (+) of one panel to the negative (-) of the next. This is often preferred for EG4 systems that use higher voltage charge controllers (like those integrated into the EG4 6500EX) as it minimizes current, allowing for thinner wires and less voltage drop over distance.
- Parallel wiring increases current. You connect all positives together and all negatives together. This maintains the voltage of a single panel but adds up the current.
- Match your array's combined voltage (Voc and Vmp) to the input voltage range of your EG4 inverter/charger's MPPT charge controller section. Going too high can damage the controller; too low will result in poor performance.
- MC4 Connectors: Use high-quality MC4 connectors to link your panels. These weatherproof connectors are specifically designed for solar applications. If you're building custom cables, use a proper MC4 crimping tool for secure, waterproof connections.
- Combiner Box (Optional but Recommended): For larger arrays, consider using a combiner box. This unit allows you to connect multiple series strings of panels, consolidating them into a single output that runs to your charge controller. It also houses string fuses or breakers, offering crucial overcurrent protection.
- Wiring to Charge Controller: Run your main PV (photovoltaic) cables from the array (or combiner box) to the designated PV input terminals on your EG4 inverter/charger. Ensure the polarity is correct (+ to + and – to -). Always verify polarity with a multimeter before making the final connection.
Connecting the EG4 Batteries
The battery bank is where your harvested energy truly settles. Getting this right is vital for system performance and battery longevity.
- Battery Placement: Position your EG4 batteries in their designated, well-ventilated area. Ensure they are stable and secured. If you're using multiple batteries to form a bank (e.g., several 100Ah 48V EG4 batteries in parallel), arrange them logically.
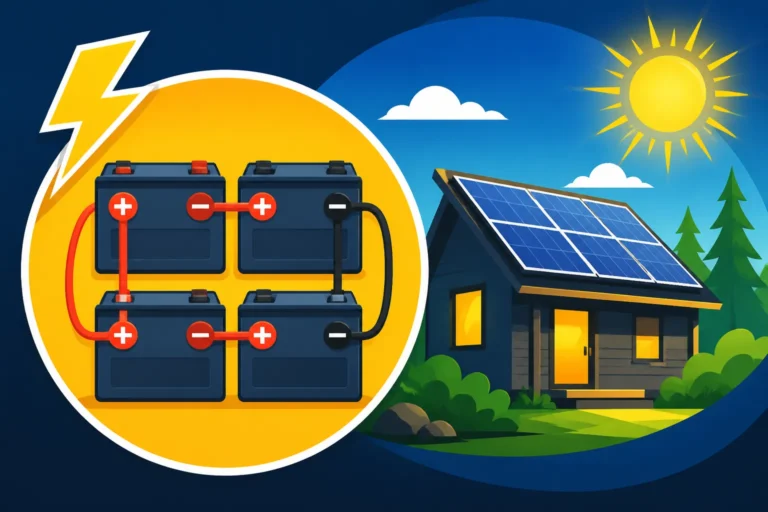
- Series/Parallel Battery Wiring: For most EG4 LiFePO4 batteries, you’ll typically be connecting them in parallel to increase capacity while maintaining the nominal voltage (e.g., 48V).
- Connect the positive terminals of all batteries together using appropriately sized battery cables.
- Connect the negative terminals of all batteries together using appropriately sized battery cables.
- It's generally recommended to connect the inverter and charge controller to diagonally opposite corners of the battery bank (e.g., inverter positive to the first battery's positive, inverter negative to the last battery's negative) to ensure even charging and discharging across the bank.
- Refer to specific instructions on How to Wire a Battery Bank for detailed guidance.
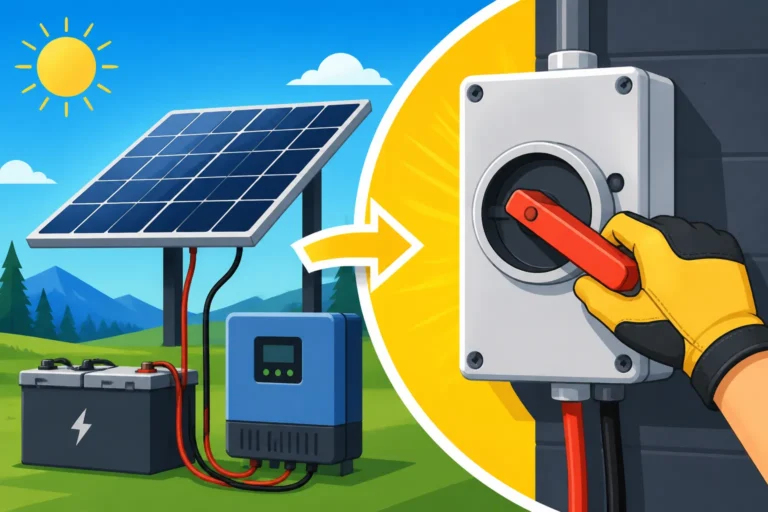
- Battery Disconnect Switch and Fusing: Install a suitably rated DC disconnect switch and fuse (or circuit breaker) between your battery bank and your EG4 inverter/charger. This is a critical safety component, allowing you to quickly de-energize the system for maintenance or in an emergency. The fuse protects your cables and inverter from overcurrent faults.
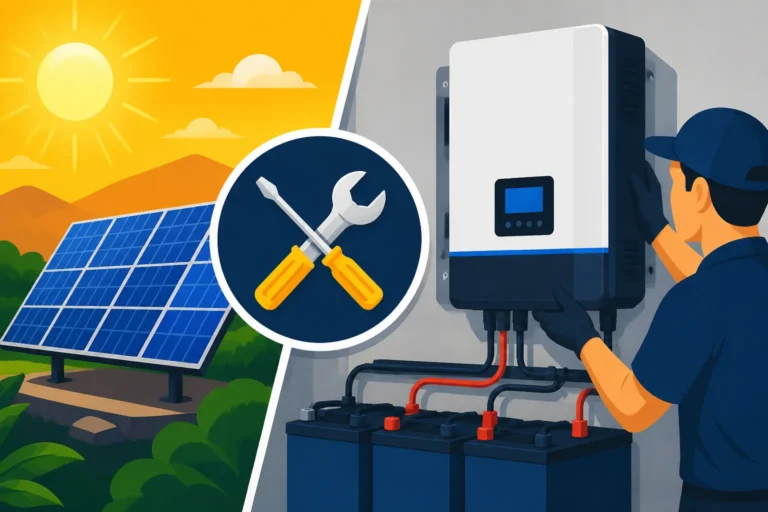
Wiring the EG4 Inverter/Charger
This is where the DC power from your batteries gets converted for your AC appliances.
- DC Input Connection: Connect the main battery cables (coming from your battery bank's disconnect switch/fuse) to the DC input terminals on your EG4 inverter/charger. Again, meticulous attention to polarity (+ to + and – to -) is paramount. Double-check all connections are tight.
- AC Output Wiring:
- Main Breaker Panel: If you're powering a whole home or cabin, you'll connect the AC output of the EG4 inverter/charger to a dedicated off-grid breaker panel. This panel will then distribute AC power to your various circuits (lights, outlets, appliances). Ensure your wiring uses appropriate gauge AC wire and is properly protected by circuit breakers.
- Direct Loads: For simpler setups (like an RV or small shed), you might run AC power directly to specific outlets or devices, still using appropriate wiring and fusing.
- It's important to understand the concept of Off-Grid Solar Wiring Diagram Explained to ensure your AC wiring adheres to best practices and local codes, even if you’re off-grid.
- AC Input (Optional, for Generator/Shore Power): If your EG4 inverter/charger has an AC input (most hybrid models do), this is where you'd connect a backup generator or shore power. You'll need an automatic transfer switch (ATS) or a manual transfer switch to safely switch between inverter power and external AC power. This ensures you never backfeed power into a generator or the grid, which is dangerous. For details, see How to Install a Transfer Switch or How to Add a Generator to Your Design.
Integrating AC Loads and Backup Generator (Optional)
Many off-grid setups incorporate a backup generator for those long stretches of cloudy weather or high power demands.
- Generator Connection: If your EG4 inverter/charger has a generator input, connect your generator to it. The inverter will often be able to automatically start and stop the generator based on battery state of charge, providing a seamless backup solution.
- Load Management: Plan which loads are essential (refrigerator, lights) and which are discretionary (air conditioning, heavy tools). Some EG4 inverters allow you to prioritize loads, shedding non-essential ones when battery levels are low. For large loads like well pumps or air conditioners, ensure your inverter's surge capacity can handle their starting current. For guidance on powering different appliances, you might check Cost to Run An Air Conditioner on Off-Grid Solar or Cost to Run A Well Pump on Off-Grid Solar.
Commissioning and Initial Setup of Your EG4 System
You've done the hard work of installation; now it's time to bring your EG4 system to life! This phase is about safely activating the system and configuring it to run optimally for your specific needs. Rushing this part can lead to system faults or even damage, so take your time and follow the sequence carefully.
First Power-Up Sequence
A proper power-up sequence is crucial to prevent damage to your components, particularly the inverter. Think of it as waking up a complex machine in the right order.
- Verify All Connections: Before applying any power, do a final, thorough check of every single wire connection. Ensure battery terminals are tight, PV wires are secure and correctly polarized, and AC wiring is properly terminated and insulated. Use your multimeter to check for any short circuits and verify correct DC voltages at various points. This vigilance can save you a lot of headache and expense later.
- Connect Batteries First: Always connect the batteries to the EG4 inverter/charger before connecting the solar panels. This allows the inverter to initialize and recognize the battery bank's voltage. Close the battery disconnect switch. You should hear the inverter hum to life and potentially see its display light up.
- Connect Solar Panels: Once the inverter is powered by the batteries, then connect your solar panels by closing the PV disconnect switch or breakers. The EG4 charge controller will begin to detect the solar input and, if conditions are right, start charging the batteries.
- Connect AC Loads (Last): Finally, apply power to your AC loads by closing the AC output breaker from the inverter to your breaker panel. Start with smaller loads and gradually bring larger appliances online. Monitor your inverter's display for any error codes or unusual readings as you do this.
Programming the EG4 Inverter/Charger
Your EG4 inverter/charger isn't just a plug-and-play device; it's a sophisticated piece of equipment that needs to be programmed for your specific battery type and system parameters. This is where you tell it how to treat your batteries and manage power.
- Accessing Settings: Typically, you'll use the buttons on the inverter's display panel to navigate through its menu system. Some EG4 models, especially more advanced ones like the EG4 6500EX, might also offer PC software or mobile apps for more comprehensive monitoring and programming via a USB or Wi-Fi connection.
- Battery Type and Parameters: This is the most critical setting. You must specify that you are using LiFePO4 batteries (Lithium Iron Phosphate). Then, you'll need to input specific charging parameters, including:
- Bulk/Absorption Voltage: The voltage at which the batteries are charged rapidly. For 48V LiFePO4 batteries, this is typically around 54V-56V.
- Float Voltage: The maintenance voltage once batteries are full, typically slightly lower than absorption, around 53V-54V for 48V LiFePO4.
- Low Voltage Disconnect (LVD): The voltage at which the inverter will shut off output to protect the batteries from over-discharge. For 48V LiFePO4, this might be around 47V-48V.
- Maximum Charge Current: Set this to protect your batteries and the charge controller. Consult your battery's specifications for its maximum recommended charge rate.
- Maximum Discharge Current: While the battery's internal BMS handles most of this, it's good practice to align inverter settings with battery specs.
- AC Output Settings: Configure your AC output voltage (e.g., 120V or 240V) and frequency (60Hz for North America).
- Generator Settings (if applicable): If you have a backup generator, program parameters like when it should start (e.g., battery SOC drops below 30%) and when it should stop (e.g., battery SOC reaches 90%).
- Save Settings: Always remember to save your changes! Double-check that the settings have been applied correctly. If you're unsure about specific values, always refer to your EG4 inverter/charger manual and your battery's data sheet. Remember, this step is covered in depth in guides like How to Program a Charge Controller.
Monitoring Your System's Performance
Once your EG4 system is running, monitoring its performance is key to ensuring efficiency and catching potential issues early.
- On-Device Display: The EG4 inverter/charger's built-in display will show real-time data such as battery voltage, charge/discharge current, PV input power, and AC output power. Regularly check this for anomalies.
- External Monitoring: Many EG4 systems come with (or can be upgraded with) communication modules that allow remote monitoring via a smartphone app or web portal. This is incredibly convenient for keeping an eye on your system from anywhere, viewing historical data, and receiving alerts.
- Battery Monitor: While EG4 batteries have internal BMS, an external battery monitor (shunt-based) provides a highly accurate view of your battery's state of charge, cumulative amp-hours in/out, and real-time power flow. This redundancy is excellent for peace of mind and detailed diagnostics.
- Regular Checks: Even with fancy monitoring, nothing beats a visual inspection. Periodically check connections for tightness, look for any signs of corrosion, and ensure ventilation is clear around your inverter and batteries.
Common Pitfalls and Troubleshooting Tips
Even with the best planning and careful installation, sometimes things don't go exactly as expected. Off-grid solar systems, while reliable, can present their unique set of challenges. Knowing how to diagnose and address common issues can save you a lot of frustration and potentially costly service calls.
Wiring Errors and Voltage Mismatches
These are arguably the most common culprits for a system failing to power up or performing poorly. It’s easy to make a mistake, especially when you’re dealing with multiple cables and terminals.
- Reverse Polarity: Connecting a positive wire to a negative terminal (or vice-versa) is a classic error. In some cases, the EG4 inverter might have reverse polarity protection and simply won't power on, displaying an error code. In other, less forgiving systems or for batteries without robust BMS, this can cause severe damage. Always use a multimeter to verify polarity before making final connections. If your inverter isn't powering up, this is often the first thing to check.
- Loose Connections: Vibrations or improper tightening can lead to loose terminals over time. This creates resistance, which generates heat and can lead to voltage drop, reduced power delivery, or even fire hazards. Periodically check all terminals (especially on batteries and high-current DC connections) for tightness.
- Incorrect Wire Gauge: Using wire that is too thin for the amount of current it needs to carry can result in significant voltage drop, wasting power and causing wires to overheat. Ensure you’ve used the correct wire gauge for your specific current and distance requirements, referring to wire sizing charts.
- Voltage Mismatches (PV Array): If your solar panel array's voltage (Voc or Vmp) is too high or too low for your EG4 inverter/charger's MPPT input range, the charge controller won't function efficiently, or at all. Too high can damage the controller; too low might mean it never reaches the minimum start-up voltage. Recheck your panel wiring (series/parallel) and compare the combined array voltage against your EG4 manual's specifications. Many of these issues are part of Common Off-Grid Wiring Mistakes.
Battery Management System BMS Issues
EG4 batteries come with advanced Battery Management Systems (BMS), which are fantastic for protection, but they can also be a source of confusion if you don't understand their signals.
- BMS Trip: An EG4 battery's BMS might trip and disconnect the battery for various reasons: over-discharge (battery voltage too low), over-charge (voltage too high), over-current (too much draw), or temperature extremes (too hot or too cold). When a BMS trips, the battery effectively shuts down to protect itself.
- Troubleshooting: Check the battery's display or indicator lights for a fault code. Often, a BMS reset might be needed, which usually involves disconnecting the load, waiting a few minutes, and sometimes hitting a reset button or reconnecting the battery. More importantly, understand why it tripped. Was your load too high? Did the inverter fail to cut off at low voltage? Is the environment too cold for charging? Some EG4 batteries have low-temperature charging cutoffs to protect them.
- Cell Imbalance: While less common with quality LiFePO4 batteries and their internal balancing, prolonged imbalanced cells can reduce overall battery performance and trigger BMS faults.
- Troubleshooting: Ensure your batteries are fully charged periodically. The BMS will attempt to balance cells during the higher voltage states of charge. If severe, this might require specific balancing procedures.
Inverter Faults and Overloads
Your EG4 inverter/charger is designed with safety features, and it will often display fault codes when something isn't right.
- Overload Fault: This occurs when the total power drawn by your AC appliances exceeds the continuous or surge capacity of your EG4 inverter. The inverter will typically shut down its AC output to protect itself.
- Troubleshooting: Disconnect some high-power appliances, then try to restart the inverter. If it consistently overloads, you might need to reconsider your power usage or potentially upgrade your inverter capacity (e.g., to a larger EG4 6500EX model). Remember to differentiate between continuous power and surge power; many appliances have a much higher starting surge than their running wattage.
- High/Low DC Voltage Fault: The inverter expects a certain DC input voltage from your batteries. If this voltage is outside its operating range (e.g., batteries are too discharged, or an issue causes unusually high voltage), it will fault.
- Troubleshooting: Check your battery voltage with a multimeter. If low, determine why your batteries aren't charging (PV issue?) or why they discharged so rapidly (overuse?).
- Internal Component Failure: In rare cases, an internal component of the EG4 inverter itself might fail.
- Troubleshooting: If the display shows a cryptic error code not related to common issues, consult your EG4 manual. If troubleshooting steps don't resolve it, contact EG4 customer support. Do not attempt internal repairs unless you are a qualified electrician.
Being prepared for these common scenarios with your EG4 system means you're not just installing components; you're building a resilient, reliable power solution for your off-grid lifestyle. For general maintenance and how to keep your entire setup running smoothly, you'll find useful tips in an Off-Grid Solar Maintenance Guide.
Disclaimer
Please be aware that while this guide provides comprehensive information, off-grid solar installation involves working with high voltage electricity. Incorrect installation can lead to serious injury, fire, or damage to equipment. Always consult with a qualified electrician or solar professional, and ensure all installations comply with local electrical codes and regulations. Proceed with caution and at your own risk.