Best Off-Grid Solar Kit Under $2,000
The dream of stepping off the grid often bumps up against the harsh reality of cost. Many folks imagine needing tens of thousands of dollars to even start, which can be incredibly discouraging. But what if I told you that getting a genuinely useful off-grid solar setup doesn't have to break the bank? This guide is designed to help you navigate the options and assemble or purchase the best off-grid solar kit for under $2,000, proving that independence can be more accessible than you think.
Understanding What $2,000 Buys in Off-Grid Solar
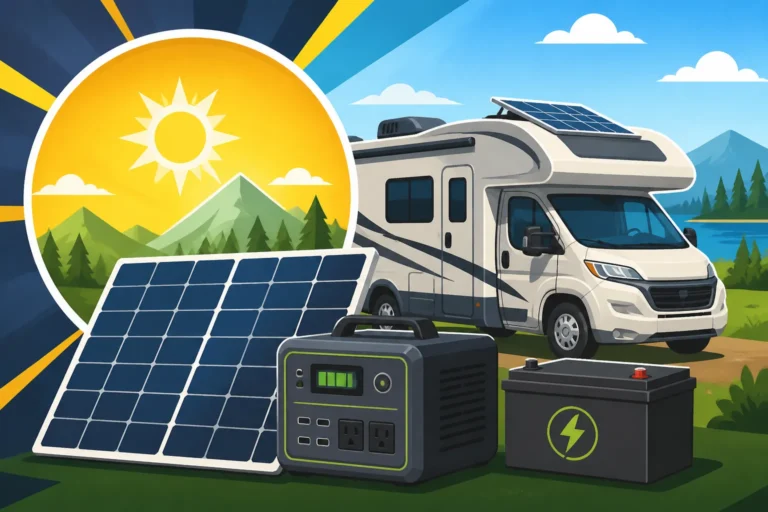
Let's be real: a $2,000 budget for off-grid solar isn't going to power a large, modern home with all its creature comforts like central air conditioning, electric water heaters, and a full suite of kitchen appliances. That’s just not realistic. However, what it can buy is a surprisingly capable system that provides significant energy independence for specific, common needs. This budget is perfect for weekend warriors, cabin dwellers, RV and van lifers, or anyone seeking a robust emergency backup power solution. It's about setting realistic expectations and understanding the compromises you might need to make to stay within your financial limits.
Realistic Expectations for Power Output
When you're looking at solar kits under $2,000, you're primarily aiming for systems that can handle essential loads and provide a decent amount of stored energy. Think of powering smaller appliances, charging devices, and running lights. This usually means you’re looking at solar panel arrays ranging from 200 to 600 watts and battery banks that can store anywhere from 500 to 1500 watt-hours of usable energy.
For instance, such a system could comfortably run a small mini-fridge for a few hours a day, keep your laptops and phones charged, power LED lights throughout the evening, and maybe even run a small fan or a TV for limited periods. It won't let you run a full-size washing machine or a massive air conditioner all day long in the middle of summer. It’s crucial to sit down and meticulously calculate your daily energy usage to match it against what a sub-$2,000 system can realistically provide. This will help you avoid disappointment and ensure your chosen kit meets your most critical needs. If you need help with this, our guide on how to calculate your daily energy usage is a fantastic resource.
Key Components You Can Expect
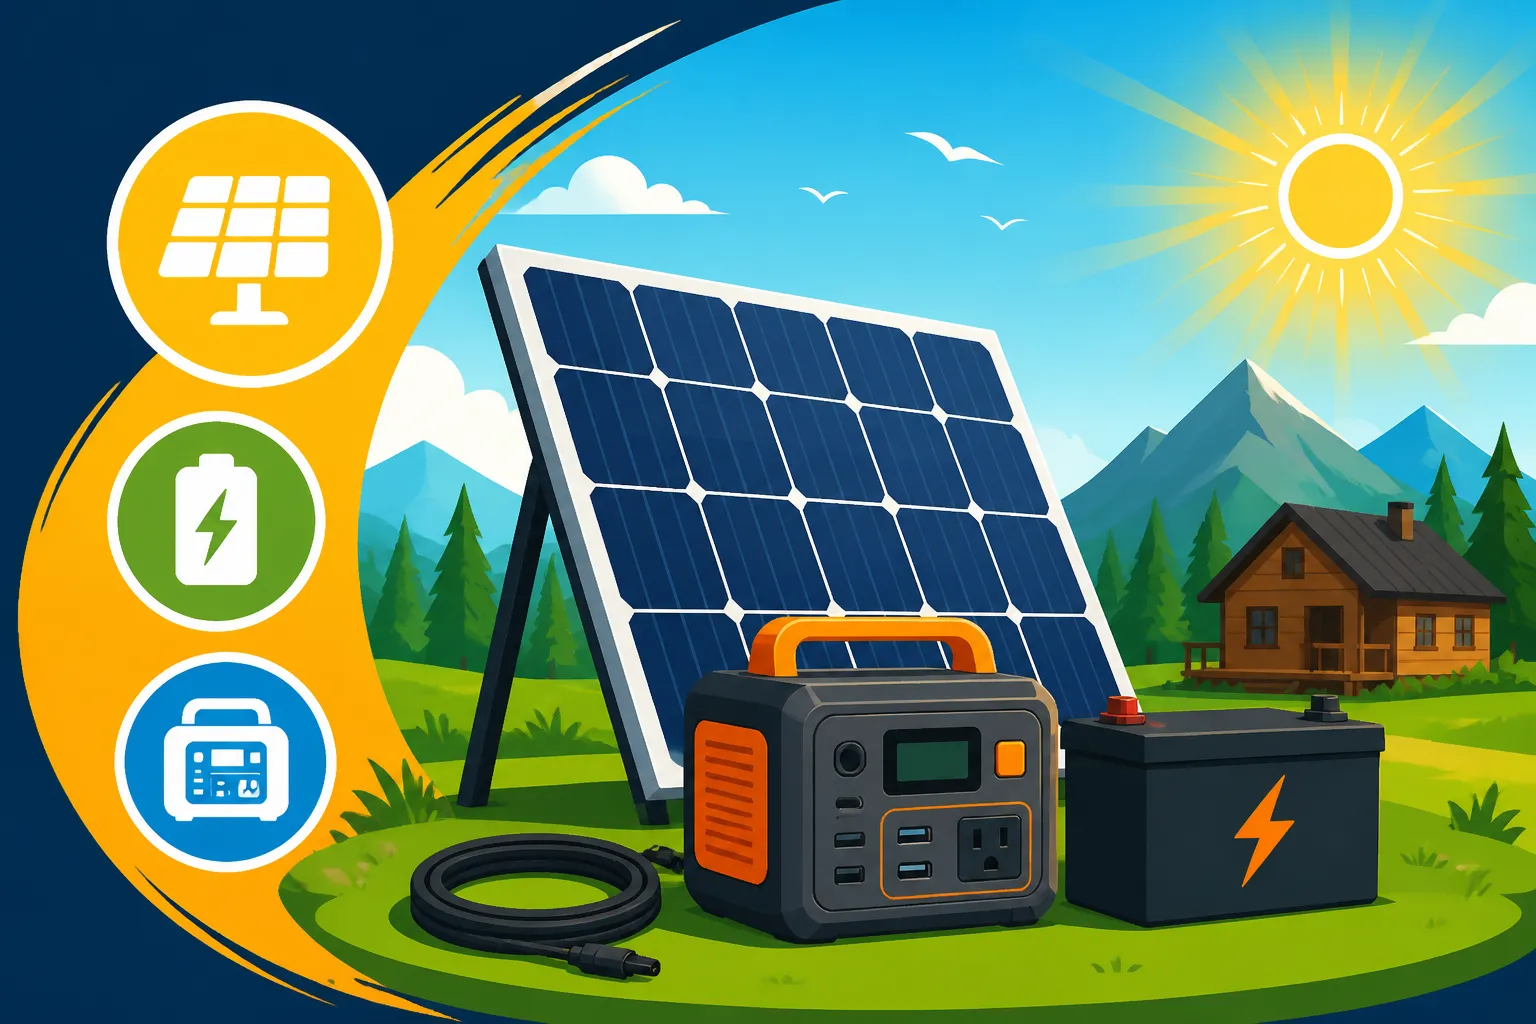
A well-rounded off-grid solar kit, even at this budget, will consist of four main components: solar panels, a charge controller, an inverter, and batteries. The specific quality and capacity of these components will, of course, be tailored to the $2,000 price point, meaning you'll often find a sweet spot of functionality and affordability rather than top-tier, oversized components.
- Solar Panels: You'll typically find a few 100W to 200W panels, or perhaps one larger 300W-400W panel. These will be rigid, monocrystalline panels, which offer a good balance of efficiency and cost.
- Charge Controller: This is vital for protecting your batteries. Within this budget, you might encounter both PWM (Pulse Width Modulation) and MPPT (Maximum Power Point Tracking) controllers. While MPPT controllers are more efficient, especially in varying light conditions, you might find a robust PWM controller or a smaller MPPT controller fitting the budget.
- Inverter: This converts the DC power from your batteries into the AC power that most household appliances use. For under $2,000, you'll generally find pure sine wave inverters with continuous power output ranging from 1000 to 2000 watts. A pure sine wave inverter is always recommended for sensitive electronics.
- Batteries: This is often where the biggest cost lies, and thus, where compromises are made. You’ll likely be looking at a single 100Ah (amp-hour) 12V LiFePO4 battery, or perhaps a pair of 100Ah AGM (Absorbed Glass Mat) deep-cycle batteries. LiFePO4 batteries offer better lifespan and depth of discharge but come at a higher initial cost. Understanding how battery choice affects off-grid cost is key here.
You might also find basic wiring, fuses, and mounting hardware included, but often these are minimal, leaving some room for customization or additional purchases.
Essential Components of a Sub-$2,000 Off-Grid Kit
When you're working with a limited budget, every component choice matters. It's about selecting reliable parts that deliver the most bang for your buck without sacrificing essential functionality or safety.
Solar Panels: Getting the Right Wattage
For under $2,000, the solar panels you choose are your primary energy collectors. Most kits in this price range will feature monocrystalline panels, known for their efficiency and durability. You can expect to get anywhere from 200 to 600 watts of total panel capacity. For example, a common setup might include two 100-watt panels, or perhaps a single 200-watt panel if you're going for a more compact setup.
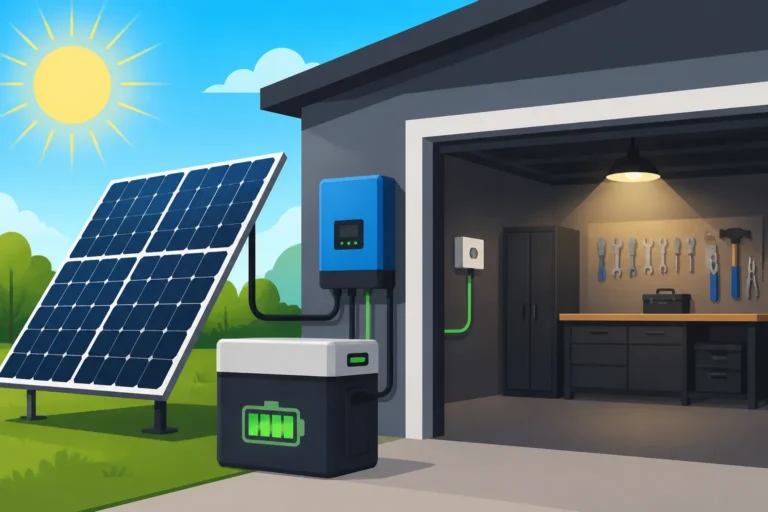
Consider a scenario where you're outfitting a small hunting cabin in a sunny area. Two 100-watt panels would give you 200 watts of charging power, which on a good sunny day with 5 peak sun hours, translates to about 1 kWh (kilowatt-hour) of energy generated daily. That's enough to run some lights, charge a few devices, and keep a small cooler fridge humming. If you have a bit more roof space or need a quicker charge, a 400W system might consist of two 200W panels or four 100W panels, significantly boosting your energy capture. When selecting panels, don't just look at the wattage; consider the physical dimensions, weight, and mounting options to ensure they fit your intended installation space, whether it's an RV roof or a ground mount by your remote workshop. Our guide on how to choose an off-grid solar panel provides more detailed considerations.
Battery Storage: The Heart of Your System
The battery bank is arguably the most critical and often the most expensive component in any off-grid system. For a budget under $2,000, you'll typically be looking at either AGM deep-cycle batteries or a smaller capacity LiFePO4 (Lithium Iron Phosphate) battery.
- AGM Batteries: These are a more budget-friendly option. You might be able to get two 100Ah 12V AGM batteries, which, wired in parallel, would give you 200Ah at 12V, or 2400 watt-hours total. However, AGM batteries generally shouldn't be discharged below 50% regularly if you want them to last, so your usable capacity is closer to 1200 Wh. They are heavier and have a shorter cycle life compared to lithium, but their lower upfront cost can be very appealing.
- LiFePO4 Batteries: While more expensive upfront, LiFePO4 batteries offer a longer lifespan, lighter weight, faster charging capabilities, and can be discharged much deeper (often to 80-100% regularly) without significant damage. Within the $2,000 budget, you might be able to squeeze in a single 100Ah 12V LiFePO4 battery, which gives you about 1280 watt-hours. Since you can use almost all of it, this single battery can often provide similar usable power to two AGM batteries, with the added benefits of longevity and less maintenance. For many, the long-term value of lithium outweighs the initial higher cost, even on a tight budget. Our article on Best Off-Grid Solar Batteries delves deeper into the different types.
When planning your battery storage, always think about your "days of autonomy" – how long your system can run without sun. Even with a small system, having enough battery capacity for at least a day or two of cloudy weather can make a huge difference in your off-grid experience.
Inverter and Charge Controller Considerations
These two components act as the brains and muscle, respectively, of your off-grid power system.
- Charge Controller: This device regulates the voltage and current coming from your solar panels to charge your batteries, preventing overcharging and extending battery life. For under $2,000, you might find either a PWM or an MPPT charge controller.
- PWM (Pulse Width Modulation) controllers are simpler and more affordable. They work by reducing the panel's voltage to match the battery's voltage. They are less efficient but can be perfectly adequate for smaller, simpler systems, especially if your panels and batteries are closely matched in voltage.
- MPPT (Maximum Power Point Tracking) controllers are more advanced and efficient. They can convert excess voltage from the panels into additional current, meaning you get more power into your batteries, particularly in cooler weather or if your panel voltage is significantly higher than your battery voltage. While often more expensive, a smaller MPPT controller (e.g., 20A-40A) from a reputable brand like Renogy or EPEVER might fit within your $2,000 budget and offer a noticeable performance boost.
- Inverter: The inverter converts the DC power stored in your batteries into usable AC power for your standard household appliances.
- For sensitive electronics like laptops, medical equipment (CPAP machines), or kitchen appliances, you must have a pure sine wave inverter. Modified sine wave inverters are cheaper but can damage electronics and cause motors to run inefficiently or loudly.
- Within the $2,000 budget, you can typically find pure sine wave inverters with a continuous output of 1000 to 2000 watts. This wattage dictates the total power of appliances you can run simultaneously. A 1000W inverter is good for smaller loads, while a 2000W inverter offers more flexibility, allowing you to run a microwave or a power tool for short bursts. Remember to always consider the surge wattage (the temporary higher wattage an appliance needs to start) when sizing your inverter. Our guide on How to Size an Off-Grid Inverter is a must-read for this.
Top Picks and What to Look For Under $2,000
When hunting for an off-grid solar kit under $2,000, you'll generally encounter two main categories: all-in-one portable power stations and entry-level DIY component kits. Both have their advantages and disadvantages depending on your specific needs and technical comfort level.
All-in-One Portable Power Stations
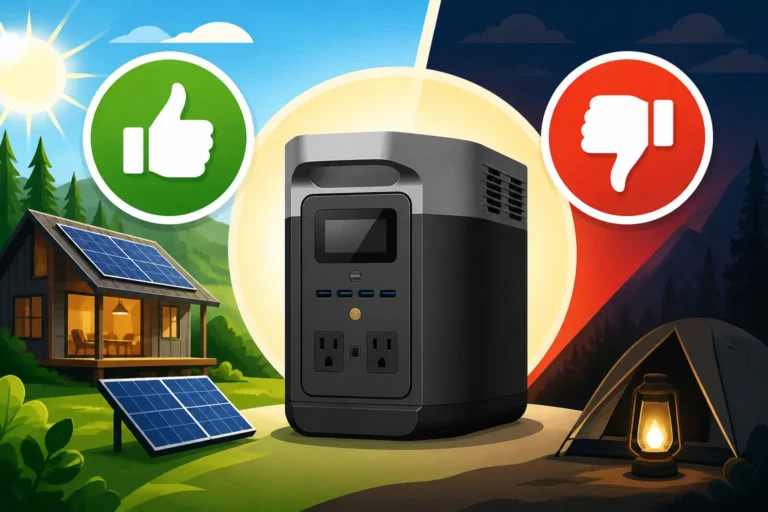
For many, especially beginners or those prioritizing portability and ease of use, an all-in-one portable power station is a fantastic choice that often falls within the $2,000 budget. These units combine the battery, inverter, and charge controller into a single, compact device.
Brands like Jackery, EcoFlow, and Bluetti are leaders in this space, offering various models that can be paired with their proprietary solar panels or standard portable panels. For instance, a Jackery Explorer 1000 or 1500, often bundled with one or two 100W solar panels, frequently comes in under or around the $2,000 mark during sales. The Jackery Explorer 1000, for example, typically offers about 1000 Wh of battery capacity and a 1000W pure sine wave inverter, making it perfect for camping trips, RV life, or essential home backup during power outages.
- Pros: Incredible ease of use – just plug in your panels, and you're generating power. Highly portable, great for various applications. Minimal wiring or technical expertise required.
- Cons: Often less expandable than a component-based system. If one part (like the battery) degrades, replacing the whole unit can be costly. The cost-per-watt-hour can sometimes be higher than building your own system.
These power stations are excellent for providing instant power on the go or for short-term situations. If you're looking for something that requires no installation and can be moved from a remote cabin to your vehicle with ease, a portable power station like a Jackery model is a strong contender.
Entry-Level DIY Kits
If you're comfortable with a bit of wiring and want more flexibility, an entry-level DIY component kit can provide greater long-term value and expandability within the $2,000 budget. These kits typically include individual solar panels, a charge controller, an inverter, and a battery.
Brands like Renogy, BougeRV, and HQST offer excellent starter kits. A typical kit might include:
- Two 100-watt solar panels (approx. 200W total)
- A 20A MPPT charge controller
- A 100Ah 12V LiFePO4 battery
- A 1000W pure sine wave inverter
- Basic wiring and connectors
As an example, you might piece together a kit from Renogy. Their 200W Monocrystalline Solar Starter Kit with a 20A MPPT controller, combined with one of their 100Ah LiFePO4 batteries and a 1000W pure sine wave inverter, could very well fit into the sub-$2,000 category, especially if you catch items on sale. This kind of setup provides around 1280 Wh of usable battery capacity and the ability to run up to 1000W of AC appliances.
- Pros: More customizable and expandable. You can upgrade individual components as your needs grow or budget allows. Potentially better long-term performance and efficiency, especially with MPPT controllers. Offers a deeper understanding of your system.
- Cons: Requires more technical knowledge for installation and wiring. Not as portable as all-in-one units. Can be more time-consuming to set up initially.
For those who enjoy tinkering and want the flexibility to grow their system over time, building a DIY kit is a rewarding path. It's also often the cheapest way to set up off-grid solar if you're willing to put in the labor.
Key Features to Prioritize
Regardless of whether you choose an all-in-one unit or a DIY kit, there are certain features you should always prioritize to ensure you get the most reliable and efficient system for your money:
- Pure Sine Wave Inverter: Absolutely essential for running any sensitive electronics without damage. Don't compromise on this.
- Battery Chemistry: While AGM can be cheaper, a LiFePO4 battery offers superior cycle life, depth of discharge, and lighter weight, making it a better long-term investment even if it means a slightly smaller capacity initially.
- MPPT Charge Controller: If your budget allows, opt for an MPPT controller over a PWM. The increased efficiency, especially in less-than-ideal conditions, will give you more usable power from your panels.
- Expandability: Can you easily add more solar panels or battery capacity later? Even with a sub-$2,000 kit, choosing components or an all-in-one system that allows for future expansion is a smart move. Our article on Cost of Expanding an Off-Grid System details how to plan for this.
- Safety Features: Look for built-in overcharge protection, short-circuit protection, and temperature regulation, especially in batteries and charge controllers.
- Warranty and Customer Support: Even on a budget, a good warranty can save you headaches and money down the line. Research brand reputations for customer service.
| Component | Typical Budget Range | What to Expect Under $2,000 | Key Considerations |
|---|---|---|---|
| Solar Panels | $200 – $600 | 200W – 600W total, monocrystalline, rigid panels | Efficiency, physical size, mounting options, weather resistance |
| Charge Controller | $50 – $200 | PWM (20A-40A) or smaller MPPT (20A-40A) controller | MPPT offers better efficiency, especially in varying light. Match with panel voltage. |
| Batteries | $500 – $1200 | 100Ah 12V LiFePO4 or 2x 100Ah 12V AGM (approx. 1200-2400 Wh total) | Usable capacity, cycle life, weight, depth of discharge, temperature range. |
| Inverter | $200 – $400 | 1000W – 2000W Pure Sine Wave | Must be pure sine wave for sensitive electronics. Consider surge capacity. |
| Cables/Misc. | $50 – $150 | Basic cables, connectors, fuses, mounting hardware | Proper wire gauge for safety, MC4 connectors for panels. |
| All-in-One Power Station | $1000 – $2000 | 1000-1500Wh capacity, 1000-1800W inverter (e.g., Jackery Explorer 1000) | Portability, ease of use, integrated components, less expandable. |
This table provides a rough breakdown. Actual prices will vary based on sales, brands, and specific features.
Maximizing Your Budget and Future-Proofing
Navigating the world of off-grid solar on a budget requires a strategic mindset. It's not just about what you can afford now, but how you can make your initial investment serve you well into the future, potentially with upgrades.
Phased Upgrades and Expandability
One of the smartest ways to approach off-grid solar with a limited budget is to design your system with future expansion in mind. This means buying components that can be easily integrated with more powerful or additional parts down the road. For instance, if you start with a 100Ah 12V LiFePO4 battery, choose one from a reputable brand that allows for easy paralleling with additional batteries of the same type later. This lets you increase your storage capacity without replacing your initial investment.
Similarly, when selecting your charge controller, consider one that has a higher amperage rating than your initial panel array might strictly require. For example, if you start with 200W of panels, a 30A MPPT controller provides plenty of headroom if you decide to add another 200W or 300W of panels in the future. The same goes for your inverter – while a 1000W inverter might suffice initially, if you anticipate needing to run more powerful appliances down the line, saving up for a 2000W model or ensuring your system can integrate a larger inverter later is a wise move. Planning for how to add panels to an existing system is a key part of this strategy.
Think about your long-term goals. Are you planning on moving from weekend use to full-time living in your RV? Or perhaps expanding your small cabin into a more comfortable year-round dwelling? By investing in quality, expandable components now, you prevent having to rip out and replace entire parts of your system later, which can be significantly more expensive.
DIY vs. Pre-Built Kits for Savings
The choice between a DIY (Do-It-Yourself) setup and a pre-built, all-in-one kit largely depends on your comfort level with electrical work and your desire for customization. Both options have their merits within the sub-$2,000 budget, but they offer different cost-saving opportunities.
- DIY Approach: If you're handy and willing to invest the time in research and assembly, going the DIY route can often save you a substantial amount of money. By sourcing individual components – panels, charge controller, batteries, and inverter – you can often find better deals and tailor the system precisely to your needs. This approach allows you to prioritize spending on the most critical components, like a good quality LiFePO4 battery or an efficient MPPT controller, while perhaps opting for slightly more budget-friendly panels or a basic mounting system. The labor you put in yourself directly reduces the overall Off-Grid Solar Installation Cost, making your $2,000 budget stretch further. However, be aware that it requires a deeper understanding of Off-Grid Solar System Design Basics and proper wiring for safety and efficiency.
- Pre-Built Kits (like Portable Power Stations): While seemingly more expensive per watt-hour than a pure DIY build, all-in-one units like the Jackery Explorer series or EcoFlow models offer unparalleled convenience. The "cost" you save is in your time, effort, and the peace of mind that all components are pre-matched and tested to work together. For someone who wants immediate, portable power without the hassle of wiring diagrams, calculating wire gauges, or mounting intricate systems, these kits are invaluable. They reduce the potential for costly mistakes during installation, making them a great option for beginners who might be intimidated by a full DIY build. Our article on DIY vs Professional Off-Grid Solar Cost provides a deeper dive into these trade-offs.
Ultimately, the best choice depends on whether you value upfront savings through your own labor or the convenience and reliability of a professionally integrated, ready-to-use system.
Where to Find Good Deals and Quality Components
Finding quality off-grid solar components within a $2,000 budget often means being a savvy shopper. Here are a few tips:
- Online Retailers: Websites like Amazon, eBay, and specialty solar retailers such as Renogy, Battle Born Batteries, and EcoFlow often have sales and bundled deals. Sign up for newsletters to get notified of promotions.
- Manufacturer Direct: Some brands sell directly from their websites, occasionally offering discounts that aren't available through third-party retailers.
- Refurbished or Open-Box Deals: Proceed with caution here, but sometimes you can find great deals on refurbished inverters or charge controllers from reputable manufacturers or certified sellers. Always ensure they come with a warranty. For example, a refurbished Victron MPPT controller, while still potentially pricey, could fit if the rest of your system is very budget-friendly.
- Local Suppliers: Check local solar stores or even larger hardware chains that might carry some entry-level solar components. Sometimes you can avoid shipping costs, which can add up on heavy items like batteries.
- Read Reviews: Before purchasing anything, thoroughly read customer reviews and watch independent YouTube reviews. Real-world experiences often highlight strengths and weaknesses that product descriptions don't mention.
- Consider Kits: As mentioned, many brands offer complete kits, which can sometimes be more cost-effective than buying each component separately. Look at Off-Grid Solar Kit Price Ranges to get an idea of what's out there.
Remember, a cheap component isn't always a good deal if it fails quickly or doesn't perform as advertised. Prioritize quality and reliability, even on a budget, to ensure your off-grid adventure is sustainable and enjoyable. Learning How to Save Money on an Off-Grid Solar Build is an ongoing process that yields great dividends.
Disclaimer
The information provided in this guide is for general informational purposes only and does not constitute professional advice. Off-grid solar system design and installation can be complex and involve electrical hazards. Always consult with qualified professionals and adhere to all local codes and regulations before installing or modifying any electrical system.