Off-Grid Solar for a Remote Workshop
Trying to power a remote workshop without a grid connection can feel like an uphill battle. You’ve got all these plans for projects, tools ready to go, but the thought of running endless extension cords or lugging generators and fuel out to your property just drains the inspiration right out of you. This guide is here to walk you through everything you need to know about setting up an off-grid solar system, transforming your secluded space into a fully functional powerhouse.
The Unique Power Demands of a Remote Workshop
When you're thinking about powering a remote workshop with solar, it's not quite the same as just running a few lights in a cabin. Workshops are beasts with unique energy appetites, primarily due to the type of equipment they house. Understanding these specific demands is the first crucial step to designing a system that won't leave you in the dark halfway through a project. It’s about being realistic about what you need versus what you think you might need.
Identifying Your Workshop's Energy Consumers
Before you even think about panels or batteries, sit down and make a detailed inventory of every single electrical item you plan to use in your workshop. Don't just list them; think about how often you'll use them and for how long. Are we talking about hand tools like drills and sanders that get intermittent use? Or are you planning on running heavy machinery such as table saws, welders, or air compressors for extended periods? Each tool has its own power signature. For instance, a simple LED shop light might draw a mere 20 watts, but a heavy-duty air compressor could spike to several thousand watts at startup.
Think about your non-tool essentials too. Do you need lighting? What about a radio or a computer for design work? Will you have a small mini-fridge for drinks or a fan for ventilation? Even seemingly small appliances add up over the course of a day. This is often called performing an off-grid solar load calculation explained, and it’s the bedrock of a successful system. Without a clear picture of your energy consumption, you’re just guessing, and guessing almost always leads to an undersized and frustrating system.
Dealing with High Surge Loads from Power Tools
This is arguably the biggest challenge for any workshop off-grid solar system. Many power tools, especially those with motors like saws, planers, grinders, and air compressors, demand a massive burst of electricity when they first start up. This initial surge, often called "starting watts" or "surge watts," can be 2-7 times higher than their continuous "running watts." For example, a table saw that continuously runs at 1,500 watts might momentarily draw 4,500 watts or more to get its motor spinning.
If your inverter, which converts the DC power from your batteries into usable AC power for your tools, isn't capable of handling these high surge loads, it will simply shut down. This is incredibly frustrating when you're in the middle of a cut. This is why when you're looking at things like the Best Off-Grid Solar Inverters, you'll see surge capacity listed as a critical specification. You need to ensure your inverter can not only handle the continuous power draw of your largest tool but also the cumulative surge draw if multiple tools might start at roughly the same time (though this is less common in a workshop than the single large surge).
Accounting for Seasonal and Intermittent Use
Is your workshop a weekend warrior's retreat, used only on sunny Saturdays? Or is it a year-round production hub, essential even during the darkest winter days? The frequency and seasonality of your workshop use significantly impact your system design. A system for seasonal use, perhaps only during summer and fall, can be much smaller and less expensive than one designed for year-round operation, especially in regions with short winter days or frequent cloudy weather.
If you're only using it occasionally, you might get away with a smaller battery bank, relying on sunny days to top it up before use. However, for continuous, year-round operation, you'll need to factor in several "days of autonomy" – how many days your system can run without any sun. This means a larger solar array and a significantly beefier battery bank to carry you through those stretches of bad weather. Think about the shortest, darkest days of the year in your location when planning for year-round use; that's your worst-case scenario.
Essential Components for Your Off-Grid Workshop Solar System
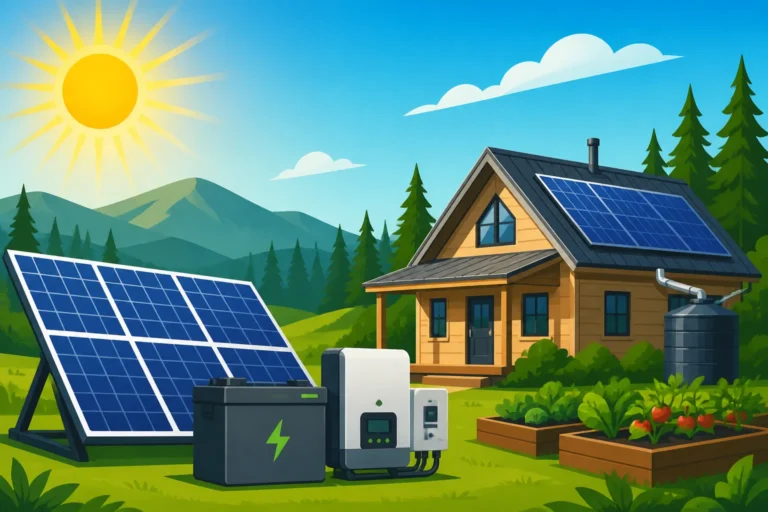
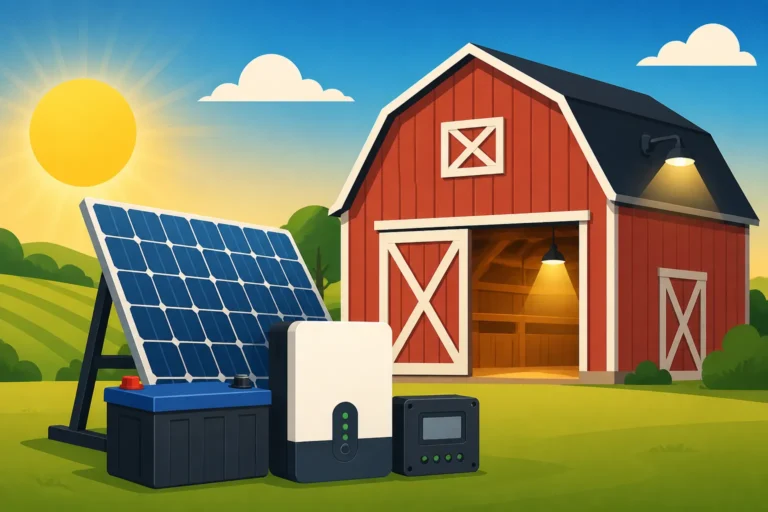
Building an off-grid solar system can seem daunting, but once you break it down into its core components, it becomes much more manageable. Each piece plays a vital role in taking sunlight and transforming it into usable electricity for your tools. Understanding these main parts is key to knowing how to size an off-grid solar system effectively.
Solar Panels: Harnessing the Sun's Power
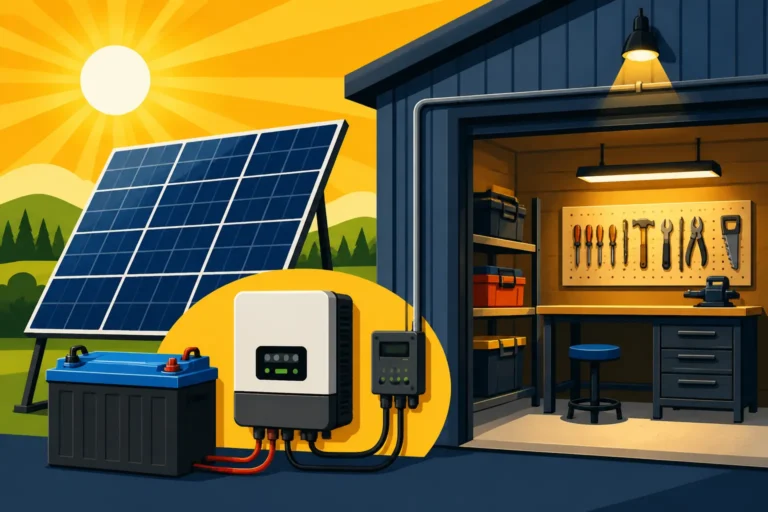
These are the workhorses of your system, converting sunlight into direct current (DC) electricity. For a workshop, you'll typically be looking at rigid, monocrystalline solar panels. These offer the best efficiency and durability for fixed installations. The number and wattage of the panels you choose will directly correlate to how much energy you can generate on a given day. More panels generally mean more power, but also more space requirements and cost.
Consider factors like the available roof space on your workshop or shed, or if you plan to use a ground mount. Shading from nearby trees or structures can drastically reduce panel output, so placement is critical. A slightly higher wattage panel can sometimes be more cost-effective than several lower wattage ones if space is tight. You'll want to read up on How Many Solar Panels for Off-Grid Living to get a real feel for what you might need. Brands like Renogy and Rich Solar offer reliable, robust panels suitable for workshop environments.
Batteries: Storing Energy for When You Need It
Solar panels only produce power when the sun shines, but your workshop needs power even after dusk or on cloudy days. That’s where your battery bank comes in – it’s the heart of your off-grid system, storing the excess energy generated by your panels for later use. For workshops, especially those with heavy draws, you'll usually be looking at deep-cycle batteries, with LiFePO4 (Lithium Iron Phosphate) being the gold standard for efficiency, longevity, and depth of discharge. While the initial investment for LiFePO4 batteries is higher than traditional lead-acid, their longer lifespan and superior performance often make them more cost-effective in the long run.
The size of your battery bank, measured in amp-hours (Ah) or kilowatt-hours (kWh), will determine how long your workshop can run without new solar input. This is often referred to as "days of autonomy." A larger battery bank gives you more buffer for cloudy days or extended evening work sessions. Don't forget to consider temperature; batteries, especially lead-acid, don't perform as well in extreme cold, so proper housing and insulation are important. You'll definitely want to understand How Many Batteries for an Off-Grid System when planning this crucial component.
Inverters and Charge Controllers: The Brains of the System
These two components act as the intelligence and muscle of your off-grid setup.
-
Charge Controller: This device regulates the voltage and current coming from your solar panels to your battery bank. Its primary job is to prevent overcharging, which can damage batteries, and to optimize the charging process. MPPT (Maximum Power Point Tracking) charge controllers are generally preferred for larger systems and offer greater efficiency compared to PWM (Pulse Width Modulation) controllers, especially in varying light conditions. They essentially harvest more power from your panels, which is a big deal when you're trying to power demanding tools.
-
Inverter: Most power tools and standard appliances run on alternating current (AC) power, while your solar panels and batteries produce direct current (DC). The inverter's job is to convert that DC power into usable AC power. For a workshop, you absolutely need a pure sine wave inverter. Modified sine wave inverters are cheaper but can damage sensitive electronics and run motors inefficiently, leading to overheating or early failure – definitely not what you want for your expensive power tools. As mentioned earlier, the inverter's surge capacity is paramount for tools with high startup loads. Many robust brands like Victron, Outback Power, or Sol-Ark offer excellent inverter-charger units that combine the functions of an inverter and a battery charger (useful if you ever connect a backup generator). Even portable power stations, like those offered by Jackery, incorporate an inverter and can serve as a smaller, highly portable power source for specific, less demanding tools or as a testing unit before a full build.
Sizing Your Off-Grid Solar System for Optimal Workshop Power
Getting the sizing right is the most critical step in ensuring your off-grid workshop solar system performs as expected. Too small, and you'll constantly run out of power; too large, and you've wasted money. It's a delicate balance that requires careful calculation. This isn't a "one size fits all" situation; every workshop is different.
Conducting a Detailed Load Analysis
This is where your initial inventory of tools and appliances really pays off. A load analysis is essentially a meticulous accounting of every watt-hour of electricity your workshop will consume daily. For each item, you need to know:
- Running Watts: The power it consumes during continuous operation. This is usually listed on the appliance's label.
- Surge Watts: The momentary power spike required for startup (for motor-driven tools). If not listed, you can often find typical surge multipliers online or use a clamp meter to measure it.
- Hours of Use per Day: An honest estimate of how many hours each item will run daily.
- Days of the Week/Season: How often you plan to use it.
Multiply the running watts by the hours of use for each item to get its daily watt-hour consumption. Sum these up, and you have your total daily watt-hour requirement. Don't forget phantom loads – things like phone chargers, LED indicators, or standby power for tools, which slowly drain power over time. It’s better to slightly overestimate than to underestimate your needs. This process is detailed in guides like How to Calculate Daily Energy Usage.
Calculating Solar Panel and Battery Bank Capacity
Once you have your total daily watt-hour consumption, you can start sizing your solar array and battery bank.
-
Battery Bank Sizing: For batteries, you'll typically calculate the required amp-hours (Ah) or kilowatt-hours (kWh) based on your daily usage and your desired "days of autonomy." For a workshop, having 2-3 days of autonomy is a good starting point, meaning your batteries can power your workshop for that many days without any solar input. Remember that LiFePO4 batteries allow for a much deeper discharge (up to 80-100%) compared to lead-acid (typically 50%), meaning you need less overall capacity for the same usable power. A general rule of thumb for LiFePO4 is: (Daily Watt-Hours / System Voltage) * Days of Autonomy = Total Amp-Hours needed. For example, if your workshop uses 5,000 Wh/day on a 48V system with 2 days of autonomy: (5000 Wh / 48V) * 2 days = ~208 Ah. You'll then select batteries that sum up to this capacity.
-
Solar Panel Sizing: This depends heavily on your location's "peak sun hours" – the equivalent number of hours per day when sunlight intensity averages 1,000 watts per square meter. This number varies significantly by season and geography. You take your total daily watt-hour consumption, add a buffer (15-20% for system inefficiencies), and divide it by your worst-case peak sun hours (usually winter). This gives you the total wattage of panels needed. So, if your workshop needs 5,000 Wh/day, and your winter peak sun hours are 3: (5,000 Wh * 1.20) / 3 hours = 2,000 Watts of solar panels. You would then divide this by the wattage of individual panels (e.g., 400W panels) to get the number of panels needed (2000W / 400W = 5 panels).
Choosing the Right Inverter Size for Tools
This is often where workshop systems differ most from residential setups. As discussed, the surge capability is paramount. When looking at How to Size an Off-Grid Inverter, you need to ensure your chosen inverter can handle the highest surge load from any single tool you plan to operate, plus a bit of extra headroom. If you have a tool that surges to 4,500 watts, your inverter needs a surge rating of at least that much, and ideally more, to prevent it from tripping offline. It's often recommended to select an inverter whose continuous wattage rating is at least 20-25% higher than your maximum expected continuous load. If you anticipate running a 1500W table saw and a 500W dust collector simultaneously, your inverter should be rated for at least 2500W continuous, and its surge rating must handle the highest individual tool's startup spike.
| Appliance/Tool Category | Typical Running Watts | Typical Surge Watts | Example Inverter Continuous Rating Needed (Single Use) |
|---|---|---|---|
| Lighting | 20-200 W | N/A | 500 W |
| Small Hand Tools | 100-500 W | 300-1500 W | 1000 W |
| Large Power Tools | 800-2000 W | 2000-6000 W | 3000 W (e.g., table saw) |
| Air Compressor | 1500-2500 W | 4000-8000 W | 4000 W |
| Small Refrigerator | 50-150 W | 300-600 W | 1000 W |
| Chargers (Batteries) | 50-200 W | N/A | 500 W |
Note: These are approximations. Always check your specific tool's wattage labels.
Designing and Installing Your Workshop's Off-Grid Setup
Once you've done the math and picked out your core components, it's time to think about the physical layout and installation. A well-designed and safely installed system is crucial for reliability and longevity. This phase is where all the theoretical planning becomes a tangible reality.
Optimal Panel Placement and Mounting Solutions
The location and orientation of your solar panels are paramount for maximizing energy harvest. Ideally, panels should be mounted in an area with direct, unobstructed sunlight throughout the day, facing true south (in the Northern Hemisphere) or true north (in the Southern Hemisphere) at an angle roughly equal to your latitude. However, for a workshop that might see more use in certain seasons, you might adjust the tilt angle to optimize for winter sun (steeper angle) or summer sun (flatter angle).
For workshops, you have a few mounting options:
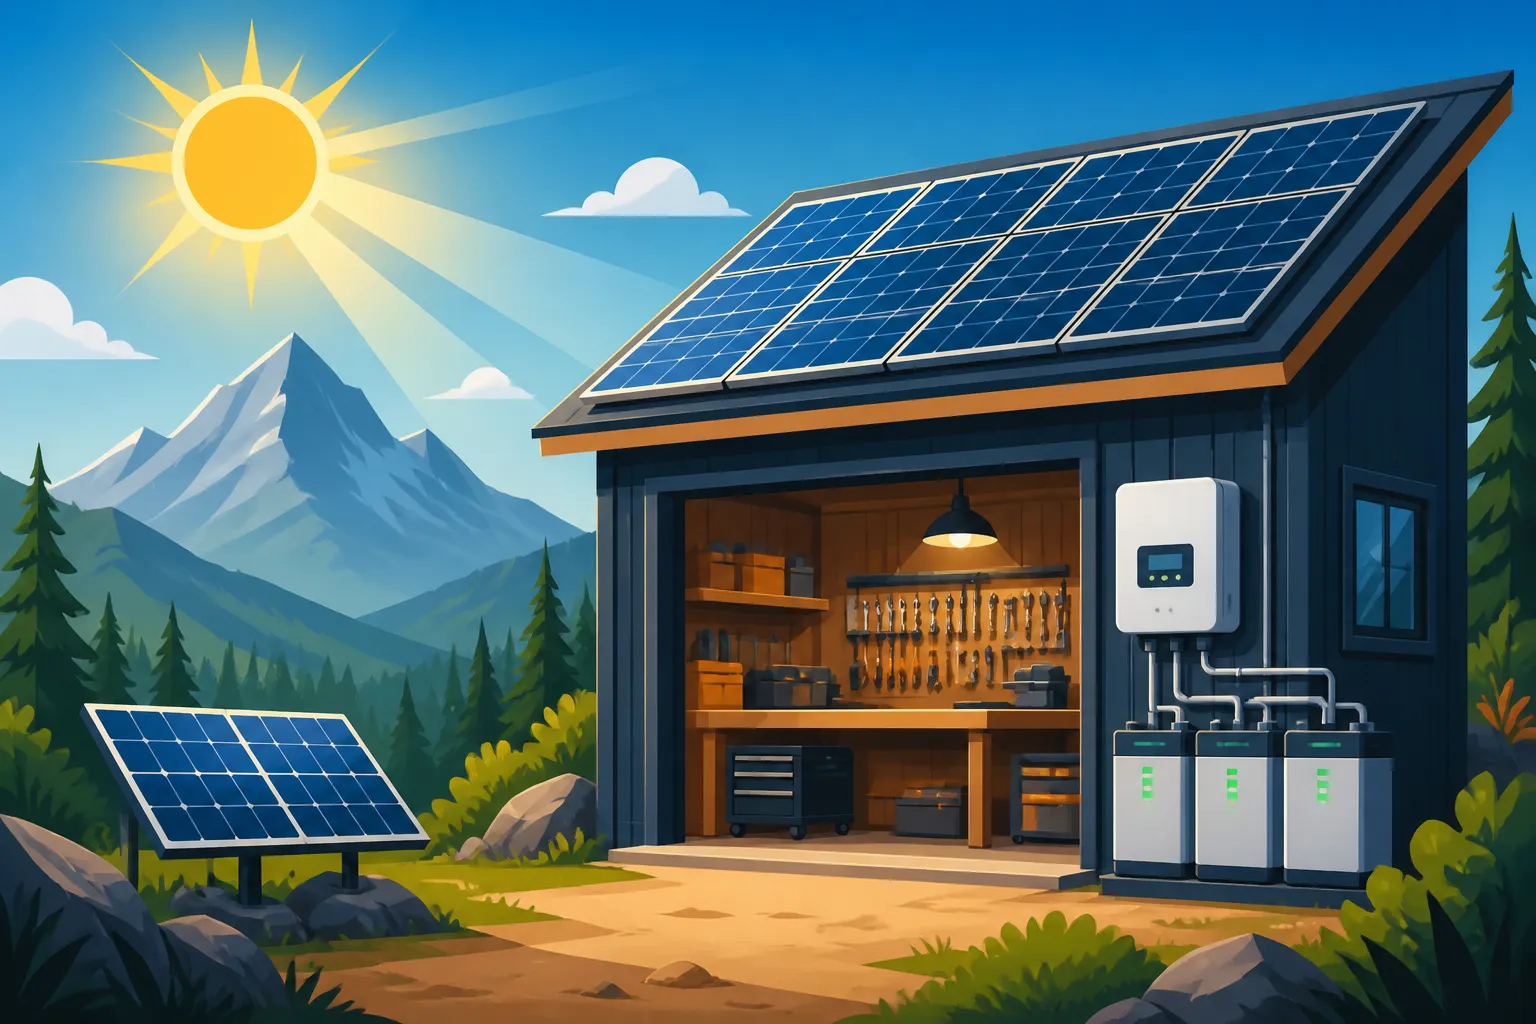
- Roof Mount: If your workshop roof has good sun exposure and structural integrity, this is often the most discreet option. Ensure proper sealing and flashing to prevent leaks.
- Ground Mount: This offers the most flexibility for aiming your panels perfectly and adjusting their tilt seasonally. It can also be easier for maintenance and cleaning. However, it requires more ground space and can be more susceptible to theft or damage if not secured.
- Pole Mount: Similar to ground mounts but elevates the panels, which can help with shading and snow clearance. Some pole mounts even allow for tracking the sun, maximizing daily output.
No matter the chosen method, make sure the mounting system is robust enough to withstand local wind loads and heavy snowfalls. You'll want to study up on topics like How to Install Off-Grid Solar Panels for best practices.
Wiring Your System for Safety and Efficiency
Wiring an off-grid solar system involves both DC (direct current) wiring from the panels to the charge controller and batteries, and AC (alternating current) wiring from the inverter to your workshop's outlets and appliances. This isn't a place to cut corners or guess. Incorrect wiring can lead to dangerous situations like fires or electrocution, not to mention inefficient power delivery.
Key considerations for wiring:
- Wire Sizing: Use appropriately sized wire gauges for all connections to prevent voltage drop and overheating. Longer runs require thicker wire. Consult wire sizing charts based on current and distance.
- Fuses and Breakers: Every major component and circuit needs overcurrent protection. This protects your equipment and prevents fires in case of a short circuit. DC breakers are necessary for battery and solar panel circuits, while AC breakers protect your inverter output and household circuits.
- Grounding: Proper grounding of your entire system (panels, mounting hardware, inverter, etc.) is essential for safety, protecting against lightning strikes and electrical faults. This is often a permit requirement and should be done by the book.
- Conduit and Protection: All outdoor wiring and wiring in areas susceptible to physical damage should be run through appropriate conduit to protect it from the elements, pests, and accidental cuts.
If you're not experienced with electrical work, it's highly advisable to consult with or hire a qualified electrician, at least for the final hookups and safety checks. There are comprehensive guides like DIY Off-Grid Solar Installation Step by Step that can walk you through the process, but safety always comes first.
Integrating Backup Power Solutions
Even with a perfectly sized solar and battery system, remote workshops often benefit from a backup power source for those extreme weather events or periods of unusually high demand.
- Generator Integration: A fossil fuel generator (gasoline, propane, or diesel) is a common and effective backup. An inverter-charger unit can often automatically start and stop a generator to charge your batteries when they get low or when loads exceed solar/battery capacity. This provides an excellent safety net, ensuring your workshop is never truly without power.
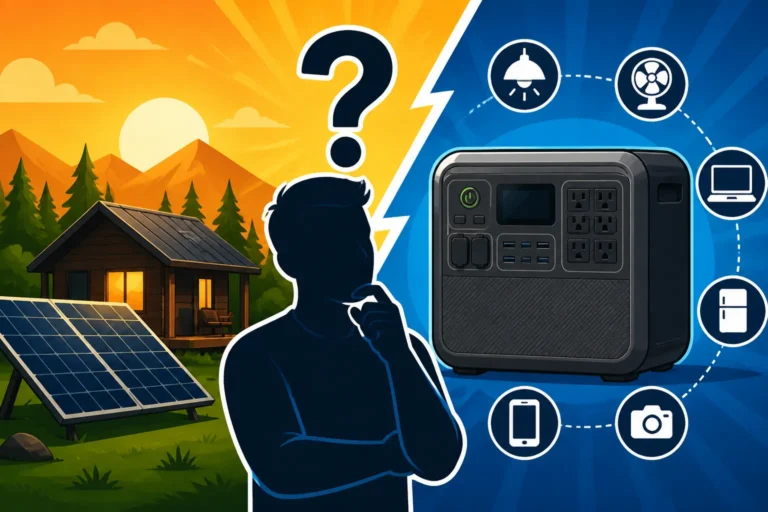
- Portable Power Stations: For smaller, occasional boosts or to power specific tools away from the main system, a quality portable power station, like those from Jackery, can be invaluable. These all-in-one units contain a battery, inverter, and charge controller, and can be charged by solar panels or a wall outlet when available. They are perfect for running a few lights or charging cordless tool batteries without firing up the main system or a large generator.
Remember, the goal is uninterrupted productivity, and a robust backup strategy is a key part of that.
Real-World Considerations and Maximizing Longevity
Building an off-grid workshop solar system isn't just about components and wiring; it's about anticipating real-world challenges, managing your budget, and ensuring your investment lasts for years.
Budgeting and Phased Installation Strategies
Let's be honest, going off-grid isn't cheap, especially for a power-hungry workshop. The Cost to Power a Workshop with Solar can vary wildly depending on your energy needs. However, you don't always have to do it all at once. A phased approach can make the upfront investment more manageable.
- Phase 1: Essential Loads: Start by installing a system that can power your absolute necessities – critical lighting, charging for cordless tools, and perhaps a small radio. This might mean a smaller inverter, fewer panels, and a modest battery bank. Brands like Renogy and EcoFlow offer starter kits that could be a good fit for this initial phase.
- Phase 2: Core Tools: Once you've got the basics humming, expand your system to comfortably handle your most frequently used corded power tools. This will likely involve adding more solar panels, increasing your battery bank capacity, and possibly upgrading your charge controller or inverter.
- Phase 3: High-Demand & Comfort: Finally, integrate your heaviest machinery, air conditioning, or any other amenities you desire. This will demand a significant increase in solar generation and storage.
Budget not just for the components, but also for mounting hardware, wiring, fuses, safety equipment, and any professional labor you might need. Don't forget potential permitting costs, which vary by location.
Maintenance Tips for a Reliable Off-Grid Workshop
A truly reliable off-grid system isn't a "set it and forget it" affair. Regular, albeit simple, maintenance is essential to keep everything running smoothly and maximize the lifespan of your components.
- Panel Cleaning: Dust, pollen, bird droppings, and snow can significantly reduce solar panel efficiency. Periodically clean your panels with water and a soft brush, especially after dry spells or heavy weather.
- Battery Care:
- LiFePO4: These are largely maintenance-free but benefit from occasional visual inspection of terminals for corrosion and ensuring proper ventilation if they're in an enclosed space.
- Lead-Acid (if used): If you opt for flooded lead-acid batteries, regular checks of electrolyte levels and topping up with distilled water are crucial. Keep terminals clean and greased to prevent corrosion.
- Wiring and Connections: Annually inspect all wiring for signs of wear, fraying, or rodent damage. Check all connections for tightness; loose connections can cause resistance, heat buildup, and power loss.
- Inverter and Charge Controller: Ensure these components are kept in a clean, dry, well-ventilated area. Dust buildup can hinder cooling. Pay attention to any error codes or unusual noises.
Regular monitoring of your system's performance using a battery monitor or inverter display can help you catch small issues before they become major problems.
Expanding Your System as Your Needs Grow
One of the great things about modular off-grid solar systems is their expandability. As your workshop operations grow, or if you decide to add more power-hungry tools, you can often add to your existing setup.
- Adding Panels: If your charge controller has spare capacity and your battery bank can handle the increased input, adding more solar panels is usually straightforward.
- Increasing Battery Capacity: You can often add more batteries of the same type and voltage to your existing bank, provided they are compatible and properly balanced. For LiFePO4, many systems are designed for easy expansion.
- Upgrading Inverter: If you start using tools with significantly higher surge or continuous power demands, you might need to upgrade to a larger inverter. This is a more substantial upgrade but might be necessary if your workshop evolves into a serious production space.
Planning for future expansion during the initial design phase, such as oversizing your charge controller slightly, can save you headaches and money down the road. Consider an Off-Grid Solar System Design Basics that accounts for this flexibility.
Is Off-Grid Solar the Right Choice for Your Remote Workshop?
Deciding to go off-grid with solar for your remote workshop is a significant commitment. While the idea of self-sufficiency and cutting ties with the utility company is appealing, it’s important to weigh the practicalities, benefits, and challenges against other potential solutions.
Pros and Cons Compared to Other Solutions
Let's break down why off-grid solar might, or might not, be the perfect fit for your remote workshop:
Pros of Off-Grid Solar for Workshops:
- Energy Independence: You are completely in charge of your power. No more utility bills, no dependence on a fragile grid that can go down during storms.
- Access to Remote Locations: It’s often the most practical and cost-effective solution for properties miles away from the nearest power lines. Extending utility lines can be prohibitively expensive (think tens of thousands of dollars per mile).
- Quiet Operation: Unlike a noisy, fuel-guzzling generator, a solar system operates silently. This is a huge benefit for a peaceful workshop environment.
- Environmental Benefits: You're producing clean, renewable energy, reducing your carbon footprint.
- Increased Property Value: A well-designed off-grid power system can be a significant selling point for a remote property.
- Reduced Long-Term Costs: While the upfront investment is considerable, once installed, your "fuel" (sunlight) is free, leading to substantial savings over decades compared to continually buying generator fuel.
Cons of Off-Grid Solar for Workshops:
- High Upfront Cost: The initial investment for panels, batteries, inverters, and installation can be substantial, especially for a workshop with heavy power demands. You'll want to carefully budget for an Off-Grid Solar Cost: Complete Breakdown.
- Dependency on Weather: Cloudy days and short winter days directly impact power generation, requiring a larger, more expensive system (or reliance on a backup generator) to maintain consistent power.
- Maintenance Requirements: While generally low-maintenance, panels need cleaning, batteries need occasional checks (especially lead-acid), and all components should be inspected periodically.
- Sizing Complexity: Getting the system sizing right, particularly for surge loads from power tools, can be challenging and requires careful planning to avoid frustration.
- Limited Power Availability: You don't have an infinite supply of power. You must be mindful of your consumption, especially with large appliances or tools, to avoid draining your battery bank too quickly.
- Component Lifespan: Batteries are a consumable item and will need replacement eventually (typically 5-15 years depending on type), adding to long-term costs.
Navigating the Initial Investment vs. Long-Term Savings
The biggest hurdle for many considering off-grid solar for their workshop is the initial price tag. For a robust system capable of running heavy power tools, you could be looking at costs ranging from $5,000 for a small setup to $25,000+ for a full-fledged, year-round power solution, not including potential installation costs. However, it's crucial to view this as a long-term investment, not just an expense.
Consider the alternatives:
- Generator Only: While cheaper upfront, generators require constant fuel purchases, regular maintenance, and produce noise and emissions. The lifetime cost of fuel alone can quickly eclipse the cost of a solar system.
- Utility Line Extension: For properties even a short distance from the grid, extending power lines can cost anywhere from $10,000 to $50,000 per mile, sometimes more in difficult terrain. This often makes off-grid solar the cheaper option in the long run, even with its high upfront cost.
Over the 25+ year lifespan of solar panels, and with proper battery cycling, your off-grid system will effectively pay for itself in avoided utility bills and fuel costs. Plus, you gain the priceless benefit of true energy independence and the joy of working in a quiet, self-sufficient space. For detailed insights into the financial aspects, explore resources like How Off-Grid Solar Saves Money Long-Term. It's a journey, but for many, the destination of a fully powered remote workshop is absolutely worth it.
Disclaimer
Please remember that the information provided in this guide is for general informational purposes only and does not constitute professional electrical engineering or financial advice. Off-grid solar system design and installation can be complex and potentially dangerous if not executed correctly. Always consult with qualified professionals for specific system design, local permitting requirements, and safe installation practices. Local regulations and codes pertaining to electrical systems and solar installations vary significantly.