Best DIY Off-Grid Solar Kit
The dream of achieving energy independence often comes with a hefty price tag and a maze of complex decisions, leaving many aspiring off-gridders feeling overwhelmed and unsure where to begin. The sheer thought of designing an entire electrical system from scratch can be daunting, but thankfully, there are fantastic DIY off-grid solar kits available that simplify the process, offering a balanced path between custom-built systems and ready-made solutions. This comprehensive guide will walk you through everything you need to know to find the best DIY off-grid solar kit for your unique needs, helping you embrace sustainable living without losing your mind.
The Allure of a DIY Off-Grid Solar Kit
Deciding to go off-grid is a monumental step, a commitment to self-sufficiency and a deeper connection with your energy consumption. For many, the idea of rolling up their sleeves and building their own power system is a deeply satisfying part of that journey.
Why DIY Appeals to Many
There’s something incredibly empowering about understanding exactly how your power works, knowing you built it with your own hands. The DIY approach often comes with significant cost savings compared to hiring a professional installer for a custom-designed system. You’re paying for the components and putting in the labor yourself, which can cut down on overall expenses considerably. This hands-on experience also means you gain invaluable knowledge about troubleshooting, maintenance, and future expansion. When something inevitably goes wrong, you’re not scrambling to find an electrician; you’ve got the foundational understanding to diagnose and often fix the issue yourself. It’s a journey of learning, resilience, and true independence.
Beyond the financial and educational benefits, DIY off-grid solar kits offer unparalleled flexibility. While a pre-built, all-in-one system might be convenient, it often locks you into specific components and capabilities. With a DIY kit, even if it comes with most major parts, you still have the freedom to swap out a battery bank for a larger one, add more solar panels later, or upgrade your inverter to handle more demanding appliances. This adaptability is crucial for homesteaders, RVers, or cabin owners whose energy needs might evolve over time. You're not just buying a system; you're investing in a adaptable power solution that can grow with you.
Understanding What “Kit” Truly Means
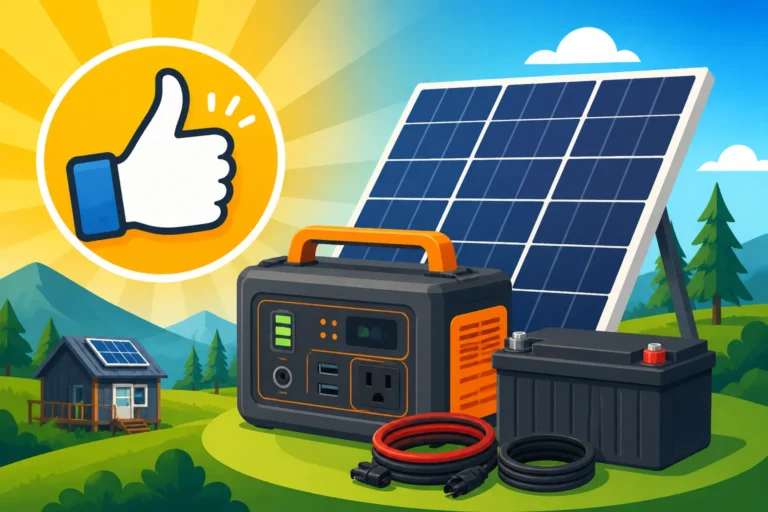
The term “DIY off-grid solar kit” can mean a few different things, and it’s important to clarify this from the outset. On one hand, it refers to a package that includes the core components of an off-grid system – solar panels, batteries, a charge controller, and an inverter – often bundled together by a manufacturer like Renogy or BougeRV. These kits provide the major pieces, but you’re still responsible for all the wiring, mounting, and system integration. This is the more traditional DIY approach, requiring a good understanding of electrical principles and safety. You’ll be connecting wires, securing panels, and setting up your battery bank, giving you maximum control over the final installation.
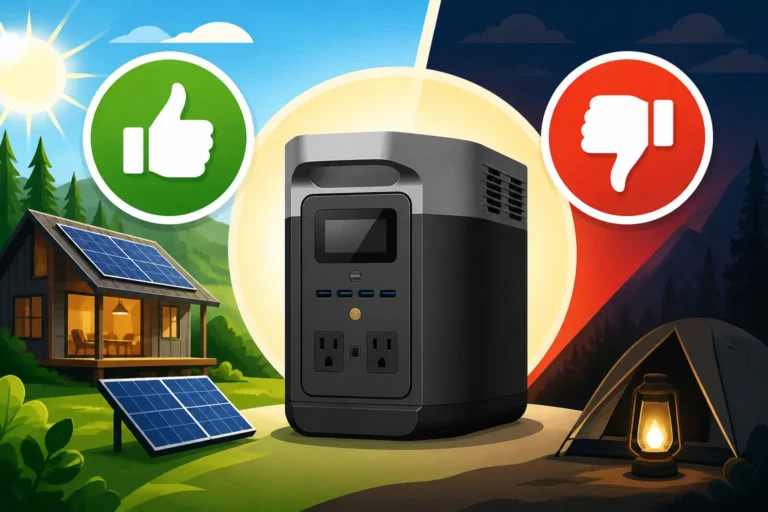
On the other hand, some might consider portable power stations, like those offered by Jackery or EcoFlow, as "kits" because they are largely plug-and-play solutions. While incredibly user-friendly and excellent for smaller, portable needs or as an emergency backup, these are fundamentally different from a component-based DIY kit. A Jackery unit, for instance, integrates the battery, inverter, and charge controller into one compact box. You simply plug in your solar panels and appliances. While they are a form of "DIY" in that you install them yourself without professional help, they offer less flexibility in terms of component upgrades or system expansion. This guide will focus more on the former—component-based kits—as they embody the true spirit of designing and building a dedicated off-grid power solution, but we'll touch on portable options as well due to their popularity.
Key Components of a Comprehensive DIY Off-Grid Solar Kit
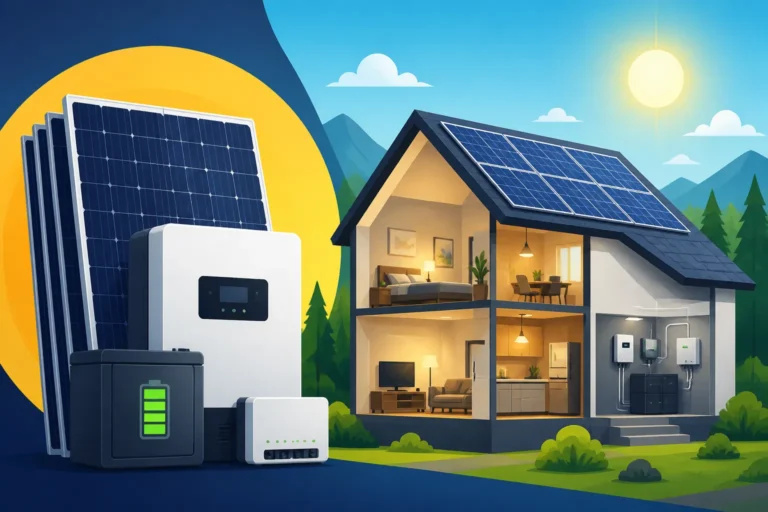
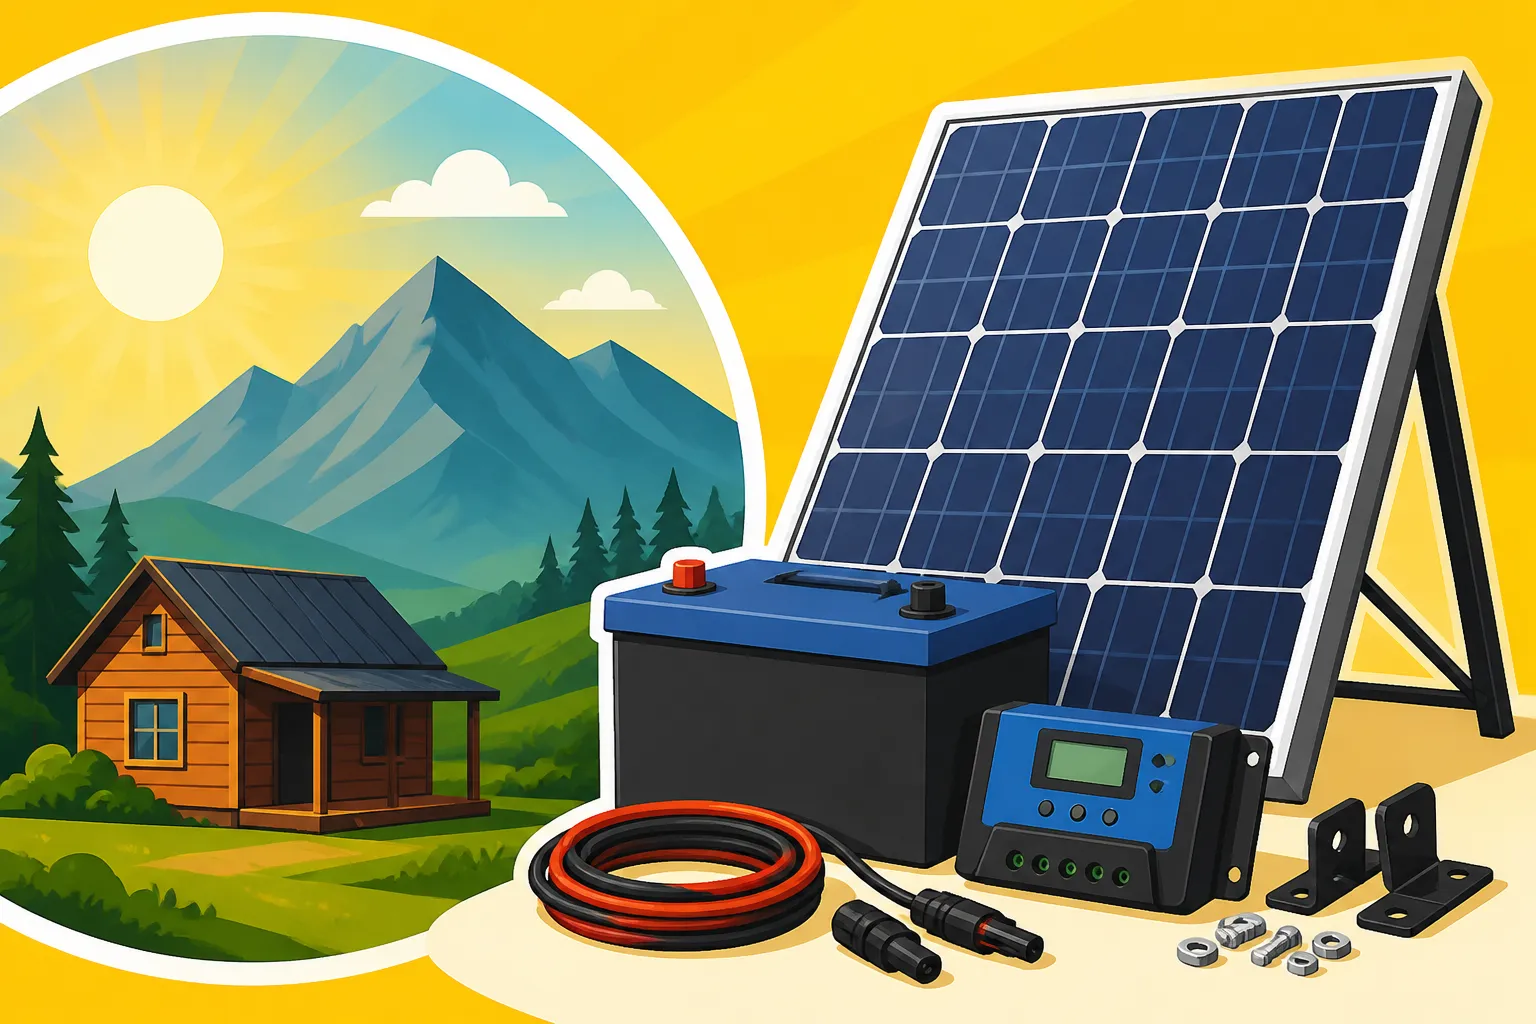
A truly comprehensive DIY off-grid solar kit isn’t just a random assortment of parts; it’s a carefully selected collection designed to work together seamlessly. Understanding each component’s role is critical to choosing the right kit and successfully putting it all together.
Solar Panels: Your Energy Harvesters
Solar panels are the very beginning of your off-grid power journey. They capture sunlight and convert it into usable DC electricity. In a DIY kit, you’ll typically find monocrystalline panels, known for their efficiency and durability. The quantity and wattage of these panels are directly tied to your energy consumption and the amount of sunlight your location receives. For a small cabin used seasonally, a couple of 100W panels might suffice, but a full-time off-grid home will require a significantly larger array.
When evaluating panels within a kit, consider their wattage, physical size, and voltage compatibility with the rest of the system. Higher wattage panels mean fewer physical panels are needed for a given output, which can simplify mounting. Also, think about the climate; some panels perform better in high heat, while others are designed for lower light conditions. The goal is to maximize the energy harvest each day to keep your batteries topped off. If you're wondering, "How Many Solar Panels for Off-Grid Living", a detailed load analysis will give you the precise answer.
Batteries: The Heart of Your Off-Grid System
Batteries are arguably the most crucial component in an off-grid solar system. They store the electricity generated by your solar panels so you can use it when the sun isn’t shining—at night, on cloudy days, or during periods of high demand. Without a robust battery bank, your off-grid system is essentially useless after dark. Most DIY kits today feature either LiFePO4 (lithium iron phosphate) or AGM (Absorbed Glass Mat) lead-acid batteries.
LiFePO4 batteries are often touted as the superior choice due to their longer lifespan (many thousands of cycles), higher depth of discharge (you can use more of their stored energy without damage), lighter weight, and consistent voltage output. However, they typically come with a higher upfront cost. AGM batteries, while cheaper initially, have a shorter lifespan and lower usable capacity, meaning you need more amp-hours to achieve the same usable power as a lithium bank. Many kits that claim to be "best" will include LiFePO4 batteries, reflecting their growing popularity. Understanding the Cost of an Off-Grid Solar Battery Bank is essential when comparing kits.
Charge Controller: The Brain Managing the Flow
The charge controller is the unsung hero of your off-grid system. It sits between your solar panels and your battery bank, regulating the voltage and current coming from the panels to ensure your batteries are charged safely and efficiently. Without a charge controller, your batteries could be overcharged and severely damaged, shortening their lifespan or even posing a safety risk.
There are two main types: PWM (Pulse Width Modulation) and MPPT (Maximum Power Point Tracking). MPPT charge controllers are generally more efficient, especially in varying light conditions and when your panel voltage is significantly higher than your battery voltage. They can extract up to 30% more power from your panels compared to PWM controllers, making them the preferred choice for larger, more efficient systems and virtually all quality DIY kits. PWM controllers are simpler and cheaper, often found in smaller, budget-friendly kits, but they waste some of the panels' potential output. A good kit will usually specify an MPPT controller, recognizing its benefits for long-term performance and battery health. You can learn more about Best MPPT Charge Controllers if you're diving deep into component selection.
Inverter: Turning DC into Usable AC Power
While your solar panels and batteries primarily operate on direct current (DC) power, most of the appliances and electronics in your home run on alternating current (AC). This is where the inverter comes in. Its job is to convert the DC power stored in your batteries into AC power that your standard outlets can use. The size of your inverter (measured in watts) needs to be carefully matched to your total AC power needs at any given moment.
Most modern off-grid inverters are "pure sine wave" inverters, which produce a clean, stable AC waveform identical to grid power. This is crucial for sensitive electronics like laptops, medical equipment, and modern appliances. "Modified sine wave" inverters are cheaper but can damage or cause erratic behavior in certain devices. A robust DIY kit will always include a pure sine wave inverter. Some advanced inverters are also "inverter-chargers," meaning they can not only convert DC to AC but also charge your batteries from an AC source, like a backup generator, adding another layer of versatility to your system. Properly sizing your inverter is as important as sizing your battery bank; for more details, check out our guide on How to Size an Off-Grid Inverter.
Wiring, Fuses, and Mounting Hardware: The Unsung Heroes
While not as glamorous as panels or batteries, the balance of components in a DIY kit—the wiring, fuses, breakers, and mounting hardware—are absolutely critical for safety, efficiency, and longevity. Quality wiring ensures minimal energy loss and prevents overheating. Fuses and circuit breakers protect your system from dangerous overcurrents and short circuits, acting as essential safety cut-offs.
A good DIY kit should include appropriately sized solar cables (often MC4 connectors for panels), battery cables, and all necessary fusing for the PV array, battery bank, and inverter. Don't skimp on these "small" details. Mounting hardware, whether for roof mounts or ground mounts, must be sturdy and weather-resistant, capable of holding your panels securely against wind and snow. While some basic kits might assume you'll source these yourself, the best DIY kits often provide a comprehensive package, including everything down to the smallest terminal connector, to ensure you have a safe and reliable installation. This often involves careful consideration of How to Wire an Off-Grid Solar System and how to effectively ground your setup.
Evaluating the Best DIY Off-Grid Solar Kits
With so many options on the market, choosing the “best” DIY off-grid solar kit can feel like looking for a needle in a haystack. The truth is, the “best” kit is highly subjective and depends entirely on your specific circumstances, budget, and power requirements.
Sizing Your Kit to Your Needs
Before you even start looking at kits, the absolute first step is to perform a thorough load analysis. This means listing every electrical appliance you plan to run, noting its wattage, and estimating how many hours per day you’ll use it. This will give you your total daily Watt-hour (Wh) consumption. Remember, an off-grid system needs to generate and store enough power to meet your daily needs, plus a buffer for cloudy days or increased usage. For example, running a well pump intermittently will have a very different impact on your system than continuously powering an air conditioner.
Once you have a clear picture of your energy demands, you can then accurately size the components of your system. A common mistake is to underestimate power needs, leading to an undersized system that leaves you in the dark. Conversely, oversizing too much can lead to unnecessary costs. Many resources can guide you through How to Calculate Off-Grid Solar Needs or help you with a Off-Grid Solar Load Calculation Explained. This critical step ensures you purchase a kit that can genuinely support your off-grid lifestyle, rather than just buying the biggest or cheapest option you find.
Quality and Compatibility of Components
A kit is only as good as its weakest link. It’s crucial to assess the quality of each individual component included in a DIY kit. Are the solar panels from a reputable manufacturer with good warranty coverage? Are the batteries high-grade LiFePO4 with an integrated Battery Management System (BMS), or are they cheaper lead-acid options? Is the charge controller an efficient MPPT unit, and does the inverter deliver pure sine wave power? Mixing and matching components can sometimes lead to efficiency losses or even safety issues if voltages and currents aren’t compatible.
The best DIY kits are designed with component compatibility in mind, ensuring that the panels, charge controller, batteries, and inverter are all optimized to work together. They'll also typically come from brands known for their reliability in the off-grid community. For instance, a kit featuring Victron Energy or Outback Power components (even if not an all-in-one kit) would generally signify high quality, though these might be more expensive. Always look for kits that clearly list the specifications and brands of each component, rather than just generic descriptions.
Expandability and Future-Proofing
Life off-grid is rarely static. Your energy needs might change as you add new appliances, expand your living space, or simply want more comfort. A truly “best” DIY off-grid solar kit should offer the flexibility to expand in the future. Can you easily add more solar panels to the charge controller without needing a new one? Is the battery bank designed so you can add more batteries in parallel to increase capacity? Is the inverter powerful enough to handle future surge loads, or can another be easily integrated into the system?
Thinking about expandability upfront can save you significant money and headaches down the road. It's often cheaper to add to an existing system than to completely replace an undersized one. Some kits are modular by design, making it straightforward to scale up. Even if your current budget is tight, choosing a system that allows for easy upgrades means your initial investment is protected and can adapt to your evolving off-grid journey. This foresight is key for long-term satisfaction with your solar investment, especially if you consider Cost of Expanding an Off-Grid System.
Brand Reputation and Support
When embarking on a DIY project of this magnitude, the support you receive from the kit manufacturer can make all the difference. Reputable brands offer clear instructions, accessible customer service, and robust warranties. While you’re doing the “DIY” part, having a lifeline for technical questions or component issues is invaluable. Look for companies that specialize in off-grid solar and have a track record of reliability and positive customer feedback.
Brands like Renogy, EcoFlow, and certain offerings from Jackery have built strong communities around their products, providing online resources, forums, and responsive technical support. This can be a huge benefit when you're troubleshooting a wiring issue or trying to understand a specific setting on your charge controller. A strong warranty also provides peace of mind, knowing that if a component fails prematurely due to a manufacturing defect, you're covered. This aspect is often overlooked but can dramatically impact your DIY experience.
| Kit Type/Approach | Key Features | Pros for DIYer | Cons for DIYer | Best For |
|---|---|---|---|---|
| Component-Based Kits (e.g., Renogy, BougeRV) |
Individual panels, batteries, inverter, charge controller, wiring. Requires assembly. | High customization, deep learning experience, expandability, often best value per watt. | More complex installation, requires electrical knowledge, more components to manage. | Full-time off-grid homes, cabins, workshops, those seeking full control and learning. |
| Portable Power Stations (e.g., Jackery, EcoFlow) |
All-in-one unit with battery, inverter, charge controller integrated. Plug-and-play. | Extremely easy to set up, highly portable, minimal wiring, good for beginners. | Limited expandability, fixed components, generally higher cost per watt-hour, lower sustained output. | RVing, van life, camping, emergency backup, small sheds, temporary power needs. |
| Hybrid/Modular Kits (e.g., Sol-Ark, Victron Systems) |
High-quality, often larger components designed for integration, but sold as a system. | Superior efficiency, advanced features, robust build, excellent expandability. | Higher upfront cost, still requires significant electrical knowledge for installation. | Large off-grid homes, commercial applications, high reliability and performance demands. |
Popular DIY Off-Grid Solar Kit Brands and Offerings
The market for DIY off-grid solar kits is thriving, with several brands catering to different needs and budgets. From entry-level setups to more robust systems, understanding what each offers can help you narrow down your choices.
Renogy: A Go-To for Many DIYers
Renogy has established itself as a household name in the DIY off-grid solar world, particularly for RVers, van dwellers, and small cabin owners. They offer a vast array of solar panels, charge controllers, inverters, and batteries, often bundled into comprehensive kits. Their kits are known for being relatively affordable, reliable, and well-documented, making them a popular choice for first-time DIYers. A typical Renogy kit might include multiple 100W monocrystalline panels, a powerful MPPT charge controller, a pure sine wave inverter, and a lithium iron phosphate (LiFePO4) battery, along with all the necessary cabling and fuses.
What sets Renogy apart is their strong commitment to the DIY community, offering extensive online guides, YouTube tutorials, and responsive customer service. This makes the often-complex task of installing an off-grid system much more approachable. Whether you're looking for a small setup for a camper or a larger system for a modest off-grid home, Renogy likely has a kit that fits the bill. Their reputation for providing solid components that work together harmoniously has made them a go-to for many looking to dip their toes into self-sufficient power. For those starting their research, exploring Off-Grid Solar Kits: What to Buy will undoubtedly lead them to consider Renogy's offerings.
BougeRV and HQST: Budget-Friendly Options
For those on a tighter budget, or perhaps just starting with smaller projects like a shed or a very basic RV setup, brands like BougeRV and HQST offer excellent entry points. These companies typically provide cost-effective solar panels and simpler kits that get the job done without breaking the bank. While they might not always include the most advanced MPPT charge controllers or top-tier LiFePO4 batteries in their absolute cheapest bundles, they provide a viable path to off-grid power for minimal investment.
BougeRV, for instance, offers flexible solar panels which can be a game-changer for irregular surfaces or weight-sensitive applications. HQST often bundles robust yet affordable rigid panels with PWM charge controllers, suitable for basic charging needs. While these kits might require a bit more research to ensure all components meet your specific quality expectations, they are a testament to how accessible off-grid solar has become. They serve as a great starting point for someone who wants to understand the fundamentals of solar power without committing to a large financial outlay, allowing them to gain experience before potentially expanding or upgrading later.
EcoFlow and Jackery: The Portable Powerhouse Kits
When the term “DIY Off-Grid Solar Kit” conjures images of portability and ease of use, EcoFlow and Jackery are often the first brands that come to mind. While not traditional component-based kits requiring extensive wiring, their integrated solar generators paired with portable solar panels act as powerful, plug-and-play off-grid solutions, particularly for mobile applications or backup power. A Jackery Explorer power station, for example, combines a large battery bank, a pure sine wave inverter, and an MPPT charge controller into a single unit. You simply connect their compatible solar panels (or other brand panels via an adapter) directly to the unit, and you have instant off-grid power.
EcoFlow takes this concept further with their Delta and River series, offering even larger capacities and faster charging times. Some of their more advanced offerings, like the EcoFlow Power Kits, bridge the gap between portable power stations and modular component systems, allowing for semi-permanent installations in RVs or cabins with a more streamlined setup than fully separate components. These solutions are perfect for van life, camping, tailgating, or as reliable emergency backup for a home. They significantly reduce the complexity of installation, making them ideal for individuals who want off-grid capabilities without delving deep into electrical engineering. For beginners, these "kits" are incredibly appealing due to their simplicity and ease of deployment. If you're looking for a simple setup, reviewing options like the Best Off-Grid Solar Kit for a Van might highlight brands like Jackery.
The DIY Installation Journey: What to Expect
Even with a well-curated kit, the actual installation is where the “DIY” truly comes into play. It’s a rewarding process, but one that requires careful planning, patience, and a strong emphasis on safety.
Planning Your Layout and Wiring
Before you even touch a tool, a significant part of your DIY journey will involve planning. This includes deciding where your solar panels will be mounted—whether on a roof, a ground mount, or a custom rack. Consider factors like sun exposure throughout the day and year, potential shading from trees or buildings, and ease of access for cleaning and maintenance. Optimal panel placement is crucial for maximizing your daily energy harvest. For instance, in the Northern Hemisphere, south-facing panels with an appropriate tilt angle will generally capture the most sunlight. You can find more information about How to Plan Your Off-Grid Installation to guide you.
Next comes the intricate task of planning your wiring. You'll need to map out the runs from your solar panels to your charge controller, from the charge controller to your battery bank, and from the battery bank to your inverter. This involves calculating appropriate wire gauges to minimize voltage drop, ensuring all connections are secure, and deciding on the placement of disconnect switches and fuses. Remember, DC wiring can be unforgiving; improper sizing or loose connections can lead to significant power loss or, worse, fire hazards. Even with a kit, a clear, drawn-out wiring diagram is your best friend. Understanding Off-Grid Solar Wiring Diagram Explained is vital for a safe and efficient setup.
Step-by-Step Installation Considerations
Once your planning is complete, the actual installation begins. This is where your chosen DIY kit shines, providing most of the necessary components. You’ll typically start by mounting your solar panels. This might involve drilling holes into your roof or assembling a ground-mount structure. Ensure all mounting hardware is securely fastened and weatherproofed, especially if you’re working on a roof to prevent leaks. The panels are then wired, often in series or parallel, depending on your system voltage requirements.
Next, you'll connect the panels to your charge controller, ensuring the correct polarity. From the charge controller, heavy gauge cables will run to your battery bank. This is a critical junction where overcurrent protection (fuses or breakers) must be installed immediately after the battery bank for safety. Finally, the inverter connects to the battery bank, and from there, your AC loads are powered. Each step requires meticulous attention to detail. Double-check every connection, ensure all wires are properly terminated, and confirm that all safety devices are correctly installed. It's truly a rewarding process to see it all come together, but it is not a race. Our guide on DIY Off-Grid Solar Installation Step by Step provides a fantastic walkthrough.
Safety First: Essential Precautions
Working with electricity, especially high-voltage DC from solar panels and large battery banks, carries inherent risks. Safety must be your absolute top priority throughout the DIY installation process. Always wear appropriate personal protective equipment (PPE), including insulated gloves and eye protection. Never work on a live system; always disconnect power sources before making or breaking connections. This means covering solar panels to prevent them from generating power, and disconnecting battery banks before handling their terminals.
Fuses and circuit breakers are not just recommendations; they are non-negotiable safety devices. They protect your expensive equipment and, more importantly, prevent electrical fires or shocks. Ensure your system is properly grounded according to electrical codes to prevent dangerous voltage buildup. If you're unsure about any aspect of the electrical work, it's always wise to consult with a qualified electrician. There's no shame in seeking professional advice, especially when safety is concerned. Even the "best" DIY kit can become dangerous if installed improperly. Learning about Off-Grid Solar Safety and Grounding will provide crucial insights for your project.
Disclaimer
Please remember that engaging in off-grid solar installation, even with a kit, involves electrical work that can be dangerous if not performed correctly. This guide provides general information and recommendations. Always consult product manuals, local electrical codes, and, if necessary, a certified electrician before undertaking any installation. The author and publisher are not responsible for any injury or damage that may result from the use or misuse of this information.