How to Choose Off-Grid Solar for a Shed
Trying to figure out how to get power to your shed, especially if it's far from the main house or you just want to avoid the hassle and expense of trenching electrical lines, can feel like a real head-scratcher. It's frustrating to have a perfectly good shed for projects or storage, but be constantly limited by a lack of light or the inability to run your tools. This guide is all about helping you demystify the process of choosing the perfect off-grid solar system to bring reliable power right to your shed, no matter how remote.
Understanding Your Shed's Power Needs
Before you even think about buying solar panels or batteries, the absolute first step is to figure out what you actually need to power. Skipping this part is like trying to bake a cake without knowing what ingredients you have – it's just not going to work out, and you'll probably end up with something either too small to be useful or far too expensive for your simple requirements.
Identifying Your Appliances and Usage
Let's get real about what lives in your shed and what you actually do there. Are we talking about a simple garden shed where you occasionally turn on a light to grab a trowel, or is it a bustling workshop where power tools hum for hours?
- Lighting: This is usually the easiest to calculate. Are you using a single LED bulb for 30 minutes a day, or multiple shop lights for several hours? A standard LED bulb might draw around 10-15 watts, while an older fluorescent fixture could be 40 watts or more. Think about how many bulbs and for how long.
- Handheld Power Tools: Drills, sanders, jigsaws – these typically have a higher starting wattage (surge) but a lower running wattage. A drill might spike to 600-800 watts when you first pull the trigger but then run steadily at 300-400 watts. If you're using these for short bursts, the total energy consumption might not be huge, but your inverter needs to handle the surge.
- Larger Workshop Tools: Table saws, miter saws, air compressors. These are the big power hogs. A decent table saw can easily draw 1500-2000 watts, and an air compressor might surge even higher. If your shed is a serious woodworking or mechanic's haven, these tools will dictate a much larger system.
- Charging Devices: Laptops, phone chargers, cordless tool batteries. These are generally low-draw items, but if you're charging multiple items simultaneously or overnight, it adds up. A laptop charger might pull 40-60 watts, while a typical cordless tool battery charger could be 100-200 watts.
- Other Comforts: Maybe you want a small fan in the summer, a mini-fridge for cold drinks, or a radio. Don't forget these little luxuries!
Make a list. Be honest about how long you use each item. It's better to slightly overestimate now than to be left in the dark later.
Calculating Daily Watt-Hours and Peak Wattage
Once you have your list, it's time for some simple math. We need two key numbers:
- Total Daily Watt-Hours (Wh): This tells you how much energy your battery bank needs to store.
- Peak Wattage (W): This determines the size of your inverter, ensuring it can handle all your devices running at once, including those pesky surge loads.
To calculate daily watt-hours:
- For each appliance, find its wattage (usually printed on the device or its charger).
- Multiply the wattage by the number of hours you plan to use it per day.
- Add up the watt-hours for all your appliances.
Let's say you have:
- One 10W LED light used for 3 hours: 10W * 3h = 30 Wh
- A 400W drill used for 0.5 hours: 400W * 0.5h = 200 Wh
- A 100W cordless tool charger used for 2 hours: 100W * 2h = 200 Wh
- A 60W laptop charger used for 2 hours: 60W * 2h = 120 Wh
Your total daily energy usage would be 30 + 200 + 200 + 120 = 550 Wh.
For peak wattage:
- Identify all the AC (alternating current) devices you might run simultaneously.
- For tools with surge ratings, use the higher surge wattage for your calculation, not just the running wattage.
- Add these up.
If you might run the 10W LED light, the 400W drill (with a 800W surge), and the 100W charger at the same time:
Your peak wattage would be 10W (light) + 800W (drill surge) + 100W (charger) = 910W. This means your inverter would need to handle at least 910 watts, and ideally a bit more for a comfortable buffer. Understanding how to do an Off-Grid Solar Load Analysis is a fundamental step that too many people skip, leading to underpowered systems and frustration.
Key Components of a Shed Off-Grid Solar System
An off-grid solar system isn't just one magic box; it's a collection of carefully selected components working in harmony. For your shed, you'll need panels to capture sunlight, batteries to store the energy, and electronics to manage and convert that power.
Solar Panels: Sizing and Type
The solar panels are your energy collectors, literally soaking up the sun's rays and converting them into electricity. When choosing panels for a shed, you'll need to think about size, type, and how many.
- Sizing: Based on your calculated daily watt-hours, you'll determine how many watts of solar panels you need. Remember, panels rarely produce their "rated" wattage all day long. You need to factor in "peak sun hours" for your location, which represents the average hours per day that sunlight intensity is equivalent to 1,000 watts per square meter. If your shed needs 550 Wh per day and your area gets 4 peak sun hours, you'd need roughly 550 Wh / 4h = 137.5W of panels minimum. It's always a good idea to oversize your array a bit, especially for cloudy days. For a remote cabin or a shed, it's wise to consider how Winter Affects Off-Grid Sizing.
- Type:
- Monocrystalline panels are generally the most efficient, taking up less space for a given wattage output. They perform well in sunny conditions and are a solid choice for most shed applications if space isn't extremely limited.
- Polycrystalline panels are slightly less efficient but often more affordable. They might be a good budget-friendly option if you have plenty of roof space and want to save a few bucks.
- Flexible panels are usually reserved for RVs or boats where weight and mounting surfaces are unique. They're generally less durable and less efficient than rigid panels, so they're usually not ideal for a fixed shed installation unless there's a very specific reason.
For a typical shed powering lights and a few hand tools, a couple of 100W or 200W rigid panels, like those from Renogy or Rich Solar, are often sufficient. If you’re running a small workshop, you might be looking at 400W to 800W of panels, perhaps two 200W panels or four 100W panels.
Battery Bank: Capacity and Chemistry
The battery bank is the heart of your off-grid system, storing the energy your panels generate so you can use it when the sun isn't shining.
- Capacity: This is measured in amp-hours (Ah) or kilowatt-hours (kWh). Using our previous example, if your shed needs 550 Wh per day and you want 2-3 days of autonomy (power without sun), you'd need 550 Wh * 3 days = 1650 Wh of usable battery capacity. You also need to consider your system voltage (e.g., 12V, 24V, 48V). To understand how many batteries you need for your specific usage, check out our guide on how many batteries for an off-grid system.
- Chemistry: This is a big decision with cost and performance implications.
- Lead-Acid Batteries (AGM or Gel): These are traditionally more affordable upfront. AGM (Absorbed Glass Mat) batteries are sealed, maintenance-free, and perform decently. Gel batteries are similar but often have a lower charge rate. The downside is that you can only safely use about 50% of their rated capacity without significantly shortening their lifespan. They are also heavy and sensitive to deep discharges. While initially cheaper, their shorter lifespan and limitations can make their long-term cost higher.
- Lithium Iron Phosphate (LiFePO4) Batteries: These are the modern gold standard for off-grid power. They have a higher upfront cost, but you can safely use 80-100% of their rated capacity, they last much longer (thousands of cycles), are lighter, and require no maintenance. For a shed, especially if you plan to use it frequently or for higher-draw tools, the investment in LiFePO4, such as Battle Born or EG4, is almost always worth it in the long run. They tolerate deeper discharges and have better performance in a wider range of temperatures, though very cold temperatures still require precautions. For a deep dive, consider our comparison of LiFePO4 vs Lead-Acid Battery Cost.
For that 550 Wh per day example, with a 12V system and 3 days of autonomy:
- LiFePO4: 1650 Wh / 12V = 137.5 Ah. So, you'd need at least one 12V 100Ah LiFePO4 battery (which gives you 1200 Wh usable) and ideally closer to 150-200Ah for a true 3-day buffer.
- Lead-Acid: You'd need double the capacity, so at least 275 Ah to get 137.5 Ah of usable power. That's two 12V 150Ah lead-acid batteries.
Charge Controller and Inverter
These are the unsung heroes of your system, ensuring everything runs smoothly and safely.
- Charge Controller: This device sits between your solar panels and your batteries. Its job is to regulate the voltage and current coming from the solar panels to prevent overcharging your batteries, which can severely damage them.
- PWM (Pulse Width Modulation) controllers: These are simpler and less expensive. They work by essentially switching the solar panel connection on and off rapidly to maintain a suitable charging voltage. They are less efficient, especially if your panel voltage is much higher than your battery voltage.
- MPPT (Maximum Power Point Tracking) controllers: These are more advanced and efficient. They constantly track the maximum power point of the solar array, allowing the panels to operate at their optimal voltage and then converting that power efficiently to match the battery voltage. For larger systems or if you want to maximize energy harvest, an MPPT controller is usually the way to go. Brands like Victron Energy or MidNite Solar make excellent MPPT controllers. When considering how to choose an off-grid charge controller, efficiency and system voltage are key.
- Inverter: Your solar panels and batteries produce DC (direct current) power, but most standard appliances and tools run on AC (alternating current). The inverter converts that DC power into usable AC power.
- Pure Sine Wave Inverters: These produce a clean waveform, identical to grid power. They are essential for sensitive electronics, appliances with motors (like drills or refrigerators), and anything with a microchip. While more expensive, they are highly recommended for any shed where you'll be using tools or electronics.
- Modified Sine Wave Inverters: These produce a "choppier" waveform. They are cheaper but can cause issues with sensitive electronics, motors to run hotter and less efficiently, and some devices may not work at all. For basic lights and simple heating elements, they might be okay, but for tools, always opt for pure sine wave. To properly plan this, you'll need to know How to Size an Off-Grid Inverter, which factors in surge loads and continuous power.
Practical Considerations for Shed Solar Installation
You've calculated your needs and picked out your components. Now, let's talk about actually getting this system up and running at your shed.
Mounting and Placement
Where you put your solar panels can make a huge difference in their performance and your overall satisfaction.
- Roof Mount vs. Ground Mount:
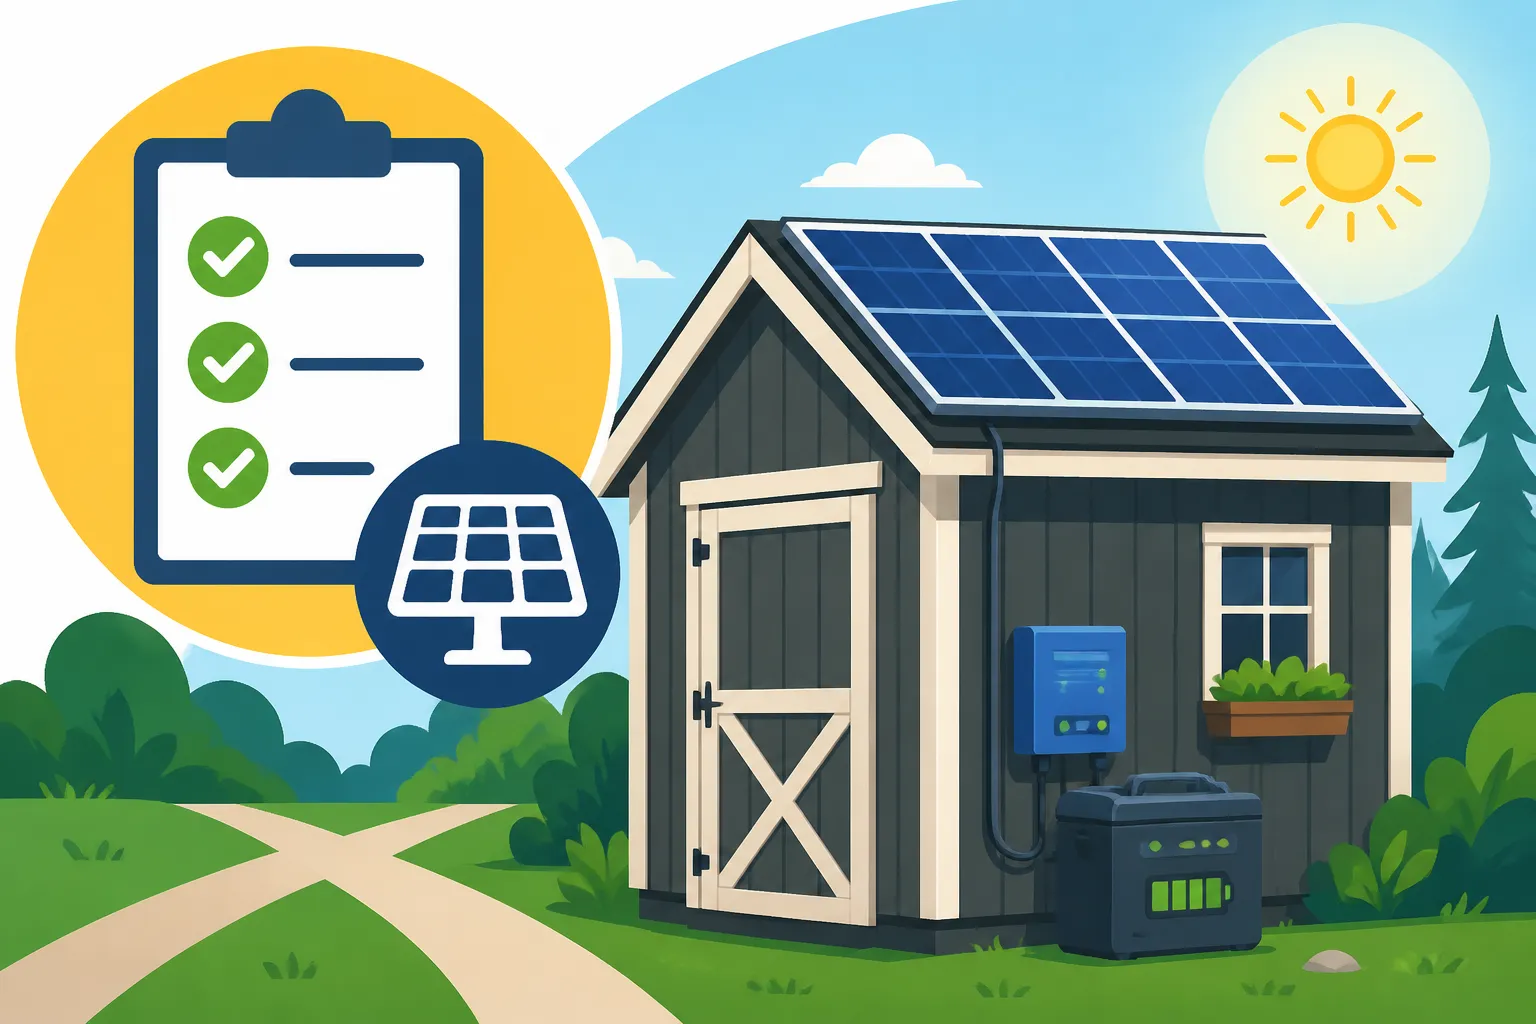
- Roof Mount: This is often the most common choice for sheds. It keeps the panels out of the way, utilizes existing structure, and can offer a good angle. However, you need to ensure your shed roof is structurally sound enough to support the weight and that you can run wires safely into the shed. Proper waterproofing of roof penetrations is critical.
- Ground Mount: If your shed roof isn't ideal, or if you want to easily adjust the panel angle seasonally, a ground mount is a great alternative. It makes cleaning and maintenance easier and allows for optimal orientation towards the sun. However, it takes up yard space and requires a secure, level foundation to prevent theft or damage. You also need to run trenching for the wires to the shed.
- Shading: This is the arch-nemesis of solar production. Even a small amount of shade on one panel can drastically reduce the output of the entire array if panels are wired in series. Look for a spot that gets full, unobstructed sunlight throughout the day, year-round. Trees, other buildings, or even utility poles can cast shadows that limit your system's efficiency.
- Optimal Tilt and Orientation: For maximum year-round production in the Northern Hemisphere, panels should generally face south (or slightly southwest for better afternoon production) at an angle roughly equal to your latitude. If you're only using the shed seasonally, you might adjust the tilt for peak production during those months. For example, if you're primarily using your shed in the summer, you might angle the panels flatter; if it's a winter workshop, a steeper angle will help capture lower winter sun. We've got a detailed guide on the Best Tilt Angle for Off-Grid Panels.
Wiring, Safety, and Maintenance
This is where the rubber meets the road, and where cutting corners can be dangerous. Safety first!
- Wiring: Always use appropriately sized wire for your specific voltage and current to prevent voltage drop and overheating. DC wiring from panels to the charge controller and from the charge controller to the batteries is crucial. Then, AC wiring from the inverter to your shed's outlets or subpanel is needed. Use proper connectors (like MC4 for panels) and ensure all connections are tight and weatherproof. You can learn more about Off-Grid Solar Wiring Best Practices to ensure a safe and efficient setup.
- Fuses and Breakers: These are non-negotiable safety devices. You need fuses or breakers for your solar array, between the charge controller and batteries, and on the AC output of your inverter. They protect your equipment and, more importantly, you from electrical shorts and overcurrents. Don't skip these!
- Grounding: Your solar system must be properly grounded to prevent electrical shock and protect against lightning strikes. This involves connecting all metal components (panel frames, mounting racks, inverter chassis) to a common grounding point that goes into the earth. If you're unsure about this, it's definitely worth consulting an electrician.
- Maintenance: Off-grid solar systems are relatively low-maintenance, but they aren't entirely set-it-and-forget-it.
- Panel Cleaning: Keep your panels clean from dust, dirt, leaves, and snow to maximize efficiency. A simple hose-down or wipe with a soft brush usually suffices.
- Battery Check: For lead-acid batteries, you'll need to check water levels periodically. LiFePO4 batteries are generally maintenance-free but still benefit from occasional visual inspection of terminals.
- Connection Checks: Periodically inspect all wiring connections for corrosion or looseness.
- Shading Management: Keep an eye on surrounding vegetation and trim trees or bushes that might start casting new shadows.
Budgeting and Expandability
The cost of going off-grid for your shed can vary widely, from a few hundred dollars for a basic setup to several thousands for a fully capable workshop system.
- DIY vs. Professional Installation: Many shed owners opt for DIY installation to save on costs, as shed systems are often simpler than whole-home setups. However, if you're uncomfortable with electrical work, particularly AC wiring or grounding, consider hiring a licensed electrician for specific parts or the entire installation. A well-designed DIY Off-Grid Solar Build can save a lot of money.
- Upfront Costs: Solar panels, batteries, charge controller, inverter, wiring, fuses, mounting hardware – these are your primary expenses. Do your research, compare prices from different suppliers, and look for reputable brands. Brands like Victron Energy, Renogy, and MidNite Solar are popular for their quality components, but more budget-friendly options exist for simpler shed needs.
- Future Expansion: Think ahead! Will you want to add more tools, lights, or even a small heater in the future? Designing an expandable system from the start by oversizing components like your charge controller or inverter can save you money and headaches down the road. It's much easier to add more panels or batteries later if your core components can handle the increased capacity.
Choosing the Right System Size and Type for Your Shed
Now that you've got a grasp on the components and considerations, let's tie it all together to pick the right solar solution for your shed.
Small, Medium, or Large Shed Systems
The "right" system is always the one that perfectly matches your usage without unnecessary excess.
- Small Shed System (Lights & Phone Charging): If your shed is mostly for storage, and you just need some occasional lighting or a way to charge your phone or a small speaker, you're looking at a very modest setup.
- Panels: One or two 100W solar panels.
- Battery: A single 12V 50Ah-100Ah LiFePO4 battery or a larger lead-acid equivalent.
- Charge Controller: A small PWM or a basic MPPT controller.
- Inverter: A small 300W-500W pure sine wave inverter (or even just 12V DC loads if you only need lights and USB charging).
- Example Use: Garden shed, tool storage, occasional evening reading.
- Cost Estimate: $500 – $1,500
- Medium Shed System (Hand Tools & Extended Lighting): This is for the hobbyist who spends a few hours a week in the shed, running power drills, sanders, and multiple lights.
- Panels: Two to four 100W-200W solar panels (200W-800W total).
- Battery: One or two 12V 100Ah-200Ah LiFePO4 batteries (or 2-4 lead-acid).
- Charge Controller: A mid-sized MPPT charge controller (20-40A).
- Inverter: A 1000W-2000W pure sine wave inverter to handle tool surges.
- Example Use: Basic woodworking shop, repair bench, extended evening work.
- Cost Estimate: $1,500 – $4,000
- Large Shed System (Workshop & Heavy Use): If your shed is a full-blown workshop with high-draw tools like table saws, air compressors, or even a mini-split for heating/cooling, you'll need a robust system.
- Panels: Four to eight 200W-400W solar panels (800W-3000W total), potentially wired for a 24V or 48V system for efficiency.
- Battery: Multiple LiFePO4 batteries totaling 200Ah-600Ah (or more) at 24V or 48V.
- Charge Controller: A powerful MPPT controller (40A+).
- Inverter: A 3000W-5000W+ pure sine wave inverter, possibly an inverter-charger if you plan on a generator backup.
- Example Use: Dedicated woodworking shop, metalworking, small engine repair, year-round use with climate control.
- Cost Estimate: $4,000 – $10,000+
It's helpful to compare these ranges to things like the Cost of a 1000W Off-Grid Solar System or even a Cost of a 2000W Off-Grid Solar System to get a better sense of component prices.
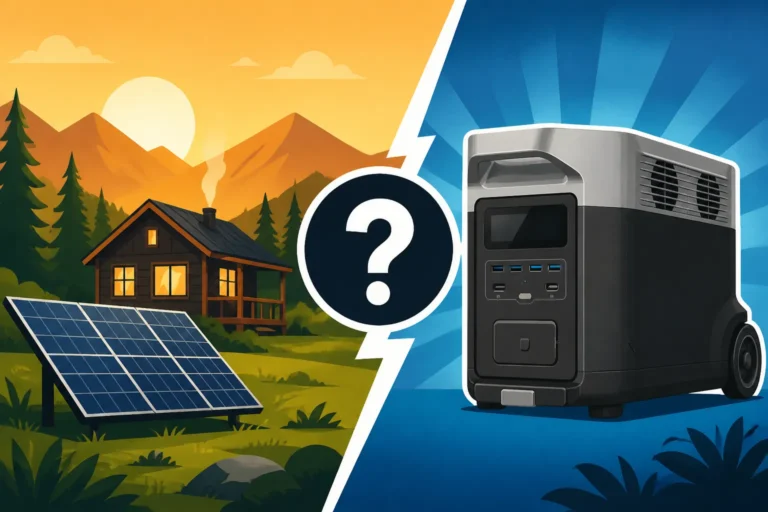
All-in-One Solar Generators vs. Component Systems
This is a choice many shed owners face, especially for smaller or more portable needs.
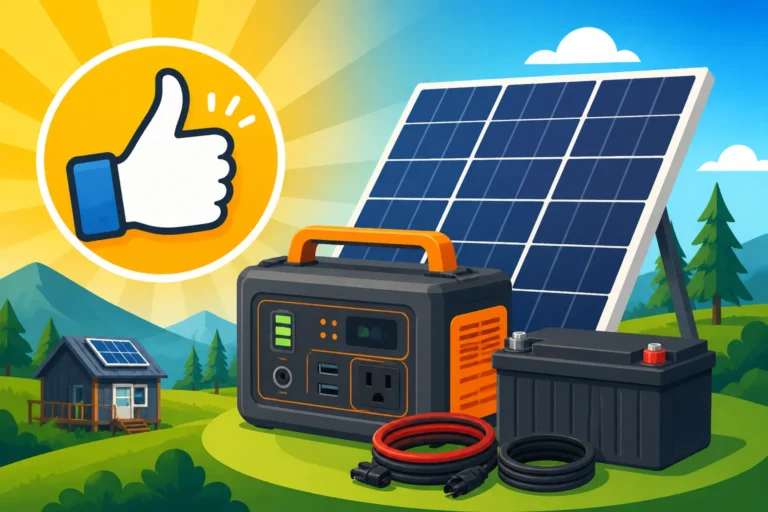
- All-in-One Solar Generators (Portable Power Stations): These units, like the popular Jackery Explorer series or the Anker SOLIX F3800, integrate the battery, inverter, and charge controller into a single, portable box.
- Pros: Extremely easy to set up (plug and play), portable (you can take it camping or use it for emergencies), no complex wiring, and often more compact. A Jackery system, for instance, can be easily moved from your shed to your RV.
- Cons: Limited in scalability (you usually can't add more panels or batteries beyond what's supported), higher cost per watt-hour compared to building a custom system, and internal components might not be as robust or long-lasting as dedicated off-grid components. The maximum continuous power output is also often lower than a custom inverter setup.
- Best for: Small sheds with minimal power needs, occasional use, portability requirements, or if you just want something super simple and easy to deploy. The Jackery Explorer 1000 or 2000 models are often great choices for a shed where you need to run some lights, charge tool batteries, and perhaps run a small fan for a few hours.
- Component Systems: This involves buying each part (panels, battery, charge controller, inverter) separately and wiring them together.
- Pros: Highly customizable to your exact needs, scalable for future expansion, generally more durable and repairable, often offers better long-term value and performance, especially for larger systems.
- Cons: Requires more technical knowledge for design and installation, more complex wiring, and generally not portable once installed.
- Best for: Medium to large sheds, permanent installations, dedicated workshops, or anyone who wants maximum flexibility, efficiency, and long-term reliability. If you plan to run higher-draw tools or have significant daily energy needs, a custom component system will almost always be the more robust and cost-effective solution in the long run.
The choice really boils down to your comfort level, budget, and how much power you really need. For many small shed applications, a quality solar generator from a brand like Jackery might be all you need to get things up and running quickly.
Shed Solar System Comparison
Let's put some of this into a helpful table to illustrate the differences in components and capabilities.
| Feature | Small Shed System (Lights/Charging) | Medium Shed System (Hand Tools/Ext. Lights) | Large Shed System (Workshop/Climate Control) |
|---|---|---|---|
| Example Use | Garden shed, occasional light, phone charge | Hobby workshop, power tools, multiple lights | Full-time workshop, heavy tools, AC/heating |
| Solar Panels | 100W – 200W | 200W – 800W | 800W – 3000W+ |
| Battery (Usable) | 50Ah – 100Ah (12V LiFePO4) | 100Ah – 200Ah (12V-24V LiFePO4) | 200Ah – 600Ah+ (24V-48V LiFePO4) |
| Charge Controller | Small PWM or Basic MPPT (10-20A) | Mid-size MPPT (20-40A) | Large MPPT (40A+) |
| Inverter (Pure Sine Wave) | 300W – 500W | 1000W – 2000W | 3000W – 5000W+ |
| Approx. Cost | $500 – $1,500 | $1,500 – $4,000 | $4,000 – $10,000+ |
| Complexity | Low (often solar generator compatible) | Moderate | High |
| Scalability | Limited | Good | Excellent |
This table gives you a general idea, but remember, every shed and every user's needs are unique. Digging into resources like our guide on How to Budget for an Off-Grid Solar System can help you refine your financial planning.
Disclaimer
The information provided in this guide is for general informational purposes only and does not constitute professional advice. Off-grid solar system design and installation involve electrical work and potential hazards. Always consult with qualified professionals, such as licensed electricians or solar installers, to ensure your system is safely and correctly sized, installed, and compliant with all local codes and regulations.