How to Configure a Victron System
Stepping into the world of off-grid solar power is an incredibly liberating journey, but let's be honest, it can also feel like staring at a foreign language manual. Many folks choose Victron Energy components for their robust quality and incredible flexibility, yet the thought of actually "configuring" a Victron system can send shivers down even the most intrepid DIYer's spine. Don't worry, you're not alone! This guide is here to demystify the process, walking you through the steps to get your Victron off-grid solar system humming along smoothly, so you can enjoy reliable power without the overwhelm.
Understanding the Victron Ecosystem
Before we dive into the nitty-gritty of settings and software, it's crucial to understand that Victron Energy doesn't just offer individual components; they offer a highly integrated ecosystem. This is both their greatest strength and, for newcomers, sometimes the biggest hurdle. Instead of standalone devices, think of them as smart components that talk to each other, sharing data and coordinating their actions to optimize your power production and consumption.
Identifying Your Victron Components
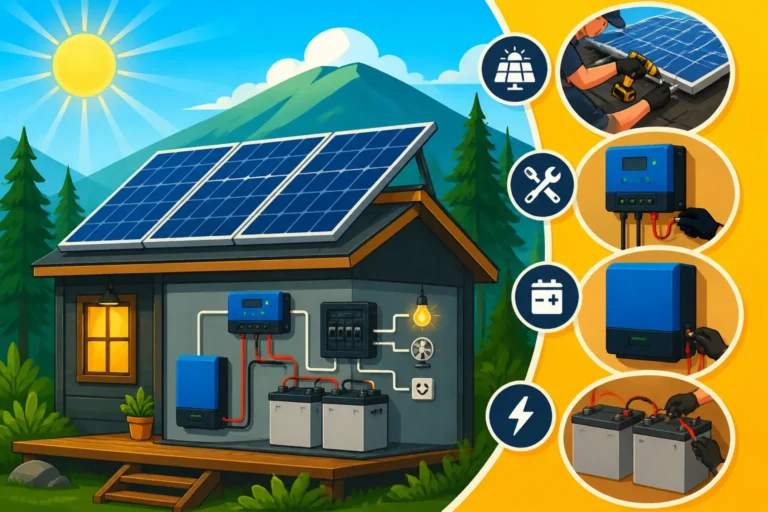
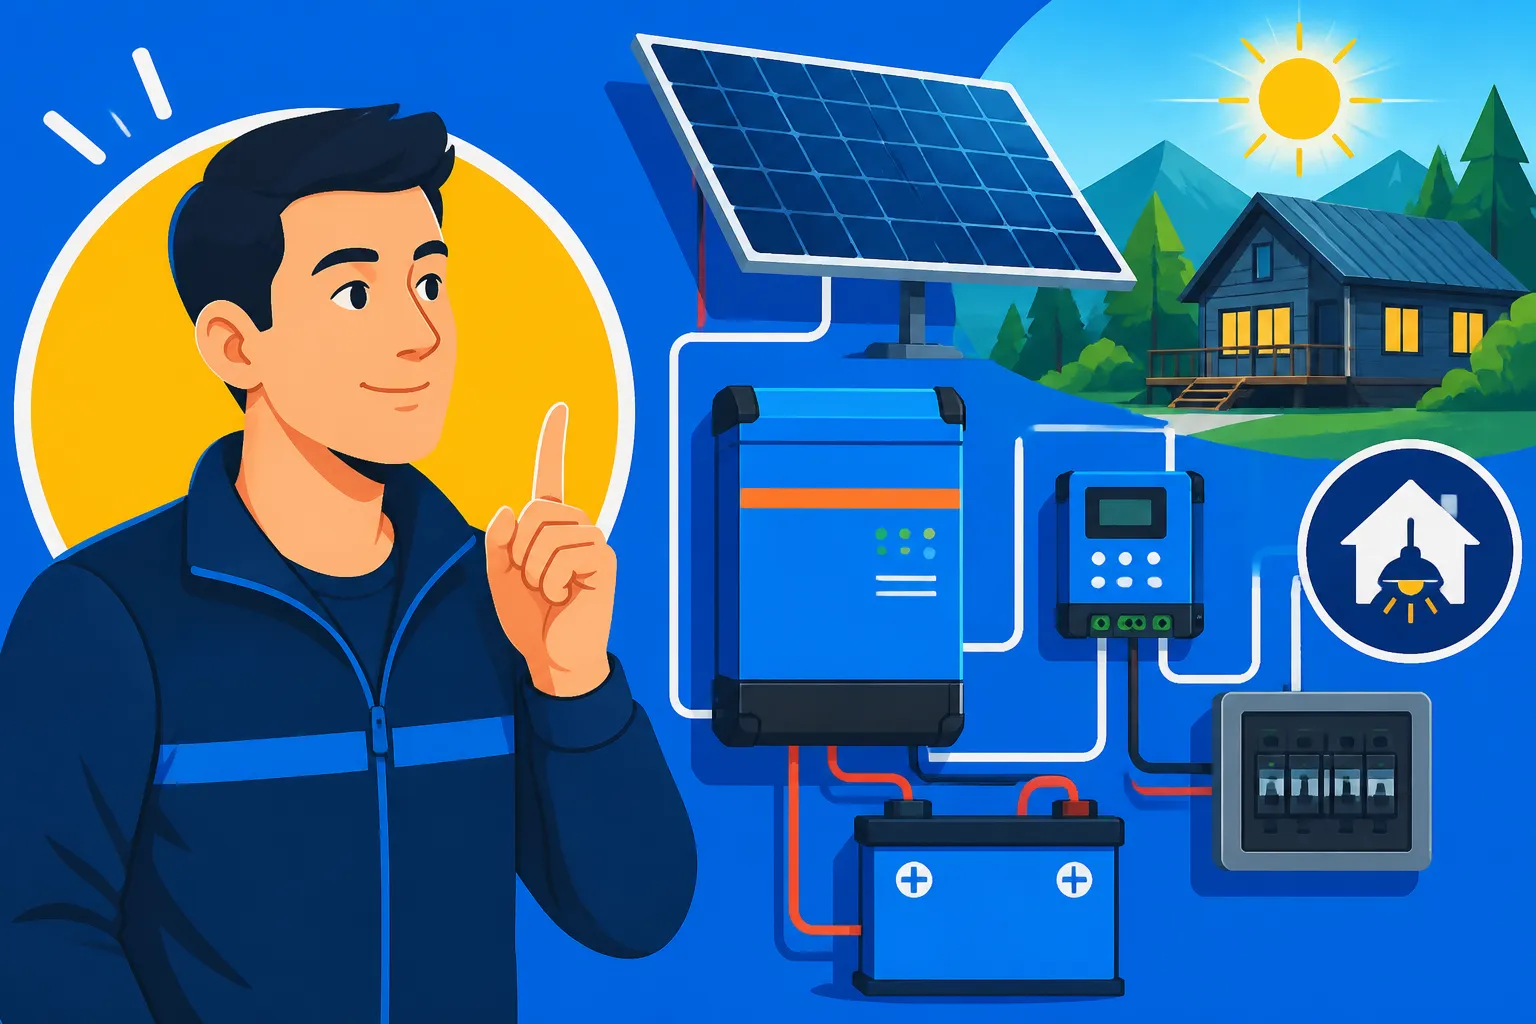
A typical Victron off-grid setup often includes a few key players. Knowing what each one does is the first step in understanding how to configure them. You'll likely encounter:
- Inverter/Charger (MultiPlus or Quattro series): These are the workhorses. They convert DC battery power into AC power for your appliances and, if you have a generator or shore power, they also charge your batteries. The Quattro offers two AC inputs, allowing for more flexible generator or grid connection options.
- Solar Charge Controller (SmartSolar MPPT series): These ingenious devices harvest power from your solar panels and efficiently charge your batteries. MPPT stands for Maximum Power Point Tracking, meaning they constantly find the optimal voltage and current to get the most out of your panels, even on cloudy days.
- Battery Monitor (BMV or SmartShunt series): Crucial for knowing the true state of your battery bank, not just voltage. It tracks amp-hours consumed, state of charge, time to go, and more, giving you an accurate "fuel gauge" for your power.
- System Controller/Monitor (Cerbo GX or CCGX): This is the brain that brings all the Victron components together. It collects data from everything, displays it locally, and allows for remote monitoring and control through the Victron Remote Management (VRM) portal. It also facilitates communication between components, ensuring they act as a cohesive unit.
- Distributors and Fuses (Lynx Distributor, Mega Fuse Holders): While not electronic, these are fundamental for safely connecting your high-current DC components, protecting your system from overloads and short circuits.
When you invest in Victron, you're buying into a system designed for longevity and expandability. While some readily available kits, perhaps found on Amazon, or from brands like Renogy, might offer a simpler plug-and-play experience, Victron shines for those who want deep control, superior monitoring, and a system that can evolve with their needs. The upfront configuration might take a bit more thought, but the long-term benefits are substantial.
Why Victron is a Popular Choice
It’s fair to ask why so many people, from seasoned off-gridders to those just starting with a cabin or RV setup, choose Victron despite the initial learning curve. The answer lies in several core strengths that make their systems stand out.
Firstly, reliability and build quality are paramount. Victron components are known for being robust, designed to operate efficiently and consistently in demanding environments. This is critical for off-grid living where you depend entirely on your system. You don't want your inverter conking out when you're miles from the nearest town.
Secondly, seamless integration and communication. As mentioned, all Victron components are designed to "talk" to each other via their proprietary VE.Bus, VE.Direct, or VE.Can protocols. This allows for intelligent coordination. For example, your MultiPlus can know exactly how much power your SmartSolar is producing and adjust its charging profile accordingly, or your Cerbo GX can detect a low battery state and automatically start a backup generator. This integrated approach significantly enhances efficiency, optimizes battery life, and provides superior fault detection and management compared to disparate components from different manufacturers cobbled together.
Finally, unparalleled monitoring and control. The Victron Remote Management (VRM) portal is a game-changer. It allows you to monitor your entire system—solar production, battery state, consumption, inverter status—from anywhere in the world with an internet connection. This isn't just a basic overview; it's a deep dive into historical data, alarms, and even remote configuration adjustments. For anyone serious about understanding and optimizing their off-grid power, this level of insight is invaluable.
Initial Setup: Wiring and Basic Connections
Before you even think about software, getting the physical wiring right is non-negotiable. This isn't just about functionality; it's about safety. Incorrect wiring can damage components, create fire hazards, or simply prevent your system from working. If you're unsure about any aspect, it's always wise to consult with an experienced electrician or solar installer.
Connecting Major Components
The order in which you connect your components is important. Always start with the batteries, and always fuse appropriately. Here’s a general sequence and some critical considerations:
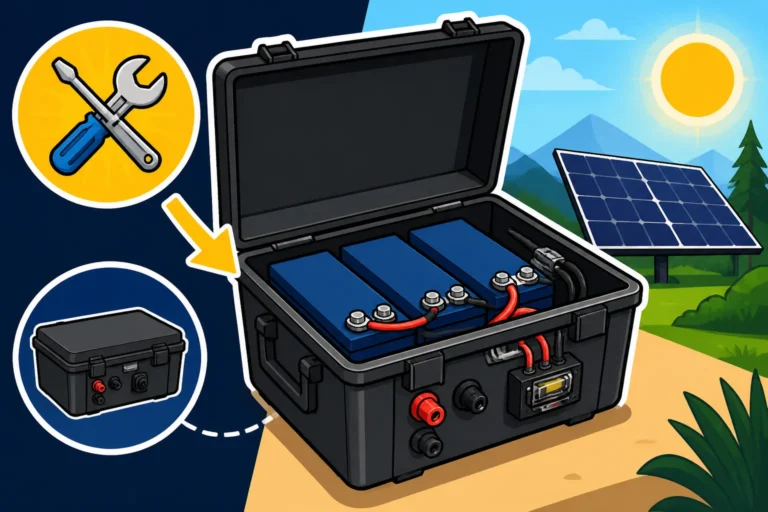
- Battery Bank First: This is the heart of your system. Connect your batteries, ensuring they are wired correctly for your desired system voltage (12V, 24V, or 48V). Remember that thicker cables are needed for lower voltage, higher current systems. For instance, connecting multiple batteries in parallel or series to create a larger bank is a common first step. Check out our detailed guide on How to Wire a Battery Bank for specific diagrams and safety tips.
- DC Distribution (Busbar/Lynx Distributor): Once your battery bank is assembled, connect it to a main DC busbar or, even better, a Victron Lynx Distributor. The Lynx Distributor acts as a central hub, providing individual fused connections for your high-current devices. This keeps your wiring clean, organized, and safe.
- Inverter/Charger (MultiPlus/Quattro): Connect the MultiPlus or Quattro to the Lynx Distributor or directly to the battery bank using appropriately sized cables and fuses. These connections carry very high current, so proper cable gauge and torque on terminals are crucial. Then, connect your AC loads (your house wiring) to the AC output terminals, and if applicable, your AC source (generator or grid) to the AC input terminals.
- Charge Controller (SmartSolar MPPT): Connect the SmartSolar charge controller to the Lynx Distributor or battery bank after the inverter, but before connecting your solar panels. This ensures the controller has a stable voltage reference.
- Solar Panels Last: Finally, connect your solar panels to the SmartSolar charge controller. Always cover your solar panels or disconnect them from each other before making the final connection to the charge controller to prevent live voltage exposure and potential damage. Our article on How to Install Off-Grid Solar Panels provides excellent guidance on safe practices.
This sequence helps prevent accidental short circuits or surges that could damage sensitive electronics. For comprehensive connection details, you’ll find great value in exploring resources like How to Connect Batteries, Inverter, and Panels.
Safety First: Fuses, Breakers, and Grounding
When dealing with off-grid power, safety isn't just a suggestion; it's a requirement. High-current DC systems can be incredibly dangerous if not properly protected.
- Fuses and Breakers: Every major component in your system, especially those connected directly to the battery, must be protected by fuses or circuit breakers. These devices are designed to sacrifice themselves by blowing or tripping if there's an overcurrent, protecting your expensive components and preventing electrical fires. Your main battery fuse, often a Mega Fuse or a large ANL fuse, should be located as close to the battery positive terminal as possible. Similarly, your solar array should have overcurrent protection, and your AC circuits should be protected by standard circuit breakers. Understanding How to Size Fuses and Breakers is a vital step in system design.
- Disconnect Switches: Install appropriate disconnect switches for your solar array and your battery bank. These allow you to safely isolate parts of your system for maintenance or in an emergency. For example, a DC breaker between your solar panels and charge controller allows you to shut off the incoming solar power.
- Grounding: Proper grounding is essential to protect against electrical shock and to ensure your system operates correctly. All metallic enclosures of your Victron components, as well as any metal racking for your solar panels, should be bonded together and connected to a common ground point. This ground point is then typically connected to an earth ground rod. Don't skip this step; it could save a life. Our guide on How to Ground an Off-Grid Solar System provides in-depth information.
Choosing System Voltage
One of the foundational decisions you'll make when designing your off-grid system, long before you even touch a configuration menu, is your system voltage. You'll typically encounter 12V, 24V, or 48V options. This choice impacts everything from cable sizing and component selection to overall system efficiency.
- 12V Systems: These are common in smaller applications like RVs, vans, or small cabins. Many readily available DC appliances (lights, USB chargers, smaller fridges) are designed for 12V. The downside is that higher currents are required for the same power output, meaning you need much thicker, more expensive cables, especially for your inverter, to avoid voltage drop. If you're considering a basic setup, perhaps for an RV, understanding the Off-Grid Solar Cost for an RV or How to Size an Off-Grid System for a Van will factor into your voltage decision.
- 24V Systems: A good middle ground for medium-sized systems. The current is halved compared to a 12V system for the same power, allowing for thinner cables and reduced losses. Many larger RVs, tiny homes, or small off-grid cabins benefit from 24V.
- 48V Systems: This is the gold standard for larger off-grid homes and substantial power needs. With 48V, the current is quartered compared to 12V for the same power, resulting in significantly thinner cables, minimal voltage drop, and higher efficiency. Most large Victron MultiPlus or Quattro inverters are optimized for 48V battery banks. If you're aiming for a whole-house solution, 48V is almost always the way to go. You can learn more about this decision in our post on How to Choose System Voltage.
The Victron components themselves will need to match your chosen system voltage (e.g., a 48V MultiPlus needs a 48V battery bank). Your SmartSolar MPPT charge controllers are often auto-sensing, but their maximum input voltage and current capacity still need to be considered against your panel configuration.
Deep Dive: Configuring with VictronConnect and VE.Config
Now that your components are physically connected and safely installed, it's time to bring them to life with software configuration. Victron offers two primary tools: VictronConnect for most devices and VE.Config for specific advanced inverter/charger settings.
Understanding VictronConnect for Basic Setup
VictronConnect is your go-to app for configuring most individual Victron devices, especially the newer "Smart" series with built-in Bluetooth. You can download it for free on your smartphone, tablet, or computer (Windows, macOS, Linux).
Here’s a common workflow for initial setup:
-
Connect to a Device:
- Bluetooth: For SmartSolar MPPT controllers, SmartShunts, and Smart Lithium batteries, simply open VictronConnect, and it will scan for nearby devices. Select your device, and you might need to enter a default PIN (usually 000000).
- VE.Direct: For non-Bluetooth devices or for a more robust connection, you'll need a VE.Direct to USB cable. Plug one end into the Victron device (e.g., a non-Smart MPPT controller) and the other into your computer or a Victron GlobalLink 520, which acts as a bridge.
- VE.Bus/Ethernet (via Cerbo GX): If you have a Cerbo GX, you can connect to it via Ethernet (or its built-in Wi-Fi hotspot) from your computer, and then access all connected Victron devices (MultiPlus, SmartSolar, SmartShunt) through the Cerbo's interface within VictronConnect. This is often the easiest method for a full system.
-
Basic MPPT Charge Controller Configuration (SmartSolar):
- Once connected, navigate to the settings.
- Battery Type: This is critical. Select the correct battery preset (e.g., "Lithium Iron Phosphate (LiFePO4)" if you have lithium batteries like those from Battle Born or EG4, or "AGM" if you have sealed lead-acid batteries). This sets the fundamental charging voltages (absorption, float, equalization, bulk).
- Battery Voltage: Ensure this matches your actual battery bank voltage (12V, 24V, 48V).
- Maximum Charge Current: Set this based on your battery manufacturer's specifications. Most LiFePO4 batteries can handle higher charge currents, but lead-acid batteries are more sensitive.
- Load Output Settings (if applicable): Smaller SmartSolar controllers have a DC load output. You can configure when it turns on/off based on battery voltage, useful for low-power DC loads.
- You can delve deeper into How to Set Charge Controller Parameters for more precise tuning.
-
Basic Battery Monitor Configuration (SmartShunt/BMV):
- The most important setting here is the battery capacity (Ah). Enter the total amp-hour rating of your battery bank. This allows the monitor to accurately calculate the state of charge.
- You'll also configure settings like Peukert Exponent (leave at default for most modern batteries unless specified by the manufacturer), Charge Efficiency, and Voltage Alarms for low battery warnings.
- For optimal accuracy, perform a synchronization or calibration when your battery bank is fully charged and at rest.
-
Cerbo GX Configuration:
- Connect to the Cerbo GX via Wi-Fi or Ethernet.
- Use VictronConnect to access the device list. Here, you'll see all your connected Victron devices (MultiPlus, SmartSolar, SmartShunt).
- Crucially, ensure Firmware Updates are performed. This keeps your system running with the latest features and bug fixes.
- Configure VRM Portal ID to link your Cerbo GX to your online VRM account for remote monitoring.
- Set up Wi-Fi or Ethernet connection for internet access.
- Adjust System Setup parameters like AC input selection, generator start/stop conditions, and overall system overview settings.
Advanced Configuration with VE.Config
For MultiPlus and Quattro inverter/chargers, while VictronConnect offers some basic monitoring and limited settings, the full suite of advanced configuration requires a dedicated software called VE.Config (Windows only) and a special VE.Bus to USB interface cable. This is where you unlock the true power and customization of these sophisticated devices.
Here are some key parameters you'll typically configure in VE.Config:
-
Connecting to Your MultiPlus/Quattro:
- You'll need a Victron VE.Bus to USB interface cable.
- Connect the VE.Bus side to one of the RJ45 ports on the MultiPlus (or a Lynx Smart BMS, or a Cerbo GX which has a VE.Bus port), and the USB side to your Windows computer.
- Open VE.Config, select the correct COM port, and read the settings from the device.
-
General Settings Tab:
- AC Input Current Limit: This is vital when using a generator or shore power. Set this to match the maximum current your AC input source can provide (e.g., 30A for an RV hookup, or the rated output of your generator). The MultiPlus will automatically limit its charging and pass-through current to stay within this boundary.
- Inverter Output Voltage and Frequency: Typically set to 120V (or 230V depending on your region) and 60Hz.
- Weak AC Input: Enable this if you're frequently connecting to "dirty" or unstable AC sources like some older generators or campground power. This makes the inverter more tolerant.
-
Charger Tab:
- This is where you fine-tune how the MultiPlus charges your batteries when AC input is available.
- Battery Type/Charging Voltages: Similar to the MPPT controller, select the correct battery preset. If you have custom lithium batteries, you might manually enter absorption, float, and equalization voltages provided by the battery manufacturer. This is critical for battery health and longevity.
- Max Charge Current: Set the maximum current the MultiPlus will put into the batteries. Again, adhere to your battery manufacturer's recommendations.
- Adaptive Charge: This Victron feature intelligently adjusts charge stages based on battery behavior, which is usually best left enabled.
-
Virtual Switch / Generator Start/Stop:
- One of the most powerful features! You can program the MultiPlus/Quattro to automatically start and stop a generator based on various conditions, such as:
- Battery Voltage: Start the generator when battery voltage drops below a certain threshold.
- State of Charge (SOC): If integrated with a battery monitor via a Cerbo GX, start the generator when SOC drops below a certain percentage.
- High Load: Start if AC loads exceed a certain level for a set duration.
- You can also set conditions for stopping the generator (e.g., battery voltage or SOC reaches a full state, or after a set run time). This automation is a huge convenience for larger off-grid systems. For specific generator integration, our guide on How to Add a Generator to Your Design could be very helpful.
- One of the most powerful features! You can program the MultiPlus/Quattro to automatically start and stop a generator based on various conditions, such as:
-
ESS (Energy Storage System) Assistant:
- For systems that might occasionally connect to a weak grid or have specific peak-shaving requirements, the ESS Assistant is used. This is more common in hybrid systems but can also be relevant for managing specific off-grid scenarios with an AC input. It allows the MultiPlus to intelligently decide whether to charge from AC, discharge batteries, or pass through power based on predefined rules.
Key Settings: Battery, Inverter, and Charger Parameters
Getting your battery settings right is paramount for battery longevity and system performance. Mismatched settings between your components can severely shorten battery life or lead to inefficient charging.
Here's a quick reference table for common battery types and typical Victron settings. Always cross-reference with your specific battery manufacturer's data sheet as values can vary!
| Parameter | LiFePO4 (Lithium) | AGM (Sealed Lead-Acid) | Flooded Lead-Acid (Wet Cell) |
|---|---|---|---|
| System Voltage | 12V, 24V, 48V | 12V, 24V, 48V | 12V, 24V, 48V |
| Absorption V | 14.2V – 14.6V (for 12V system) | 14.1V – 14.4V (for 12V system) | 14.4V – 14.8V (for 12V system) |
| Float V | 13.5V – 13.8V (for 12V system) | 13.5V – 13.8V (for 12V system) | 13.2V – 13.5V (for 12V system) |
| Equalization V | N/A (Do NOT equalize LiFePO4) | N/A or rare (Check manufacturer) | 15.5V – 16.2V (for 12V system, periodic) |
| Low Voltage Disconnect | 12.0V – 12.8V (for 12V system, depends on BMS) | 11.5V (for 12V system, never below) | 10.5V (for 12V system, avoid frequent) |
| Max Charge Current | High (0.5C to 1C, check datasheet) | Moderate (0.2C to 0.3C) | Moderate (0.1C to 0.2C) |
Note: All voltages are for a nominal 12V battery system. For 24V, multiply by 2; for 48V, multiply by 4.
Beyond these, your inverter settings are crucial for how your AC appliances will behave. For example, if you have sensitive electronics, ensure your MultiPlus is configured for pure sine wave output, which Victron inverters inherently are, unlike some budget inverters you might find elsewhere. Also, consider the surge capacity you need. A well pump, for example, has a very high starting surge current, and your inverter needs to be sized and configured to handle it. You can learn more about What Size Inverter to Run A Well Pump in a dedicated article.
Optimization and Monitoring for Long-Term Success
Once your Victron system is configured and running, the journey doesn't end. Off-grid living is dynamic, and understanding how your system performs and making small adjustments can significantly improve efficiency, extend battery life, and ensure you always have power when you need it.
Fine-Tuning for Performance
Think of your off-grid system like a living organism; it thrives with regular attention. After the initial setup, pay close attention to the data your Victron components provide.
- Observe Charge Cycles: Monitor how often your batteries are fully charging. If they rarely reach 100% absorption, you might need more solar panels, or you might be drawing too much power. Conversely, if they're constantly floating at full, you may have more capacity than needed. Our article on How Many Solar Panels for Off-Grid Living can help you re-evaluate your array size.
- Adjust Absorption Times: While the presets are a good start, you might find that adjusting the absorption duration in your charge controllers or inverter/charger settings can be beneficial. For instance, if you have large lead-acid batteries and plenty of sun, a slightly longer absorption time might ensure a more complete charge. LiFePO4 batteries, however, typically don't need long absorption stages.
- Load Management: Use the data from your Victron system to understand your peak consumption times. Can you shift heavy loads (like doing laundry or running power tools) to sunny hours when solar production is abundant? This reduces reliance on your battery bank and extends its life.
- Generator Integration: If you have a backup generator, fine-tune its auto start/stop parameters within the MultiPlus or Cerbo GX settings. Experiment with battery voltage or State of Charge (SOC) thresholds to ensure the generator kicks in reliably before your batteries get too low, but not so often that it's wasteful.
- Temperature Compensation: For lead-acid batteries, temperature compensation is crucial. Your SmartSolar charge controller should have a battery temperature sensor connected. This allows it to adjust charging voltages based on battery temperature, which is essential for healthy charging in varying climates. LiFePO4 batteries are less sensitive to temperature changes during charging, but still perform best within a specific temperature range, and many have internal Battery Management Systems (BMS) that handle this.
Small adjustments based on real-world observation and data can make a huge difference in the long-term health and efficiency of your off-grid power system. The flexibility of Victron’s configuration tools makes this fine-tuning straightforward.
Remote Monitoring with VRM
The Victron Remote Management (VRM) portal is, without a doubt, one of the most powerful features of a Victron system. It transforms your off-grid setup from an isolated power source into a connected, intelligent energy hub you can monitor and manage from virtually anywhere in the world.
- Setting up VRM:
- Ensure your Cerbo GX (or other internet-connected GX device) has an active internet connection (Wi-Fi, Ethernet, or cellular modem).
- In VictronConnect, access your Cerbo GX and navigate to the VRM settings.
- Follow the prompts to create a VRM account and link your Cerbo GX to it using its unique VRM ID.
- What You Can Monitor: Once connected, the VRM portal (vrm.victronenergy.com) provides a comprehensive dashboard:
- Current System Status: See real-time data on solar power production, battery state of charge, voltage, current, power consumption, and inverter load.
- Historical Data: Review trends over days, weeks, months, or even years. This is invaluable for identifying seasonal variations, understanding your energy habits, and predicting future needs.
- Alarms and Notifications: Set up custom alarms for critical events, such as low battery voltage, high temperature, or inverter overload. Receive notifications via email or SMS, allowing you to react quickly to potential issues.
- Remote Control and Configuration: This is a major advantage. With a stable internet connection, you can often remotely adjust settings on your Victron devices, initiate firmware updates, or even restart components without physically being on site. Imagine being able to adjust your AC input limit for a generator from your phone while away!
- Firmware Updates: Regularly check for and perform firmware updates on your Victron components, accessible through VictronConnect and VRM. Updates often include performance enhancements, bug fixes, and new features, ensuring your system remains cutting-edge and reliable.
- Diagnostic Tools: VRM offers advanced diagnostic graphs and data logs that can help you or a technical support person pinpoint issues if your system isn't behaving as expected. This level of insight is far superior to what you’d get from many simpler systems, allowing for proactive maintenance and troubleshooting.
The VRM portal is a true enabler for off-grid living, especially for remote cabins, second homes, or mobile setups where you can't always be present. It provides peace of mind and the power to manage your energy destiny.
Disclaimer
The information provided in this guide is for general informational purposes only and does not constitute professional advice. Off-grid solar system installation and configuration involve working with electricity and high-power components, which can be dangerous if not handled correctly. Always consult with a qualified electrician or solar professional before undertaking any electrical work. Adhere to all local electrical codes and safety regulations. We are not responsible for any injury, damage, or loss incurred as a result of following this guide.