Cost to Run Lights And Electronics on Off-Grid Solar
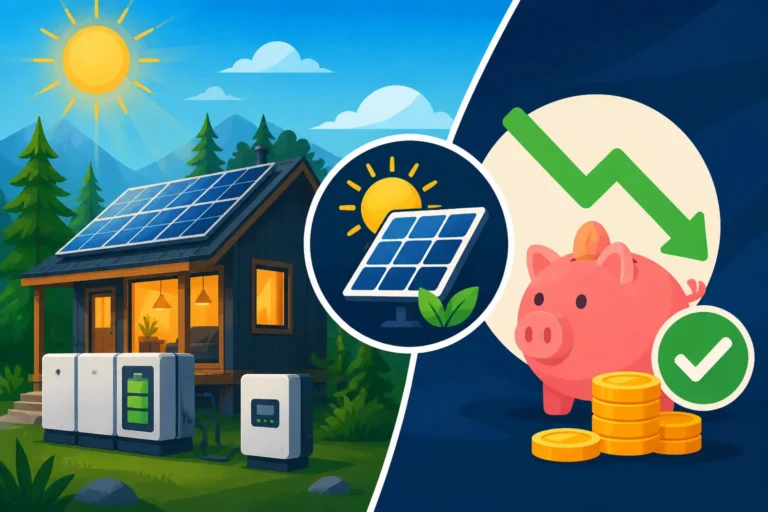
One of the biggest concerns for anyone dreaming of off-grid living, whether it's in a tiny home, a remote cabin, or even just a backyard shed, is figuring out how to keep the lights on and their essential electronics humming. It’s easy to get overwhelmed by complex calculations and the sheer number of components, leading many to wonder if powering just the basics will break the bank. This guide is here to cut through the jargon and give you a realistic, detailed look at the costs involved in running your lights and electronics on off-grid solar, helping you budget wisely and achieve your independence.
Understanding Your Basic Off-Grid Needs: Lights and Electronics
When you're first dipping your toes into off-grid living, the thought of powering a whole house can feel daunting. But what if you just want to charge your phone, run a few lights, and maybe watch a movie? That's a much more approachable goal, and understanding its specific requirements is the first step toward building a successful system.
Defining "Lights and Electronics" in Off-Grid Terms
For many of us, "lights and electronics" represents the baseline of modern comfort. We're talking about those everyday items that keep us connected, entertained, and simply able to see in the dark. This category typically includes:
- LED lighting: The gold standard for off-grid illumination, from overhead fixtures to task lighting.
- Phone and tablet chargers: Essential for staying in touch and consuming digital media.
- Laptops and small computers: For work, browsing, or entertainment.
- Small televisions: For unwinding after a long day.
- Wi-Fi routers and modems: Crucial for internet access in many remote locations.
- Small fans: To circulate air in milder climates without heavy air conditioning.
- Radios or small sound systems: For music and news.
- CPAP machines: For critical health needs, though these require careful sizing due to their consistent nighttime use.
What's important to remember is that these items generally have a significantly lower power consumption compared to heavy-hitter appliances like refrigerators, well pumps, or air conditioners. This makes them an excellent starting point for a simpler, more affordable off-grid solar setup. Many people start with exactly these items, perhaps for a hunting cabin or a weekend RV, before considering expanding their system for larger loads.
Why Accurate Load Calculation is Crucial
Even though lights and electronics are considered "small loads," they can add up faster than you might think. A common pitfall for aspiring off-gridders is underestimating their cumulative power draw, leading to an undersized system that leaves them in the dark (literally!). Imagine a scenario: you decide to power your cabin with solar. You think, "I only need a few lights and to charge my phone." But then you add a laptop for evening work, a small TV for entertainment, and a fan for comfort. Suddenly, your small initial system might struggle to keep up.
This is why performing an accurate How to Calculate Daily Energy Usage or "load analysis" is absolutely non-negotiable. You need to identify every device you plan to run, its wattage, and how many hours per day it will operate. This isn't about giving up your creature comforts; it's about being realistic and building a system that reliably meets your actual needs. For instance, a typical LED light might use 5-10 watts, a laptop 30-60 watts, and a small TV around 50-80 watts. If you run multiple lights, charge two phones, and use a laptop for several hours, those watts accumulate into significant watt-hours that your solar panels need to generate and your batteries need to store. Without this calculation, you're essentially guessing, and nobody wants to be left without power on a cloudy day because they misjudged their needs. For more comprehensive planning, check out our guide on How to Size an Off-Grid Solar System.
Breaking Down the Costs for Your Essential Off-Grid System
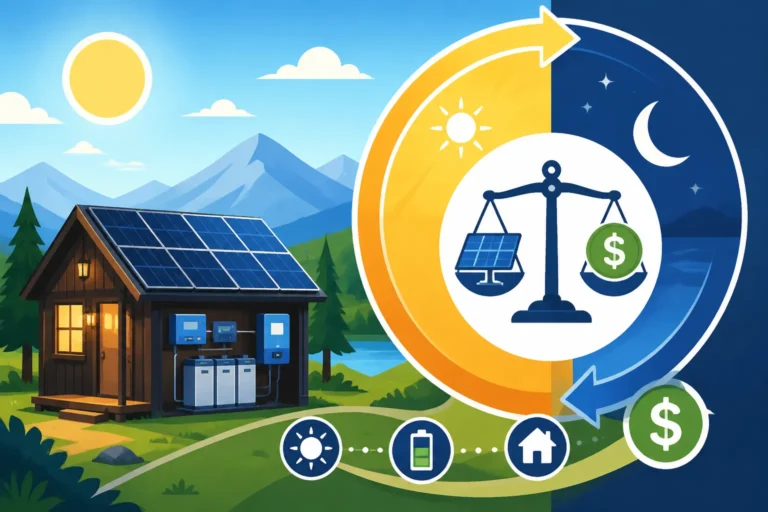
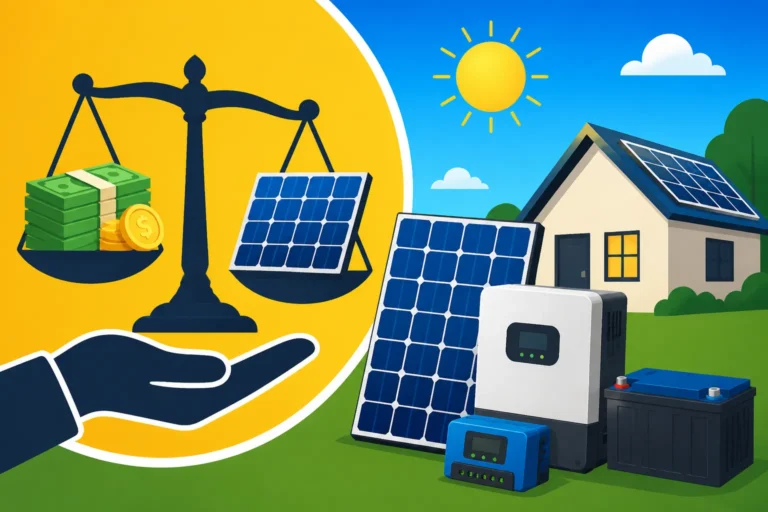
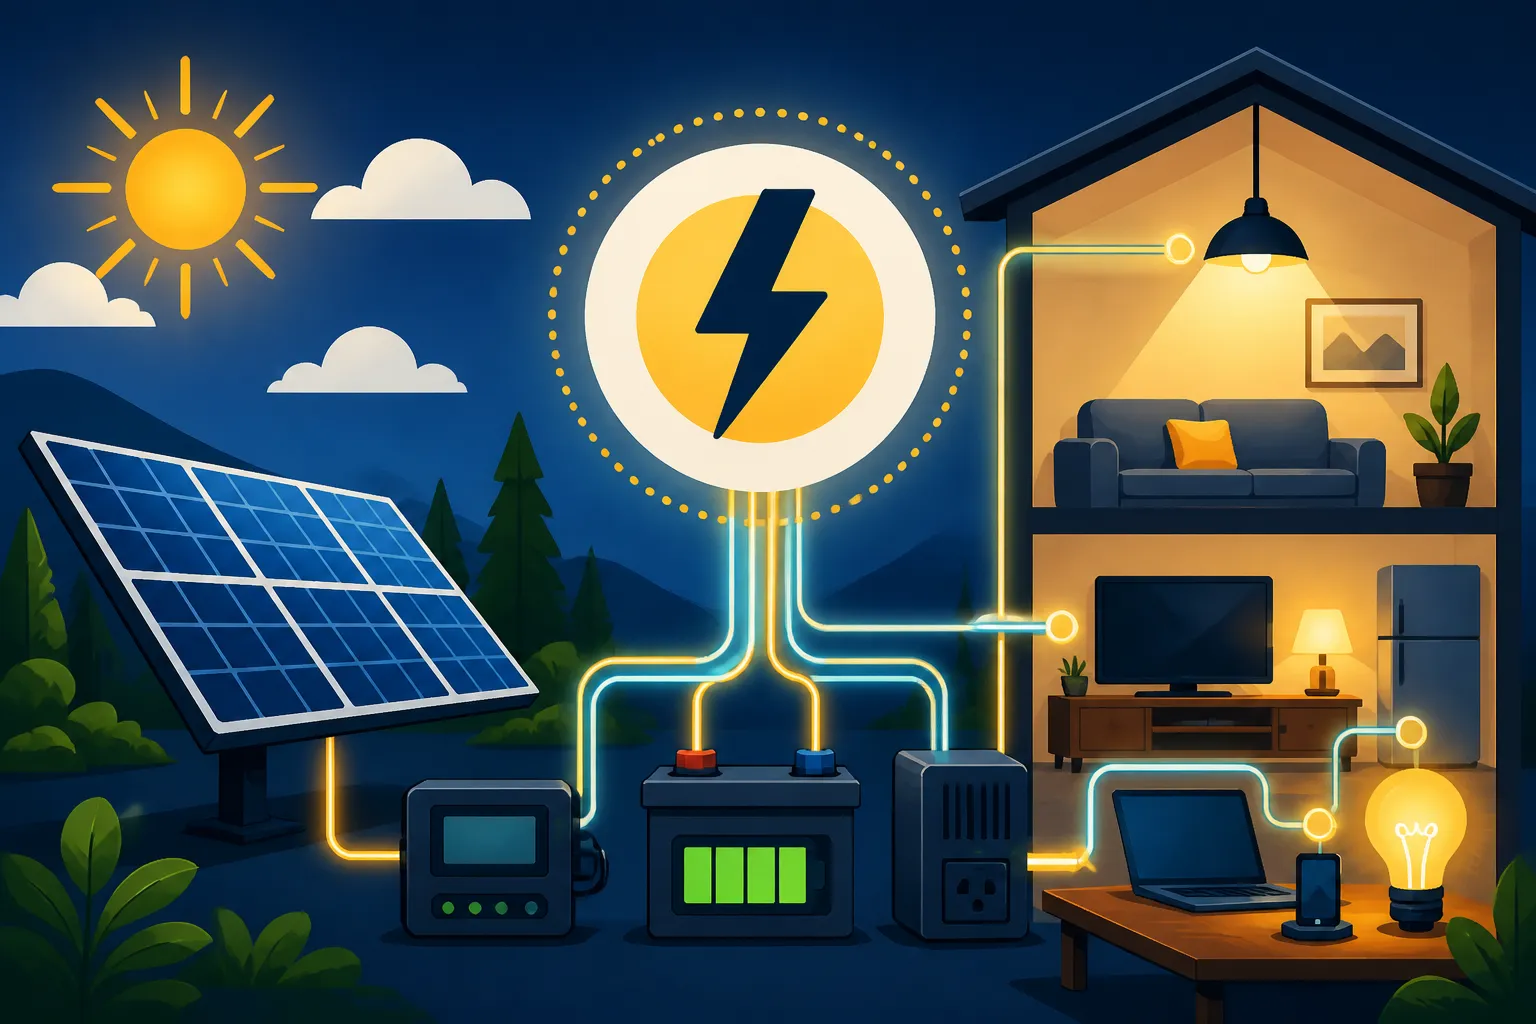
Once you understand your power needs, it's time to look at the components that will make up your off-grid solar system. Even for basic lights and electronics, you'll need the core four: solar panels, batteries, a charge controller, and an inverter. Each plays a vital role, and their individual costs contribute to the overall price tag of your energy independence.
Solar Panels: The Sunshine Collectors
The solar panels are your system's "power plant," converting sunlight into electricity. For powering just lights and electronics, you typically won't need a massive array, which is good news for your budget. Most folks will find that one to four standard 100-watt to 200-watt panels are usually sufficient, depending on their usage patterns and the amount of daily sunlight.
A single 100-watt panel, for example, might cost anywhere from $80 to $200. A 200-watt panel could be in the range of $150 to $350. Brands like Renogy and Rich Solar are popular choices for these smaller, accessible panels, often available through retailers like Amazon. They offer a good balance of performance and affordability, making them perfect for starting out. If you're looking to run a few lights, charge a couple of devices, and maybe power a small laptop, two 100W panels might be a good starting point. This means your initial panel investment could be as low as $160 for a very basic setup, going up to $700 or more if you opt for larger, higher-quality panels or need more of them to compensate for less sun or heavier usage. For a deeper dive into panel expenses, explore our article on the Cost of Off-Grid Solar Panels.
Batteries: Storing Your Power for Dark Hours
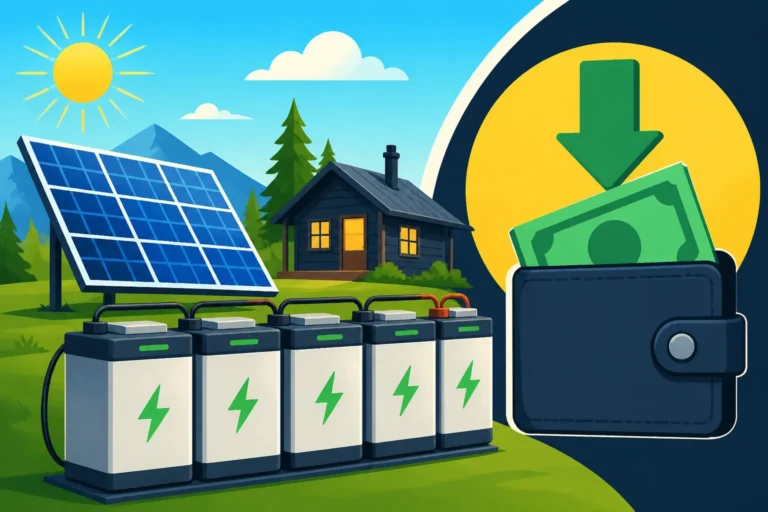
Batteries are arguably the most critical, and often the most expensive, component of any off-grid solar system. This holds true even for powering just lights and electronics. Why? Because solar panels only produce power when the sun shines, and you'll want to use your devices long after sunset or on cloudy days. Your batteries store that precious energy.
For basic needs, you're typically looking at 12-volt battery banks, ranging from 50 amp-hours (Ah) to 200 Ah. The most common types are Absorbed Glass Mat (AGM) lead-acid batteries and Lithium Iron Phosphate (LiFePO4) batteries.
- AGM batteries are generally more affordable upfront, with a 100Ah 12V AGM battery costing around $200-$400. However, they have a shorter lifespan (typically 3-5 years) and you can only discharge them to about 50% of their capacity without damaging them, meaning you need twice the stated capacity for usable power.
- LiFePO4 batteries are a fantastic, albeit pricier, investment. A 100Ah 12V LiFePO4 battery might run you $300-$1000 or more, but they offer significantly more cycles (10+ years lifespan), can be discharged almost completely (up to 80-100% depending on the brand), and are much lighter. This means a 100Ah LiFePO4 battery provides roughly the same usable energy as a 200Ah AGM battery.
Considering usable capacity, a 100Ah LiFePO4 battery is often the sweet spot for a robust lights and electronics setup, putting your battery cost in the $300-$1000 range. For a detailed comparison, see our article on LiFePO4 vs Lead-Acid Battery Cost. It's crucial not to skimp on batteries, as they truly drive the reliability of your off-grid system. You can learn more about this by reading How Batteries Drive Off-Grid Solar Cost and exploring the Cost of an Off-Grid Solar Battery Bank.
Charge Controller: The Battery's Gatekeeper
The charge controller is the unsung hero of your solar setup. It sits between your solar panels and your batteries, regulating the voltage and current coming from the panels to prevent overcharging and extend your battery life. Without one, you'd quickly ruin your expensive battery bank.
There are two main types:
- PWM (Pulse Width Modulation) controllers: These are simpler and less expensive, typically ranging from $20 to $100. They're suitable for smaller systems where efficiency isn't the absolute top priority.
- MPPT (Maximum Power Point Tracking) controllers: These are more sophisticated and efficient, extracting more power from your panels, especially in varying light conditions. They are also pricier, usually $80 to $300+. For any system beyond the most minimal, an MPPT controller is often worth the extra investment due to its superior efficiency, particularly if you're trying to maximize output from a limited number of panels.
For powering lights and electronics, a good quality MPPT controller around 20-30 amps is often recommended, placing your cost in the $100-$250 range. For more detailed information, check out our piece on the Cost of a Charge Controller.
Inverter: Converting DC to AC for Your Devices
Most modern electronics and small appliances operate on AC (alternating current), while your solar panels and batteries produce DC (direct current). The inverter’s job is to convert that DC power into usable AC power for your devices.
For lights and electronics, you’ll typically need a smaller inverter, usually in the 500-watt to 1500-watt range. It's critical to choose a pure sine wave inverter for sensitive electronics like laptops, TVs, and medical devices. Modified sine wave inverters are cheaper, but they can damage or reduce the lifespan of these devices, and some simply won't work correctly.
A decent 500-watt to 1000-watt pure sine wave inverter can cost anywhere from $100 to $400. If you anticipate running slightly more power-hungry devices simultaneously, you might opt for a 1500-watt inverter, which could push the cost up to $300-$600. When calculating the size needed, remember to account for the surge wattage of any device with a motor (like a fan), which can be much higher than its running wattage, even if briefly. Learn more about inverter costs in our Cost of an Off-Grid Solar Inverter guide.
Wiring, Fuses, and Mounting Hardware: The Often-Forgotten Essentials
It’s easy to focus on the big components, but the seemingly small details like wiring, fuses, breakers, and mounting hardware are absolutely critical. These items ensure your system is safe, efficient, and properly installed.
- Wiring: You’ll need appropriate gauge wiring for both your DC (panel to charge controller, charge controller to battery) and AC (inverter to outlets) circuits. High-quality, properly sized copper wire is essential for safety and to prevent power loss due to voltage drop.
- Fuses and Breakers: These are non-negotiable safety devices that protect your system from overcurrents and short circuits. You'll need DC-rated fuses/breakers for the solar panel array and battery bank, and AC breakers for the inverter output.
- Mounting Hardware: Whether you're putting panels on a roof, a pole, or a ground mount, you'll need sturdy hardware to secure them. This includes rails, clamps, and tilt brackets (if desired).
While the individual cost of these items might seem small, they can add up. Budgeting an extra $100-$300 for these essential installation components is a smart move. Trying to cut corners here is a serious safety hazard and can lead to costly damage to your more expensive components. A comprehensive installation guide like How to Install an Off-Grid Solar System will walk you through these details.
Real-World Scenarios and Sample Costs
Let's look at some practical examples to give you a clearer picture of what these components might cost for different levels of "lights and electronics" usage.
Basic Lighting and Device Charging Setup
Imagine you have a small garden shed, a compact RV for weekend trips, or a tiny hunting cabin where you primarily need to run a few LED lights, charge your phone, and power a small laptop for a couple of hours each evening. You're not looking to run a fridge or a microwave; just the absolute essentials.
Estimated Daily Energy Usage:
- 3-4 LED lights (5W each, 4 hours/day) = 60-80 Wh
- Phone charging (10W, 2 hours/day) = 20 Wh
- Laptop (45W, 3 hours/day) = 135 Wh
- Small USB fan (5W, 4 hours/day) = 20 Wh
- Total Daily Estimate: around 235-255 Watt-hours (Wh)
System Components and Estimated Costs:
- Solar Panels: Two 100W monocrystalline panels. These are common and readily available from brands like Renogy or through online marketplaces like Amazon. ($160 – $350)
- Batteries: One 100Ah 12V LiFePO4 battery. This provides ample usable capacity for overnight use and a buffer for cloudy days, especially since you can discharge it deeply. ($300 – $700)
- Charge Controller: A 20A MPPT charge controller to efficiently harvest power from your panels and protect your battery. ($100 – $200)
- Inverter: A 500W pure sine wave inverter. This is enough to handle simultaneous laptop use and device charging. ($100 – $250)
- Wiring, Fuses, Mounting Hardware: Essential for safety and secure installation. ($100 – $200)
Total Estimated Cost for Basic Setup: $760 – $1700
This setup provides a solid foundation. You might even consider an all-in-one portable power station, like a Jackery Explorer 1000, which bundles many of these components together for around $1,000-$1,200. These are fantastic for a quick setup in an RV or cabin, and can often be charged by a separate solar panel. For ideas on powering a similar space, check out Cost to Power a Cabin with Solar or Off-Grid Solar Cost for an RV.
Adding Entertainment and Small Appliances
Now, let's say you want to upgrade your setup slightly. You'd like to include a small TV for evening entertainment, perhaps a more powerful fan, and maybe keep your Wi-Fi router running consistently. This still avoids heavy appliances, but increases your daily energy demand.
Estimated Daily Energy Usage:
- 3-4 LED lights (5W each, 5 hours/day) = 75-100 Wh
- Phone charging (10W, 3 hours/day) = 30 Wh
- Laptop (45W, 4 hours/day) = 180 Wh
- Small TV (60W, 3 hours/day) = 180 Wh
- Wi-Fi Router/Modem (15W, 24 hours/day) = 360 Wh
- Small fan (15W, 6 hours/day) = 90 Wh
- Total Daily Estimate: around 915-940 Watt-hours (Wh)
System Components and Estimated Costs:
- Solar Panels: Three to four 100W or two 200W-300W monocrystalline panels. You need more generation to cover the increased load. ($300 – $700)
- Batteries: Two 100Ah 12V LiFePO4 batteries (wired in parallel for increased capacity). This doubles your storage, crucial for a more consistent power draw. ($600 – $1400)
- Charge Controller: A 30A-40A MPPT charge controller to handle the larger solar array. ($150 – $300)
- Inverter: A 1000W-1500W pure sine wave inverter. This gives you more headroom for running multiple devices simultaneously, including the TV. ($200 – $500)
- Wiring, Fuses, Mounting Hardware: Proportionately more, given the larger system. ($150 – $300)
Total Estimated Cost for Enhanced Setup: $1400 – $3200
DIY vs. Pre-Built Kits for Lights and Electronics
When it comes to smaller off-grid systems for lights and electronics, you have two main pathways: building a custom DIY system or opting for a pre-built kit.
-
DIY Approach: This involves purchasing each component separately – panels, batteries, charge controller, inverter, and all the accessories.
- Pros: Maximum flexibility, allows for customization, often more cost-effective if you shop around and understand the components well. You can scale it precisely to your needs.
- Cons: Requires more research, technical knowledge, and time for assembly. Potential for mistakes if you're not careful.
- Cost Implications: As shown in the scenarios above, a DIY approach can be very budget-friendly, especially if you source components from places like Amazon or specialty solar retailers during sales. You might find great value buying individual items from brands like Renogy or Victron.
- You can learn more by checking out DIY vs Professional Off-Grid Solar Cost.
-
Pre-Built Kits (or Portable Power Stations): These systems come with most or all components bundled together, often pre-wired or designed for easy plug-and-play setup.
- Pros: Convenience, ease of installation, typically includes all necessary cables, often comes with clear instructions. Great for beginners or those who want a quick solution. Portable power stations are particularly user-friendly.
- Cons: Less flexibility, can sometimes be more expensive than a comparable DIY build, may include components you don't fully need or features you won't use.
- Cost Implications: A basic kit specifically for an RV or small cabin, like those offered by companies such as Renogy or Jackery, might cost anywhere from $500 to $2,000 for setups powering lights and electronics. While the initial sticker price might be higher than the lowest DIY component prices, the value in convenience and reduced troubleshooting can be significant for some users. For more information on kits, take a look at our article on Off-Grid Solar Kit Price Ranges.
For simply running lights and electronics, a high-capacity portable power station can be a fantastic "kit" option. They are designed for ease of use, often featuring multiple AC and DC outputs, built-in inverters, and battery management systems. You just add solar panels and plug them in.
Maximizing Efficiency and Minimizing Costs for Your Off-Grid Electronics
Going off-grid, even for basic power, isn't just about how much money you spend upfront; it's also about how smartly you use that power. Making conscious choices about your devices and habits can significantly reduce the size and cost of the solar system you need.
Energy-Efficient Appliance Choices
This is perhaps the single biggest impact you can have on your off-grid budget. Every watt-hour you save means your solar panels need to produce less, and your batteries need to store less, directly translating to smaller, more affordable components.
- LED Lighting is Non-Negotiable: If you’re still using incandescent or even CFL bulbs, switch to LEDs immediately. They use a fraction of the power for the same light output. Many LED light fixtures are even designed to run directly on 12V DC power, eliminating the need for an inverter for your lighting circuit altogether and further reducing overall system strain.
- DC-Direct Appliances: Whenever possible, seek out devices that can run directly on 12V DC power. Many small fans, phone chargers (USB chargers are inherently DC), and even some small TVs are available in 12V versions, commonly found for RVs and marine applications. Using DC-direct appliances means you don't lose energy to inverter inefficiency.
- Energy Star Rated Electronics: For any AC electronics you do need, always look for Energy Star certification. These products are designed to be more efficient, drawing less power during operation and often having lower "phantom" loads when turned off but still plugged in. This applies to laptops, smaller TVs, and charging bricks.
- Efficient Charging: Modern phone chargers are quite efficient, but consider smart charging hubs that can optimize power delivery, or even solar-powered chargers for small devices to offload some demand from your main system.
By being mindful of the efficiency of your chosen devices, you can potentially reduce your overall daily watt-hour consumption by 20-50%, making a smaller and less expensive solar setup perfectly viable. This proactive approach is fundamental to designing an effective off-grid system, and you can delve deeper into calculating your needs in How to Calculate Daily Energy Usage.
Smart Usage Habits
Beyond the efficiency of your devices, your personal habits play a huge role in how much energy you consume. Off-grid living often encourages a different mindset towards electricity, one of conscious consumption rather than limitless availability.
- Unplug Phantom Loads: Many electronics draw a small amount of power even when turned off but still plugged in (this is called "phantom load" or "vampire drain"). Think about phone chargers, TVs, and coffee makers. Get into the habit of unplugging devices when not in use, or use power strips with on/off switches. Over 24 hours, these small draws can really add up.
- Strategic Charging: Charge your laptops, phones, and other portable devices during peak solar production hours (mid-day) when your panels are generating the most power. This utilizes the energy directly rather than drawing down your battery bank unnecessarily.
- Optimize Lighting: Use lights only when and where needed. Rely on natural light during the day. Consider motion-sensor lights for spaces like storage sheds or bathrooms.
- Bundle Usage: If you need to run multiple devices that require the inverter, try to do it all at once rather than spread out throughout the day. Inverters have a small idle draw, so minimizing the time they are active can save precious battery life.
These habits might seem minor individually, but collectively, they can extend your battery autonomy, reduce the stress on your components, and ultimately mean you can get by with a smaller, more affordable system.
Phased Expansion and Budgeting
It's completely normal to feel a bit overwhelmed by the initial costs of setting up an off-grid solar system. A smart strategy, especially for powering just lights and electronics, is to start small and plan for phased expansion. You don't have to buy everything at once.
- Start with the Absolute Essentials: Begin with enough solar panels, battery capacity, and the right charge controller and inverter to cover your most basic lighting needs and device charging. Get comfortable with this setup, understand your actual usage patterns, and see how it performs under different weather conditions.
- Budget for Future Growth: As you gain experience and your needs evolve (perhaps you want to add that small TV, or a mini-fridge), you can add more solar panels, expand your battery bank, or upgrade your inverter. Many components are modular and designed to be expanded. For example, you might start with two 100W panels and one 100Ah battery, and later add two more panels and another battery in parallel.
- Consider System Voltage: For small systems (lights and electronics), 12V is common. However, if you anticipate future expansion to larger loads, consider building a 24V or even 48V system from the outset for better efficiency with higher power draws. This might mean a slightly higher initial cost for certain components but saves you from having to completely re-wire later.
This phased approach allows you to spread out your financial investment and refine your system as you learn. It's much less daunting than trying to build the "perfect" system all at once, and it’s a realistic way to achieve off-grid independence on a budget. Our guide on How to Budget for an Off-Grid Solar System offers more comprehensive advice on financial planning.
Here's a quick comparison of component costs for two common "lights and electronics" scenarios:
| Component | Basic Lights & Charging (Example 1) | Lights, Charging & Entertainment (Example 2) |
|---|---|---|
| Solar Panels | 2 x 100W Panels ($160 – $350) | 3-4 x 100W or 2 x 200W-300W Panels ($300 – $700) |
| Batteries | 1 x 100Ah 12V LiFePO4 ($300 – $700) | 2 x 100Ah 12V LiFePO4 (parallel) ($600 – $1400) |
| Charge Controller | 20A MPPT ($100 – $200) | 30A-40A MPPT ($150 – $300) |
| Inverter | 500W Pure Sine Wave ($100 – $250) | 1000W-1500W Pure Sine Wave ($200 – $500) |
| Wiring & Hardware | ($100 – $200) | ($150 – $300) |
| Total Estimated Cost | $760 – $1700 | $1400 – $3200 |
Disclaimer
The information provided in this article is for general guidance and informational purposes only. Off-grid solar system costs and requirements can vary significantly based on individual energy consumption, geographical location, chosen equipment brands, market prices, and installation complexity. It is always recommended to perform a detailed load analysis and consult with qualified solar professionals or electricians for specific system design, safety, and installation advice. Prices are estimates and subject to change.