Off-Grid Solar Installation Guide
The thought of cutting ties with the utility company and generating your own power is incredibly liberating, but the road to off-grid independence can feel daunting, especially when it comes to the actual installation. It's easy to get overwhelmed by all the wires, components, and technical jargon, leaving you wondering if you're truly capable of setting up a reliable system. This comprehensive guide is here to demystify the entire off-grid solar installation process, walking you through each crucial step from careful planning to flipping that final switch, so you can approach your project with confidence and clarity.
Laying the Groundwork: Essential Planning Before Installation
Before you even think about hoisting solar panels onto a roof or digging a trench for cables, the most critical phase of any successful off-grid solar setup is meticulous planning. Skipping this step is like trying to build a house without a blueprint – you might get something standing, but it won't be efficient, safe, or reliable in the long run. This foundational stage ensures that every component you purchase and every decision you make aligns perfectly with your energy needs and site specifics.
Understanding Your Energy Needs and System Components
Many people get excited about off-grid solar and immediately start looking at shiny new panels, but the very first question you need to answer is: "How much power do I actually need?" This isn't a simple guess; it requires a detailed energy audit of every appliance and device you plan to use. You need to calculate not just the wattage of each item but also how many hours per day or week it will run. This will give you your daily Watt-hour (Wh) consumption, which is the bedrock of your entire system design. Don't forget those sneaky "phantom loads" that draw power even when turned off, like phone chargers or microwaves on standby! An accurate load analysis will dictate the size of your solar array, your battery bank, and your inverter, ensuring you don't undersize your system and end up in the dark, or oversize it and waste precious resources. If you're struggling with this, our guide on How to Calculate Off-Grid Solar Needs can walk you through the specifics.
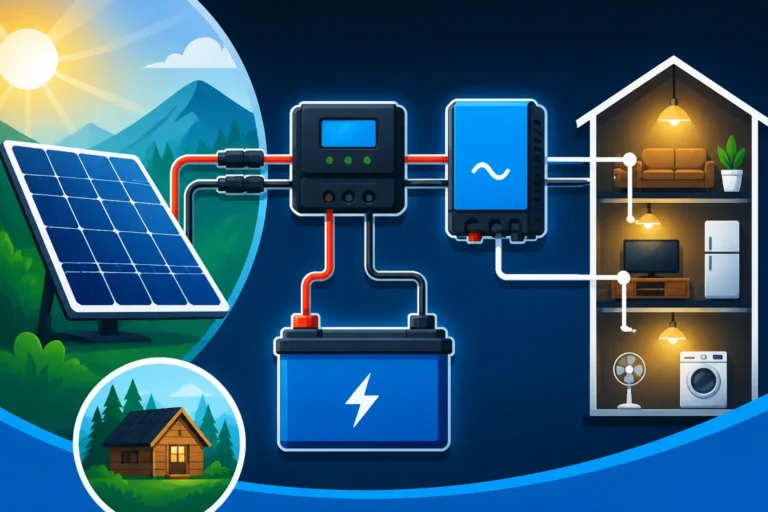
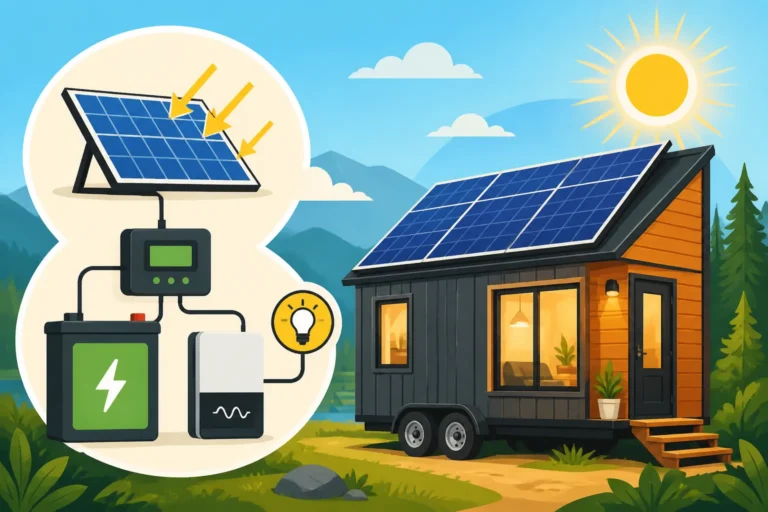
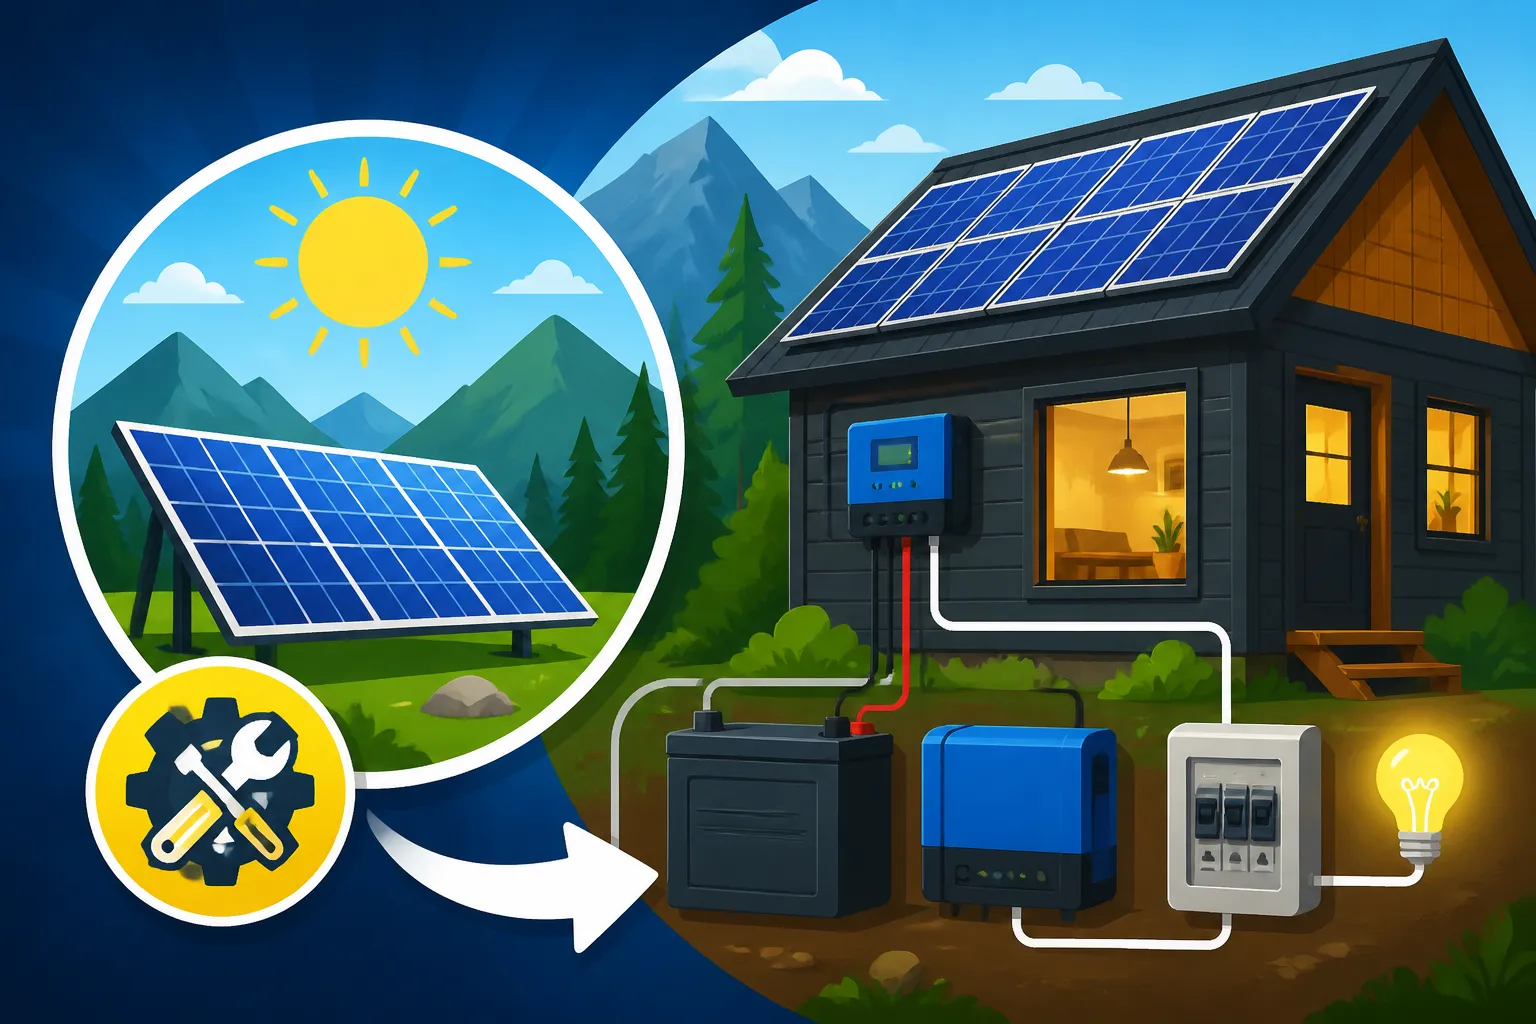
Once you have a clear picture of your energy appetite, you can start to understand the main components that will make up your off-grid system. At a high level, these include solar panels to convert sunlight into electricity, a charge controller to manage the flow of power from panels to batteries, a battery bank to store that energy for when the sun isn't shining, and an inverter to convert the battery's DC power into usable AC power for your standard appliances. There are also critical balance-of-system components like wiring, fuses, breakers, and disconnect switches that ensure safety and proper operation. Thinking about each part's role early helps prevent compatibility issues down the line. You can explore topics like Off-Grid Solar System Components Explained to get a better grasp of what each part does.
Site Assessment for Optimal Sun Exposure
The sun is your fuel source, so understanding its behavior at your chosen location is paramount. A thorough site assessment involves observing the sun's path throughout the day and across different seasons. Are there any trees, buildings, or geographical features that will cast shadows on your proposed panel locations? Even partial shading on one panel can significantly reduce the output of an entire array. Consider where you plan to install your panels – on a roof, on a ground mount, or even on a mobile setup like an RV. Each has its own considerations for tilt angle and orientation. In the Northern Hemisphere, south-facing panels are generally ideal, but adjusting the tilt angle can optimize for winter sun when the sun is lower in the sky.
Beyond solar exposure, you'll also need to consider the best location for your battery bank and inverter. These components should be housed in a protected, well-ventilated area, ideally close to each other and as close to your main electrical panel as possible to minimize voltage drop in your wiring. Batteries, especially lead-acid types, need stable temperatures and proper ventilation to operate efficiently and safely. A cool, dry, and secure location like a dedicated utility shed or a section of a basement is often perfect. Take the time to sketch out potential layouts, noting distances, potential shading issues, and access points for maintenance. This foresight will save you countless headaches and re-dos during the actual installation.
Gathering Your Tools and Safety Gear
Embarking on an off-grid solar installation without the right tools and safety gear is a recipe for frustration and potential injury. Before you begin, gather everything you'll need. This typically includes basic hand tools like wrenches, screwdrivers, pliers, and a tape measure, as well as specialized electrical tools such as a multimeter for testing voltage and current, wire strippers, crimpers for MC4 connectors, and a drill with appropriate bits for mounting. You might find a lot of these specialized tools, or even complete solar kits, available from online retailers like Amazon, making it convenient to get everything you need in one go.
Safety is non-negotiable when working with electricity, especially high-voltage DC from solar arrays and powerful batteries. Always wear appropriate personal protective equipment (PPE), including safety glasses, work gloves, and sturdy boots. When working at heights, a safety harness is a must. Invest in good quality, insulated tools, and make sure your multimeter is rated for the voltages you'll be working with. Having a fire extinguisher specifically rated for electrical fires (Class C) nearby is also a wise precaution. Remember, haste makes waste, but impatience can cause injury. Take your time, double-check your connections, and prioritize your well-being above all else.
Here's a handy table of essential tools you'll likely need:
| Category | Essential Tools | Purpose |
|---|---|---|
| General Hand Tools | Adjustable Wrench Set, Socket Set, Screwdriver Set | Assembly, tightening fasteners, general utility |
| Tape Measure, Level, Marker, Chalk Line | Measuring, marking, ensuring straight and even installation | |
| Pliers (needle-nose, lineman's) | Bending wire, gripping, cutting | |
| Electrical Tools | Multimeter (DC/AC voltage, current, continuity) | Testing electrical parameters, troubleshooting |
| Wire Strippers/Cutters (various gauges) | Preparing wires for connections | |
| MC4 Crimping Tool | Securely attaching MC4 connectors to solar cables | |
| Torque Wrench | Ensuring proper tightening of electrical connections (prevents arcing) | |
| Insulated Gloves, Safety Glasses | Crucial personal protection | |
| Mounting & Structure | Drill (cordless or corded) with bit set | Drilling pilot holes, fastening mounts |
| Impact Driver (optional, but helpful) | Driving lag bolts and screws efficiently | |
| Caulk Gun & Sealant (UV-resistant, waterproof) | Sealing roof penetrations for weatherproofing | |
| Safety & Other | Fire Extinguisher (Class C) | Emergency fire suppression |
| First Aid Kit | Addressing minor injuries | |
| Headlamp or Work Lights | Illuminating work areas |
Mounting Your Solar Panels Securely
Once you've done all your meticulous planning, it's time to get those solar panels in place. This step is about more than just placing panels; it's about ensuring they are securely fastened, properly angled, and protected from the elements for decades to come. The choice of mounting system will largely depend on your site assessment and personal preferences.
Choosing the Right Mounting System
There's a wide array of options when it comes to mounting solar panels, each with its own benefits and considerations. For many off-grid homeowners, a roof-mounted system is a popular choice because it utilizes existing space, often has good sun exposure, and keeps panels out of the way. However, it requires careful consideration of roof structure, sealing penetrations to prevent leaks, and ensuring safe access for installation and maintenance. For detailed guidance, you might want to look into How to Install Roof-Mounted Solar Panels.
Ground mounts offer more flexibility in terms of tilt and orientation, allowing you to easily adjust angles for seasonal sun optimization. They're often easier to install and maintain since you're not working at heights, but they do require more ground space and can be more susceptible to shading from vegetation. For remote cabins or workshops, a ground mount is often the preferred choice because it offers the flexibility to place panels in the absolute best sun exposure, even if it's a little distance from the building.
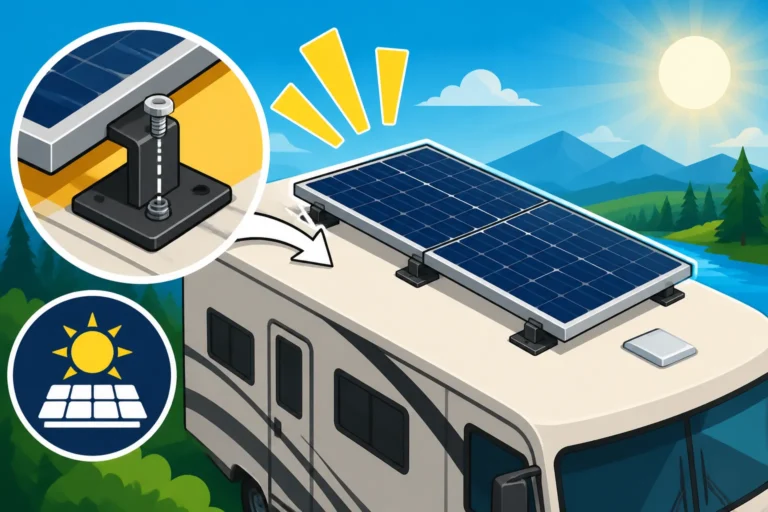
For mobile applications like RVs, vans, or tiny homes, specialized RV or mobile mounts are designed to withstand vehicle motion and minimize wind resistance. These often include flush mounts or low-profile tilt mounts. Finally, pole mounts elevate panels, offering excellent sun tracking capabilities and keeping panels clear of snow or ground-level obstructions, though they can be more complex to install due to the heavy-duty pole and concrete foundation required. When considering which Renogy solar panels to purchase, for instance, you'll find they often have compatible mounting hardware readily available for different applications.
Step-by-Step Panel Mounting Techniques
Regardless of the mounting system you choose, the general steps for securing your panels follow a similar pattern. First, ensure your chosen surface (roof, ground, pole) is structurally sound and can support the weight of the panels and mounting hardware, especially considering wind and snow loads in your area. For roof mounts, this means locating rafters or trusses. Next, install the mounting feet or rails. These are the foundational pieces that attach directly to your surface. For roofs, always seal any penetrations with high-quality, UV-resistant sealant to prevent water intrusion.
Once the rails are secure, the solar panels are typically clamped onto these rails. Start by carefully lifting the panels into place, ensuring you have enough help, as they can be heavy and unwieldy. Connect the panels to the rails using mid-clamps (between panels) and end-clamps (at the ends of rows). Make sure all clamps are tightened to the manufacturer's specified torque to prevent panels from shifting or blowing away in high winds. It's often helpful to lay out your entire array on the ground first to confirm measurements and spacing before moving to the final installation location.
Ensuring Structural Integrity and Weatherproofing
A solar system is a long-term investment, and its longevity heavily depends on the structural integrity of its installation. Double-check all bolts, screws, and clamps to ensure they are securely fastened. In areas prone to high winds or heavy snow, you might consider over-engineering your mounting system slightly for added peace of mind. For ground mounts, a sturdy concrete foundation for the support posts is crucial.
Weatherproofing is particularly vital for roof-mounted systems. Every hole drilled into your roof creates a potential entry point for water. Use high-quality flashing and sealants designed for outdoor use and UV exposure to completely seal around mounting feet. Don't skimp on this step; a small leak can lead to significant damage over time. Regularly inspect your mounting hardware and seals as part of your routine maintenance to catch any potential issues before they become major problems. A well-installed mounting system not only protects your investment but also ensures the safety of your property and anyone working around the system.
Wiring the DC Side: Panels, Charge Controller, and Batteries
Now for the heart of your off-grid system: the electrical connections. This is where the magic happens, turning sunlight into stored energy. Getting the DC (Direct Current) wiring right is paramount for efficiency, safety, and the overall performance of your system. It's a journey from the panels, through the charge controller, and into your battery bank.
Series and Parallel Wiring Configurations for Solar Panels
When wiring your solar panels, you generally have two main choices: series or parallel. Or, more commonly, a combination of both, known as series-parallel. Wiring panels in series increases the voltage while keeping the current the same. This is often beneficial for larger systems or when you have longer wire runs because higher voltage reduces current, which in turn minimizes voltage drop and allows for smaller, less expensive wiring. However, if one panel in a series string is shaded or faulty, it can significantly reduce the output of the entire string.
Wiring panels in parallel increases the current while keeping the voltage the same. This can be useful for smaller systems or when shading is a concern, as each panel operates more independently. However, higher current requires thicker, more expensive wires to prevent voltage drop and overheating. Most off-grid systems use a combination, creating series strings that are then connected in parallel to achieve the desired voltage and current input for the charge controller. Understanding How to Wire Solar Panels in Series and parallel is a fundamental skill for any off-grid installer. Always consult your charge controller's specifications for its maximum voltage and current input ratings to ensure compatibility.
Connecting the Charge Controller and PV Disconnect
The charge controller is the brain of your DC system, regulating the power flow from your solar panels to your batteries. It prevents overcharging, which can severely damage your battery bank, and can also protect against reverse current flow at night. There are two main types: PWM (Pulse Width Modulation) and MPPT (Maximum Power Point Tracking). MPPT controllers are generally more efficient, especially in varying light conditions, and are highly recommended for most off-grid setups, even though they cost a bit more.
Wiring the charge controller correctly is critical. First, you'll connect the wires from your solar array to the "PV input" terminals on the charge controller. It's highly recommended to install a PV disconnect switch between the panels and the charge controller. This switch allows you to safely shut off the power from the panels, which is essential for maintenance, troubleshooting, or in case of an emergency. Always install appropriately sized fuses or circuit breakers on both the positive and negative lines between the solar array and the charge controller. Then, you'll connect the charge controller's "battery output" terminals to your battery bank. Make sure to connect the batteries first to the charge controller before connecting the solar panels. This ensures the charge controller can properly sense the battery voltage and initialize correctly.
Assembling and Wiring Your Battery Bank Safely
Your battery bank is where all that precious solar energy is stored, ready for use when the sun goes down or when demand is high. The type of battery you choose (lead-acid, AGM, Gel, or Lithium LiFePO4) will influence its maintenance and optimal charging parameters. LiFePO4 batteries are increasingly popular for off-grid applications due to their high efficiency, long cycle life, and deep discharge capabilities, though they represent a higher initial investment. Brands like EG4 and Battle Born are well-regarded in the lithium battery space.
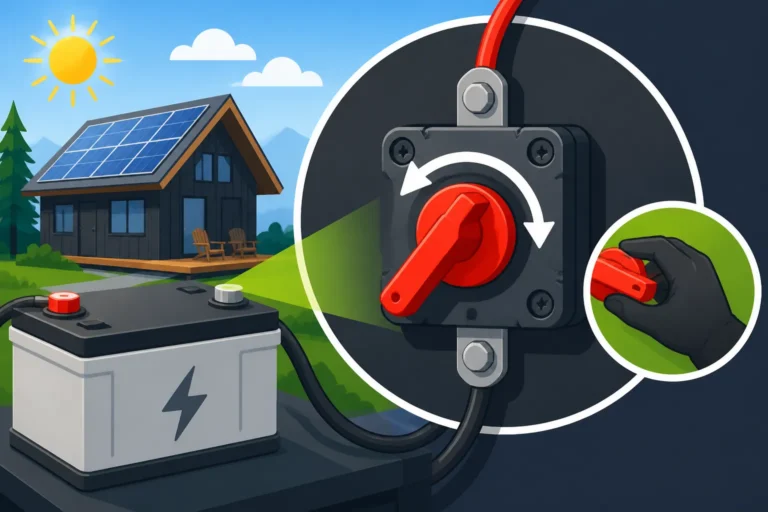
Like solar panels, batteries can be wired in series, parallel, or series-parallel to achieve the desired system voltage (e.g., 12V, 24V, 48V) and capacity. When connecting batteries, always use appropriately sized battery cables and ensure all terminals are clean and tight. Loose connections can lead to resistance, heat buildup, and even fires. Each battery bank should have a main battery disconnect switch and proper overcurrent protection (a large fuse or circuit breaker) installed as close to the battery terminals as possible. This allows you to safely isolate the battery bank for maintenance or emergencies. Proper ventilation is also crucial, especially for lead-acid batteries, which can off-gas hydrogen. For more in-depth information, check out our guide on How to Wire a Battery Bank. Remember, working with large battery banks carries a significant electrical shock and arc flash risk, so always proceed with extreme caution, remove jewelry, and use insulated tools.
Integrating the AC Side: Inverter, Distribution, and Grounding
With your DC power flowing and stored, the next major step is to convert it into usable AC power for your household appliances. This involves the inverter, your AC distribution panel, and crucially, proper grounding to ensure safety. This is where your off-grid system truly starts to feel like a conventional home electrical setup.
Installing the Inverter and Inverter Charger
The inverter is the device that takes the DC power from your battery bank and transforms it into AC (Alternating Current) power, which is what most of your home appliances, lights, and electronics run on. Choosing the right inverter size is critical and depends heavily on your How to Size an Off-Grid Inverter analysis, particularly the peak surge load of your largest appliances (e.g., well pump, microwave, refrigerator compressor start-up). A pure sine wave inverter is highly recommended for sensitive electronics, as modified sine wave inverters can cause damage or inefficient operation.
Many off-grid systems utilize an inverter charger, which combines the functions of an inverter and a battery charger into one unit. These are incredibly versatile, allowing you to use a backup generator to charge your batteries or supplement your solar power during prolonged cloudy spells. Install the inverter in a dry, well-ventilated area, ideally close to your battery bank to minimize the length of thick DC cables, which reduces voltage drop. Always ensure there's adequate clearance around the inverter for proper airflow, as these units can generate heat during operation. Securely mount the inverter to a sturdy surface, as they can be quite heavy.
Wiring to an AC Breaker Panel or Subpanel
Once the inverter is installed, its AC output needs to be connected to an AC distribution system, much like a traditional grid-tied home. For smaller systems or dedicated off-grid cabins, this might involve wiring directly to a few AC outlets. For larger, more complex off-grid homes, you'll typically connect the inverter's AC output to a subpanel. This subpanel will house individual circuit breakers for all your AC loads, such as lights, outlets, and dedicated appliance circuits.
The wiring from the inverter to the subpanel should be properly sized to handle the inverter's maximum output current and protected by a main AC breaker at the inverter's output and in the subpanel itself. All wiring should be run in appropriate conduit or be rated for the environment, adhering to electrical codes where applicable. Make sure to properly terminate all wires within junction boxes and the subpanel, ensuring tight connections and proper wire insulation. This step truly mimics traditional electrical work, so if you're uncomfortable, consider consulting or hiring a licensed electrician for this specific part of the installation.
Crucial Grounding and Safety Measures
Proper grounding (or earthing) is not just a recommendation; it's a critical safety measure that protects you, your equipment, and your property from electrical faults, lightning strikes, and surge events. Without a robust grounding system, stray currents can pose a severe shock hazard, and electrical surges can destroy your expensive components. Every major component of your off-grid solar system – the solar panel array frame, charge controller, inverter, and battery enclosure – must be properly grounded to an earth ground electrode system. For detailed information, refer to How to Ground an Off-Grid Solar System.
This typically involves driving one or more copper-clad steel grounding rods deep into the earth, ideally at least 8 feet, and connecting them with heavy-gauge copper wire to a main grounding busbar. From this busbar, smaller grounding wires connect to the chassis of your inverter, charge controller, and the frames of your solar panels. All metallic enclosures, conduits, and equipment should also be bonded together and connected to this grounding system. Additionally, ensure you have appropriate DC and AC surge protectors installed to safeguard your electronics from transient voltage spikes, which can occur during thunderstorms or from generator cycling if you have a backup. Always adhere to National Electrical Code (NEC) guidelines, even for off-grid systems, as they are designed for maximum safety.
The Final Steps: Commissioning, Testing, and Troubleshooting
You've planned, mounted, and wired – now comes the exciting part: bringing your off-grid solar system to life! However, this isn't just about flipping a switch; it's a careful process of commissioning, thorough testing, and knowing how to handle those inevitable little glitches that pop up.
Initial System Startup and Configuration
Before energizing anything, do one final, comprehensive visual inspection of all your wiring. Are all connections tight? Are fuses and breakers in place and correctly rated? Are wires properly secured and protected from abrasion? Once you're confident everything looks good, follow the manufacturer's recommended startup sequence, which typically involves:
- Connecting the battery bank to the charge controller first. This allows the charge controller to sense the battery voltage and initialize.
- Connecting the solar array to the charge controller. Ensure your PV disconnect switch is in the "off" position during this step, then turn it "on" once connected.
- Turning on the battery disconnect switch.
- Finally, energizing the inverter. Turn on the main AC breaker from the inverter to your subpanel.
After powering up, your charge controller and inverter will likely have displays showing system status, battery voltage, solar input, and power output. Take the time to go through the initial setup menus on your charge controller and inverter. This includes programming crucial parameters like battery type (if applicable), charging voltages (bulk, absorb, float for lead-acid; specific settings for lithium), low voltage disconnect thresholds, and inverter output settings. These settings are vital for the health and longevity of your battery bank, especially when using advanced LiFePO4 batteries.
Verifying System Performance and Load Testing
Once the system is up and running, it's crucial to verify that it's performing as expected. Use your multimeter to confirm voltages at various points: at the solar panels (open circuit and under load), at the battery terminals, and the AC output of your inverter. Compare these readings to the expected values based on your component specifications. Also, check the current flowing from your panels to your charge controller and from the charge controller to your batteries. Many modern charge controllers and inverters, like those from Victron Energy or Sol-Ark, come with built-in monitoring that you can access via a display or even a smartphone app, providing real-time data on your system's performance.
Next, start introducing your electrical loads, beginning with smaller appliances and gradually increasing to your larger ones. Turn on lights, plug in electronics, and then try a larger appliance like a refrigerator or microwave. Monitor the inverter's output and the battery voltage during these tests. Does the inverter handle the surge loads gracefully? Does the battery voltage drop excessively under heavy load? This "load testing" helps confirm that your system can meet your daily energy demands and handle peak power requirements. It also provides a great opportunity to get familiar with your system's behavior and capacity.
Common Installation Pitfalls and How to Avoid Them
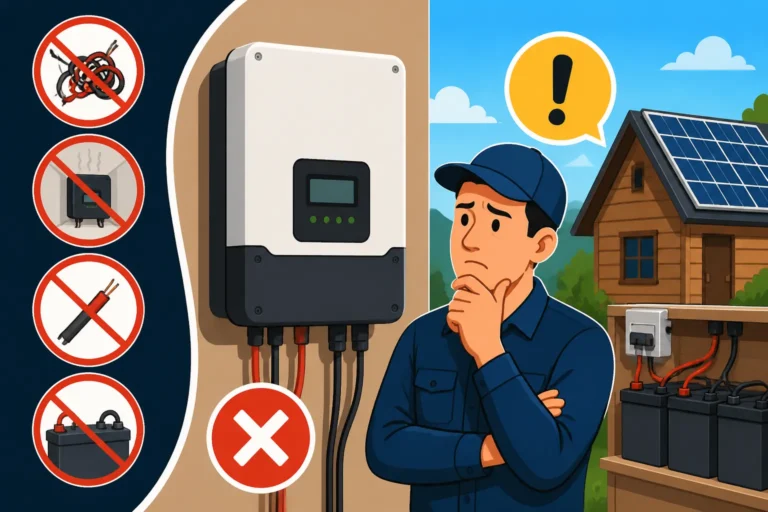
Even with careful planning, it's common to encounter a few hiccups during installation. One frequent issue is voltage drop, which occurs when wires are too long or too thin for the amount of current they carry. This leads to lost power and reduced efficiency. Always consult wire sizing charts, considering both current and distance, to select the correct gauge. Another pitfall is incorrect battery wiring, either wrong series/parallel configuration or loose terminals, which can lead to uneven charging, reduced lifespan, or dangerous arcing. Always double-check polarity and ensure all connections are tight.
Incompatible components are another common problem, often when a charge controller's voltage input range doesn't match the solar array's output or an inverter isn't sized properly for surge loads. Always cross-reference specifications before purchasing. Improper grounding is a dangerous oversight that must be corrected immediately. If your system isn't producing power, common troubleshooting steps include checking all disconnects and breakers, ensuring panel connections are solid, and verifying battery state of charge. Many component manufacturers, including Renogy, provide detailed troubleshooting guides for their products, which can be incredibly helpful for diagnosing issues. Patience and methodical investigation are your best friends when troubleshooting your off-grid solar system.
Navigating Permits, Codes, and Long-Term System Management
Congratulations, your off-grid system is up and running! But the journey to off-grid independence doesn't end with flipping the switch. There are still important considerations like local regulations, ongoing maintenance, and planning for the future.
Understanding Off-Grid Solar Permit Requirements
This is often the most frustrating part for off-gridders: dealing with bureaucracy. While the idea of being "off-grid" implies freedom from oversight, the reality is that many local jurisdictions still require permits and inspections for electrical installations, even if they're not connected to the utility grid. These regulations are primarily for safety, ensuring that the system is installed to minimum standards to prevent fires, electrical hazards, and structural issues.
Requirements vary widely by location. Some rural counties might have minimal requirements, while others, particularly those near populated areas or with stricter building codes, may require full electrical and building permits, along with professional engineering stamps for structural components. Even if you're building a cabin in the middle of nowhere, researching your county's specific regulations is crucial. Contact your local building department or planning office well in advance of your project. They can inform you about the necessary permits, required inspections, and adherence to codes like the National Electrical Code (NEC), which typically provides comprehensive guidelines for safe electrical installations, including those for standalone power systems. Ignoring these can lead to fines, forced system removal, or significant headaches if you ever decide to sell the property. Our detailed guide on Off-Grid Solar Permit Requirements can offer more insight.
Essential Maintenance for Longevity
Like any complex system, your off-grid solar setup needs regular care to ensure its long life and efficient operation. Neglecting maintenance can lead to reduced performance, premature component failure, and costly repairs. Here are some key maintenance tasks:
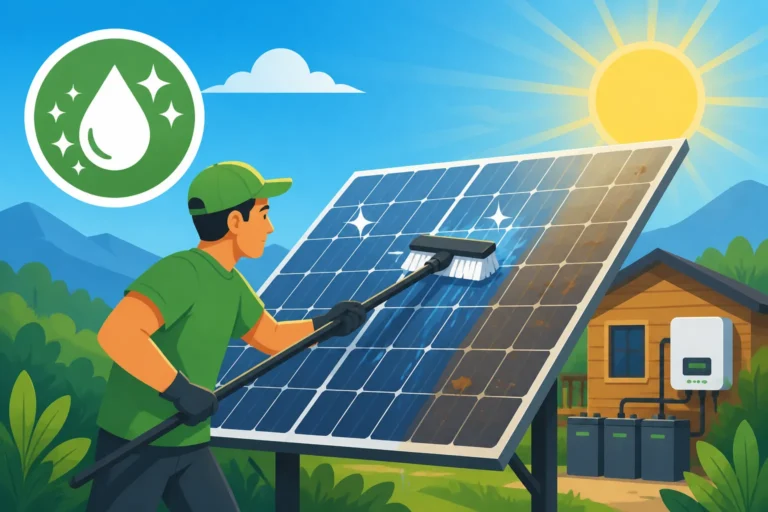
- Panel Cleaning: Dust, pollen, bird droppings, and leaves can accumulate on your solar panels, reducing their efficiency. A simple rinse with water, or a gentle scrub with a soft brush and mild soap, can help maintain optimal power production. Do this on a cool, cloudy day or in the early morning/late evening.
- Battery Care: This is especially crucial for lead-acid batteries, which require regular checks of electrolyte levels (if flooded) and terminal cleaning to prevent corrosion. LiFePO4 batteries are largely maintenance-free but still benefit from occasional terminal inspections and monitoring of their State of Charge (SoC) and cell balance. Monitoring tools from brands like Victron can provide invaluable insights into battery health.
- Wiring and Connections: Periodically inspect all wiring for signs of wear, fraying, or rodent damage. Ensure all connections, especially at the panels, charge controller, inverter, and batteries, remain tight. Loose connections can generate heat and pose a fire risk.
- Component Checks: Listen for unusual noises from your inverter, check charge controller displays for error codes, and generally observe your system's performance. Promptly addressing minor issues can prevent them from escalating.
- Shading Management: Keep trees and vegetation trimmed to prevent new shading sources from impacting your panels as they grow.
Consistent maintenance is key to getting the maximum lifespan and return on investment from your off-grid solar system. For a deeper dive, read our Off-Grid Solar Maintenance Guide.
Planning for Future Expansion and Upgrades
One of the great things about off-grid solar is its expandability. As your energy needs grow, your family expands, or you add new appliances to your homestead, you'll likely want to add more panels or battery capacity. When you initially design your system, it's smart to consider future expansion. This means sizing your charge controller and inverter slightly larger than your immediate needs, or ensuring they are easily upgradeable. For instance, if you're starting with a 24V system, make sure your inverter can handle adding more panels to existing strings or accommodate higher voltage inputs if you move to a 48V system later on.
Leave extra space on your mounting racks for additional panels, or ensure you have clear areas for another ground mount array. Use conduit that can accommodate additional wiring, and select components with modular designs that allow for seamless integration of new batteries or inverters. Thinking ahead about how you might increase your energy independence will save you significant time and money down the road, making future upgrades much smoother. Our guide on How to Design an Expandable System can give you some excellent strategies for future-proofing your off-grid power.
Disclaimer
The information provided in this guide is for general informational and educational purposes only and is not intended as professional electrical advice. Off-grid solar installation involves working with high voltages and potentially dangerous equipment. Always exercise caution, follow manufacturer instructions, and consult with qualified professionals or licensed electricians for specific guidance related to your installation. Local codes and regulations may vary, and it is your responsibility to ensure compliance. The author and publisher assume no liability for any accidents, injuries, or damages resulting from the use or misuse of this information.