Off-Grid Inverter Installation Mistakes to Avoid
Diving into off-grid living is an exciting venture, but when it comes to setting up your solar power system, the inverter is often where eager DIYers can hit a snag. Many folks get caught up in the thrill of generating their own power, only to realize that installing an inverter isn't as simple as plugging it in. Making even small mistakes during installation can lead to inefficient power, damage to expensive equipment, or, worst of all, serious safety hazards. This guide is here to walk you through the most common off-grid inverter installation mistakes and, more importantly, how you can avoid them, ensuring your system runs safely and reliably.
Getting to Grips with Inverter Fundamentals
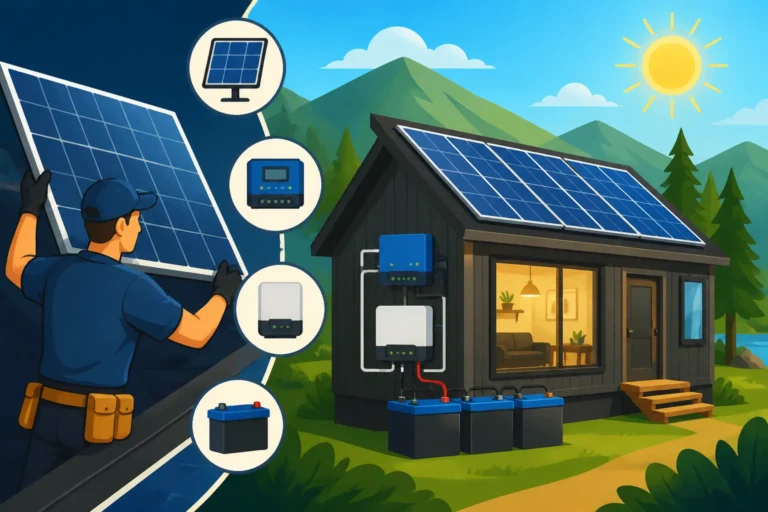
Before you even think about connecting wires, it’s crucial to truly understand what your inverter does and how it fits into your off-grid puzzle. Many common installation errors stem from a lack of foundational knowledge about these critical devices. Think of your inverter as the brain and brawn that transforms the direct current (DC) electricity stored in your batteries into the alternating current (AC) power that most of your household appliances run on. Without a properly selected and installed inverter, your solar panels and batteries are just expensive paperweights.
Pure Sine Wave Versus Modified Sine Wave
One of the biggest areas of confusion for new off-gridders is the difference between pure sine wave and modified sine wave inverters. It might sound technical, but it's really about the quality of the electricity your appliances will receive.
A pure sine wave inverter produces electricity that's virtually identical to what you get from the utility grid. This clean, smooth waveform is essential for sensitive electronics, modern appliances with microprocessors (like refrigerators, microwaves, and even some fancy coffee makers), and anything with an AC motor. If you try to run these devices on a modified sine wave inverter, you might notice buzzing, overheating, or even permanent damage to the appliance over time. While pure sine wave inverters typically cost more, they are almost always the right choice for any serious off-grid setup, especially if you plan on living full-time or running a variety of modern comforts. When you're looking at options, brands like Renogy often offer reliable pure sine wave inverters that are popular among the DIY community.
In contrast, a modified sine wave inverter produces a stepped waveform that's a rough approximation of a pure sine wave. These are generally less expensive and can work for basic, non-sensitive loads like incandescent lights, old-school fan motors, or simple heating elements. However, for anything with delicate electronics, including many laptops, TVs, or medical devices like CPAP machines, using a modified sine wave inverter is a recipe for trouble. You'll hear appliance motors hum loudly, and some electronics simply won't function or will quickly degrade. Understanding this fundamental difference is step one in preventing future headaches and ensuring your devices last. For more on the distinctions, check out our deep dive on Pure Sine Wave vs Modified Sine Wave Inverters.
Understanding Your Inverter's Role in the System
Your inverter isn't an island; it's a vital link in the chain that connects your solar array, charge controller, and battery bank to your home's electrical loads. It needs to be properly matched to your battery bank's voltage (12V, 24V, 48V) and sized correctly for the total power demand of your appliances. A common mistake is to pick an inverter that’s too small, leading to frequent overloads and shutdowns, which can be incredibly frustrating. Conversely, an inverter that's significantly oversized might be less efficient at low loads, wasting precious battery power.
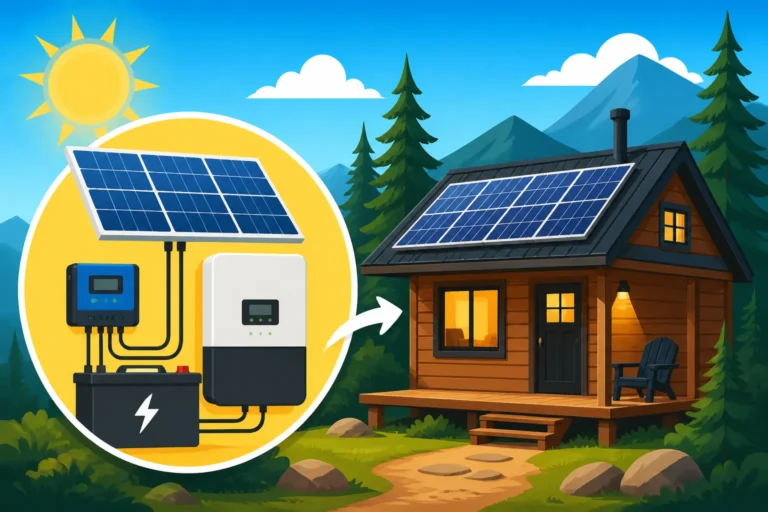
Consider a small off-grid cabin. If you plan to run a few lights, charge a laptop, and maybe power a small refrigerator, you'll need to carefully calculate your total wattage and surge requirements to determine the right inverter size. For comprehensive guidance, take a look at our article on How to Size an Off-Grid Inverter. A properly integrated inverter ensures seamless power flow, protecting both your energy source and your valuable appliances.
Common Wiring Blunders and How to Prevent Them
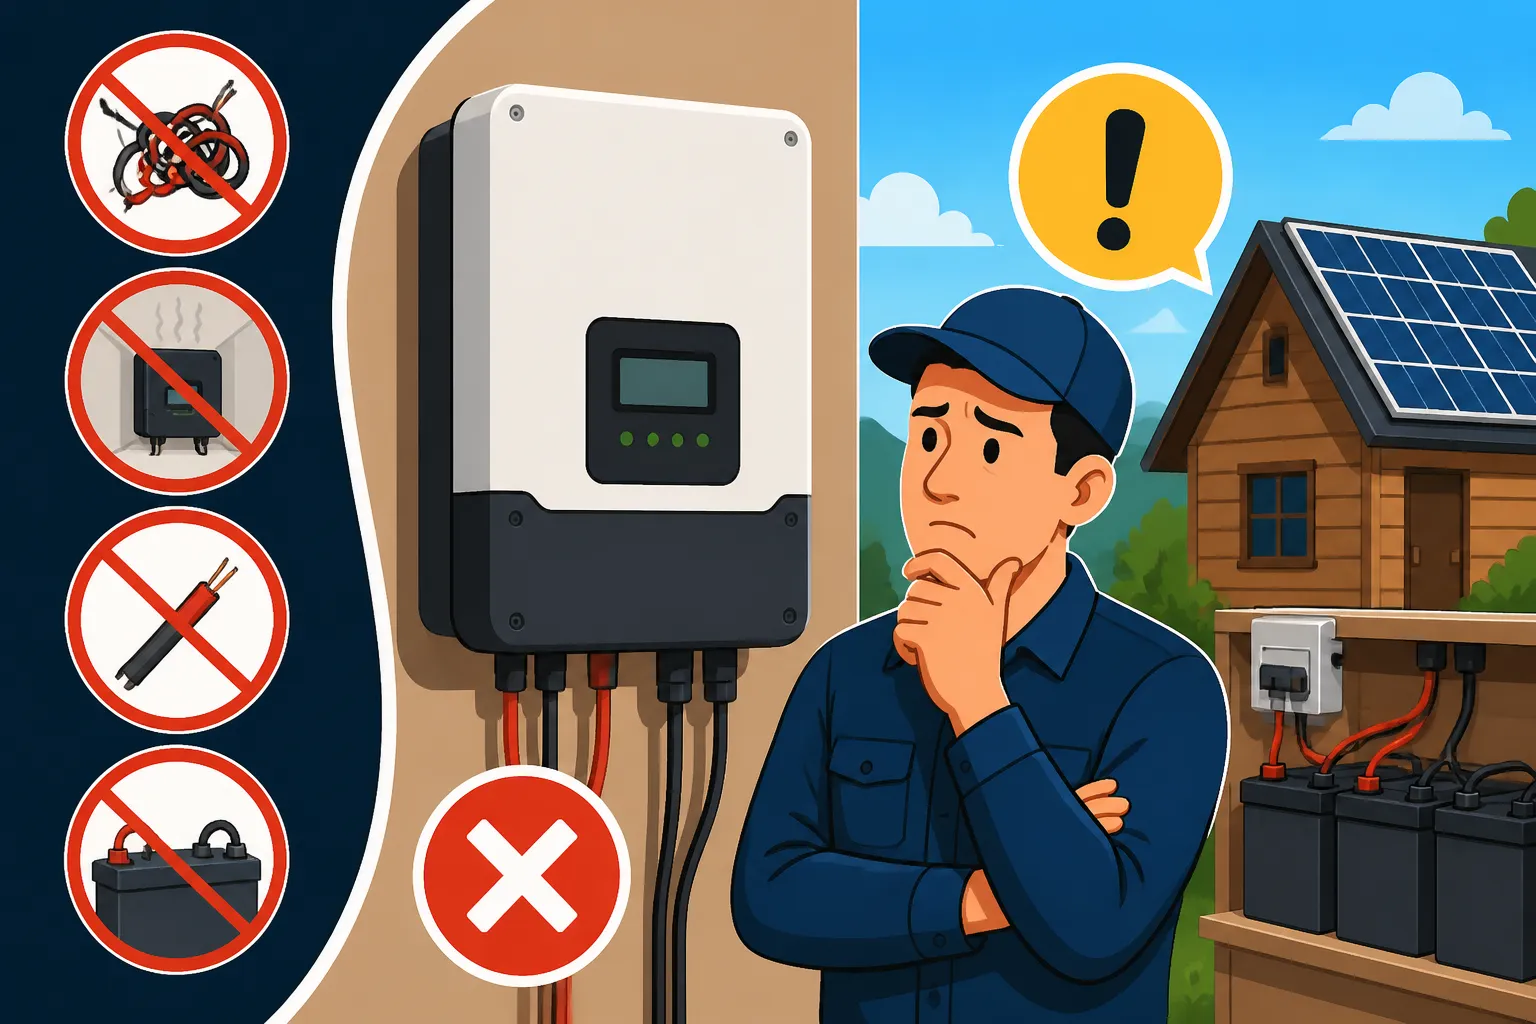
Incorrect wiring is arguably the most dangerous and common mistake in off-grid inverter installation. Electricity isn't something to take lightly, and a seemingly small wiring error can lead to system failure, equipment damage, or even electrical fires. It's crucial to approach this part of the installation with meticulous attention to detail and a healthy respect for safety.
Reversed Polarity and Loose Connections
One of the simplest yet most damaging mistakes is reversed polarity. Connecting the positive battery terminal to the negative inverter input, or vice-versa, will almost certainly damage your inverter, sometimes permanently. Always double-check your connections with a multimeter before making the final hook-up. Most inverters and batteries are clearly marked, usually with red for positive (+) and black for negative (-). Don't trust your memory; verify every single connection.
Equally perilous are loose connections. A loose connection can create resistance, leading to excessive heat, which can melt insulation, damage terminals, and even start a fire. Vibrations from travel (if in an RV) or just general use can loosen connections over time. Always ensure all terminals are tightened securely with the appropriate tools. Give each cable a firm tug to confirm it's seated properly. Using quality crimp connectors and solid lug terminals, like those you might find on Amazon, can make a huge difference in the longevity and safety of your connections. Proper crimping ensures full contact and minimal resistance, minimizing the risk of overheating.
Undersized Cables and Inadequate Fusing
Many new off-gridders underestimate the importance of proper cable sizing. Inverter cables carry substantial current, especially on the DC side from the battery bank. Using cables that are too thin (undersized) for the amount of current flowing through them will cause a voltage drop and generate excessive heat. This leads to inefficient power delivery, reduces the lifespan of your inverter and batteries, and creates a significant fire hazard.
The rule of thumb is: the shorter the cable run and the larger the gauge (thicker wire), the better. Always consult wire gauge charts based on the current draw (amps), cable length, and desired voltage drop. For example, a 2000W 12V inverter can draw over 160 amps at full load, requiring very thick cables, often 2/0 or 4/0 gauge, depending on the length. Our guide on How to Size Wire and Cables offers detailed calculations to ensure you get it right.
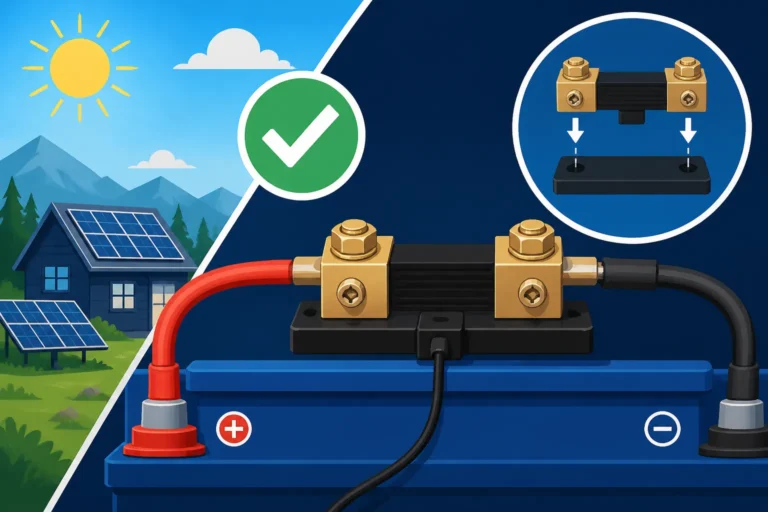
Just as critical as cable sizing is proper fusing. Fuses and circuit breakers are safety devices designed to protect your equipment and prevent fires by interrupting the circuit if current exceeds safe levels. An inverter must have an appropriately sized fuse or breaker on its DC input side, as close to the battery bank as possible. Without proper overcurrent protection, a short circuit or fault can rapidly discharge your batteries, generating immense heat and potentially causing an explosion or fire. Never bypass fuses or use fuses with too high a rating. Always match the fuse rating to the inverter's maximum continuous current draw, accounting for surge capacity if necessary.
| Wiring Mistake | Description | Consequence | Prevention Strategy |
|---|---|---|---|
| Reversed Polarity | Connecting positive to negative or vice versa. | Instant damage to inverter, potential battery damage. | Double-check all terminal markings; use a multimeter before connecting. |
| Loose Connections | Wires not securely fastened to terminals. | Overheating, reduced efficiency, fire hazard. | Tighten all connections firmly; tug test each wire; use quality crimps. |
| Undersized Cables | Cables too thin for the current load. | Voltage drop, overheating, fire risk, decreased system efficiency. | Consult wire gauge charts; calculate current draw; use appropriate gauge wire. |
| Inadequate Fusing | Missing, incorrectly sized, or bypassed fuses/breakers. | No protection from overcurrents, fire, equipment damage. | Install correctly rated fuses/breakers close to battery; never bypass. |
| Unsecured Wiring | Cables left dangling or without proper strain relief. | Wear and tear on insulation, potential shorts, trip hazards. | Use cable clamps, conduit, and grommets; ensure strain relief at terminals. |
Sizing and Placement Pitfalls
Even with perfect wiring, an inverter that's improperly sized or poorly placed can severely hamper your off-grid system's performance and longevity. These mistakes often lead to chronic problems that are frustrating to diagnose and costly to fix.
Underestimating Surge Capacity
Many appliances, especially those with motors (like refrigerators, well pumps, or power tools), require a significantly higher surge of power for a brief moment when they start up compared to their continuous running wattage. This "starting watts" can be 2 to 7 times their "running watts." A common mistake is to size the inverter purely based on the continuous wattage of all your appliances, completely ignoring these crucial surge demands.
If your inverter's surge capacity isn't high enough, it will simply shut down every time a high-starting-wattage appliance tries to kick on. This isn't just annoying; repeated shutdowns can stress the inverter over time. Always identify your highest surge load and ensure your chosen inverter can handle it for its specified duration, usually a few seconds. For example, if you plan on running a well pump, you'll need to know its specific surge requirements. You can learn more about how much solar power various appliances need in guides like What Size Inverter to Run A Well Pump or What Size Inverter to Run A Refrigerator.
Improper Ventilation and Environmental Exposure
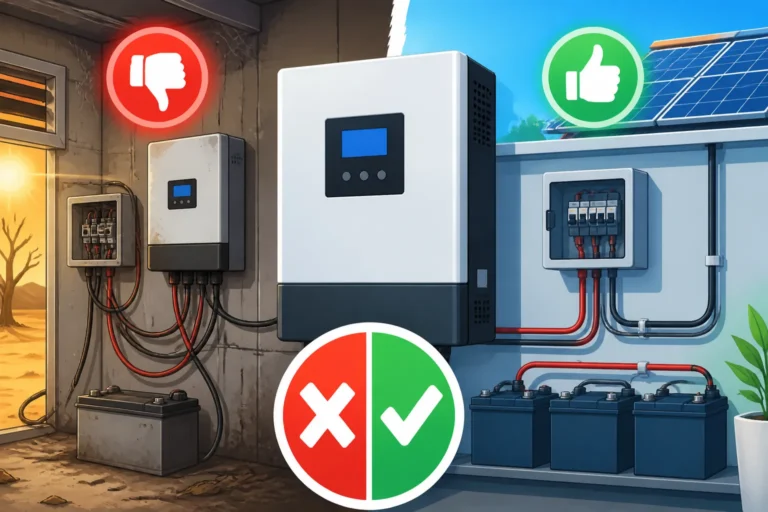
Inverters generate heat during operation – it's a natural byproduct of converting DC to AC power. They are designed with cooling fans or heat sinks to dissipate this heat, but they need adequate airflow to do their job. Mounting an inverter in a cramped, unventilated space, or worse, enclosing it in a sealed box, is a recipe for disaster. Overheating significantly reduces an inverter's efficiency and drastically shortens its lifespan, leading to premature failure.
Always ensure there's plenty of space around your inverter for air circulation, following the manufacturer's recommendations for clearance. If possible, mount it in a cool, dry area. On the flip side, exposing your inverter to harsh environmental conditions, such as direct sunlight, extreme cold, or moisture, is equally damaging. While some inverters are rated for outdoor use, most residential models are designed for indoor, climate-controlled environments. High humidity can corrode internal components, and direct water exposure can cause immediate failure and electrical hazards.
Imagine you're setting up a solar system for a remote cabin. Placing your inverter in a damp, unheated crawl space or an uninsulated shed might seem convenient, but it could lead to condensation and corrosion in winter, or extreme heat in summer. A dedicated, well-ventilated enclosure or a protected utility room is always the best choice.
Excessive Cable Lengths and Voltage Drop
While it might be tempting to place your inverter far from your battery bank for aesthetic reasons or convenience, long DC cable runs between the battery and the inverter are a significant source of inefficiency and potential problems. The longer the cable and the smaller its gauge, the more voltage drop you'll experience. This means less power actually reaches your inverter, and more energy is wasted as heat in the cables.
Voltage drop increases exponentially with current, so for high-current applications like inverters, keeping these DC runs as short as possible is paramount. Ideally, your inverter should be mounted within a few feet of your battery bank. If long runs are unavoidable, you must compensate by using significantly thicker (lower gauge) cables than you might initially think. This is not just about efficiency; excessive voltage drop can also cause your inverter to underperform or even shut down due to low voltage warnings, especially under heavy loads. Always prioritize short, thick cables for this critical connection.
Overlooking Safety and Code Requirements
When you're dealing with electricity, safety is not an option; it's a non-negotiable requirement. Many off-grid solar system owners, especially those outside of conventional permitting structures, mistakenly believe they can skip safety protocols and electrical codes. This couldn't be further from the truth. Regardless of whether you're grid-tied or off-grid, proper grounding, disconnects, and adherence to electrical safety principles are crucial for protecting yourself, your property, and your investment.
Ignoring Proper Grounding
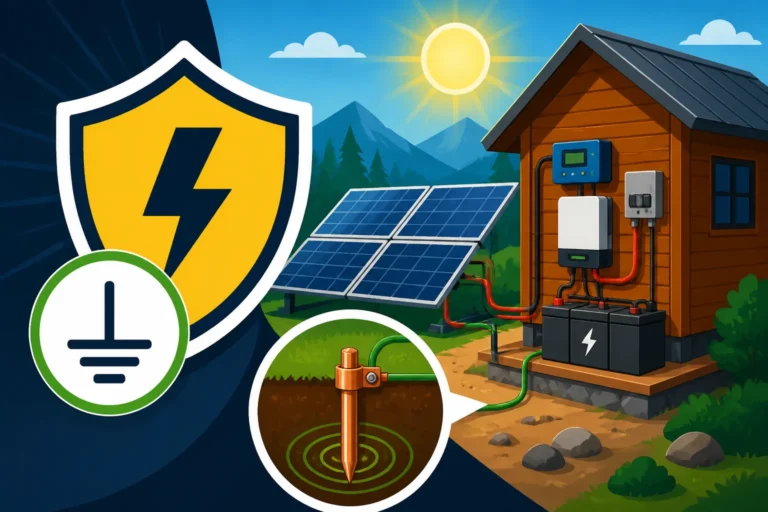
Proper grounding of your inverter and the entire off-grid system is absolutely critical for safety. Grounding provides a safe path for fault currents to dissipate, protecting against electrical shock and lightning strikes. Without a properly grounded system, any fault in your wiring or equipment could energize metal components, turning your inverter enclosure or even your entire RV chassis into a shock hazard.
The National Electrical Code (NEC) provides extensive guidelines for grounding, even for off-grid systems. This typically involves connecting the inverter chassis to a main grounding bar, which is then connected to a ground rod driven deep into the earth. For mobile applications like RVs or vans, the system might be bonded to the vehicle chassis. Never assume your system is inherently safe without verifying proper grounding. It’s one of those things you hope you never need, but you’ll be incredibly grateful for it if an electrical fault occurs. You can find more information in guides like Off-Grid Solar Safety and Grounding.
Neglecting Disconnect Switches
Every off-grid solar system should have clearly labeled and easily accessible disconnect switches on both the DC (battery/solar array) and AC (inverter output to loads) sides. These switches allow you to safely de-energize components for maintenance, troubleshooting, or in case of an emergency (like a fire).
Imagine needing to work on your inverter. Without a DC disconnect between your batteries and the inverter, you'd have to physically unbolt the heavy battery cables, which can be sparking and dangerous under load. A simple DC disconnect switch makes this process safe and straightforward. Similarly, an AC disconnect on the inverter's output allows you to cut power to your home's breaker panel without shutting down the entire inverter. These are small investments that provide immense safety and convenience. Brands like MidNite Solar are well-known for their robust disconnect boxes designed for off-grid systems.
Disregarding Local Permits and Electrical Codes
This is a big one for many off-gridders. While many dream of living "off the grid" entirely free from oversight, the reality is that local building and electrical codes often still apply, even if you're not connecting to the utility grid. These codes are in place to ensure safe construction and electrical practices, protecting not just you but also your neighbors and emergency responders.
Failure to obtain necessary permits and inspections for your off-grid system can lead to fines, forced system modifications, or even the requirement to dismantle your setup. More importantly, it means your system hasn't been vetted for safety by a qualified professional. Things like proper wire sizing, overcurrent protection, grounding, and component placement are all covered by codes. While the specific requirements vary widely by jurisdiction (state, county, even city), it’s always best to check with your local authority having jurisdiction (AHJ) before you start your installation. Even if you're building a tiny home or a cabin in a remote area, many jurisdictions have minimum safety standards. Taking the time to understand Off-Grid Solar Permits and Codes can save you a lot of grief down the line.
Ultimately, installing an off-grid inverter correctly isn't just about getting power; it's about building a safe, efficient, and reliable system that will serve you for years to come. Taking the time to understand these potential pitfalls and implement best practices will make your off-grid journey much smoother and far more enjoyable. For more detailed guidance on setting up your system, you can explore resources like our guide on How to Wire an Off-Grid Solar System.
Disclaimer
The information provided in this article is for educational and informational purposes only and is not intended as professional electrical advice. Working with electricity can be dangerous. Always consult with a qualified electrician or solar professional before installing or modifying any electrical system. Follow all local codes, regulations, and manufacturer instructions. The author and publisher are not liable for any losses, injuries, or damages resulting from the use or misuse of this information.