How to Install Solar on a Pole Mount
Venturing into off-grid living or adding solar to a remote cabin brings a sense of independence, but the thought of physically setting up solar panels can feel daunting, especially when roof space is limited or shading is an issue. Deciding where and how to mount your panels is a crucial early hurdle. If a rooftop installation isn't ideal for your situation, a pole mount system might be the perfect solution, offering flexibility and optimal sun exposure. This comprehensive guide will walk you through everything you need to know about installing solar panels on a pole mount, from initial planning to final wiring, ensuring you have a reliable off-grid power source.
Why Choose a Pole Mount for Your Off-Grid Solar Panels
When you're designing an off-grid solar system, the choice of mounting structure is just as important as the panels and batteries themselves. While rooftop installations are common for grid-tied homes, they often present unique challenges for off-grid properties or specific applications like a workshop or an RV setup. That's where pole mounts really shine, offering distinct advantages that can significantly impact your system's efficiency and longevity.
Optimizing Sun Exposure and Panel Tilt
One of the biggest struggles with many off-grid locations is less-than-ideal roof orientation or persistent shading from trees or nearby structures. A fixed rooftop might face east or west, limiting peak solar production, or be partially obscured by a towering pine. Pole mounts give you the freedom to choose the absolute best spot on your property, a clear area that receives direct sunlight throughout the day. This flexibility means you can orient your panels due south (in the Northern Hemisphere) for maximum daily yield.
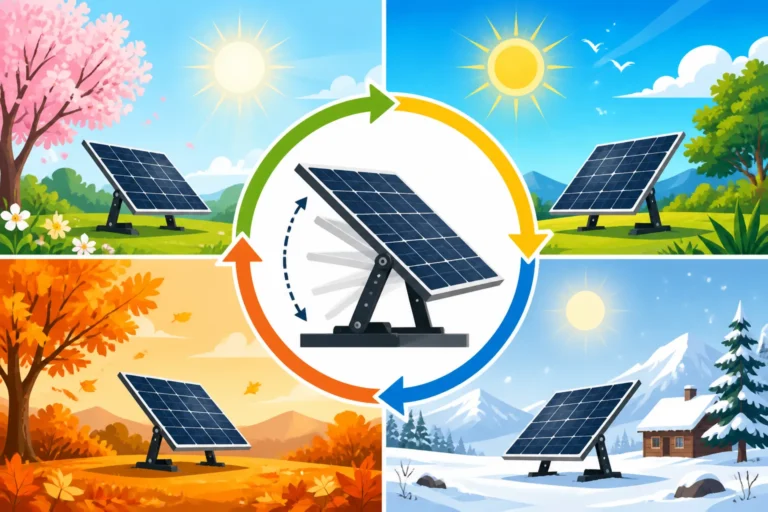
Beyond simple orientation, most pole mount systems offer adjustable tilt angles. This isn't just a fancy feature; it's a game-changer for maximizing power generation, especially if you're planning for year-round off-grid living. In winter, when the sun is lower in the sky, you can increase the tilt to capture more direct rays. Come summer, you can flatten them out a bit. This seasonal adjustability can boost your system's output by a significant margin, directly affecting how much power you generate and how consistently your batteries stay charged. Imagine being able to tweak your panels in December to account for shorter, cloudier days – that's the kind of control a pole mount offers that a fixed roof mount simply can't. Understanding how to use peak sun hours in sizing and adjusting for different seasons is vital for an efficient off-grid setup.
Ease of Maintenance and Accessibility
Let's be real, climbing onto a slippery roof with cleaning supplies and tools is never a fun task, especially if you're dealing with snow, ice, or just general grime. Rooftop panels can be difficult to access for routine cleaning, which is essential to prevent efficiency loss. Dust, pollen, bird droppings, and leaves can accumulate, reducing your panel's output by 10-20% or even more. With a pole mount, your panels are typically at a more manageable height, often within reach using a ladder or even from the ground with an extendable cleaning brush. This makes regular maintenance, like a quick wash-down or clearing off snow, far easier and safer.
Beyond cleaning, pole mounts also simplify inspection and troubleshooting. If you ever need to check connections, tighten bolts, or diagnose an issue, having your array at an accessible height is invaluable. This means less risk, less time spent, and ultimately, a healthier, more productive solar system over its lifespan. For detailed insights into keeping your system running smoothly, check out our Off-Grid Solar Maintenance Guide.
Planning Your Pole Mount Solar Installation
Before you even think about digging holes or lifting panels, a thorough planning phase is critical for a successful and safe pole mount installation. This isn't just about grabbing some tools; it's about making informed decisions that will impact your system's performance, cost, and longevity.
Site Selection and Sun Path Analysis
Choosing the right location for your pole mount is paramount. You need a spot that receives maximum, unobstructed sunlight throughout the day, year-round. Start by observing your property. Where does the sun rise and set in different seasons? Are there any tall trees, buildings, or other structures that might cast shadows at certain times of the day? Even a small shadow can significantly reduce the output of an entire string of panels.
A simple method for a basic sun path analysis involves using a compass and a clinometer (or even just your hand and arm at various times of day) to gauge potential obstructions. For more precision, tools like a solar pathfinder or even a smartphone app can help you map the sun's trajectory and identify any shading issues. You'll want to aim for a location that allows for unobstructed solar exposure from roughly 9 AM to 3 PM, which are generally the peak production hours. Remember, even if a spot looks clear in summer, winter sun angles can reveal new shading problems. Also consider practicalities: is the ground stable? Is it close enough to your power needs to minimize long, expensive cable runs? Think about the overall layout of your property and how the pole mount will integrate into your space.
Essential Components and Tools
Once you've pinpointed your ideal location, it's time to gather everything you'll need. This goes beyond just the solar panels themselves. A typical pole mount setup involves several key components, and having the right tools on hand will make the installation much smoother and safer.
Key Components You'll Need:
- Pole Mount Kit: These kits typically include the mounting brackets, rails, and hardware specifically designed to attach panels to a central pole. Make sure the kit is compatible with the size and number of solar panels you plan to install. Many manufacturers, like Renogy, offer reliable mounting solutions.
- Solar Panels: The heart of your system! For a pole mount, you'll generally use rigid, framed solar panels, often monocrystalline for their efficiency. You can find a wide selection of these panels on Amazon from various brands. To learn more, check out our guide on Best Off-Grid Solar Panels.
- Mounting Pole: This can be a Schedule 40 or Schedule 80 steel pipe, often galvanized for rust resistance, or a sturdy wooden post, depending on the kit and your local conditions. The diameter and length will depend on the weight and size of your array and local wind load requirements.
- Concrete and Rebar: For a strong foundation, you'll need concrete mix, gravel, and rebar to reinforce the footing that holds the pole securely in the ground.
- Wiring and Electrical Components: This includes MC4 connectors, appropriate gauge solar cable (PV wire), conduit for wire protection, a charge controller, an inverter, and safety disconnects. Our Off-Grid Solar Wiring Diagram Explained can provide further guidance.
- Battery Bank: Remember, a pole mount just holds the panels; you'll need a robust battery bank to store the energy. Consider the different types in LiFePO4 vs Lead-Acid Battery Cost.
Tools for the Job:
You'll need a range of tools, from basic hand tools to specialized equipment:
| Tool Category | Specific Tools | Purpose |
|---|---|---|
| Digging & Foundation | Post-hole digger or auger, shovel, level, wheelbarrow, tape measure, string line, tamping bar | Preparing the hole, setting the pole straight, mixing and pouring concrete |
| Assembly & Mounting | Socket wrench set, adjustable wrench, crescent wrench, drill/driver with appropriate bits, wire strippers | Assembling the mount, attaching panels, making electrical connections |
| Electrical | Multimeter, wire crimpers (for MC4 connectors), voltage tester, continuity tester, conduit bender (if needed) | Testing connections, ensuring proper wiring, safely installing electrical components |
| Safety | Safety glasses, work gloves, hard hat, sturdy ladder | Protecting yourself during the entire process |
Making sure you have all these items ready before you start will prevent frustrating delays and multiple trips to the hardware store. Consider reading our general article on Off-Grid Solar Installation Tools Needed for a more comprehensive list.
Step-by-Step Pole Mount Installation Process
Okay, you've done your homework, scouted the perfect spot, and gathered all your gear. Now it's time to get your hands dirty! Installing a pole mount solar array is a multi-step process that requires attention to detail, especially regarding safety and structural integrity. Take your time, follow these steps, and don't hesitate to consult local codes or a professional if you feel out of your depth.
Preparing the Foundation
The foundation is absolutely critical for a pole mount system. This isn't just a fence post; it's supporting valuable, heavy equipment that needs to withstand wind, snow, and other environmental stresses for decades.
First, mark the exact spot where your pole will stand. Use a string line and a level to ensure your chosen location is truly flat and allows for the correct orientation. Digging the hole is next. The size and depth of the hole depend heavily on the height of your pole, the size of your array, and local frost line and wind load requirements. As a general rule of thumb, the hole should be at least 2-3 feet deep and wide enough to allow for a substantial concrete footing around the pole. For a standard 8-12 foot pole supporting 2-4 panels, a 24-inch diameter hole that's 3-4 feet deep is often a good starting point, but always verify local building codes.
Once the hole is dug, add a few inches of gravel at the bottom for drainage. This helps prevent the pole from sitting in standing water, which can contribute to corrosion over time. Next, position your pole in the center of the hole. Use a level to ensure it's perfectly plumb (vertically straight). This is crucial for the entire array to sit correctly and to avoid putting undue stress on the mounting hardware. You might need temporary braces or a helper to hold the pole steady while you proceed. Once plumb, add rebar around the base of the pole inside the hole. This steel reinforcement significantly increases the strength and stability of the concrete footing, helping it resist cracking and movement. Mix your concrete according to the manufacturer's instructions, ensuring it's a consistent, workable consistency. Slowly pour the concrete into the hole, tamping it down to remove air pockets as you go. Fill the hole to ground level, mounding the top slightly to shed water away from the pole. Allow the concrete to cure completely for at least 48-72 hours, or as recommended by the concrete manufacturer, before proceeding with any significant loading. This waiting period is non-negotiable for safety.
Assembling the Mounting Structure
With the concrete cured, the real fun begins: assembling the actual solar panel mounting structure onto the pole. This step will vary depending on the specific pole mount kit you purchased, but the general principles remain the same.
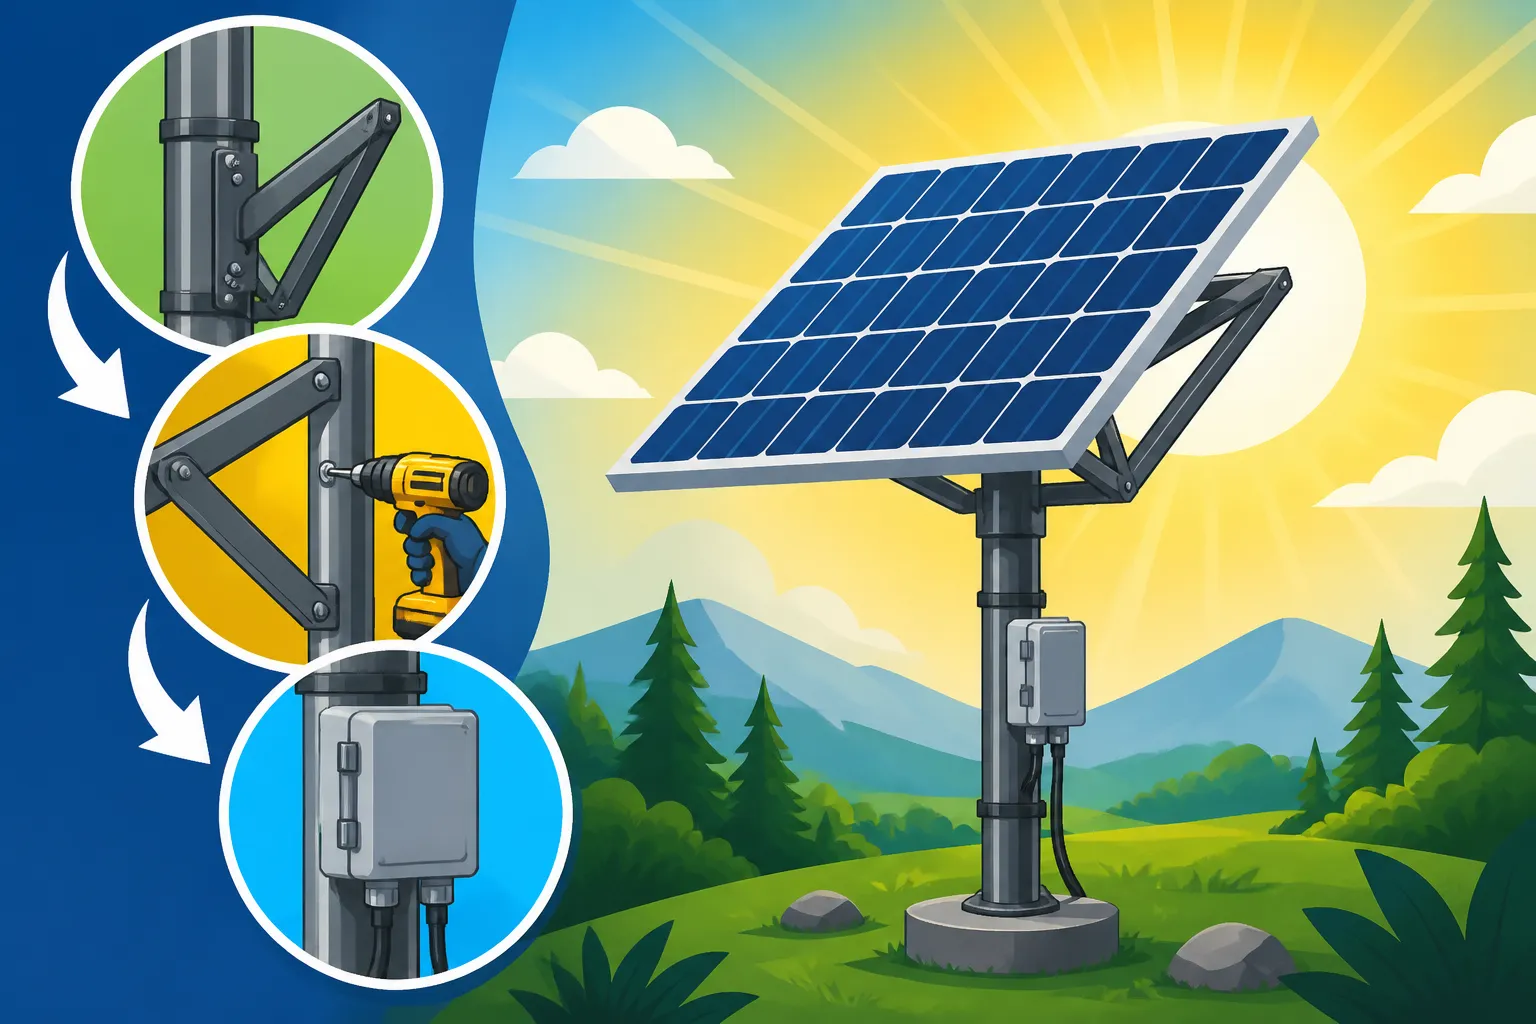
Start by attaching the main mounting brackets or arms to the top of your pole. These brackets are designed to cradle the solar panel rails. Follow the kit's instructions carefully, paying close attention to bolt torque specifications. You'll likely be working with U-bolts or specialized clamping mechanisms to secure these components. Ensure everything is tightly fastened and level. Next, attach the horizontal rails to these brackets. These rails are what your solar panels will actually sit on and bolt into. Again, use a level to ensure these rails are perfectly straight and parallel to each other. Misalignment here will make mounting the panels difficult and could stress the panel frames. Many pole mounts are designed to be adjustable for tilt. Make sure these adjustment mechanisms are correctly installed and that you can freely move the rails through their intended range of motion before permanently affixing them. Double-check all bolts and connections; a loose connection can lead to serious problems down the line, especially in windy conditions.
Attaching and Wiring the Solar Panels
This is the moment your solar array starts to take shape! Carefully lift each solar panel onto the rails. It's highly recommended to have at least two people for this step, especially with larger panels, to prevent damage and ensure safety. Position each panel according to your design, making sure they are flush against the rails and properly spaced. Most kits provide clamps or bolts that secure the panel frames directly to the rails. Tighten these fasteners securely, but be careful not to overtighten, which could crack the glass or warp the frame.
Once all the panels are physically mounted, you'll need to wire them together. This typically involves connecting the panels in series, parallel, or a combination of both, using the MC4 connectors that are standard on most solar panels. Refer to your system design for the correct wiring configuration. Wiring panels in series increases voltage, while wiring in parallel increases current. For most off-grid systems with a pole mount, you'll likely be aiming for a higher voltage array (e.g., 24V or 48V) to minimize voltage drop over longer cable runs to your charge controller and battery bank. Learn more about How to Wire Solar Panels in Series vs Parallel to ensure you connect them correctly. After connecting the panels, you'll run the main positive and negative solar cables from the array down the pole to your charge controller. Use UV-resistant PV wire rated for outdoor use. Secure these cables neatly along the pole with UV-resistant cable ties or clips, and run them through conduit for maximum protection against weather and pests.
Connecting to Your Charge Controller and Inverter
With the panels wired, the next critical step is to connect them to the rest of your off-grid power system. The solar cables running down your pole will first connect to an appropriate charge controller. For most modern off-grid systems, an MPPT (Maximum Power Point Tracking) charge controller is recommended because it can significantly optimize power harvest from your panels, especially if you have a variable array voltage. Our guide on MPPT vs PWM Charge Controllers explains why this is important.
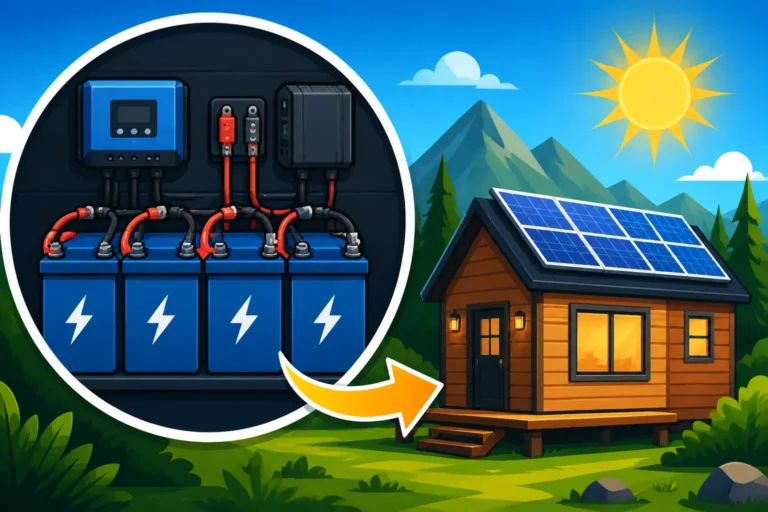
Connect the positive and negative leads from your solar array directly to the PV input terminals on your charge controller. Ensure correct polarity (positive to positive, negative to negative). From the charge controller, you'll run another set of cables to your battery bank. Again, observe correct polarity and use appropriate wire gauge for the distance and current. The charge controller acts as the brain, regulating the flow of electricity to protect your batteries from overcharging and deep discharging.
Finally, your inverter connects to your battery bank (not directly to the charge controller or panels). The inverter's job is to convert the DC power stored in your batteries into usable AC power for your household appliances. Connect the inverter's DC input terminals to your battery bank, ensuring a sturdy, fused connection. From the inverter's AC output, you can then connect to your main electrical panel or directly to your AC loads. Always install appropriate fuses and circuit breakers at each stage of your system to protect against overcurrents and short circuits. Proper grounding is also essential for safety; consult our How to Ground an Off-Grid Solar System for best practices.
Post-Installation Considerations and Maintenance
Congratulations, your pole-mounted solar array is installed! But the journey to off-grid independence doesn't end with the last wire connected. Ongoing maintenance and a few thoughtful considerations will ensure your system performs optimally and safely for many years to come.
Regular Inspections and Cleaning
Just like any major investment, your off-grid solar system needs regular attention to perform at its best. The beauty of a pole mount, as we discussed, is its accessibility, which makes this much easier.
Visual Inspections: Aim to conduct a thorough visual inspection at least quarterly, or more often after severe weather. Look for any signs of physical damage to the panels themselves – cracks in the glass, loose frames, or signs of delamination. Check all wiring for fraying, chew marks from critters, or degradation of the insulation from UV exposure. Ensure all cable ties are secure and conduit is intact. Most importantly, check all mounting hardware – bolts, clamps, and connections – for any looseness or corrosion. Wind and vibration can slowly work fasteners loose over time, so a quick check with a wrench can prevent bigger issues. For any components bought on Amazon or from specialty solar suppliers like Renogy, keep an eye on their recommended inspection schedules.
Panel Cleaning: Dust, pollen, bird droppings, and accumulated grime can significantly reduce your panels' efficiency. While rain helps, it's often not enough to keep them spotless, especially in dry, dusty regions or areas with heavy pollen. Plan to clean your panels every few months, or whenever you notice a visible layer of dirt. A soft brush or sponge, along with plain water (and perhaps a mild, non-abrasive soap designed for solar panels), is usually all you need. Avoid harsh chemicals or abrasive materials that could scratch the panel surface. The best time to clean is on a cloudy day or early in the morning/late in the evening when the panels are cool to the touch, preventing thermal shock that could damage the glass.
Weather Preparedness and Adjustments
Living off-grid means being prepared for whatever Mother Nature throws your way. Your pole-mounted system needs to be ready for it all.
Wind and Snow Loads: When selecting your pole mount kit and designing your foundation, you should have already factored in your local wind and snow load requirements. However, it's still good practice to periodically check the integrity of your mount, especially after a particularly strong storm. For areas with heavy snowfall, consider the potential for snow accumulation on the panels. While the tilt of a pole mount helps shed snow, a very heavy, wet snowfall might require manual clearing to prevent excessive weight on the array and to quickly restore power generation. Ensure that any manual clearing is done carefully with a soft brush or squeegee, avoiding sharp tools that could damage the panels.
Seasonal Tilt Adjustments: One of the prime advantages of a pole mount is its adjustable tilt angle. Make sure you utilize this feature! In the Northern Hemisphere, adjusting your panels to a steeper angle in winter will help them capture more of the low-angle sun and shed snow more effectively. In summer, you can flatten them out for optimal midday sun exposure. A good rule of thumb for tilt angle is your latitude plus 15 degrees in winter, and your latitude minus 15 degrees in summer. For spring and fall, your latitude is a good starting point. These adjustments can make a noticeable difference in your power production, helping you maximize the performance of your Off-Grid Solar System Sizing Guide year-round.
Common Pole Mount Challenges and Solutions
While pole mounts offer many advantages, they aren't without their own unique set of considerations and potential challenges. Being aware of these and knowing how to address them can save you headaches and ensure your system operates smoothly.
Dealing with Soil Conditions and Foundation Issues
Not all ground is created equal, and what might seem like a simple spot to dig a hole can present unexpected difficulties. If your chosen site has very rocky soil, you might find that a standard post-hole digger struggles, and you may need to rent a more powerful auger or even consider breaking up rock with a pickaxe or jackhammer. Conversely, very sandy or loose soil might require an even deeper foundation or a wider concrete footing to ensure adequate stability, especially in areas prone to high winds or seismic activity. In clay-rich soils that expand and contract with moisture, you might need to use a sonotube form to create a "bell-bottom" footing below the frost line, preventing frost heave from pushing the pole out of the ground.
Another common issue is simply not allowing the concrete to cure properly. Rushing the installation by adding weight to the pole too soon can weaken the foundation, leading to instability down the line. Always follow the concrete manufacturer's recommendations for curing times. If you live in an area with a high water table, water could accumulate in your foundation hole before you pour concrete. In such cases, you might need to pump out the water, or even consider a different mounting solution like a ballast-mounted ground system that doesn't require deep excavation. Proper preparation and understanding your soil type are key to a lasting foundation.
Protecting Wiring and Components from Wildlife and Weather
Once your panels are up and producing power, the wiring becomes a tempting target for rodents, insects, and, of course, the elements. Squirrels and other chewing critters love to gnaw on exposed wires, which can lead to dangerous shorts and system failures. UV radiation from the sun can also degrade standard electrical tape or plastic conduit over time, leaving wires exposed.
The best defense is prevention. All wiring running down the pole and to your power shed or battery bank should be encased in rigid metal or heavy-duty, UV-resistant PVC conduit. This provides a physical barrier against chewing animals and protects against harsh weather. Ensure all conduit connections are tight and sealed to prevent water ingress. Any exposed connections, such as MC4 connectors, should be properly sealed and inspected regularly. For added protection against insects, you can use specialized sealants or mesh at conduit entry points. Consider the aesthetics too; running conduit neatly can make the system look more professional and reduce the temptation for curious animals to investigate. For more detailed advice on protecting your system, refer to our article on How to Run Solar Cables Safely.
Troubleshooting and System Expansion
Even with the best planning, issues can sometimes arise, and your power needs might grow over time. Knowing how to troubleshoot common problems and plan for expansion is essential for long-term off-grid success.
Troubleshooting: If your system isn't producing the expected power, start with the simplest checks. Are the panels clean? Is anything casting a shadow? Are all the main disconnects and breakers in the "on" position? Use a multimeter to check the voltage at different points: at the panels (open circuit voltage), at the charge controller input, and at the battery terminals. A significant drop in voltage or current at any point could indicate a loose connection, a faulty component, or a wiring issue. For instance, if your charge controller isn't showing any input, check the wiring from the panels. If the batteries aren't charging, check the output from the charge controller. Many modern charge controllers and inverters, especially from brands like Victron or Outback Power, have diagnostic displays or companion apps that can help pinpoint problems. Our guide on How to Troubleshoot Off-Grid Solar offers more in-depth solutions.
System Expansion: One great thing about a pole mount, especially if you chose a larger, heavy-duty pole, is the potential for expansion. If you find your energy needs increase later on, you might be able to add more panels to your existing pole mount. This often involves extending the rail system or adding another set of brackets, assuming your pole and foundation were originally oversized to accommodate future growth. If not, you might need to install a second pole mount. When expanding, remember to carefully recalculate your How to Size an Off-Grid Solar System to ensure your charge controller, inverter, and battery bank can handle the increased input and output. You might need to upgrade components like your charge controller or even add more battery capacity. Planning for potential expansion from the outset, even if it means slightly oversizing your initial pole and foundation, can save you considerable effort and cost down the road.
Disclaimer
The information provided in this guide is for general informational purposes only and does not constitute professional electrical or structural engineering advice. Off-grid solar system installations involve high voltages and specific safety considerations. Always consult with a qualified electrician or solar professional and adhere to all local building codes and regulations before undertaking any installation. Working with electricity can be dangerous and may result in serious injury or death if not handled properly.