How to Build a DIY Battery Bank
One of the biggest hurdles when you're dreaming of an off-grid lifestyle, or even just building out your RV or cabin, is the sheer cost of a pre-built battery bank. It can feel like you need to take out a second mortgage just for reliable power storage, and that can be incredibly disheartening. But what if you could significantly cut down on that expense while gaining a deeper understanding of your power system? This guide is going to walk you through the empowering process of building your very own DIY battery bank, specifically focusing on the robust and long-lasting LiFePO4 chemistry.
Why Build Your Own Off-Grid Battery Bank?
Let's be honest, the upfront cost of an off-grid solar system can make anyone's eyes water. Batteries, in particular, often represent the single most expensive component. That's where the DIY approach shines, offering not just financial relief but also a tailor-made solution that fits your unique needs perfectly.
Cost Savings Compared to Pre-Built Solutions
When you buy a ready-made battery from a big brand, you're paying for their research and development, their branding, their assembly labor, and their profit margins. While there's certainly convenience in a plug-and-play solution, those costs add up quickly. By choosing to build your own, you're essentially becoming the manufacturer and assembler, cutting out several layers of markup.
Think about it: individual LiFePO4 battery cells, especially when purchased in bulk or from specialized suppliers, are often significantly cheaper per watt-hour than an equivalent capacity in a complete, cased battery system. You'll also find more budget-friendly options for components like a Battery Management System (BMS) and busbars when you source them yourself. For example, a 12V 100Ah LiFePO4 battery from a well-known brand might run you upwards of $400-$600, but you could potentially assemble the same capacity using four individual 3.2V 100Ah cells, a BMS, and an enclosure for less, especially if you snag deals on sites like Amazon for cells and accessories. This is a crucial factor to consider when you're looking at the overall Cost of an Off-Grid Solar Battery Bank.
Customization and Scalability
Another frustration with off-the-shelf battery banks is that they don't always perfectly match your needs. Maybe you need a specific voltage that's hard to find, or you have unusual space constraints in your van or tiny home. Building DIY means you're in charge. You can design your battery bank to be 12V, 24V, or even 48V by choosing how many cells you wire in series. You can select the exact capacity (Amp-hours) by choosing larger or smaller individual cells, or by wiring multiple parallel strings.
This level of customization also extends to future expansion. If you find your energy needs grow over time – perhaps you add a new appliance or want to extend your days of autonomy – it’s generally much simpler and more cost-effective to add more cells or another parallel string to a DIY setup than to buy an entirely new, expensive pre-built battery. This makes it easier to plan for the Cost of Expanding an Off-Grid System down the line.
Learning and Understanding Your System
For many off-gridders and DIY enthusiasts, the process itself is a huge part of the reward. When you build your own battery bank, you inherently gain a deep understanding of how it works. You'll know every component, every connection, and precisely what each part does. This knowledge is invaluable for troubleshooting any issues that might arise in the future.
Imagine a scenario where your system suddenly shuts down. If you've built it yourself, you'll have a much better idea of where to start looking – checking the BMS, verifying cell voltages, or inspecting connections. This hands-on experience translates into greater confidence and self-sufficiency, which is a core tenet of off-grid living. Plus, it just feels good to know you created something so essential with your own two hands!
Essential Components for a DIY Lithium Battery Bank
Diving into building a DIY battery bank can feel a bit like learning a new language, but once you understand the core components, it's quite logical. We'll focus on LiFePO4 cells, as they've become the gold standard for DIY off-grid projects due to their safety, longevity, and performance.
Choosing the Right Battery Cells
The heart of your DIY battery bank will be the individual battery cells. For off-grid solar applications, Lithium Iron Phosphate (LiFePO4 or LFP) cells are overwhelmingly recommended over other lithium chemistries like NMC (used in many electric vehicles) due to their superior safety (less prone to thermal runaway), longer cycle life, and excellent stability. If you're comparing LiFePO4 vs Lead-Acid Battery Cost, the long-term value of LiFePO4 often wins out despite a higher initial price.
You'll typically encounter three main types of LiFePO4 cells:
- Prismatic Cells: These are large, rectangular cells, often resembling small bricks. They come in various capacities, commonly 100Ah, 200Ah, 280Ah, or even 320Ah. They are popular for DIY builds because they are robust, relatively easy to connect with busbars, and offer high energy density. They are often sold by brands like EVE, CATL, or Lishen.
- Pouch Cells: These are flat, flexible cells encased in a foil-like pouch. They offer excellent energy density and can be good for custom shapes, but they require more careful handling and compression to prevent swelling. They are less common for large-scale DIY banks due to their fragility.
- Cylindrical Cells (e.g., 18650, 26650, 32700): These are like oversized AA batteries. While you can build a pack with these, it requires a significant number of cells and complex spot-welding or specialized holders to create a high-capacity bank. They are generally more suited for smaller, portable power banks rather than full off-grid systems.
When choosing, focus on prismatic cells for most large DIY off-grid projects. Decide on the capacity (Ah) of each cell based on your total desired bank capacity and how many cells you'll wire in parallel. Remember, all cells in a bank should ideally be from the same batch or at least the same manufacturer and capacity to ensure consistent performance. A common setup involves four 3.2V cells in series for a 12V nominal system, eight for 24V, or sixteen for 48V. You can learn more about how to determine your overall needs in our guide on How to Size an Off-Grid Battery Bank.
The Critical Role of a Battery Management System (BMS)
If the cells are the heart, the Battery Management System (BMS) is definitely the brain of your DIY battery bank. You absolutely cannot skip this component. A BMS is an electronic system that manages and monitors your battery pack, protecting it from various harmful conditions and optimizing its performance and lifespan.
Here's what a good BMS does:
- Overcharge Protection: Prevents cells from being charged beyond their safe voltage limit, which can cause damage and even fire.
- Over-discharge Protection: Stops discharge when cells reach their minimum safe voltage, preventing irreversible damage.
- Over-current Protection: Shuts off the battery if the current draw exceeds safe limits.
- Short Circuit Protection: Offers immediate shutdown in case of a short circuit.
- Temperature Protection: Monitors the battery temperature and disconnects if it gets too hot or too cold. This is particularly important for How to Protect Batteries from Cold.
- Cell Balancing: Ensures all individual cells within the series stay at a similar voltage level. This is crucial because even slight imbalances can reduce the overall capacity and lifespan of the entire pack. Some BMS units offer "active balancing," which can move charge between cells, while "passive balancing" simply dissipates excess energy from higher voltage cells.
When selecting a BMS, ensure it matches the nominal voltage of your battery bank (e.g., 4S for 12V, 8S for 24V, 16S for 48V) and has a continuous charge and discharge current rating that exceeds your system's maximum anticipated loads. Many reputable brands like Daly, JBD, or Overkill Solar (often available through distributors or on platforms like Amazon) offer excellent BMS options tailored for DIY LiFePO4 packs.
Busbars, Cables, and Connectors
Don't underestimate the importance of good quality connections. These components are responsible for safely carrying the high currents generated by your battery bank.
- Busbars: These are solid metal strips (typically copper, sometimes aluminum) used to connect battery cells in series or parallel. They provide a low-resistance path for current and a neat, secure connection point. Ensure your busbars are thick enough to handle the maximum current your system will draw without overheating. Most prismatic cells come with compatible copper busbars.
- Cables: You'll need high-quality, flexible copper cables to connect your battery bank to your charge controller and inverter. The gauge of these cables is critical and depends on the maximum current and the length of the run. Too thin a cable will cause excessive voltage drop and heat, wasting energy and creating a fire hazard. Always oversize rather than undersize. For example, a 4/0 AWG cable might be necessary for connecting a large 48V bank to a powerful inverter.
- Connectors/Lugs: These are terminal connectors (usually copper or tinned copper) that are crimped onto the ends of your cables. They provide a secure, low-resistance connection to battery terminals, busbars, and inverter/charge controller terminals. Use a hydraulic crimper for the most reliable connections, and always cover exposed metal with heat shrink tubing to prevent accidental shorts.
A properly designed and wired system is not just about performance; it's about safety. Referencing resources like How to Wire an Off-Grid Solar System or diagrams for specific configurations can be incredibly helpful.
Enclosure and Safety Considerations
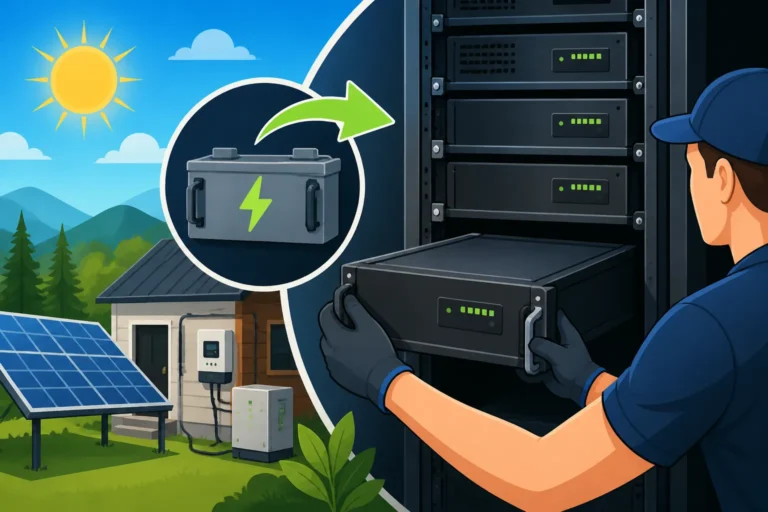
Your DIY battery bank isn't just a collection of cells; it needs a home. A well-designed enclosure is vital for physical protection, thermal management, and overall safety.
- Physical Protection: The enclosure should protect the cells and wiring from physical damage, dust, and moisture. This is especially important if your battery bank is in an RV, a shed, or any area where it might be exposed to the elements or accidental knocks. Heavy-duty plastic battery boxes or custom-built wooden/metal enclosures are common.
- Thermal Management: While LiFePO4 batteries are stable, they still generate some heat during heavy charging and discharging. The enclosure needs adequate ventilation to prevent heat buildup, which can degrade performance and shorten lifespan. Consider small vents or even active cooling fans for larger, high-power banks. Extreme temperatures, both hot and cold, can significantly impact battery performance and longevity.
- Fire Safety: Although LiFePO4 is non-combustible, a severe fault (like a direct short circuit without proper fusing) can still cause problems. Using non-flammable materials for your enclosure and ensuring all electrical connections are secure and properly insulated is paramount.
- Safety Devices: Integrating a large, appropriate-rated DC circuit breaker or fuse (known as a battery disconnect) immediately after the battery bank is non-negotiable. This allows you to completely disconnect the battery from the rest of the system for maintenance or in an emergency. Additionally, having a fuse on the positive output of the BMS, especially if the BMS itself doesn't have robust short-circuit protection, is another layer of safety. Always consider reading up on Off-Grid Solar Safety and Grounding before starting any electrical work.
| Component | Primary Function | Key Considerations | Common Brands/Sources |
|---|---|---|---|
| LiFePO4 Cells | Energy storage, power delivery | Capacity (Ah), Voltage (3.2V/cell), Type (Prismatic) | EVE, CATL, Lishen (via Alibaba, specific vendors) |
| BMS | Protection, cell balancing, monitoring | Series count (4S, 8S, 16S), Max current (A), Active/Passive | Daly, JBD, Overkill Solar (via distributors, Amazon) |
| Busbars | Connect cells in series/parallel | Material (Copper), Thickness, Length | Included with cells, specialty solar suppliers |
| Cables | Transfer current between components | Gauge (AWG), Length, Flexibility, Copper | Ancor, TEMCo (via electrical suppliers, Amazon) |
| Lugs | Connect cables to terminals | Material (Copper), Gauge match, Ring/Fork type | Electrical suppliers, hardware stores, Amazon |
| Battery Disconnect | Emergency/maintenance power cutoff | DC voltage rating, Amperage rating | Blue Sea Systems, MidNite Solar (via specialty solar shops) |
| Fuses | Overcurrent protection | Amperage rating (ANL, MIDI, Class T), Voltage rating | Littelfuse, Bussmann (via electrical suppliers, Amazon) |
| Enclosure | Physical protection, ventilation, thermal management | Material (plastic, wood), Size, Venting | Custom-built, heavy-duty utility boxes, marine battery boxes |
Step-by-Step Guide to Assembling Your DIY LiFePO4 Battery Bank
Alright, now that we've covered the components, let's get into the nitty-gritty of putting it all together. This part requires patience and attention to detail, but it's totally doable!
Pre-Assembly Balancing Your Cells
This is a critical step that many DIYers might overlook, but it's arguably the most important for the longevity and performance of your LiFePO4 battery bank. When you receive new cells, even if they're advertised as "matched," their individual voltages will likely vary slightly. LiFePO4 cells need to be "top balanced" before being assembled into a pack. This means charging each cell individually to its maximum voltage (typically 3.65V per cell) and allowing them to rest at that voltage until they are all equal.
Here's how to do it:
- Individual Charging: Use a dedicated single-cell LiFePO4 charger or an adjustable DC power supply with a current limit feature. Set the voltage to 3.65V and a low current (e.g., 0.5A to 1A) for each cell. Charge each cell one by one until it reaches 3.65V and the current draw drops close to zero.
- Resting Period: Once all cells have been charged to 3.65V, let them sit for 12-24 hours. Their voltages might drift slightly.
- Final Equalization: If there are still minor differences, you can connect them all in parallel for a short period (with appropriate fuses!) to allow them to fully equalize at 3.65V. Alternatively, charge the lowest cells back up to 3.65V. The goal is for all cells to be at the exact same voltage when fully charged before you connect them in series. This ensures they start their life together on equal footing, preventing one cell from hitting its limit before others and triggering the BMS prematurely. This process is often detailed in guides like How to Balance Batteries Before Wiring.
Wiring Cells in Series and Connecting the BMS
This is where your individual cells become a battery bank. The most common configuration for off-grid power is to wire cells in series to achieve the desired system voltage (12V, 24V, or 48V).
- Arrange Cells: Place your cells in the final arrangement they will have in the enclosure. This helps visualize the connections.
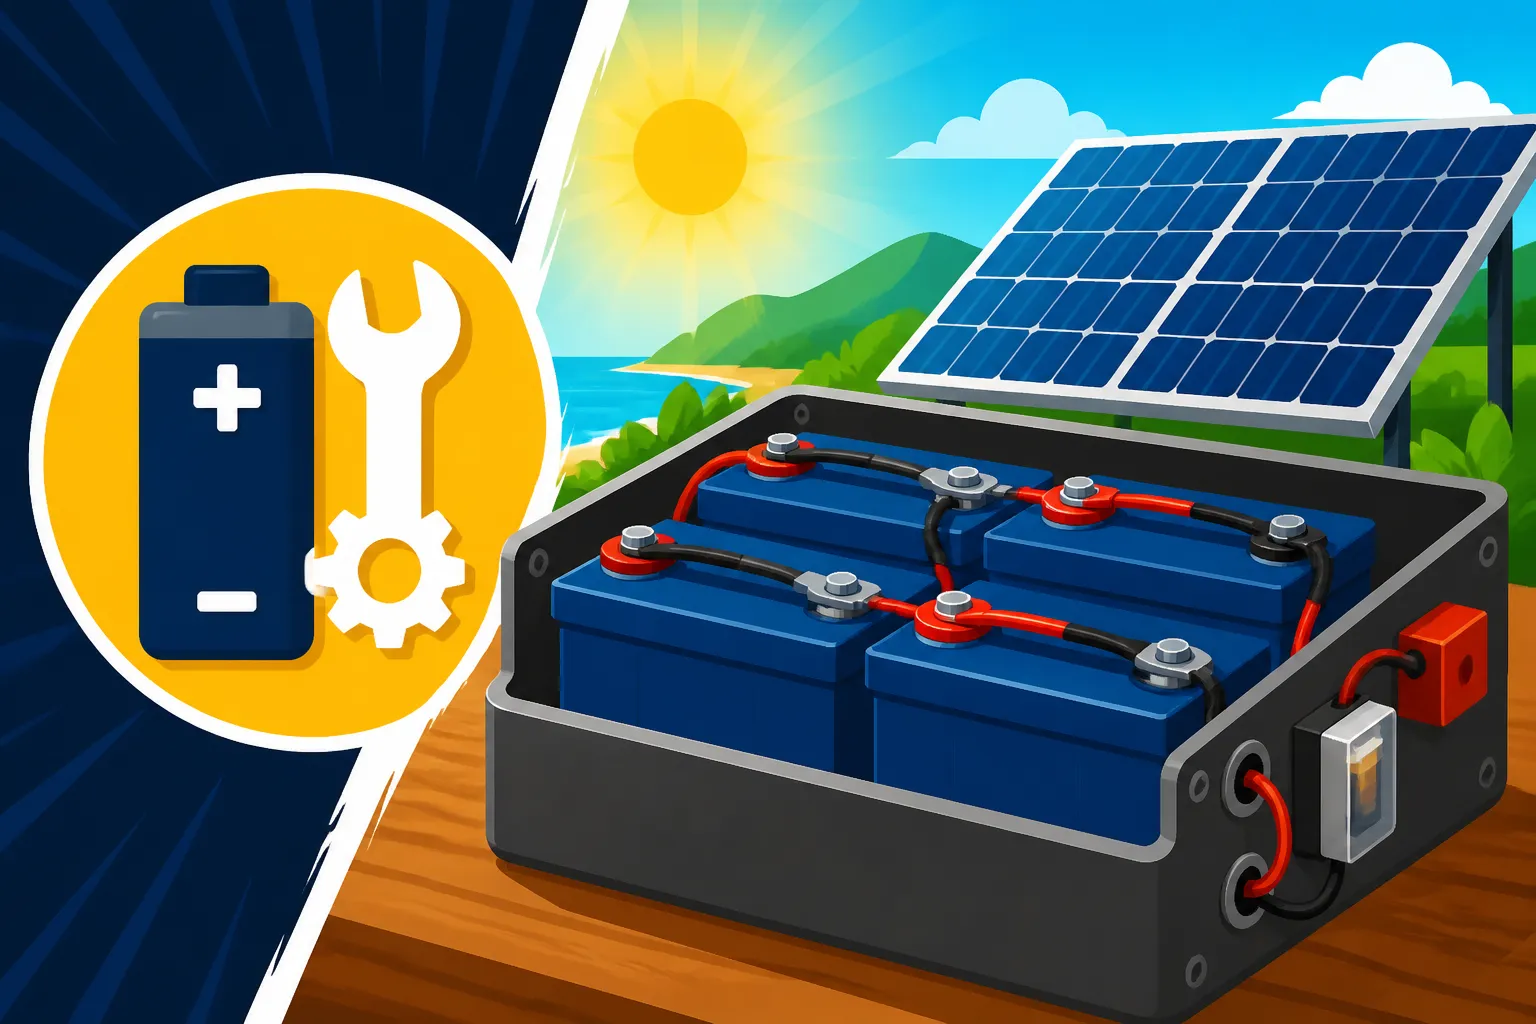
- Series Connections: Connect the positive terminal of one cell to the negative terminal of the next using your busbars. Continue this pattern until all cells are connected in series. For example, for a 12V nominal system, you'd connect four 3.2V cells in series: Cell 1(+) to Cell 2(-), Cell 2(+) to Cell 3(-), Cell 3(+) to Cell 4(-).
- BMS Balance Leads: This is a crucial step. Connect the individual balance leads from your BMS to each cell's positive terminal, starting from the main negative end of your battery bank (Cell 1 negative). Your BMS will have a "B-" wire (main negative for the pack) and then individual "B1," "B2," "B3," etc., wires.
- B- connects to the negative terminal of Cell 1.
- B1 connects to the positive terminal of Cell 1 (which is also the negative of Cell 2).
- B2 connects to the positive terminal of Cell 2 (and negative of Cell 3).
- Continue this pattern until the last balance wire connects to the positive terminal of your last cell. Double-check all these connections carefully against your BMS wiring diagram, as incorrect wiring can damage the BMS or cells.
- Main BMS Connections: Once the balance leads are secure, connect the main negative wire of your battery bank (the negative terminal of Cell 1) to the "B-" terminal on the BMS. Then, connect the positive terminal of your entire battery bank (the positive terminal of the last cell in the series) to the "P+" terminal on the BMS. Finally, connect the "P-" terminal on the BMS to your load/charge connection point. For example, if you're using a Renogy charge controller, this P- will go to the negative battery terminal on the controller. You can find detailed diagrams and videos on How to Wire LiFePO4 Batteries in Series and How to Wire a Battery Bank.
- Initial Voltage Check: Before connecting anything else, use a multimeter to check the voltage across the main positive and negative terminals of your BMS. It should read your nominal battery voltage (e.g., 12.8V, 25.6V, 51.2V).
Integrating Safety Devices and Enclosure
With the internal wiring done, it's time to secure everything and add the final layers of safety.
- Mount BMS: Securely mount your BMS within the enclosure, ensuring it has adequate airflow.
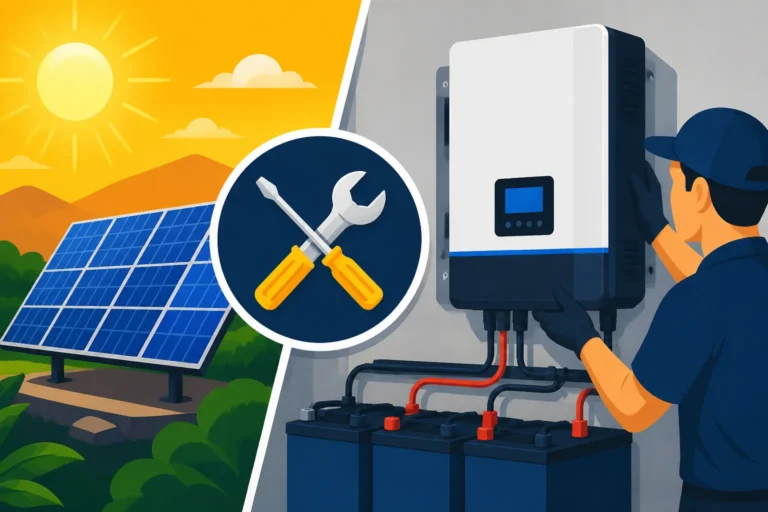
- Install Battery Disconnect: Wire a high-current DC circuit breaker or fuse between the positive output of your BMS and the rest of your system. This master disconnect is essential for safety and maintenance. Position it so it's easily accessible.
- Connect System Cables: Use your properly sized battery cables to connect the main positive and negative terminals (after the disconnect) to your charge controller.
- Secure Cells: Use non-conductive spacers or compression plates to hold the cells firmly in place within the enclosure. This prevents movement and reduces vibration, which can prolong cell life.
- Ventilation: Ensure any necessary ventilation openings or fans are installed and functional, especially if your cells will be working hard.
- Labeling: Clearly label all terminals (positive, negative) and any disconnects or fuses. This helps with future maintenance and troubleshooting.
- Final Enclosure: Close up your enclosure, ensuring all wiring is neat, secure, and protected.
Testing, Maintenance, and Expanding Your DIY Battery Bank
You've built it! Now it's time to bring it to life and keep it healthy for years to come.
Initial Testing and Monitoring
Once your DIY battery bank is assembled and connected to your off-grid system (charge controller, inverter), it's time for the first test run.
- Initial Charge Cycle: Begin by slowly charging your new battery bank using your solar panels (via the charge controller) or an AC charger. During this first charge, keep a close eye on the individual cell voltages using a reliable battery monitor. A good battery monitor, perhaps a Victron BMV-712 or something similar often found on Amazon or specialty solar sites, is crucial for tracking overall voltage, current, state of charge (SOC), and even individual cell voltages if your BMS supports it.
- BMS Verification: Observe how the BMS behaves. Does it manage charging correctly? If one cell approaches its upper voltage limit, does the BMS initiate balancing or temporary charge reduction?
- Initial Discharge Cycle: Once fully charged, begin discharging the battery with a moderate load. Again, monitor cell voltages. The BMS should prevent any cell from dropping below its safe minimum voltage, disconnecting the load if necessary. This helps you understand the true capacity of your new bank and ensures the BMS is functioning as intended.
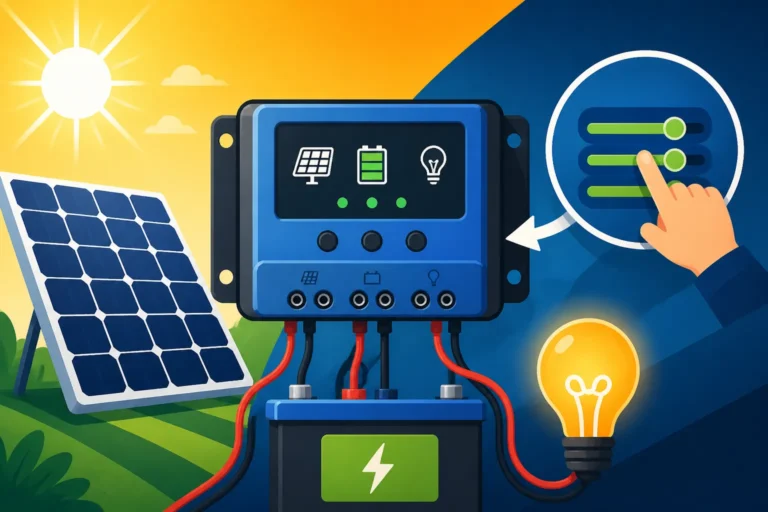
- Charge Controller Settings: Make sure your charge controller (and any inverter/charger) is configured with the correct charging parameters for LiFePO4 batteries. This includes bulk/absorb voltage (typically 14.4V for 12V systems, 28.8V for 24V, 57.6V for 48V), float voltage (around 13.6V, 27.2V, 54.4V), and any temperature compensation settings (though LiFePO4 generally requires less than lead-acid). Setting these correctly is vital for the health of your battery bank. Our guide on How to Set Up Battery Monitoring offers more insights.
Ongoing Maintenance and Troubleshooting
Even a DIY LiFePO4 battery bank needs a little love and attention to ensure it performs optimally for its full lifespan, which can be 10-15 years or more.
- Regular Inspections: Periodically open your battery enclosure (with caution!) to visually inspect all connections. Look for any signs of corrosion, loose terminals, or swelling cells. Ensure busbars are clean and connections remain tight.
- Monitor Cell Balance: Keep an eye on your battery monitor's individual cell voltage readings. While a good BMS will handle balancing, significant and persistent imbalances can indicate a problem with a cell or the BMS itself. If you notice a cell consistently drifting far from the others, it might need attention.
- Temperature Checks: While LiFePO4 is robust, extreme heat or cold can still impact performance. Ensure your enclosure's ventilation remains unobstructed and consider adding supplemental heating in very cold climates. For more on this, check out How to Maintain an Off-Grid Battery Bank.
- Troubleshooting: If your system unexpectedly shuts down, or the BMS trips, start by checking individual cell voltages. A common reason for BMS tripping is an imbalance where one cell hits its high or low voltage threshold before the others. A high current draw from appliances like an air conditioner or well pump can also trip the over-current protection if the BMS is undersized or your load is too high for the battery bank.
Expanding Your System
One of the great advantages of a DIY battery bank is its inherent flexibility for growth. When your power needs increase, you can often expand your existing system rather than buying a whole new one.
- Adding Capacity (Parallel Strings): If you need more Amp-hours, you can add another parallel string of cells. For example, if you have a 4S (12V) pack of 100Ah cells and need 200Ah, you can build another identical 4S 100Ah pack and connect the two 12V packs in parallel. The critical caveat is that the new cells/pack should be as closely matched as possible to your existing ones in terms of chemistry, capacity, and state of health. Mixing old and new cells or different capacities in parallel can lead to imbalances and reduced efficiency.
- Increasing Voltage (Series Cells): If you're upgrading your entire system voltage (e.g., from 12V to 24V), you'd need to add more cells in series to your existing string. This is a more complex undertaking and might involve replacing your BMS and possibly other components like your charge controller and inverter to match the new voltage.
- Careful Planning: Always thoroughly plan any expansion. Calculate your new desired How to Size an Off-Grid Solar System needs and ensure your BMS, wiring, and other components can handle the increased capacity or voltage. It's often recommended to fully charge and balance any new cells before integrating them into an existing bank.
Building your own DIY battery bank is a rewarding experience that offers significant cost savings, unparalleled customization, and a deep understanding of your off-grid power system. While it requires careful planning and execution, the independence and resilience it brings are truly invaluable.
Disclaimer
This guide provides general information and recommendations for building a DIY battery bank for off-grid solar systems. Working with electricity and batteries carries inherent risks, including electric shock, fire, and explosion. Always exercise extreme caution, follow all safety guidelines, and consult with a qualified electrician or solar professional if you are unsure about any aspect of design or installation. The author and publisher are not responsible for any damage, injury, or loss that may result from the use or misuse of the information presented herein.