How to Install an Off-Grid Solar Panels
Thinking about harnessing the sun's power for your off-grid dreams is incredibly exciting, but the idea of actually getting those big, beautiful solar panels installed can feel pretty daunting, right? It's easy to get lost in complex diagrams, electrical jargon, and a million YouTube videos that all seem to contradict each other. But don't you worry! This comprehensive guide is going to walk you through the entire process of how to install off-grid solar panels, breaking down each step with practical, real-world advice so you feel confident and capable, no matter your DIY experience level.
Getting Ready: Essential Pre-Installation Steps for Your Solar Panels
Before you even think about lifting a solar panel, a solid foundation of planning and preparation is absolutely crucial. Trust me, skipping these initial steps can lead to headaches, inefficiencies, and even safety hazards down the line. It's like baking a cake – you wouldn't just throw ingredients into a bowl without a recipe, would you?
Site Assessment and Shading Analysis
The very first thing you need to do is become a detective of your own property, or wherever you plan to install your panels. Your goal here is to find the absolute best location for maximum sun exposure throughout the year.
Think about the sun's path from sunrise to sunset, and how it changes with the seasons. What looks like a perfect spot in the summer might be completely shaded by a tall pine tree or a nearby building in the winter when the sun is lower in the sky. I once saw a friend install panels on their cabin roof in early fall, only to realize by December that the huge oak tree they loved so much completely blocked their array for a good four hours each day. That's a huge hit to energy production!
Walk around your property at different times of the day, and ideally, across different seasons if you have the luxury of time. Note any potential obstacles: trees, chimneys, dormers, other structures. You can use a simple compass to determine south (which is generally the ideal direction for panels in the Northern Hemisphere) and then observe the sun's movement. There are even handy solar pathfinder tools or smartphone apps that can help you visualize shading patterns throughout the year. Remember, even a small amount of shade on just one part of a panel can drastically reduce the output of the entire string of panels it's connected to. For a deeper dive into making sure your system will meet your power needs, you might want to read our guide on how to size an off-grid solar system.
Gathering Your Tools and Safety Gear
Safety first, always! When you're working with electricity, heights, and heavy equipment, it's non-negotiable. Before you even touch a panel, make sure you have the right personal protective equipment (PPE). This includes sturdy work gloves, eye protection (safety glasses or goggles), and appropriate footwear. If you're working on a roof, a safety harness and rope system are not just good ideas, they are lifesavers.
Beyond personal safety, you’ll need a specific set of tools for the job. You don't need a professional workshop, but having the right equipment will make the installation smoother and safer. Here’s a basic list:
- Drill: Cordless is best for convenience, especially on a roof.
- Wrench Set or Socket Set: For tightening bolts on mounting hardware.
- Tape Measure: For precise panel placement and rail spacing.
- Level: To ensure your panels are installed evenly.
- Caulk Gun and Sealant: For waterproofing roof penetrations.
- Wire Strippers/Crimpers: Essential for making secure electrical connections.
- Multimeter: Absolutely critical for testing voltage and continuity at various stages.
- MC4 Tool: A specialized tool for assembling and disassembling MC4 connectors, which are standard on most solar panels.
- Basic Hand Tools: Screwdrivers, pliers, utility knife.
- Voltage Tester: For quickly checking if wires are live.
You can find many of these tools, and even full toolkits, easily on platforms like Amazon. Don't cheap out on safety gear, and always make sure your tools are in good working order. Proper planning also extends to having all your tools and materials on hand before you begin, which can save you multiple trips to the hardware store.
Understanding Your System Components
While this guide focuses on installing the panels themselves, it's vital to understand how they fit into the larger off-grid solar system. Your panels are just one part of a symphony of components working together to power your life.
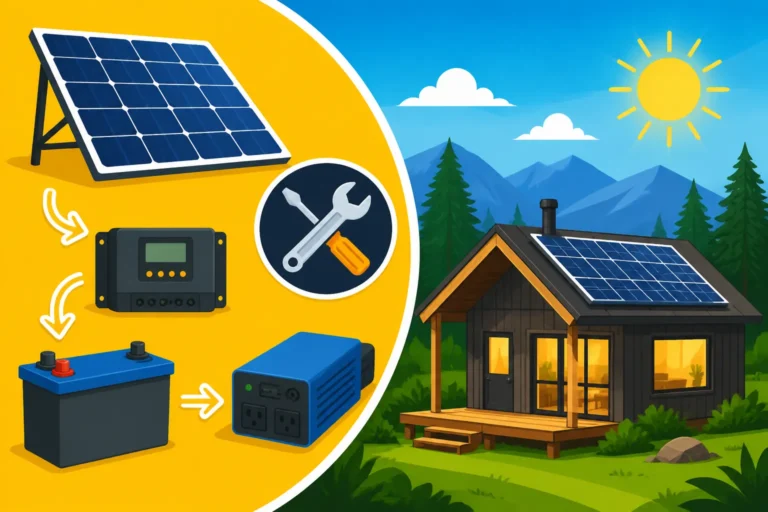
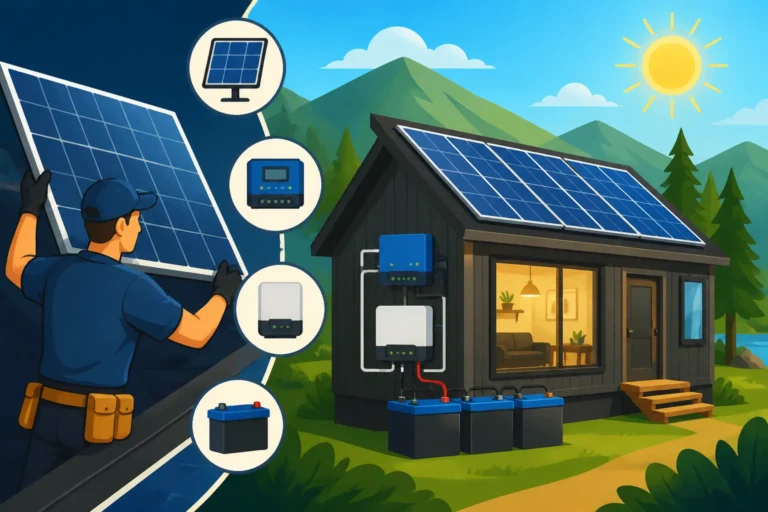
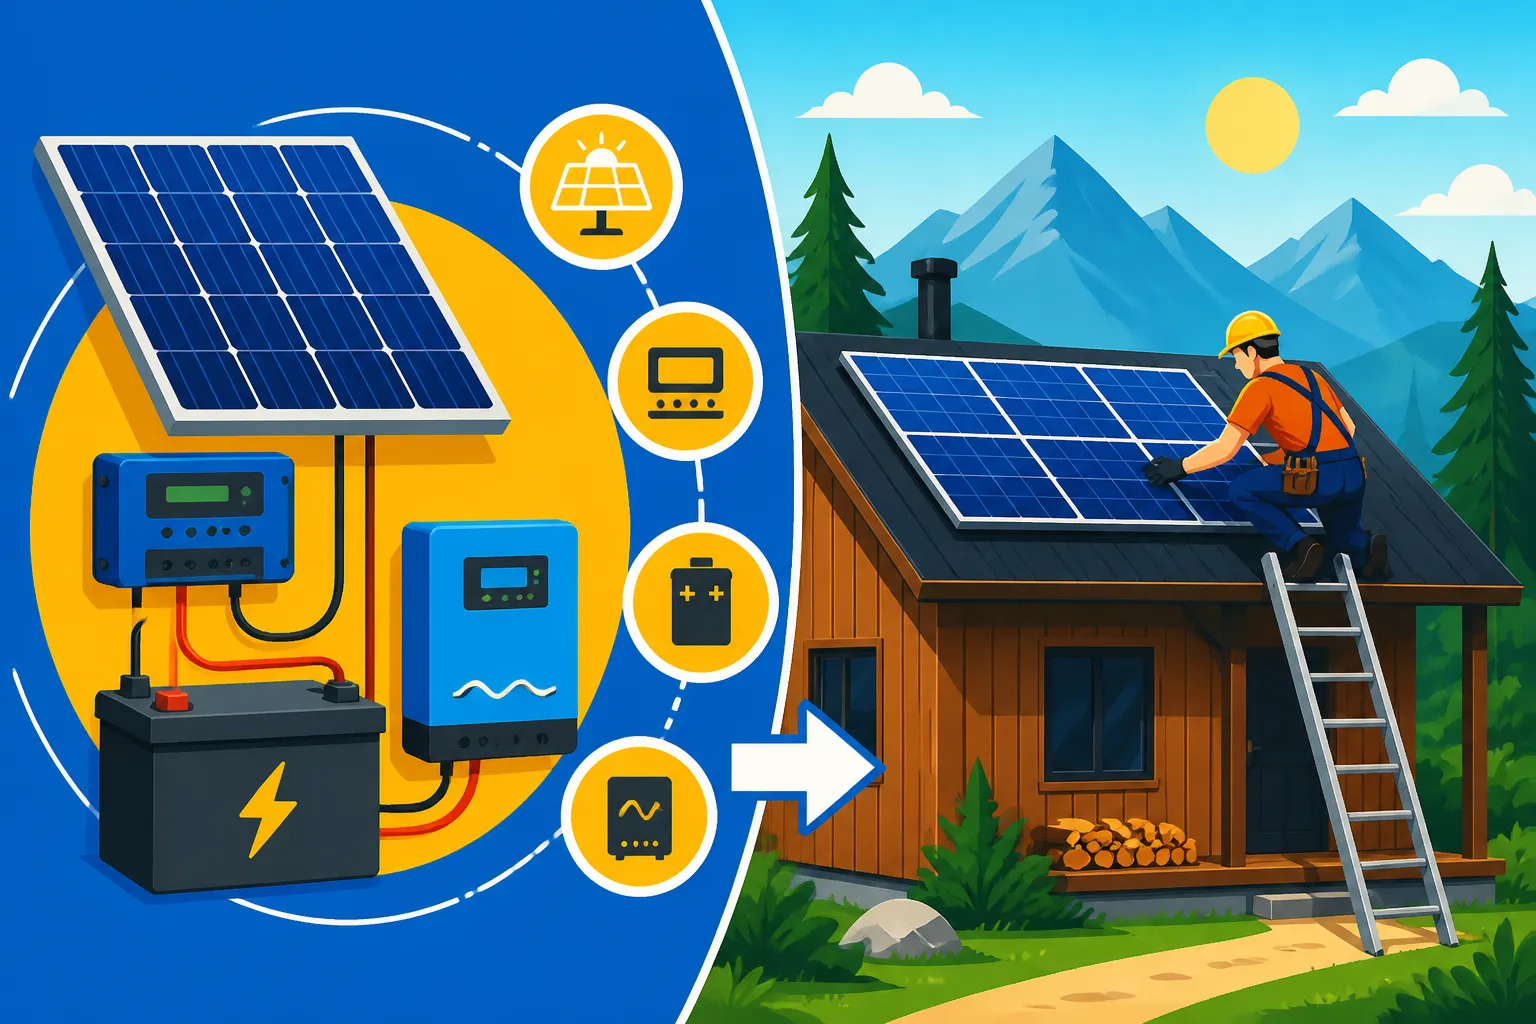
At a high level, the solar panels capture sunlight and convert it into DC (Direct Current) electricity. This DC power then flows to a charge controller, which regulates the voltage and current to safely charge your battery bank. From the battery bank, a pure sine wave inverter converts the DC power into AC (Alternating Current) electricity, which is what most of your household appliances use.
Knowing this chain helps you visualize where your panel wiring needs to go and why. You'll be connecting the panels to the charge controller, the charge controller to your batteries, and the batteries to your inverter. Thinking about the entire system, even if you’re only installing the panels today, helps you plan wire runs, decide on optimal locations for your other components, and ensures everything integrates smoothly. For those looking for the best options, checking out guides on Best Charge Controller for Off-Grid and Best Inverter for Off-Grid Solar can be very beneficial.
Mounting Your Solar Panels Securely and Efficiently
Choosing the Right Mount Type
The type of mounting system you choose largely depends on where you're installing your panels.
- Roof Mounts: If you're putting panels on a cabin, shed, or house, roof mounts are a common choice. They utilize existing space and keep the panels out of the way. However, they require careful attention to roof integrity and waterproofing. Considerations include roof angle, material (shingle, metal, etc.), and structural support. For detailed instructions, check out our guide on How to Install Roof-Mounted Solar Panels.
- Ground Mounts: These are ideal if you have ample open land with good sun exposure. Ground mounts allow you to perfectly orient your panels for optimal sun capture and are often easier to install and maintain than roof mounts. They can be fixed or adjustable, allowing you to change the tilt angle seasonally for maximum performance. If you have the space, a ground mount system can offer incredible flexibility. Learn more about this option by reading How to Install Ground-Mounted Solar Panels.
- Pole Mounts: Similar to ground mounts but elevated on a single pole. These can be great for clearing low vegetation or snow, and some even offer tracking capabilities to follow the sun.
- Specialty Mounts: For RVs, vans, or boats, you'll find specific mounting feet, brackets, or even flexible panels designed for curved surfaces. Many companies, like Renogy, offer versatile kits specifically for mobile applications.
The best mounting system for you will depend on your specific situation, aesthetic preferences, and budget. Always prioritize structural integrity and ensure your chosen mount can withstand local wind and snow loads.
Practical Mounting Techniques
Let's assume you're going with a common roof or ground mount for a fixed array. The general steps are quite similar:
- Locate Rafters/Foundation: For roof mounts, you need to find the structural rafters to attach your mounting feet. For ground mounts, you'll be anchoring into a concrete foundation or directly into the earth with specialized posts. This is crucial for stability.
- Install Mounting Feet/Posts: Secure these anchor points firmly. On a roof, this usually involves drilling through the roofing material into the rafters, then sealing the penetration with a high-quality, weatherproof sealant and flashing. This step is critical to prevent leaks.
- Attach Rails: Once the feet or posts are in place, attach the horizontal rails that the solar panels will sit on. Use your level to ensure these rails are perfectly straight and evenly spaced.
- Position Panels: Carefully lift and place your solar panels onto the rails. It's usually a two-person job, as panels can be bulky and heavy. Ensure they are spaced correctly according to your system design.
- Secure Panels: Use module clamps to securely fasten each panel to the rails. Double-check all bolts and connections to ensure they are tight and won't vibrate loose over time.
Before you begin, have a look at our comprehensive list of Off-Grid Solar Installation Tools Needed to make sure you're fully equipped.
Panel Placement and Orientation
Getting your panels in the right spot and angled correctly is key to maximizing their energy production.
- Orientation: In the Northern Hemisphere, panels should generally face true South. If a perfect south orientation isn't possible, a deviation of 15-20 degrees east or west is usually acceptable with minimal loss in production. For instance, if you have an east-west roof, splitting your array (half facing east, half west) can lead to a flatter production curve throughout the day, which might be beneficial if you use more power in the mornings and evenings.
- Tilt Angle: The ideal tilt angle for your panels depends on your latitude and whether you're designing for year-round power or seasonal use. For year-round systems, many people use their latitude as a starting point. For example, if you're at 40 degrees North latitude, a 40-degree tilt is a good general purpose angle. If you're primarily concerned with winter production, you might increase the tilt angle slightly (latitude + 15 degrees) to better catch the lower winter sun. Conversely, for summer-only use, you might decrease the tilt. Adjustable ground mounts are fantastic for this flexibility.
- Shading: Revisit your shading analysis! Ensure that no part of any panel will be shaded by another panel, especially in series strings, or by external objects during peak sun hours. This is where panel placement becomes incredibly important, as even partial shading can severely impact your entire system's efficiency.
A properly oriented and angled array can make a significant difference in how much power you generate daily, directly impacting your independence from the grid.
| Mounting Type | Pros | Cons | Ideal Use Case |
|---|---|---|---|
| Roof Mount | Space-saving, out of the way, less land use | Potential for leaks, harder to access, fixed angle | Permanent structures with good roof space |
| Ground Mount | Optimal angle/orientation, easy access, expandable | Uses land space, more visible, potential for shading | Properties with ample open land, flexible power needs |
| Pole Mount | Clears obstructions (snow, vegetation), tracking | Higher upfront cost, can be less aesthetically pleasing | Areas with heavy snow, limited ground space |
| Mobile Mount | Portable, flexible, fits specific vehicles | Limited capacity, less robust, theft risk | RVs, vans, camping, temporary setups |
Wiring Your Solar Panels for Power
This is where the magic (and a bit of caution!) happens. Connecting your solar panels correctly is paramount for system efficiency and safety. Don't let the wires intimidate you; it's a logical process once you understand the basics.
Series vs. Parallel Wiring Basics
You'll encounter two primary ways to wire your solar panels together: series and parallel. Often, larger systems use a combination of both.
- Series Wiring: When you connect panels in series, you connect the positive (+) terminal of one panel to the negative (-) terminal of the next. This adds up the voltage of the panels while keeping the current the same. Think of it like a string of Christmas lights; if one bulb goes out, the whole string might go dark. Series wiring is often used to achieve the higher voltage needed for MPPT charge controllers and 24V or 48V battery banks, which allows for smaller gauge wiring over longer distances, reducing voltage drop. For an in-depth explanation, check out How to Wire Solar Panels in Series.
- Parallel Wiring: In parallel wiring, you connect all the positive terminals together and all the negative terminals together. This keeps the voltage the same but adds up the current. This is useful for increasing the total amperage delivered to your charge controller, often when you have a 12V system or when combining multiple series strings. If one panel has an issue in a parallel configuration, the others will generally continue to produce power. Our guide on How to Wire Solar Panels in Parallel provides more details.
- Series-Parallel Combinations: For larger arrays, you'll often create "strings" of panels wired in series, and then connect these strings together in parallel. This gives you both higher voltage and higher current, optimizing for your charge controller's input requirements and your overall power needs.
Always consult your charge controller's specifications for maximum input voltage and current. Overloading it can damage the unit and create a fire hazard.
Connecting Panels to the Charge Controller
Once your panels are physically mounted and wired in your desired series/parallel configuration, it's time to connect them to the brain of your solar system: the charge controller.
- Run Wires: Use appropriate solar-rated DC cable (typically 10 AWG or 12 AWG, depending on distance and current) to run from your solar array to your charge controller. These cables are UV resistant and designed for outdoor use. Many DIYers find good quality solar cables and connectors on Amazon or from specialty solar suppliers.
- MC4 Connectors: Most modern solar panels come with MC4 connectors. These are waterproof and designed for easy, secure connections. You'll likely need to cut and crimp MC4 connectors onto your bulk solar cable if you're not using pre-made extension cables. Make sure your crimps are solid to prevent resistance and potential hot spots.
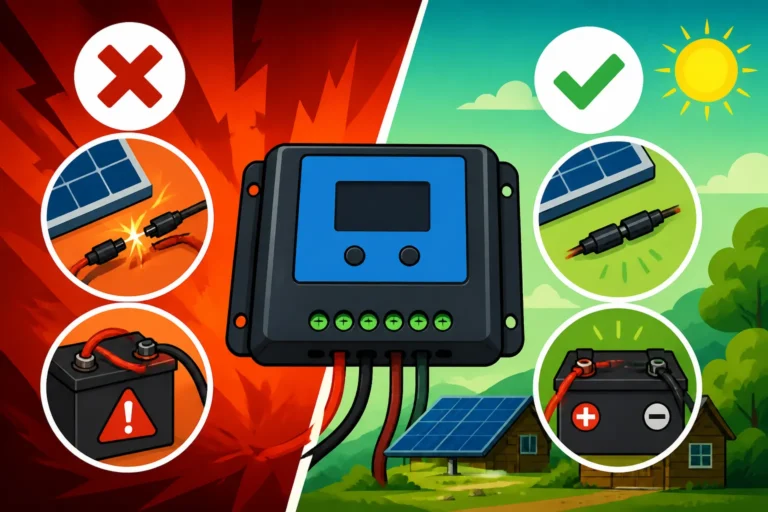
- Polarity: This is crucial! Always connect positive to positive and negative to negative. Reversing polarity can severely damage your charge controller and potentially other components. Use a multimeter to double-check the voltage and polarity of your array before connecting it. The positive cable typically runs to a positive terminal on your charge controller, and the negative cable to a negative terminal.
- Connect to Charge Controller Last: While installing your system, it's best practice to connect your battery bank to the charge controller first, then the solar panels. This ensures the charge controller properly senses the battery voltage before receiving power from the panels.
Remember to size your wires correctly based on the current and length of the run to minimize voltage drop, which translates to wasted power.
Grounding and Safety Considerations
Electrical safety should be your top priority. An off-grid solar system, even a small one, generates substantial power, and proper grounding is essential to protect both your equipment and yourself from electrical shock or lightning strikes.
- System Grounding: All major metal components of your solar array – the panel frames, mounting rails, and possibly the charge controller and inverter enclosures – need to be bonded together and connected to a common ground point. This is usually done with a bare copper wire connected to a ground rod driven deep into the earth. This ensures that in the event of a fault or lightning strike, excess electricity is safely shunted into the earth rather than causing damage or injury.
- Overcurrent Protection: Install appropriate fuses or circuit breakers on both the DC (solar panel to charge controller, charge controller to battery) and AC (inverter to load center) sides of your system. These are your system's first line of defense against overloads and short circuits. Always size these according to the wire gauge and component ratings.
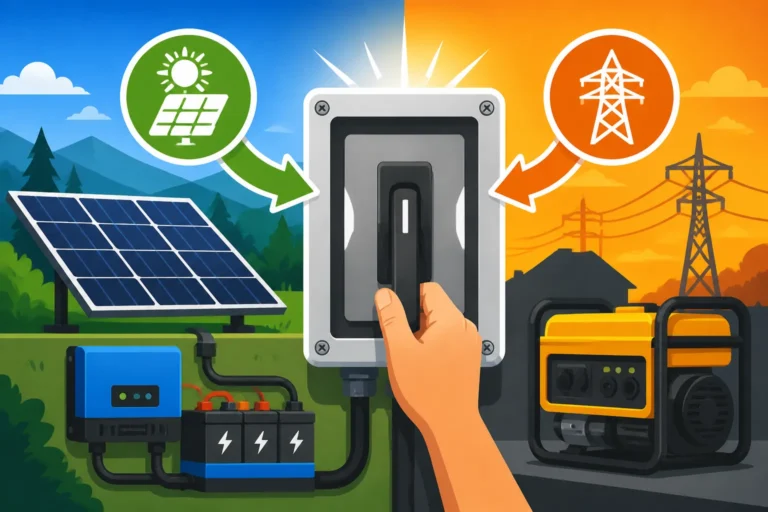
- Disconnects: Include clearly marked DC and AC disconnect switches. A DC disconnect between your solar array and charge controller allows you to safely shut down power from the panels for maintenance or emergencies. Similarly, an AC disconnect isolates your inverter from your loads.
- Adherence to Codes: Even if you're off-grid, it's a good idea to follow National Electrical Code (NEC) guidelines, or at least common best practices for electrical installations. These codes exist for a reason – safety! Our article on Off-Grid Solar and Electrical Code emphasizes the critical importance of these measures. While you might not need a permit for all off-grid setups, understanding the principles of safe electrical installation is non-negotiable.
Taking the time to properly ground and protect your system will provide peace of mind and extend the lifespan of your valuable components.
System Hookup, Testing, and Final Checks
You're almost there! With your panels mounted and wired, it's time to bring everything together, power it up, and make sure it's all working as it should. This final stage is about verification and ensuring long-term performance.
Connecting to the Rest of Your System
While the core focus here is the panels, it's important to understand how their output integrates with the entire system. After your panels are wired to your charge controller, the next steps involve connecting that charge controller to your battery bank, and then your battery bank to your inverter.
Remember the sequence:
- Connect Battery to Charge Controller: Use heavy-gauge battery cables (e.g., 2 AWG to 4/0 AWG, depending on your system size and current) to connect the charge controller's battery terminals to your battery bank. Always install a fuse or breaker between the charge controller and the battery bank. This step provides the necessary voltage reference for the charge controller.
- Connect Inverter to Battery Bank: Again, use appropriately sized, heavy-gauge battery cables and install a large fuse or circuit breaker close to the battery bank on the inverter's positive cable. The inverter draws a lot of current, especially during surge loads, so proper cable sizing and fusing are critical to prevent overheating and fire.
- Connect Panels to Charge Controller (as discussed earlier): Once the batteries are connected to the charge controller, you can safely connect your solar array to the charge controller's PV input terminals.
Double-check all connections for tightness and correct polarity at every single point. A loose connection can cause resistance, heat buildup, and system inefficiency. You’ll find more information on these steps in our Off-Grid Solar Installation Guide.
Initial System Startup and Testing
Now for the moment of truth! Powering up your system for the first time is exciting, but it needs to be done methodically and with constant monitoring.
- Initial Checks: Before flipping any switches, do a final visual inspection. Are all wires properly routed and secured? Are all connections tight? Is your grounding wire properly connected?
- Activate Battery Bank: If your battery bank has a disconnect switch, turn it on.
- Power Up Charge Controller: If your charge controller has its own power button or switch, turn it on. It should now be displaying the battery voltage.
- Connect Solar Array: Now, and only now, connect your solar array to the charge controller. If you have a DC disconnect between your array and controller, close it. The charge controller should recognize the incoming power and start displaying information about panel voltage, current, and charging status.
- Monitor with a Multimeter: Use your multimeter to verify voltages at various points:
- Panel open-circuit voltage (Voc) at the disconnect (before connecting to controller).
- Voltage at the charge controller's PV input terminals.
- Voltage at the charge controller's battery terminals.
- Voltage across your battery bank terminals.
- You should see current flowing from the panels to the batteries as they begin to charge.
- Power Up Inverter: Once you've verified the charge controller is operating correctly and the batteries are charging, you can safely power on your inverter. It should provide AC output. Test it with a small load, like a lamp or a cell phone charger.
If anything seems amiss – strange smells, smoke, abnormal readings, or components getting unusually hot – immediately shut down the system and troubleshoot. Don't proceed until the issue is resolved. Our guide on How to Test an Off-Grid Solar System provides more detail on these procedures.
Ongoing Maintenance and Troubleshooting
Installation isn't a one-and-done deal. To ensure your off-grid solar panels continue to perform optimally for years to come, some basic maintenance is required.
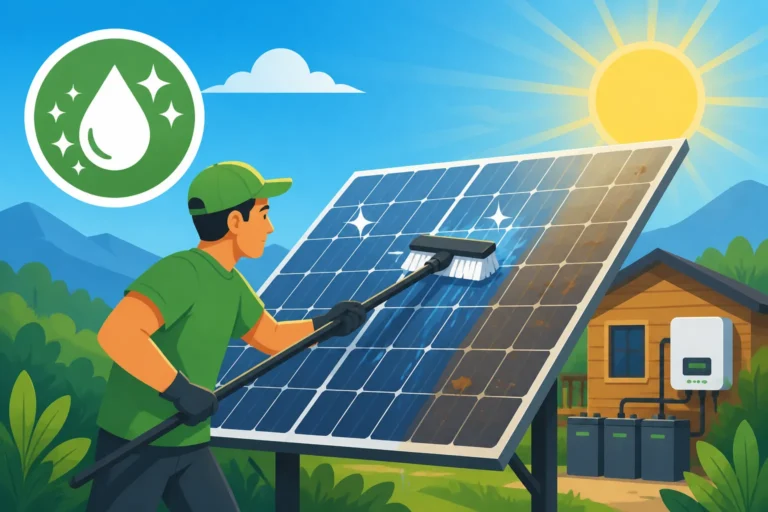
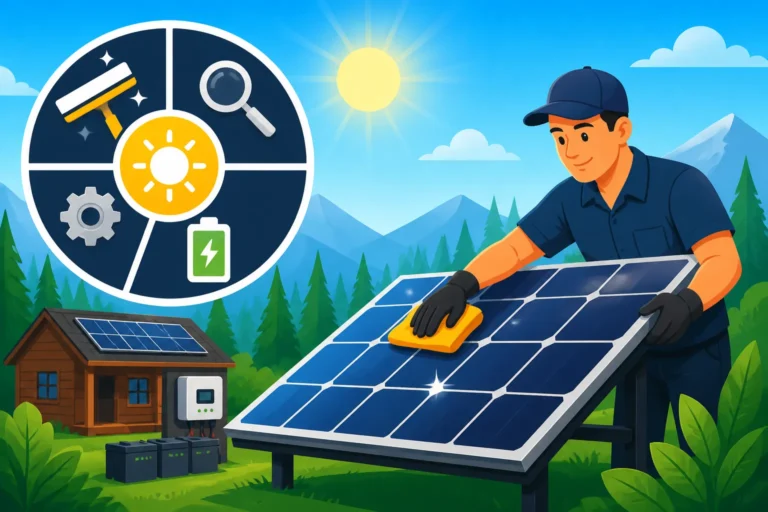
- Cleaning Panels: Over time, dust, dirt, pollen, bird droppings, and leaves can accumulate on your solar panels, reducing their efficiency. Periodically clean them with plain water and a soft brush or squeegee, especially after dry spells or heavy winds. Avoid abrasive cleaners or harsh scrubbing pads.
- Inspect Wiring and Connections: At least once or twice a year, inspect all your wiring and connections. Look for any signs of wear, corrosion, or animal damage. Ensure all terminal connections are still tight. Loose connections can lead to resistance and heat.
- Monitor System Performance: Pay attention to your charge controller's display or any monitoring apps if your system has them. Are your panels producing the expected power? Is your battery bank charging properly? Sudden drops in output or unusual charging patterns can indicate a problem. Many modern charge controllers, even from brands like Renogy, come with Bluetooth monitoring capabilities that make this super easy.
- Check for Shading: Revisit your site assessment periodically, especially if new trees have grown or structures have been built that could introduce new shading patterns.
For troubleshooting, start with the simplest solutions. If you have no power, first check your disconnect switches and breakers. Then, use your multimeter to trace the power flow from panels to charge controller to batteries to inverter, looking for where the power stops. Often, it's a blown fuse, a loose connection, or simply a deeply discharged battery. A thorough Off-Grid Solar Maintenance Guide can be your best friend in keeping your system humming.
Installing off-grid solar panels might seem like a huge undertaking, but by breaking it down into manageable steps, prioritizing safety, and understanding the core principles, you absolutely can achieve energy independence. It's a journey, but a deeply rewarding one!
Disclaimer
The information provided in this guide is for educational and informational purposes only and does not constitute professional electrical or construction advice. Off-grid solar installation involves working with high voltages and heavy equipment, which can be dangerous. Always consult with qualified professionals and adhere to all local electrical codes and regulations. Proceed with caution and at your own risk.