How to Install a 48V Off-Grid System Step by Step
Embarking on the journey of setting up a 48V off-grid solar system can feel like a monumental task, riddled with technical jargon and a seemingly endless list of components. Many aspiring off-gridders find themselves overwhelmed, unsure where to begin with wiring diagrams, component matching, and safety protocols. This comprehensive guide is designed to walk you through the entire process, step-by-step, helping you confidently install a robust and reliable 48V solar setup that truly meets your energy independence goals.
Why Choose a 48V Off-Grid System?
When you first start looking into off-grid solar, you might notice that systems come in various voltages: 12V, 24V, and 48V being the most common. For smaller applications like a van or a tiny cabin with minimal power needs, a 12V or 24V system might suffice. But for anyone looking to power a larger home, a substantial workshop, or even a remote hunting cabin with modern amenities, 48V is often the sweet spot. It's not just about bigger numbers; it's about efficiency and capability.
Understanding the Benefits of Higher Voltage
The core advantage of a 48V system boils down to physics, specifically Ohm's Law. Without getting too deep into academic theory, higher voltage systems require lower current (amperage) to deliver the same amount of power (watts). Why does this matter to you? Lower current means less energy loss over longer wire runs. When you're trying to send power from your solar panels on the roof or a ground mount array to your battery bank and inverter, which might be a good distance away, that energy loss can really add up in a lower voltage system.
Think about it like water flowing through a pipe. If you want to deliver a certain volume of water, you can either push a lot of water through a small pipe (high current, low voltage) or use a larger pipe with less pressure (lower current, higher voltage). The latter is more efficient, experiencing less "friction" or resistance along the way. In solar terms, this translates to smaller, more affordable wiring for the same power output, reduced heat buildup, and ultimately, a more efficient system overall. This is especially critical when you start talking about significant power draws like running a well pump, an air conditioner, or a full suite of kitchen appliances. If you're wondering how much capacity you truly need, a detailed understanding of your energy consumption is key, which you can explore further in our guide on How to Calculate Daily Energy Usage.
Ideal Scenarios for a 48V Setup
A 48V system truly shines when you have higher power demands and are planning for a more permanent or extensive off-grid setup. If you're looking to run a full-sized refrigerator, a washing machine, power tools in a workshop, or multiple electronics concurrently, a 48V system is usually the most practical and cost-effective choice in the long run. It's also often preferred for larger battery banks, as stringing together 48V batteries (or groups of 12V batteries in series) can simplify wiring and improve the efficiency of charging and discharging compared to parallel configurations for lower voltage systems trying to achieve the same capacity.
Consider a homestead in rural Oregon, needing to power a three-bedroom house, a barn with some lighting, and an occasional well pump. A 12V system would struggle, requiring extremely thick, expensive cables and multiple inverters working in tandem, creating unnecessary complexity and inefficiency. A 48V system, however, can handle these diverse loads much more gracefully, providing a stable power backbone. It's also often easier to find inverters and charge controllers designed for higher power outputs in the 48V range, making component selection simpler for larger projects. For those building a substantial home system, understanding Why 48V Is Better for Large Systems is a fundamental piece of knowledge.
Essential Components of Your 48V System
Before you start connecting anything, it's vital to understand the key players in your off-grid solar system. Each component has a critical role, and selecting the right ones for a 48V setup ensures efficiency, safety, and longevity. Getting this right from the beginning saves a lot of headaches later on.
Solar Panels and Their Configuration
Your solar panels are the workhorses, converting sunlight into usable electricity. For a 48V system, you'll typically be looking at standard residential-grade panels, which often have a voltage rating (Voc – Open Circuit Voltage) in the 30-50V range. To reach a system voltage of 48V, you'll generally wire these panels in series. For example, if you have panels with a Voc of 36V, wiring two of them in series would give you 72V, which is suitable for charging a 48V battery bank through an MPPT charge controller. The beauty of this is that the higher voltage from the array allows for thinner wiring to the charge controller, again, saving on cost and minimizing power loss.
When selecting panels, consider their wattage, physical size, and efficiency. Brands like Renogy offer a wide range of reliable monocrystalline solar panels that are a popular choice for off-grid systems. You'll also need to factor in your geographical location and how many peak sun hours you receive daily. This will directly impact the total wattage of panels you need to adequately charge your battery bank. If you're building a substantial system, you'll want to review guides like Best Off-Grid Solar Panels to make an informed decision.
The Heart of the System: 48V Battery Bank
The battery bank is arguably the most critical component of an off-grid system, as it stores the energy harvested by your panels for use when the sun isn't shining. For a 48V system, you have several battery chemistry options, but Lithium Iron Phosphate (LiFePO4) batteries are increasingly popular due to their longevity, high efficiency, deeper discharge cycles, and lighter weight compared to traditional lead-acid batteries. While the upfront cost might be higher, their longer lifespan and better performance often make them more cost-effective over time.
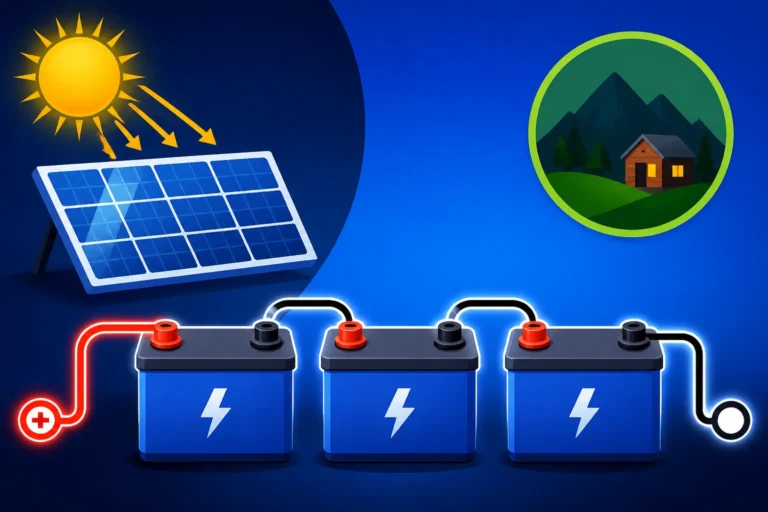
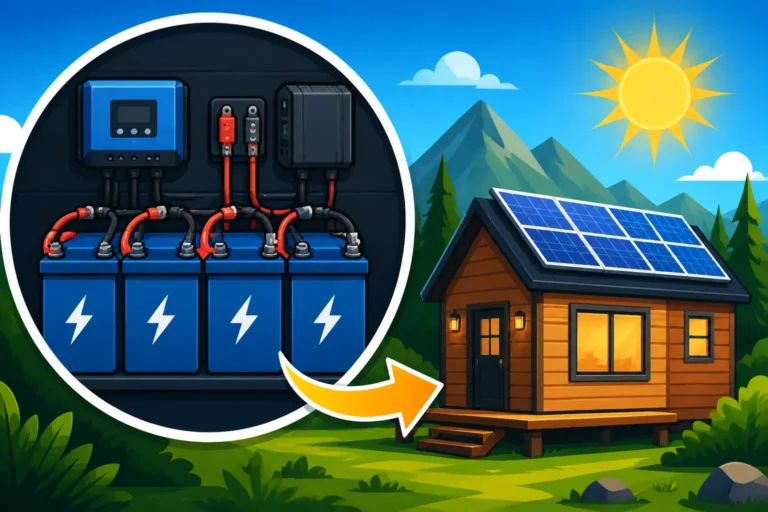
You'll need to select 48V batteries, or connect multiple 12V or 24V batteries in series to achieve the desired 48V. For instance, four 12V batteries wired in series will create a 48V bank. Be absolutely sure that all batteries are of the same type, age, and capacity when wiring in series to prevent imbalances. A properly sized battery bank will provide enough "days of autonomy" – power to last through cloudy days or periods of low solar production. Figuring out precisely how many batteries you need involves a careful calculation of your daily energy consumption and desired backup time, which is thoroughly explained in our guide on How Many Batteries for an Off-Grid System.
Inverter and Charge Controller Selection
These two components are the brains and brawn of your electrical system.
- Charge Controller: This device regulates the voltage and current coming from your solar panels, ensuring your batteries are charged efficiently and safely without overcharging. For a 48V system, an MPPT (Maximum Power Point Tracking) charge controller is almost always the preferred choice. MPPT controllers are significantly more efficient than their PWM (Pulse Width Modulation) counterparts, especially with higher voltage solar arrays, as they can convert excess voltage into amperage, maximizing the power sent to your batteries. Brands like Victron Energy or Renogy offer excellent MPPT charge controllers suitable for 48V systems. You'll need to match the charge controller's voltage and current rating to your solar array and battery bank.
- Inverter: The inverter takes the DC (Direct Current) power stored in your 48V battery bank and converts it into AC (Alternating Current) power, which is what most household appliances use. For off-grid living, a pure sine wave inverter is essential. Modified sine wave inverters are cheaper but can damage sensitive electronics and run motors less efficiently. Your inverter needs to be sized to handle the surge (starting) wattage of your largest appliance or combination of appliances, as well as the running wattage of everything you expect to power simultaneously. A good rule of thumb is to factor in a significant surge capacity, especially if you have motors like those in refrigerators or well pumps. For a comprehensive overview, check out our article on How to Size an Off-Grid Inverter.
Wiring, Fuses, and Safety Disconnects
Wiring is the circulatory system of your solar setup, carrying electricity from one component to another. Using the correct wire gauge (thickness) is paramount for safety and efficiency. Undersized wires can overheat, leading to fire hazards and significant power loss. Always consult an AWG (American Wire Gauge) chart and factor in the length of your wire runs and the maximum current they will carry.
Fuses and circuit breakers are your system's guardians. They protect your components from overcurrent situations and short circuits. You'll need appropriate DC-rated fuses between your solar array and charge controller, between your charge controller and battery bank, and between your battery bank and inverter. Additionally, AC breakers will protect your household circuits after the inverter. Crucially, a main DC disconnect switch is vital for safely shutting down your system for maintenance or emergencies. This allows you to completely isolate the battery bank from the rest of the system. Ensuring you know How to Size Wire and Cables and How to Size Fuses and Breakers is non-negotiable for a safe installation.
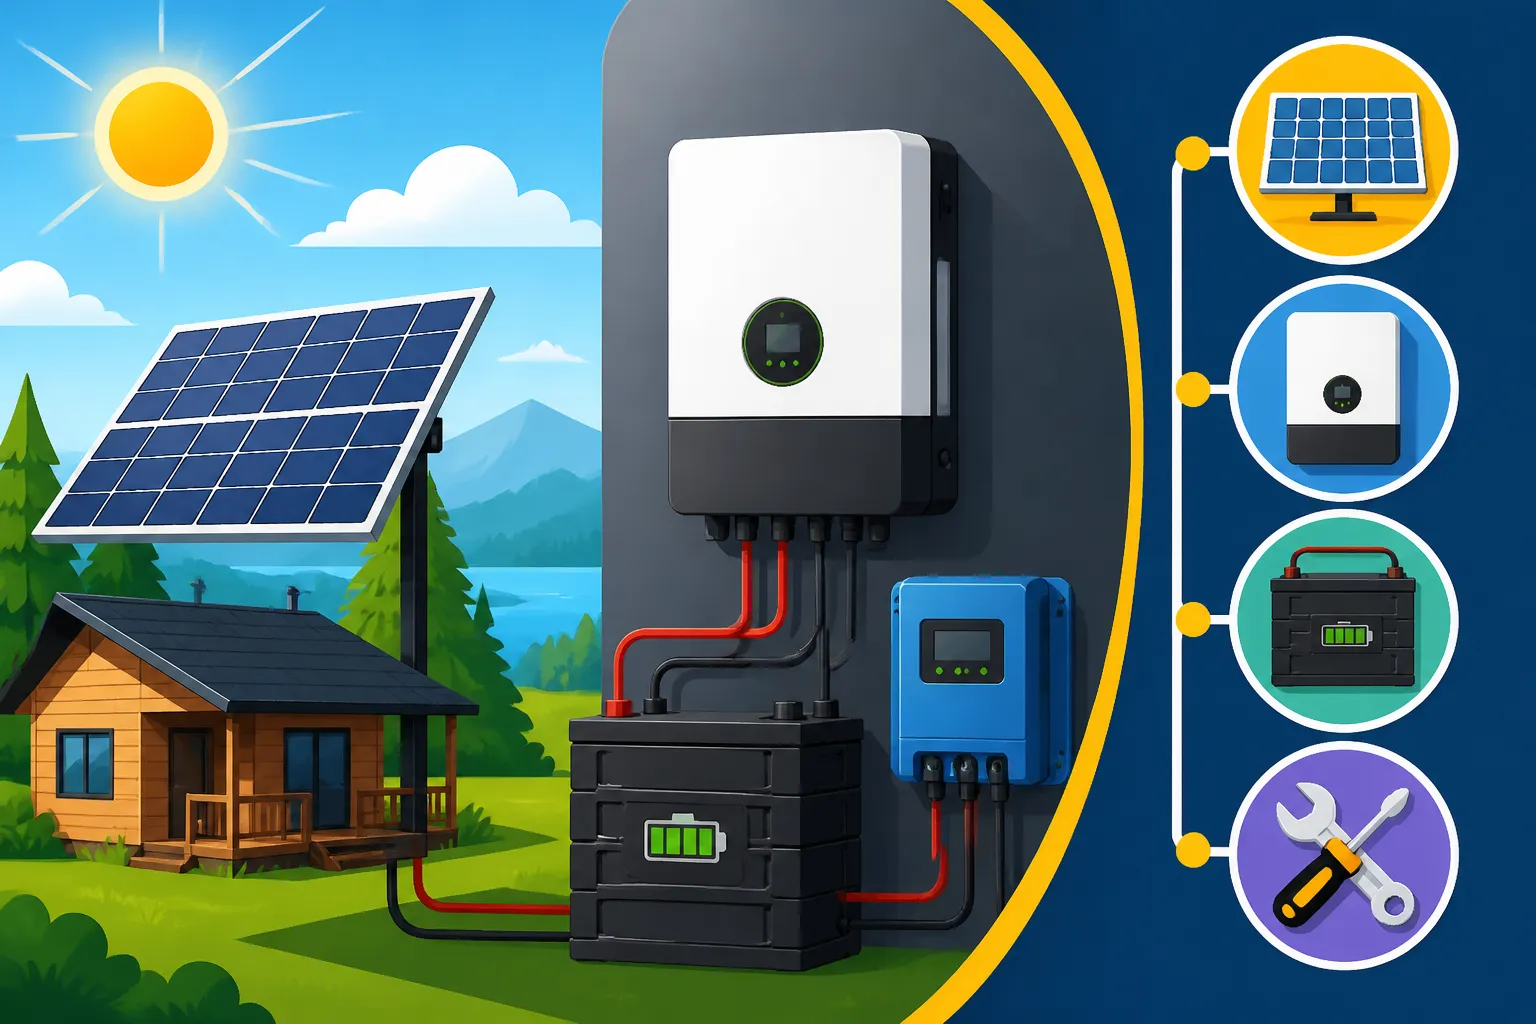
Here's a quick overview of typical components for a 48V system:
| Component | Function | Key Considerations for 48V System |
|---|---|---|
| Solar Panels | Convert sunlight into DC electricity | Residential-grade (30-50V Voc), wire in series for higher array voltage for MPPT efficiency. |
| Charge Controller | Regulates charging of batteries | MPPT type highly recommended for efficiency; match array voltage/current to controller specs. |
| Battery Bank | Stores DC electricity | LiFePO4 (48V) or four 12V LiFePO4/AGM in series; size for desired autonomy. |
| Inverter | Converts DC to AC electricity | Pure sine wave, sized for peak surge loads of your appliances. 48V input. |
| Fuses/Breakers | Overcurrent protection | DC-rated for panel-to-controller, controller-to-battery, battery-to-inverter runs. AC for loads. |
| Disconnect Switches | Safety isolation | Essential DC disconnects for battery bank and solar array. |
| Wiring | Conducts electricity | Correct gauge based on current and length; smaller gauge possible due to 48V efficiency. |
| Mounting Hardware | Secures solar panels | Roof mounts, ground mounts, or pole mounts, specific to your location. |
| Monitoring System | Tracks system performance | Battery monitors (shunt-based), inverter/charge controller displays for real-time data. |
Step-by-Step Installation Process
Installing a 48V off-grid solar system is a project that demands patience, precision, and a healthy respect for electricity. Approach each step methodically, always prioritizing safety. Don't rush, and if you're ever unsure, consult with an experienced electrician or solar professional.
Planning Your Layout and Gathering Tools
Before you even touch a wire, a solid plan is your best friend. This involves more than just buying components; it's about visualizing the entire system. Where will your solar panels be mounted? Will it be a roof mount on your cabin or a ground mount array providing optimal sun exposure throughout the year? Consider shading from trees or buildings and how that might impact your solar harvest. Next, determine the best location for your battery bank, charge controller, and inverter. This area should be well-ventilated, protected from extreme temperatures, and easily accessible for maintenance. A shed or a dedicated utility room is often ideal.
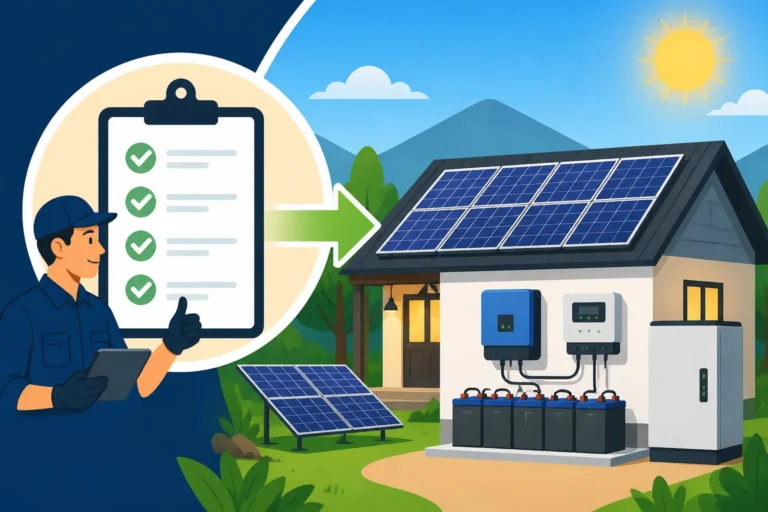
Once your layout is mapped out, gather all your tools. You'll need basic electrical tools like wire strippers, crimpers, a multimeter (absolutely essential for testing voltages and continuity), screwdrivers, wrenches, and a drill. For panel mounting, you'll need carpentry tools and potentially heavy-duty lifting equipment if panels are large or going on a high roof. Safety gear, including insulated gloves, safety glasses, and appropriate footwear, is non-negotiable. Don't forget consumables like heat shrink tubing, cable ties, and mounting hardware. A detailed checklist will ensure you don't miss anything important for your DIY Off-Grid Solar Installation Step by Step.
Mounting Your Solar Panels
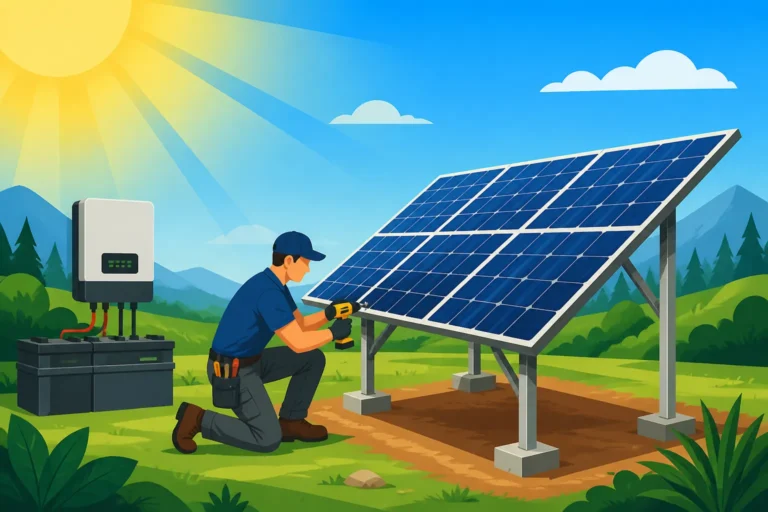
This is often the first physical installation step. Whether you opt for a roof mount or a ground mount, secure mounting is critical for both safety and performance. For roof mounts, ensure your roof structure can support the weight of the panels and racking. Use appropriate flashing to prevent leaks where mounting feet penetrate the roof. Orient your panels towards true south (in the Northern Hemisphere) for maximum year-round production, with an optimal tilt angle for your latitude. You might even consider adjustable tilt mounts to optimize for seasonal changes.
For ground mounts, choose a location free from shade throughout the day. Ground mounts offer easier access for cleaning and maintenance and allow for precise angle adjustments. Dig proper foundations for your racking system to withstand local wind and snow loads. Once the racking is in place, carefully lift and secure each solar panel according to the manufacturer's instructions. Ensure all panels are firmly attached and properly spaced. For more detailed instructions on this phase, you can refer to our guide on How to Install Off-Grid Solar Panels.
Wiring the Solar Array to the Charge Controller
With your panels securely mounted, the next step is wiring them together and running the cables to your charge controller. For a 48V system, you'll typically be wiring panels in series to achieve a higher voltage array that is well within your MPPT charge controller's input voltage range, but not exceeding it. For example, if your panels are 12V nominal (around 18-22V operating voltage), you might wire four panels in series to get approximately 72-88V, which works great with many 48V MPPT controllers.
Use MC4 connectors for reliable, weatherproof connections between panels. Route your DC wiring from the array through conduit to protect it from environmental damage and pests. Ensure all connections are tight and waterproof. Before connecting to the charge controller, install an appropriately rated DC circuit breaker or fuse and a PV disconnect switch near the array or where the cables enter your power shed. Always use your multimeter to check the open-circuit voltage (Voc) and short-circuit current (Isc) of your array before making the final connection to the charge controller. This verifies your wiring and prevents damage. If you need a refresher on wiring configurations, our article on How to Wire Solar Panels in Series is an excellent resource.
Setting Up Your 48V Battery Bank
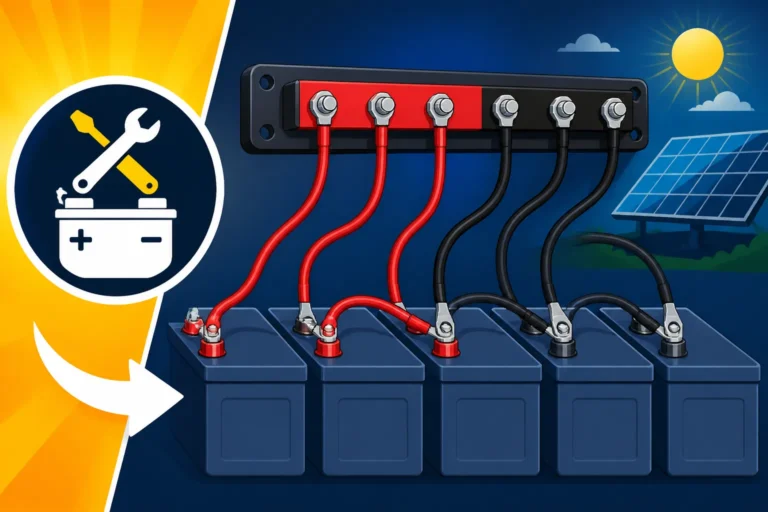
This step requires careful attention to detail and safety. If you're using individual 12V or 24V batteries to build a 48V bank, you will connect them in series. For example, with four 12V batteries, connect the positive terminal of the first battery to the negative terminal of the second, and so on, until you have a final positive and negative terminal at 48V. Always use thick, appropriately sized battery cables for these connections. Ensure all battery terminals are clean and connections are tight.
If you are using true 48V batteries, such as a single 48V LiFePO4 battery pack, the process is much simpler, as you only have two main terminals to connect. Position your batteries in a secure, well-ventilated enclosure. For lead-acid batteries, this ventilation is critical to dissipate hydrogen gas. Even LiFePO4 batteries benefit from good airflow. Install a main DC fuse or breaker and a large DC disconnect switch between your battery bank and the rest of the system. This allows you to safely isolate the batteries if needed. Double-check your battery wiring with a multimeter to confirm the correct voltage and polarity before proceeding to the next step. Understanding How to Wire a Battery Bank is absolutely crucial here.
Connecting the Charge Controller and Inverter to Batteries
Now it's time to bring the main components together. First, connect the charge controller to the battery bank. Always connect the battery terminals to the charge controller first, before connecting the solar panels. This allows the charge controller to sense the battery voltage and configure itself correctly. Use appropriately sized DC wiring and ensure an in-line fuse or breaker is present on the positive battery cable leading to the charge controller.
Next, connect your inverter to the battery bank. Again, use very thick, appropriately sized DC cables for these connections, as the inverter will draw significant current at 48V, especially during surge loads. Install a large DC fuse or breaker and a DC disconnect switch on the positive cable between the battery bank and the inverter. Proper sizing of these components is critical. For instance, an inverter rated for 5000W at 48V will draw over 100 amps, requiring very heavy gauge cables. Always ensure the inverter is off and all disconnects are open before making these high-current connections. For a comprehensive guide on this, check out How to Connect Batteries, Inverter, and Panels.
Integrating Your AC/DC Loads and Grounding
With your core system connected, you can now connect your loads. Many off-grid homes will use a small AC subpanel fed by the inverter. Install AC circuit breakers for each of your household circuits (lights, outlets, specific appliances). If you have any DC loads (like specific RV lights or a 12V water pump if you're using a step-down converter from 48V), you'll wire those to a dedicated DC fuse block.
Crucially, grounding your system is non-negotiable for safety. Grounding protects against electrical shocks and lightning strikes. You'll need to establish a good earth ground for your entire system. This typically involves driving one or more grounding rods deep into the earth and connecting them with heavy gauge copper wire to the ground bus bar in your AC panel, the chassis of your inverter, and the metal frame of your solar array. Follow all local electrical codes and the manufacturer's grounding recommendations for each component. If you're unsure about this vital step, consider consulting with a qualified electrician. For more details on this essential safety measure, read our article on How to Ground an Off-Grid Solar System. Remember, you can often find many of the necessary wiring, connectors, and mounting hardware on platforms like Amazon, but always ensure they are suitable for high-current DC applications.
Testing and Commissioning Your New System
You've put in the hard work, and now it's time for the moment of truth! Testing and commissioning are critical steps to ensure your system is operating safely and effectively. This isn't just about flipping a switch; it's a systematic verification process to catch any potential issues before they become problems.
Initial Checks and Voltage Verification
Before powering anything up, perform a thorough visual inspection. Double-check every single wire connection. Are terminals tight? Is polarity correct everywhere? Are all fuses and breakers installed and correctly rated? Is the grounding wire securely connected? This meticulous visual sweep can prevent a lot of headaches.
Once satisfied with the visual inspection, grab your trusty multimeter. This is your most important tool during commissioning.
- Battery Bank Voltage: With all disconnects still open (except for battery internal connections), verify the total voltage of your battery bank. It should read around 48V (or slightly higher if fully charged).
- Solar Array Voltage: With the PV disconnect off, measure the open-circuit voltage (Voc) of your solar array at the point where it connects to the charge controller. This should match your expected series voltage.
- Charge Controller to Battery: Close the battery disconnect to the charge controller. The charge controller should now power on and display the battery voltage.
- Solar to Charge Controller: With the charge controller connected to the battery, now close the PV disconnect. The charge controller should recognize the solar input and begin regulating charge to the batteries. Monitor the display for charging current and voltage.
- Inverter Connection: Finally, ensure the inverter is off. Close the DC disconnect between the batteries and the inverter. Power on the inverter. It should display system voltage and indicate readiness. Once the inverter is active, you can begin testing your AC loads one by one. Start with a small load, like a lamp, and verify it works. Then, gradually test larger appliances. This phased approach helps isolate any issues.
Always keep an eye on all component displays and listen for any unusual noises or smells. If anything seems off, immediately disconnect power and re-check your wiring.
Monitoring Performance and Troubleshooting Common Issues
Once your system is up and running, consistent monitoring is key to understanding its performance and identifying potential issues early. Many modern charge controllers and inverters come with built-in displays or even Bluetooth/Wi-Fi connectivity, allowing you to monitor production, consumption, and battery state of charge (SOC) from your phone or computer. Installing a dedicated battery monitor (often shunt-based) is also highly recommended to get accurate readings of charge and discharge currents and remaining capacity.
Common issues you might encounter include:
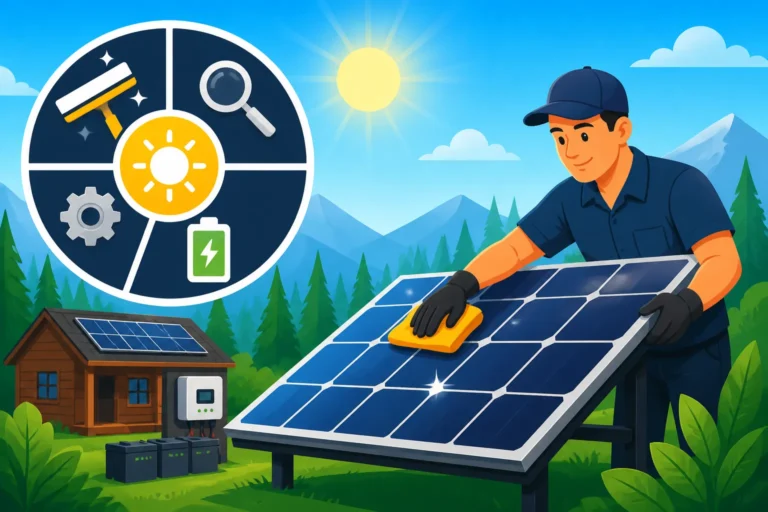
- Low Power Output from Panels: Check for shading, dirt on panels, or loose connections. A malfunctioning charge controller or inverter could also be the culprit.
- Batteries Not Charging Fully: This could be due to insufficient solar input (not enough panels, poor sun), an undersized or improperly configured charge controller, or degraded batteries.
- Inverter Tripping: If your inverter keeps shutting off, it's likely due to an overload (too many appliances running at once), a short circuit on an AC load, or low battery voltage. Check your appliance wattages against your inverter's capacity and your battery's state of charge.
- Unexpected Power Loss: Check all fuses and breakers. A tripped breaker is often the easiest fix. System monitors can help pinpoint where the power flow has stopped.
If you encounter persistent problems, systematically isolate components to identify the faulty part. Disconnect solar, then batteries, then loads, testing each segment. Remember, safety always comes first. If you're not comfortable troubleshooting electrical issues, don't hesitate to seek professional help. A solid, well-installed 48V off-grid system, carefully monitored, will provide you with reliable power and true energy independence for years to come.
Disclaimer
The information provided in this guide is for general informational and educational purposes only and is not a substitute for professional advice. Working with electricity, especially high-voltage DC systems, can be dangerous and may result in serious injury or death if not handled properly. Always consult with a qualified electrician or solar professional and adhere to all local electrical codes, regulations, and manufacturer instructions when installing or maintaining any off-grid solar system. The author and publisher are not liable for any losses, injuries, or damages resulting from the use or misuse of this information.