How to Design a DC-Only Off-Grid System
Feeling overwhelmed by the sheer complexity and cost of traditional AC-heavy off-grid solar setups? You're not alone. Many folks dream of energy independence but get bogged down in inverter sizing, sine waves, and all the wiring that comes with converting power back and forth. This guide is here to simplify things, walking you through the practical steps of designing and implementing a DC-only off-grid solar system, perfect for smaller applications, remote cabins, or anyone seeking a more straightforward path to self-sufficiency.
Understanding the Allure of a DC-Only Off-Grid System
Stepping into the world of off-grid solar can feel like learning a whole new language, especially when you start diving into inverters, alternating current (AC), and all the nuances that come with it. But what if you could sidestep a lot of that complexity? That’s where a DC-only system shines, offering a streamlined approach that often makes more sense for specific needs. It’s not about being limited; it’s about being efficient and intentional with your power.
Why Go DC-Only? Simplification and Efficiency
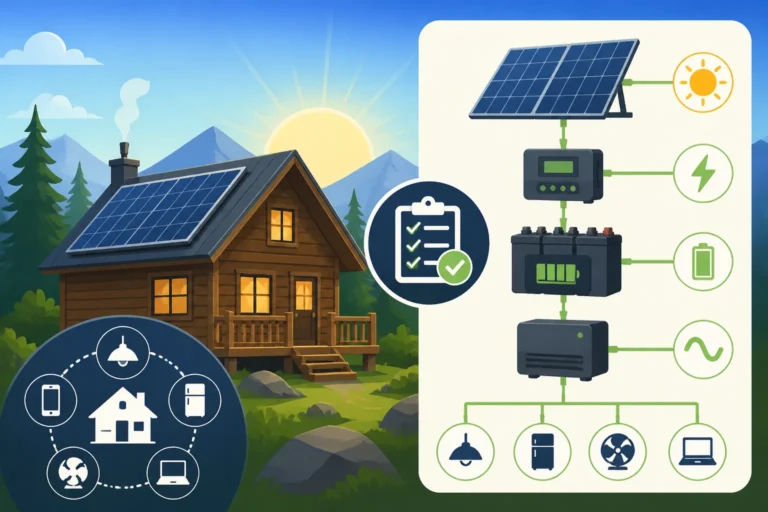
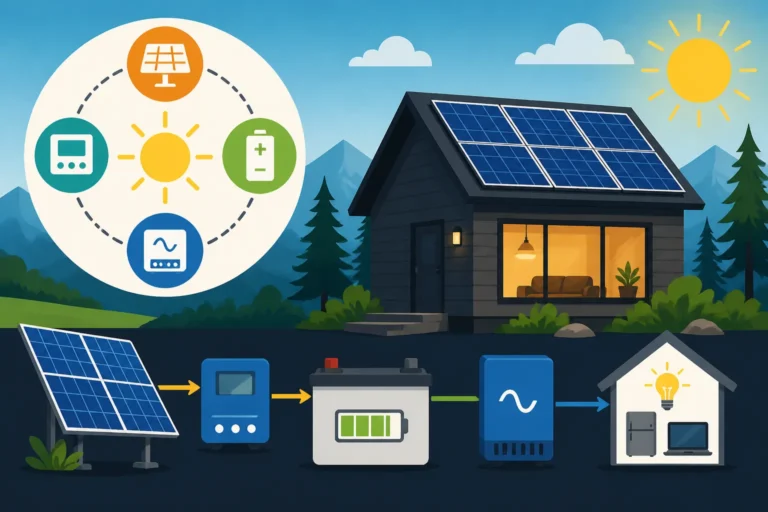
The primary draw of a DC-only system is its inherent simplicity. In a traditional off-grid setup, solar panels generate direct current (DC) power. This DC power then goes through a charge controller to charge your batteries, which store DC power. When you want to run common household appliances like a coffee maker or a television, that DC power from your batteries needs to be converted into alternating current (AC) by an inverter. Every conversion, however, means a loss of energy. Those inefficiencies can add up, especially in smaller systems where every watt-hour counts.
By opting for a DC-only system, you eliminate the inverter entirely. Your solar panels charge your DC batteries, and then that DC power directly runs your DC appliances. Think about it: fewer components mean fewer points of failure, simpler wiring, and often, a more robust system overall. For a remote hunting cabin or a small shed where you primarily need lights, a fan, and maybe to charge your phone, a DC-only setup can be incredibly efficient and cost-effective. It cuts down on the initial investment and the ongoing energy losses.
The Trade-Offs: What You’ll Miss with AC
While the simplicity and efficiency of a DC-only system are compelling, it’s crucial to understand what you’re leaving behind. The biggest trade-off, hands down, is the limited availability of high-power AC appliances. Most standard household electronics are designed to run on AC power, which means if you want to power a full-sized refrigerator, a microwave, or a washing machine, a DC-only system simply isn’t going to cut it. You’d need an inverter, which by definition, takes you out of the “DC-only” realm.
Another consideration is convenience. While DC versions of many common appliances exist (especially for RVs, boats, and specialty off-grid living), they might be harder to find, more expensive, or have fewer features than their AC counterparts. You also won't be able to just plug in any standard household item you might pick up from a big box store like Walmart. This requires a conscious shift in your purchasing habits and a realistic assessment of your true power needs. For many, the desire to run common AC appliances without thinking twice is a deal-breaker, making a hybrid or AC-focused system more appealing.
Essential Components of a DC-Only Off-Grid System
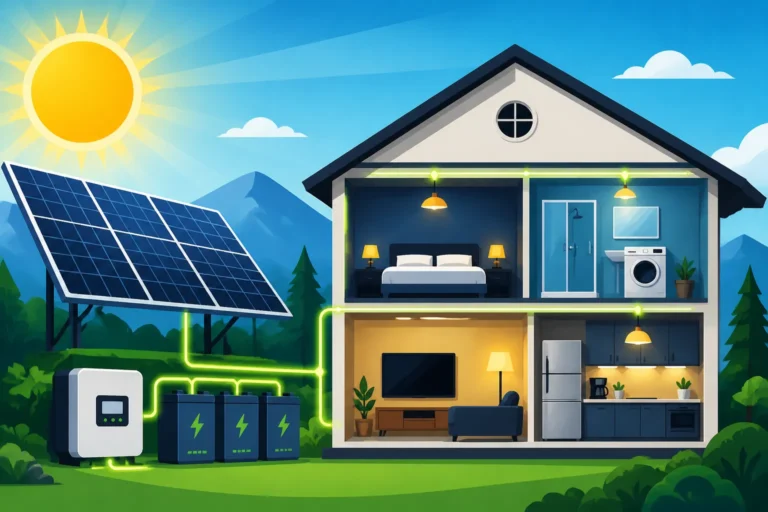
Even a simple DC-only off-grid solar system has several key components working in harmony to capture, store, and deliver power. Understanding each piece is fundamental to designing a reliable and efficient setup. Think of it like building a small, self-contained power plant – each part has a vital role, and they all need to be properly matched for optimal performance.
Solar Panels: Your Energy Harvesters
Solar panels are the very first step in your energy journey, converting sunlight directly into DC electricity. For a DC-only system, the choice of panels is less about complex inverter compatibility and more about practical considerations like wattage, physical size, and durability. You’ll typically find monocrystalline or polycrystalline panels, with monocrystalline being more efficient in smaller footprints, which can be great if space is a concern, like on a small shed roof or a pole mount.
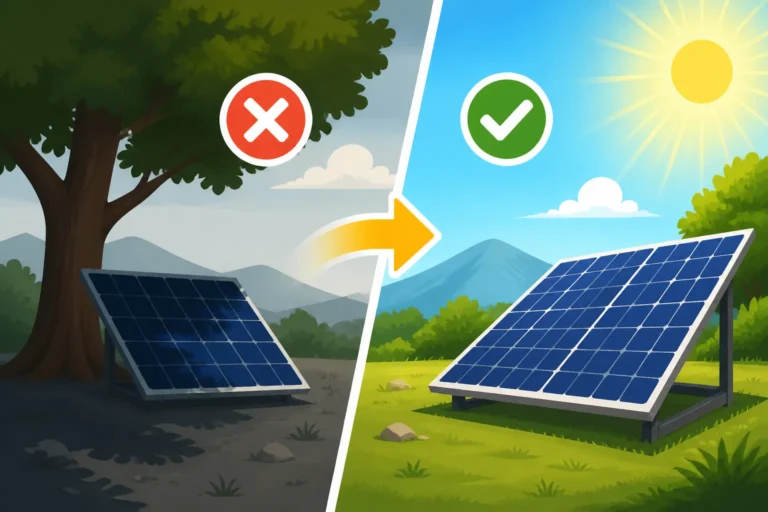
When selecting panels, consider your available space and the amount of sunlight your location receives. Even for a DC-only setup, thinking about How Many Solar Panels for Off-Grid Living is crucial to ensure you're generating enough power. You might start with a single 100-watt panel from a brand like Renogy for a very basic lighting setup, or a couple of 200-watt panels for more robust needs, like running a small DC refrigerator. Remember, panels are generally rated for peak conditions, so real-world output will vary based on weather, shading, and the angle of the sun.
Charge Controllers: The Brains of the Operation
The charge controller is the unsung hero of any off-grid solar system. Its job is critical: it regulates the voltage and current coming from your solar panels before it reaches your battery bank. Without a charge controller, you risk overcharging your batteries, which can severely shorten their lifespan or even damage them beyond repair. For a DC-only system, this component is just as vital as it is for an AC-enabled one.
There are two main types of charge controllers: PWM (Pulse Width Modulation) and MPPT (Maximum Power Point Tracking). For smaller, simpler DC-only systems, a PWM controller can be a more budget-friendly option. However, if you're looking for maximum efficiency, especially if your panel voltage is significantly higher than your battery bank voltage (e.g., a 24V panel charging a 12V battery), an MPPT controller is the way to go. It can extract more power from your panels, especially in varying light conditions, which means more juice for your DC appliances. Learning How to Size a Charge Controller correctly is paramount to prevent issues.
Battery Bank: Your Power Reservoir
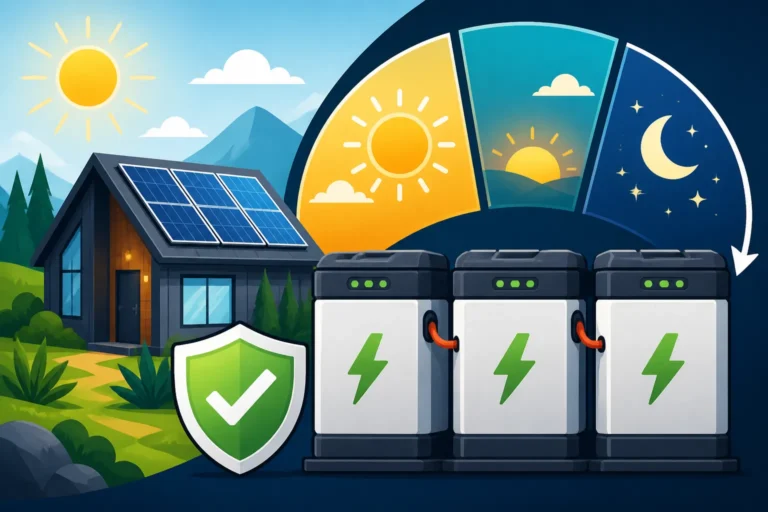
The battery bank is where all the power you generate from your solar panels is stored for later use, especially during nighttime or cloudy days. For a DC-only system, your batteries are the heart of your power supply. The capacity and type of battery you choose will directly impact how long you can run your DC appliances without sun. When considering your battery bank, you’ll delve into choices like lead-acid (flooded, AGM, or gel) and the increasingly popular lithium iron phosphate (LiFePO4) batteries.
LiFePO4 batteries, while having a higher upfront cost, offer significantly longer lifespans, lighter weight, and can be discharged deeper without damage, making them a fantastic choice for reliability and long-term value. Traditional lead-acid batteries, on the other hand, are more affordable initially but require more maintenance and have a shorter cycle life. Determining How Many Batteries for an Off-Grid System will involve understanding your daily energy consumption and how many "days of autonomy" you want – meaning, how many days your system can run without any solar input. This component often represents a significant portion of your total Off-Grid Solar Cost: Complete Breakdown.
DC Load Center and Wiring
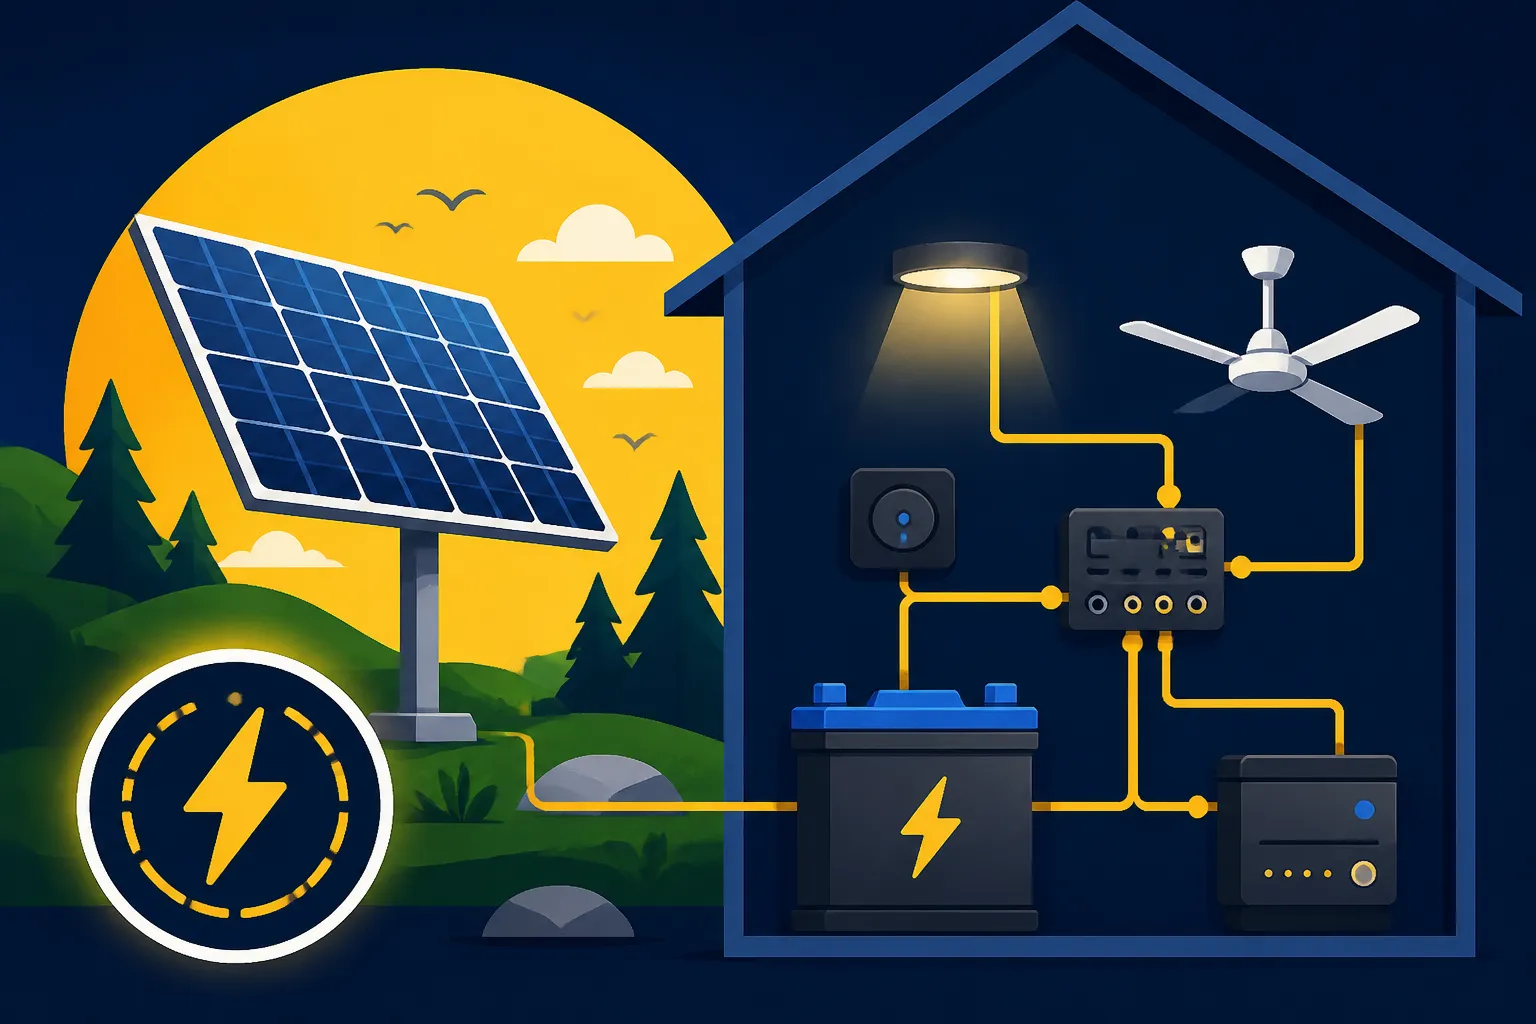
In a DC-only system, you won’t have a large AC breaker panel like a grid-tied home. Instead, you’ll have a DC load center, often a fuse block or a smaller DC breaker panel, where the power from your battery bank is distributed to your various DC appliances. This is where safety and proper wiring really come into play. Each DC appliance will typically have its own circuit, protected by a fuse or a DC breaker, appropriate for its current draw.
Properly sizing your wiring and fuses is critical for safety and efficiency. Undersized wires can overheat and become a fire hazard, while oversized wires are an unnecessary expense. You'll need to consider the current draw of each appliance, the length of the wire run, and the system voltage to ensure minimal voltage drop. This is a topic thoroughly covered when you learn How to Size Wire and Cables. Most DC-only systems for small cabins or RVs will operate at 12V or 24V. Ensuring all connections are secure and properly insulated is also non-negotiable for a safe and reliable system.
Designing Your DC-Only System: A Step-by-Step Approach
Designing an off-grid solar system, even a simpler DC-only one, can feel like a daunting task, but breaking it down into manageable steps makes it much clearer. It’s all about matching your energy consumption with your generation and storage capabilities. This methodical approach ensures you build a system that meets your needs without overspending or falling short on power.
Calculating Your DC Loads and Daily Energy Needs
This is, without a doubt, the most crucial first step in any off-grid solar design. You can’t know what you need to generate or store if you don’t know what you’re going to consume. Forget about the numbers for a moment and simply make a comprehensive list of every single DC appliance you plan to run. This isn’t just big things like a DC refrigerator; it includes every light, every fan, your phone charger, a water pump, and any small electronics.
For each item, you need to determine its wattage (W) or current draw (Amps) and how many hours per day you plan to use it. Many DC appliances, especially those designed for RVs or marine use, will clearly state their power consumption. For example, a typical 12V LED light might draw 0.5 Amps, and if you run it for 4 hours, that's 2 Amp-hours. Multiply the Watts by the hours to get Watt-hours (Wh). If an item lists amps, multiply Amps by Volts (e.g., 12V) to get Watts, then Watts by hours for Wh. This process of compiling your energy needs is known as a How to Do an Off-Grid Load Analysis. A clear understanding of your daily Watt-hours will dictate the rest of your system.
Let's look at an example load calculation for a small cabin:
| Appliance | Voltage (V) | Amps (A) | Watts (W) | Hours/Day | Daily Watt-Hours (Wh) |
|---|---|---|---|---|---|
| LED Cabin Light (x4) | 12 | 0.5 | 6 | 4 | 24 (6W x 4hr) x 4 = 96Wh |
| DC Refrigerator | 12 | 3 | 36 | 12 | 432 (36W x 12hr) |
| USB Phone Charger | 12 | 1 | 12 | 2 | 24 (12W x 2hr) |
| Small DC Fan | 12 | 1.5 | 18 | 3 | 54 (18W x 3hr) |
| Total Daily Usage | 606 Wh |
Once you have your total daily Watt-hours, you've got your target for generation and storage.
Sizing Your Solar Array for DC Production
With your total daily Watt-hours calculated, the next step is to figure out how many solar panels you’ll need to generate that much power. This isn’t just about the panel’s rated wattage; it also depends heavily on the “peak sun hours” in your specific location. Peak sun hours represent the equivalent number of hours per day when the sun’s intensity averages 1,000 watts per square meter. A sunny desert might have 6 peak sun hours, while a cloudy Pacific Northwest location might only have 3. You can usually find this data for your area online.
To size your array, you take your total daily Watt-hour requirement, factor in system losses (typically 20-30% for things like wiring, temperature, and dust), and then divide by your peak sun hours. So, if our example cabin needs 606 Wh/day, let's assume 25% system losses, bringing our generation target to about 808 Wh/day (606 / 0.75). If your location gets 5 peak sun hours, you'd need an array capable of producing 161.6 Watts (808 Wh / 5 hours) under ideal conditions. Since panels are sold in specific wattages, you'd likely choose two 100-watt panels or a single 200-watt panel to meet or exceed this. Brands like Renogy offer a range of reliable solar panels that are well-suited for these types of calculations. It's often smart to slightly oversize your array to account for less-than-ideal weather or future expansion.
Selecting Your Battery Bank for DC Autonomy
Your battery bank is your energy safety net. It determines how long your DC-only system can run without any fresh input from your solar panels, which is crucial for nighttime power or extended cloudy periods. This is known as “days of autonomy.” For most systems, aiming for at least 2-3 days of autonomy is a good starting point, especially if you live in an area with unpredictable weather.
Using our cabin example, with a daily usage of 606 Wh, if we want 2 days of autonomy, we need 1212 Wh (606 Wh x 2 days) of usable battery capacity. For lead-acid batteries, you should only discharge them to about 50% to maximize their lifespan. So, you'd need 2424 Wh of total lead-acid capacity (1212 Wh / 0.50). If you're using LiFePO4 batteries, which can safely discharge to 80-100%, you'd need closer to 1212 Wh of total capacity. Once you have this Watt-hour capacity, you can convert it to Amp-hours (Ah) based on your system voltage. For a 12V system, 2424 Wh / 12V = 202 Ah (for lead-acid total capacity). You'd then look for 12V batteries or combinations of batteries that provide this Amp-hour rating. This detailed calculation ensures you choose How Much Battery Capacity You Need for peace of mind.
Choosing the Right System Voltage
For a DC-only system, choosing your system voltage is a fairly straightforward but critical decision that impacts your components and wiring. The most common voltages for DC-only setups are 12V, 24V, and occasionally 48V, especially for slightly larger systems. Each has its pros and cons, and your choice will influence everything from your battery configuration to the gauges of wire you need.
A 12V system is often the easiest and most common for small applications like RVs, vans, or very basic cabins. There's a wide range of 12V DC appliances available, and the components are generally more affordable and readily found. However, for the same amount of power, a 12V system draws higher currents, which means you need thicker, more expensive wires to avoid significant voltage drop over longer distances. For example, a 100W appliance at 12V draws 8.3 Amps, but at 24V, it only draws 4.15 Amps. This is why for anything beyond very modest power needs, people often gravitate towards 24V or even 48V. Higher voltages mean lower currents for the same power, allowing for thinner wires and less energy loss over distance. It's a key decision to make early on, as discussed in 12V vs 24V vs 48V: Which to Choose.
Practical Considerations and Real-World Examples
Moving from theory to practice is where the rubber meets the road with a DC-only off-grid system. It’s not just about wires and watts; it’s about how you live with and expand your system, and most importantly, how you keep it safe. The choices you make in these practical areas will define your experience.
Sourcing DC Appliances and Lighting
One of the most engaging aspects of designing a DC-only system is the hunt for compatible appliances. You’ll quickly discover a whole market dedicated to 12V and 24V devices, primarily aimed at the RV, marine, and tiny home communities. For lighting, LED options are abundant and incredibly efficient, available in various fixtures and brightness levels. You can easily find 12V LED light strips, puck lights, and even standard-looking bulbs with DC bases on platforms like Amazon or specialty RV supply stores.
When it comes to larger appliances, DC refrigerators are a game-changer. Brands like Dometic or Alpicool offer efficient 12V/24V fridge-freezers that are specifically designed for off-grid use, consuming a fraction of the power of a standard AC fridge. Other common DC items include water pumps for sinks or showers, small fans, USB charging ports, and some small entertainment devices. The key is to be intentional with your purchases and confirm they are indeed direct current compatible. Trying to power an AC appliance with a DC system (or vice-versa) without the proper conversion is a recipe for disaster.
Expanding and Adapting Your DC-Only Setup
Life changes, and so might your energy needs. One of the beauties of a well-designed off-grid system, even a DC-only one, is its potential for expansion. Perhaps you started with just lights and phone charging, but now you want to add a DC water pump or a small DC freezer. If you’ve been smart in your initial design, growth can be relatively straightforward. For instance, if you initially chose an MPPT charge controller, it often has the capacity to handle additional solar panels, provided you don’t exceed its maximum input voltage or current.
Adding more battery capacity is also a common upgrade. If you have existing lead-acid batteries, you can typically add more in parallel (matching type, age, and size is crucial) to increase your Amp-hour capacity. For LiFePO4 batteries, it's generally easier to expand, and many modern batteries are designed for seamless parallel expansion. When adding components, always revisit your load calculations and ensure your existing wiring, fuses, and charge controller are still adequately sized for the increased demands. It's also worth considering if future large loads might eventually push you towards needing a small inverter for a hybrid setup, or if you'll stick strictly to DC to maintain simplicity.
Safety First: Fusing and Wiring for DC
Safety cannot be stressed enough in any electrical system, and DC-only off-grid setups are no exception. In fact, DC systems, especially 12V ones, often involve higher currents than comparable AC systems, making proper fusing and wire sizing absolutely critical. Every major component and every branch circuit leading to an appliance *must* be protected by an appropriately sized fuse or DC circuit breaker. This protects your components and, more importantly, prevents fires in the event of a short circuit or overload.
Your solar panels will need overcurrent protection before the charge controller, and your battery bank needs a main fuse or breaker closest to the positive terminal to protect the entire system from a catastrophic short. Each appliance circuit from your DC load center should also have its own fuse. Additionally, proper wire sizing, as detailed in guides like How to Size Battery Cables, prevents voltage drop and overheating. Use stranded copper wire, rated for outdoor or automotive use where appropriate, and always ensure connections are clean, tight, and insulated. Don't cheap out on safety components; a small investment in quality fuses, breakers, and wire can save you from much bigger problems down the line.
Disclaimer
The information provided in this guide is for general informational and educational purposes only. While we strive to offer accurate and up-to-date advice based on common off-grid solar practices, individual circumstances, local regulations, and specific equipment requirements can vary significantly. Off-grid solar system design and installation involve working with electricity, which can be dangerous if not handled properly. We strongly recommend consulting with a qualified and certified electrician or solar professional for personalized advice, system design, and installation to ensure safety and compliance with all applicable codes and regulations in your area. Always prioritize safety and exercise caution when working with electrical systems.