How to Size Batteries for Three Days of Autonomy
There's nothing quite like the feeling of absolute self-reliance, especially when it comes to power. But the nagging worry of a prolonged stretch of cloudy days or an unexpected equipment hiccup can leave many folks tossing and turning. Sizing your off-grid battery bank to provide three days of autonomy is a fantastic step towards peace of mind, ensuring your essential systems keep humming even when the sun isn't cooperating. This guide will walk you through precisely how to calculate and build that critical buffer into your off-grid life.
Understanding "Days of Autonomy" for Your Off-Grid System
Before we dive into the nitty-gritty of calculations, let's make sure we're all on the same page about what "days of autonomy" actually means and why it's such a crucial concept in the world of off-grid solar. It's more than just a fancy term; it's the lifeline of your independent power system.
What is Days of Autonomy and Why Does it Matter?
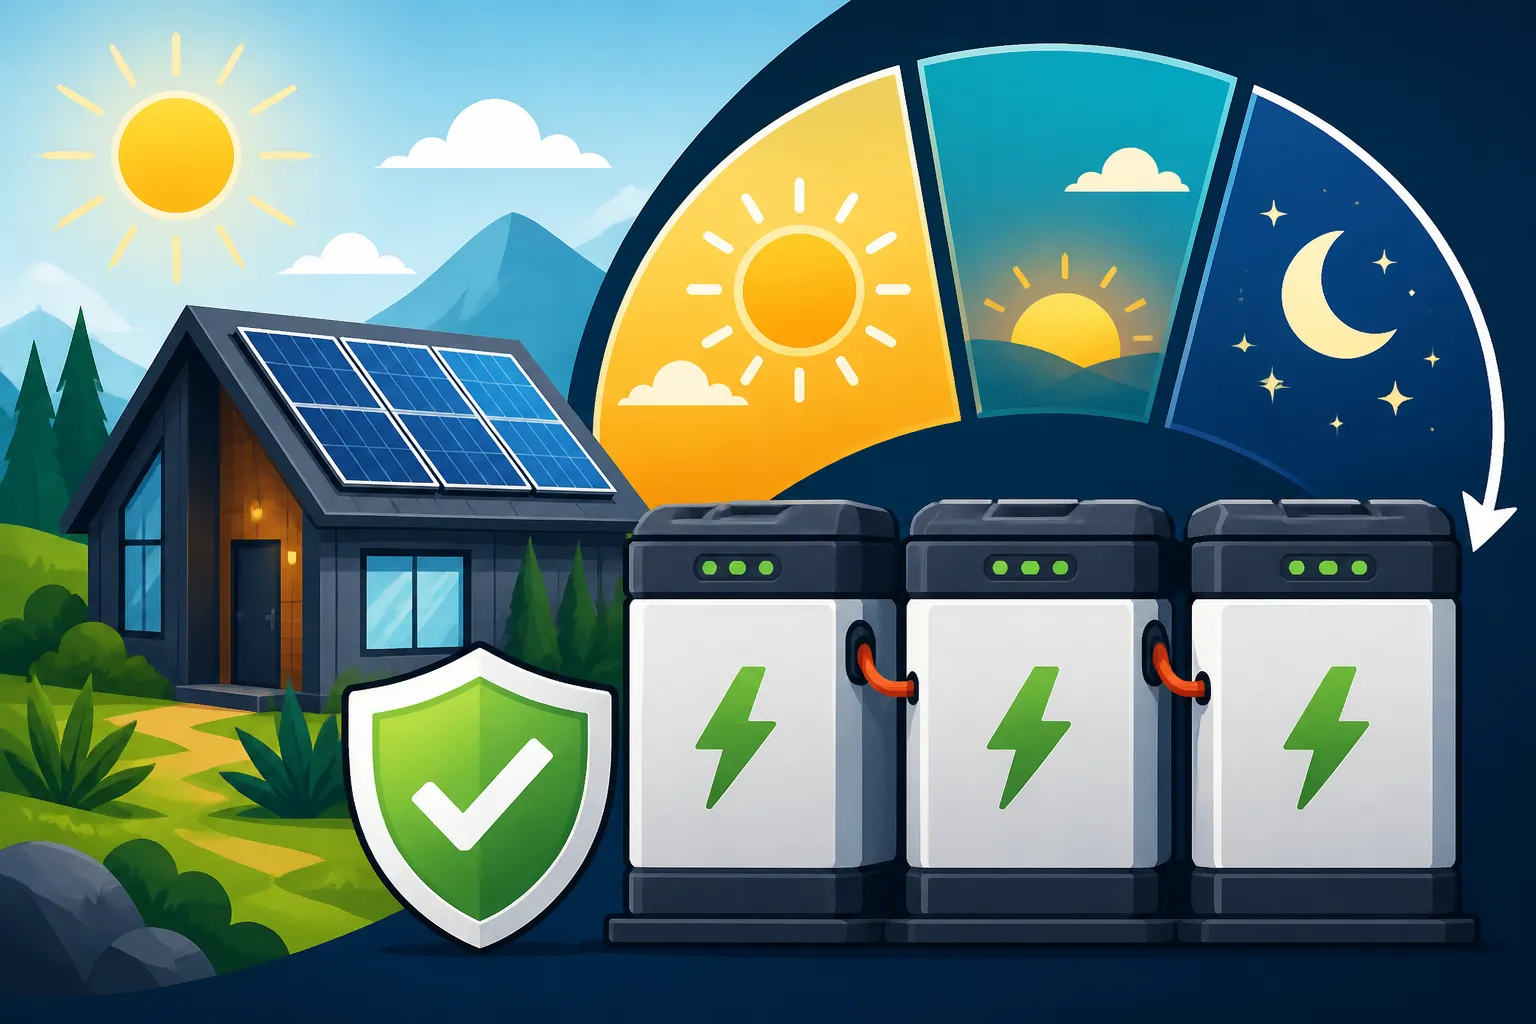
At its core, "days of autonomy" refers to the number of days your battery bank can power your home or setup without receiving any additional charge from your solar panels, a wind turbine, or any other charging source. Think of it as your energy reserves, your emergency food pantry but for electricity. If you have a three-day autonomy, it means your batteries could theoretically keep your essential appliances running for 72 hours straight, even if the skies were perpetually gray and your panels weren't generating a single watt.
This concept is absolutely paramount for system reliability. Imagine living in a remote cabin in the Pacific Northwest, where winter days are short, and weeks can go by without direct sunshine. Or perhaps you're cruising in your RV through a particularly stormy region. In these scenarios, a battery bank sized only for a single day's needs would leave you in the dark, literally and figuratively. Building in a buffer, like three days of autonomy, allows you to weather those metaphorical (and literal) storms with confidence, knowing your refrigerator will keep running, your lights will turn on, and your well pump will draw water. It's about designing a system that can handle the unpredictability of nature and maintain a comfortable, functional lifestyle regardless of external conditions. Without this understanding, you're just guessing, and that's not a position you want to be in when it comes to your power.
Factors Influencing Your Autonomy Needs
Determining your ideal days of autonomy isn't a one-size-fits-all situation; it's deeply personal and highly dependent on several key factors. What works for a weekend warrior in Arizona won't cut it for a full-time homesteader in upstate New York.
First off, your geographic location is huge. If you're in a sun-drenched area like Southern California, you might get away with fewer days of autonomy because reliable solar input is almost a given. However, if you're in a region prone to extended periods of overcast weather, heavy snow, or frequent rain, like the Pacific Northwest or parts of New England, you'll absolutely want more buffer. Understanding your local weather patterns, especially seasonal variations, is critical. Winter, for instance, often means shorter daylight hours and lower sun angles, drastically reducing your solar gain. This makes it crucial to understand How Winter Affects Off-Grid Sizing and How to Account for Cloudy Days when planning.
Next, consider your critical vs. non-critical loads. What absolutely must run, no matter what? For some, it might be a medical device like a CPAP machine, a well pump for water, or the refrigerator to preserve food. For others, it might include heating or cooling systems. Non-critical loads might be things like a TV that could be off for a few days, or power tools that aren't used daily. The more critical loads you have, the more important a robust autonomy period becomes.
Then there's the question of backup generation. Do you have a generator that can kick in if your batteries get low or if the weather is just too poor for too long? A reliable backup generator can significantly reduce the pressure on your battery bank, allowing you to potentially opt for a slightly smaller battery bank while still maintaining overall system reliability. This ties into considering How to Add a Generator to Your Design early in your planning.
Finally, your personal comfort levels and risk tolerance play a big role. Are you someone who panics at the thought of losing power for a few hours, or are you comfortable roughing it for a day or two if needed? While three days is a common and often recommended baseline, some people prefer five days or even a week of autonomy for ultimate security, especially if they have absolutely no alternative power source. It's about finding that sweet spot between cost, complexity, and peace of mind.
Step-by-Step Guide to Calculating Your Daily Energy Consumption
You can't properly size your batteries without knowing how much power you actually use. This isn't just a guessing game; it's a careful inventory and calculation process that forms the bedrock of your entire off-grid system design. It’s the very first, and arguably most important, step in the Off-Grid Solar System Sizing Guide.
Inventorying Your Appliances and Their Power Draw
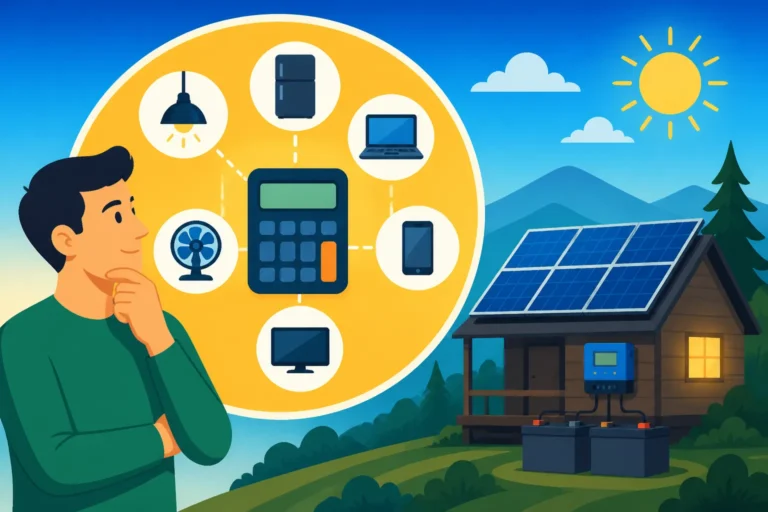
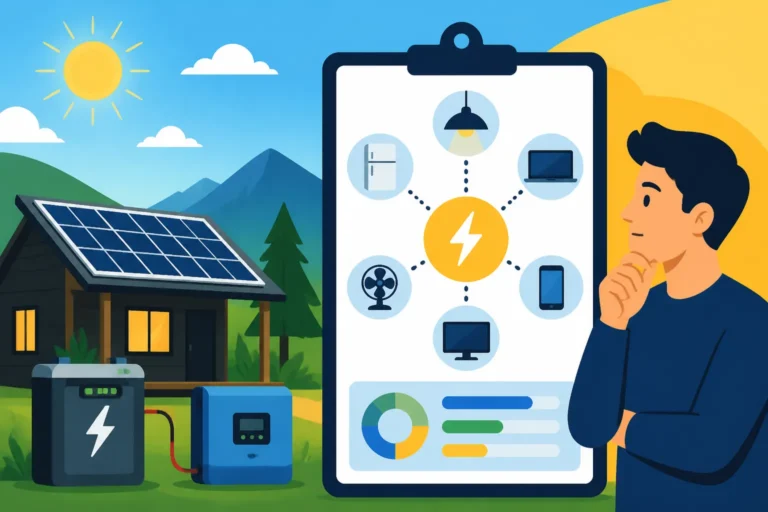
The first order of business is to make a comprehensive list of every single electrical device you plan to use with your off-grid system. And I mean every single one. Don't forget the small things, as they can add up surprisingly quickly.
For each item on your list, you need two critical pieces of information: its wattage (W) and its estimated daily run time (hours).
- Finding Wattage: You can usually find the wattage listed on the appliance's label, in its owner's manual, or often with a quick online search for the specific model. For instance, a typical LED light bulb might be 9-15W, a laptop charger around 45-90W, and a modern energy-efficient refrigerator could draw around 80-150W when running.
- Estimating Run Time: This requires a bit of honest self-assessment. How many hours a day will that refrigerator actually be on (compressor running)? It cycles on and off, so you're looking for its active run time, which might be 8-12 hours a day depending on efficiency and how often you open it. Your phone charger might only be plugged in for 2 hours, but your laptop might be running for 6 hours.
It's also crucial to understand the difference between running watts and starting watts (or surge watts) for certain appliances, particularly those with motors like well pumps, refrigerators, microwaves, or power tools. These devices require a much higher burst of power for a very short duration when they first turn on. While this surge doesn't directly impact your daily watt-hour consumption for battery sizing, it does significantly affect your inverter sizing, so it's good to note it during this inventory phase. For example, a refrigerator that runs at 100W might momentarily surge to 700W or more at startup.
To achieve maximum accuracy, consider investing in a simple device called a Kill-A-Watt meter, easily found on Amazon or at your local hardware store. You plug an appliance into it, and then plug the meter into the wall, and it will precisely measure the wattage and even the kilowatt-hours (Wh) used over a period, giving you real-world data rather than just estimates from a label. This can be particularly insightful for frequently used items like refrigerators.
Example Appliance List:
| Appliance | Wattage (W) | Est. Daily Run Time (Hours) | Daily Watt-Hours (Wh) |
|---|---|---|---|
| LED Lights (4 x 9W) | 36W | 5 | 180Wh |
| Refrigerator | 100W | 10 (cycles on/off) | 1000Wh |
| Laptop Charger | 60W | 4 | 240Wh |
| Phone Charger | 10W | 2 | 20Wh |
| Water Pump (well) | 800W | 0.5 (30 mins) | 400Wh |
| TV (LED 32") | 40W | 3 | 120Wh |
| Microwave | 1000W | 0.1 (6 mins) | 100Wh |
| Small Inverter/Router | 15W | 24 | 360Wh |
| Daily Subtotal | 2420Wh |
Converting Watts to Watt-Hours and Daily Totals
Once you have your detailed list, the next step is straightforward: convert each appliance's wattage and run time into daily watt-hours (Wh) and then sum them up for your total daily energy consumption. This is how you figure out How Many Watt-Hours You Use Per Day.
The formula is simple:
Wattage (W) x Run Time (Hours) = Daily Watt-Hours (Wh)
Let's use our example from the table above:
- LED Lights: 36W x 5 hours = 180 Wh
- Refrigerator: 100W x 10 hours = 1000 Wh
- Laptop Charger: 60W x 4 hours = 240 Wh
- Phone Charger: 10W x 2 hours = 20 Wh
- Water Pump: 800W x 0.5 hours = 400 Wh
- TV: 40W x 3 hours = 120 Wh
- Microwave: 1000W x 0.1 hours = 100 Wh
- Inverter/Router: 15W x 24 hours = 360 Wh
Now, sum up all those daily watt-hours to get your total daily energy consumption:
180 + 1000 + 240 + 20 + 400 + 120 + 100 + 360 = 2420 Wh per day
This 2420 Wh is the critical number. It's the amount of energy your battery bank needs to supply every single day. When you're thinking about three days of autonomy, you'll simply multiply this figure by three.
It's absolutely essential to be realistic, and even a little conservative, with these estimates. It's always better to slightly overestimate your needs than to underestimate them and find yourself short on power on a critical cloudy day. Don't forget that things like phantom loads (electronics drawing power even when "off" but plugged in) can add up, and seasonal usage can vary wildly (e.g., more fans in summer, more lights in winter). This careful calculation is the backbone of your entire system, so take your time and be thorough! Knowing How to Calculate Daily Energy Usage is your first big step to off-grid success.
Sizing Your Battery Bank for Three Days of Autonomy
Now that you know your daily energy consumption, it's time to translate that into actual battery capacity. This is where we determine How Many Batteries for an Off-Grid System you'll need to achieve that coveted three-day buffer.
Choosing the Right Battery Chemistry and Voltage
Before we do any math, we need to consider the type of batteries you'll be using, as this significantly impacts the calculations and the overall Cost of an Off-Grid Solar Battery Bank. The two main contenders for off-grid applications are Lithium Iron Phosphate (LiFePO4) and Lead-Acid (which includes AGM and Gel variations).
-
Lithium Iron Phosphate (LiFePO4) Batteries: These are the darlings of modern off-grid systems, and for good reason. They offer superior depth of discharge (DoD), typically allowing you to use 80-100% of their rated capacity without significant damage to the battery. This means a 100Ah LiFePO4 battery can provide almost all of its 100Ah. They also boast an incredibly long cycle life (thousands of cycles), are highly efficient, lighter, and require virtually no maintenance. The upfront cost is higher than lead-acid, but their longevity and performance often make them more cost-effective over the long run. Brands like Renogy and Battle Born are popular choices in this category, offering reliable LiFePO4 options.
-
Lead-Acid Batteries (AGM, Gel): These are the traditional workhorses and are typically more budget-friendly upfront. However, they have a much more limited depth of discharge. To maximize their lifespan, you generally shouldn't discharge them below 50% (for AGM/Gel) or even 20% (for flooded lead-acid). This means if you have a 100Ah lead-acid battery, you can only safely use 50Ah of that capacity. They also have a shorter cycle life and require more maintenance (especially flooded versions). While cheaper to buy, their shorter lifespan and lower usable capacity mean you'll need more of them (and replace them sooner) to achieve the same usable energy as LiFePO4. Comparing LiFePO4 vs Lead-Acid Battery Cost highlights this long-term value difference.
Beyond chemistry, you'll need to decide on your system voltage: 12V, 24V, or 48V.
- 12V systems are common for smaller setups like RVs, vans, or tiny cabins with modest power needs.
- 24V systems are a good middle ground for medium-sized cabins or homes, allowing for more power with thinner wires and less voltage drop than 12V.
- 48V systems are ideal for larger homes or those with high power demands. Higher voltage systems are more efficient for transmitting power over longer distances and reduce current, which means you can use smaller gauge wiring, saving on copper costs and improving safety. Your chosen system voltage will directly affect how you calculate your battery bank's total amp-hour needs. If you're wondering How to Choose System Voltage, always lean towards higher voltage for larger systems where practical.
For this exercise, we'll focus on usable capacity, which is the actual energy you can reliably draw from your battery bank.
Calculating Required Amp-Hours and Battery Count
With your daily watt-hour consumption (2420 Wh from our example) and your chosen battery chemistry/voltage in mind, let's calculate the total battery capacity you'll need for three days of autonomy.
Step 1: Calculate Total Watt-Hours Needed for Three Days
Multiply your daily watt-hour consumption by the desired days of autonomy:
2420 Wh/day x 3 days = 7260 Wh
This is the total amount of energy your battery bank must deliver over a three-day period without recharging.
Step 2: Account for Inverter Efficiency
Your inverter, which converts DC battery power to AC power for most household appliances, isn't 100% efficient. Typically, inverters are 85-95% efficient. Let's assume an average efficiency of 90% for our calculations. This means your batteries actually need to store more energy than what's consumed by your appliances.
Required Battery Bank Wh = Total Watt-Hours Needed / Inverter Efficiency
Required Battery Bank Wh = 7260 Wh / 0.90 = 8066.67 Wh (round up to 8067 Wh)
Step 3: Account for Battery Depth of Discharge (DoD)
This is where battery chemistry significantly matters.
-
For LiFePO4 batteries: You can typically use 80-100% DoD. Let's be conservative and plan for 90% usable DoD to extend battery life.
- Total Usable Battery Wh = Required Battery Bank Wh / Usable DoD
- Total Usable Battery Wh = 8067 Wh / 0.90 = 8963.33 Wh (round up to 8964 Wh)
-
For Lead-Acid (AGM/Gel) batteries: You should plan for a maximum of 50% usable DoD.
- Total Usable Battery Wh = Required Battery Bank Wh / Usable DoD
- Total Usable Battery Wh = 8067 Wh / 0.50 = 16134 Wh
As you can see, you need significantly more rated capacity with lead-acid batteries to get the same usable energy. For this example, we'll proceed with the LiFePO4 calculation for an 8964 Wh battery bank.
Step 4: Convert Total Watt-Hours to Amp-Hours (Ah)
Now we need to convert this total watt-hour capacity into amp-hours, which is how battery capacity is usually rated. This requires your chosen system voltage. Let's assume a 48V system for a larger off-grid setup.
Total Ah Capacity = Total Usable Battery Wh / System Voltage
Total Ah Capacity = 8964 Wh / 48V = 186.75 Ah (round up to 187 Ah)
So, you would need a battery bank that provides at least 187 Ah at 48V (usable capacity) using LiFePO4 batteries.
Step 5: Determine the Number of Individual Batteries
Most individual LiFePO4 batteries come in 12V or 24V configurations, often with capacities like 100Ah, 200Ah, or 300Ah. Let's say you decide to go with 12V 100Ah LiFePO4 batteries, a common and readily available option from a brand like Renogy.
-
For a 48V system: You'll need to wire 12V batteries in series.
- Number of 12V batteries in series = System Voltage / Individual Battery Voltage
- Number of 12V batteries in series = 48V / 12V = 4 batteries in series. This gives you a 48V system.
-
To achieve 187 Ah total at 48V: If each 12V battery is 100Ah, then a string of 4 x 12V 100Ah batteries wired in series will give you 100Ah at 48V. Since we need ~187 Ah, we'll need two such strings wired in parallel.
- String 1: 4 x 12V 100Ah batteries in series = 48V, 100Ah
- String 2: 4 x 12V 100Ah batteries in series = 48V, 100Ah
- Wiring these two strings in parallel gives you: 48V, 200Ah total.
In this scenario, you would need 8 individual 12V 100Ah LiFePO4 batteries to get a 48V 200Ah bank, providing more than the calculated 187Ah needed for three days of autonomy (with a bit of extra buffer!). This robust calculation is key to your peace of mind.
Real-World Considerations and Adjustments for Autonomy
Calculating your battery needs on paper is one thing, but making it work reliably in the real world requires a few more practical considerations. The environment doesn't always play by the rules, and your usage might shift.
Accounting for Seasonal Variations and "Bad Weather" Cycles
The beautiful thing about solar is, well, the sun! But as we all know, the sun isn't a constant, always-on resource. Seasonal changes and unexpected weather patterns can significantly impact how much energy your solar array produces.
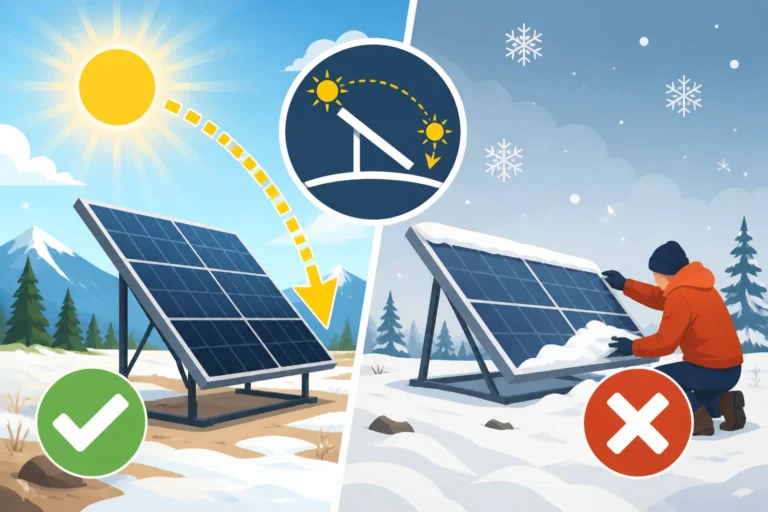
In winter, for example, days are shorter, the sun is lower in the sky, and snow can accumulate on panels, blocking production entirely. A system perfectly sized for summer might leave you in the dark during a long, overcast winter stretch. This is why when you're designing your system and aiming for three days of autonomy, you should ideally size it based on your worst-case scenario sun hours, not your annual average. For many locations in the northern hemisphere, this means sizing for December or January.
Prolonged cloudy periods, even in otherwise sunny climates, are also a major concern. What if you get a week of solid rain or heavy overcast skies? Three days of autonomy is a strong starting point, and for many people and many regions, it's an excellent balance of cost and reliability. However, if you live in an exceptionally cloudy region (think parts of Oregon or Washington state), or if you simply cannot afford to be without power for even a few hours, you might want to consider extending your autonomy to four, five, or even more days.
A great way to approach this is to check historical weather data for your specific property or region. Tools like PVWatts from the National Renewable Energy Laboratory can give you estimates of average daily solar production for different months in your area, which is invaluable for seeing those seasonal dips. You might find that during certain months, your effective sun hours drop dramatically, necessitating a larger battery bank or a backup plan. This is a critical step in understanding How to Calculate Days of Autonomy accurately for your situation.
The Role of Backup Generators and Expandability
While a well-sized battery bank provides a fantastic buffer, sometimes nature throws everything it has at you. That's where a backup generator truly shines. Incorporating a generator into your off-grid system can significantly enhance reliability and potentially reduce the need for an excessively large battery bank designed for extreme autonomy.
If you know you have a generator, you might decide that instead of designing for five or seven days of pure battery autonomy, three days is perfectly adequate because you can always fire up the generator if the batteries get low after a few sunless days. This strategy can save you a substantial amount on initial battery costs, as batteries are often the most expensive component of an off-grid system. Many modern inverter-chargers, like those from Victron Energy or Sol-Ark, have built-in generator start/stop capabilities, allowing the system to automatically kick on the generator when battery voltage drops to a certain level, or even at specific times to avoid running out of power completely. This provides a robust safety net, giving you ultimate peace of mind. You can often find reliable generators and their necessary connection components through retailers like Amazon, making it easier to integrate this backup into your system.
Another wise strategy is to design your off-grid system with expandability in mind from day one. Your power needs might grow over time. You might add a new appliance, decide to power a workshop, or simply realize you want more buffer than you initially planned. Designing for expansion means:
- Oversizing your charge controller: Choose a charge controller that can handle more solar panels than you currently have.
- Leaving space in your battery bank enclosure: If you think you might add more batteries later, ensure there's physical space for them.
- Using appropriate wiring: Run slightly thicker wires than strictly necessary for your current load to accommodate future increases in current.
- Choosing an expandable inverter: Some inverter systems allow for parallel stacking or modular additions.
Planning for Cost of Expanding an Off-Grid System from the start means you won't have to overhaul your entire setup down the line, saving you money and headaches. By thoughtfully integrating a backup generator and ensuring your system can grow with your needs, you're not just building an off-grid system; you're building a resilient, adaptable, and truly independent power solution.
Disclaimer
The information provided in this guide is for educational and informational purposes only and is not intended as professional electrical advice. Working with electricity can be dangerous. Always consult with a qualified electrician or solar professional before designing, installing, or modifying any off-grid solar system to ensure safety and compliance with all applicable codes and regulations.