How to Size Solar for Two Cloudy Weeks
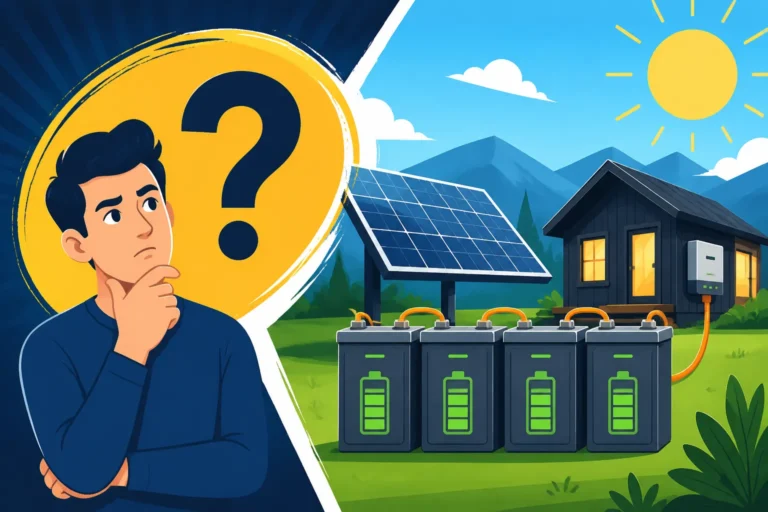
Anyone living off-grid, or even just dreaming about it, quickly learns that Mother Nature doesn't always play fair. Those beautiful, sunny days we all hope for can vanish, replaced by weeks of gray, dismal skies that make you wonder if your solar panels are doing anything at all. It's a real frustration, watching your battery monitor tick down, feeling that anxiety creep in as the clouds stubbornly refuse to break. This guide is all about tackling that exact challenge: how to size your off-grid solar system to reliably handle not just a day or two, but a full two weeks of persistent cloudy weather.
Understanding the Undeniable Challenge of Extended Cloud Cover
Let's face it, one of the biggest anxieties for anyone relying on off-grid solar is the dreaded extended stretch of cloudy, rainy, or snowy weather. It's not just a minor inconvenience; it can be a genuine threat to your comfort, your food storage, and even your safety if critical appliances, like a well pump or CPAP machine, run out of juice. The reality is, sunshine isn't guaranteed, and planning for those worst-case scenarios is what truly builds a resilient off-grid system.
Why Cloudy Weeks Devastate Off-Grid Systems
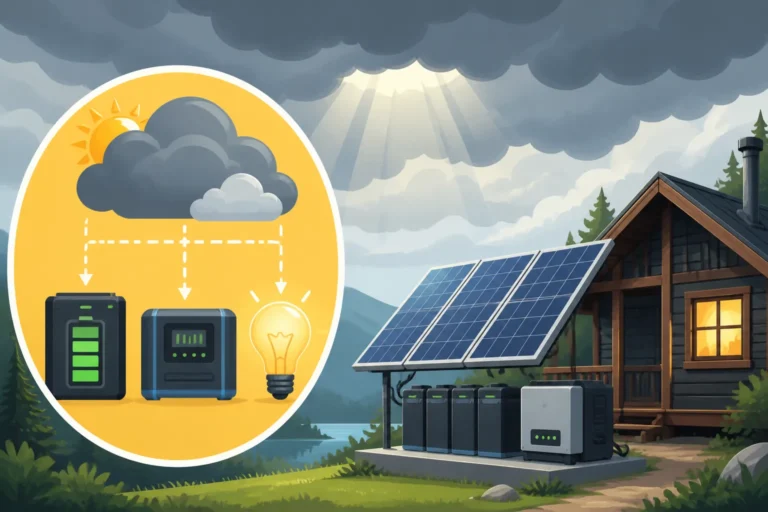
When the sun hides for days on end, your solar panels' output plummets dramatically. We're not talking about a little dip; we're talking about a significant reduction in the power they can generate. On a perfectly clear day, your panels might produce 80-100% of their rated power. A light overcast day could see that drop to 50-70%. But those truly dark, stormy, or heavy snowy days? You might only be getting 10-25% of your panels' potential, if that. Imagine trying to fill a bathtub with a trickle of water – it's going to take a long, long time, and if you're also using water, you'll never keep up.
This reduced input means your batteries aren't getting the consistent, robust charge they need. Instead of recovering fully each day, they slowly drain, unable to keep pace with your daily energy consumption. The psychological toll of constantly checking battery levels and rationing power can be immense. It chips away at the dream of off-grid independence and replaces it with worry. That's why building a system with ample reserve for these periods is not just good planning, it's essential for peace of mind.
The Critical Concept of Days of Autonomy
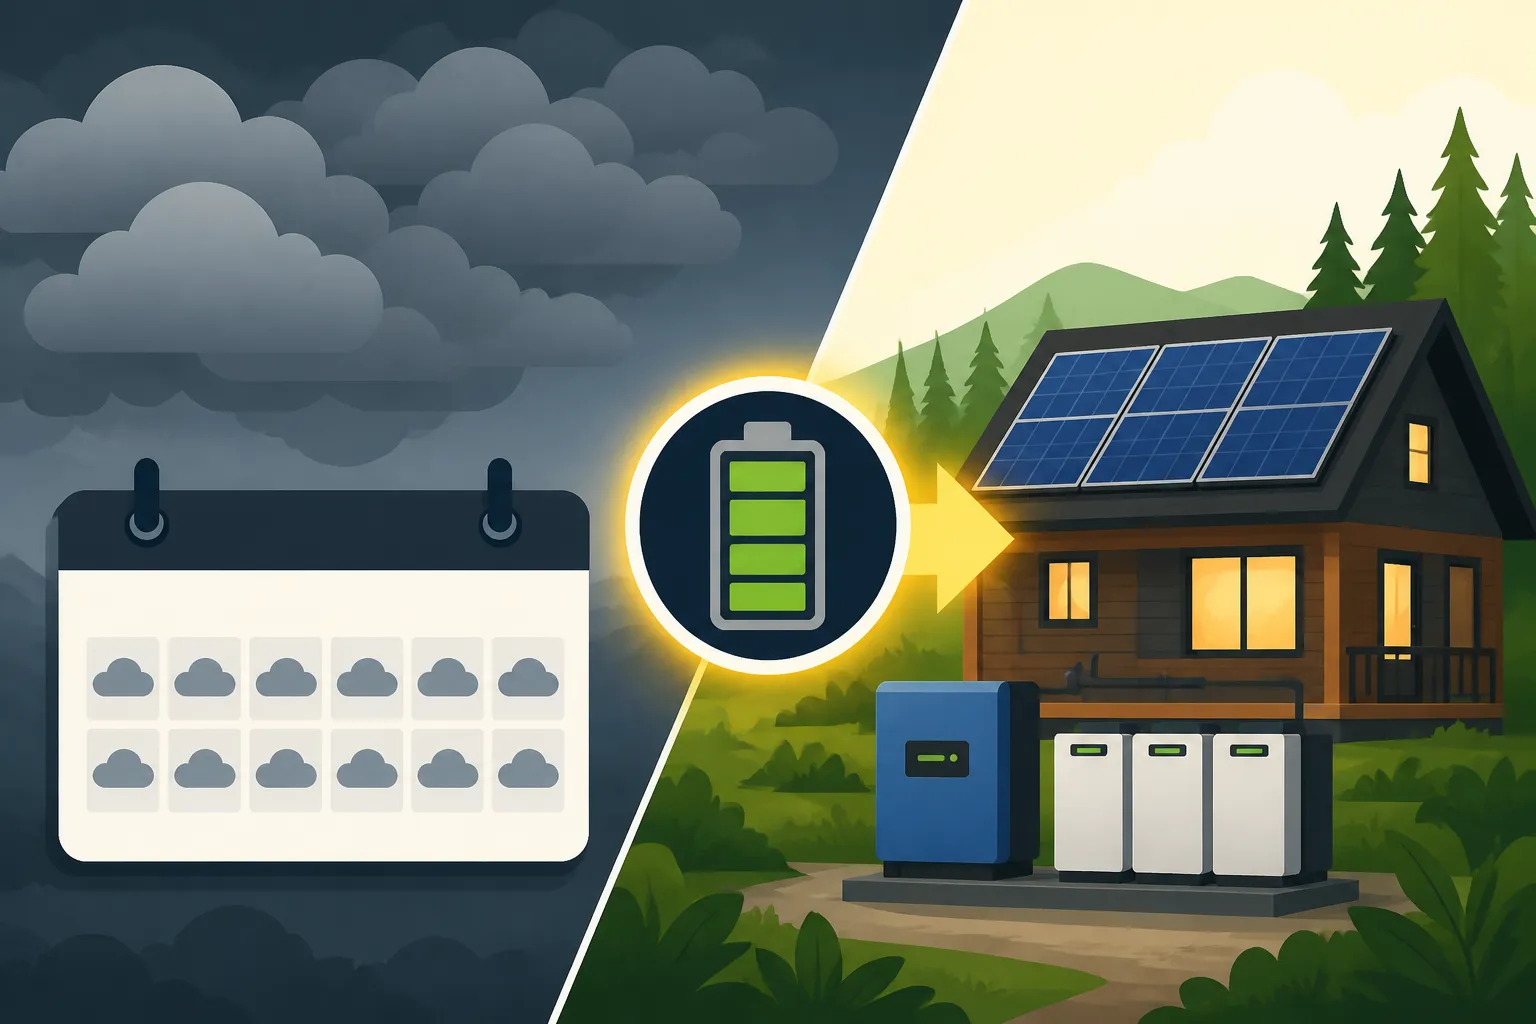
This brings us to a crucial concept in off-grid solar design: "days of autonomy." In simple terms, this refers to how many days your battery bank can power your essential loads without any additional charging from your solar panels (or other sources). For most off-grid setups, aiming for 3-5 days of autonomy is a common starting point, which might be sufficient for a short bad weather spell. However, for those looking to truly weather a two-week stretch of cloudy conditions, you need to think much, much bigger.
Achieving two weeks of autonomy means your battery bank must be massive enough to hold 14 times your daily energy consumption, factoring in efficiency losses and the depth of discharge limits of your chosen battery chemistry. It’s a significant investment, but it’s the cornerstone of true long-term resilience. Without a substantial buffer, even a perfectly sunny system will fail when the clouds roll in for an extended stay. You can learn more about how to calculate days of autonomy to help you further plan for these circumstances.
Calculating Your Energy Needs for Extended Bad Weather
Before you can even think about panels or batteries, you absolutely must know how much electricity you actually use. This isn't just a guessing game; it's a meticulous process that forms the bedrock of a successful off-grid system, especially when planning for those tough, sunless weeks.
Performing a Detailed Load Analysis
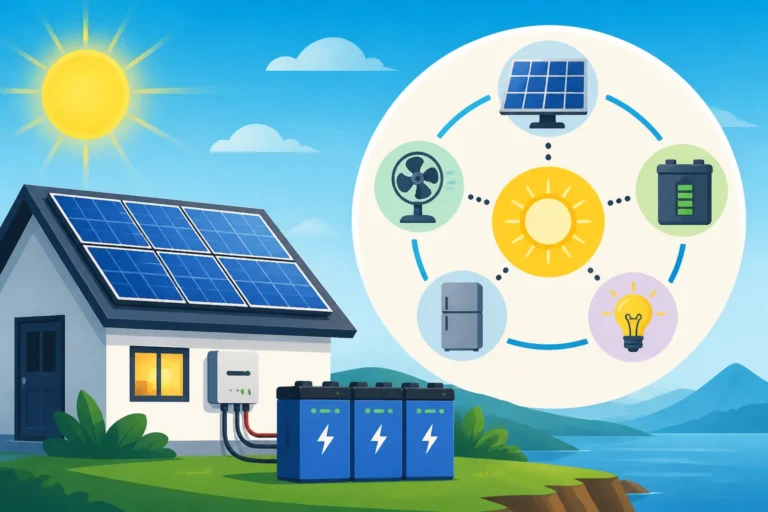
The first and most critical step in sizing any off-grid solar system, let alone one designed for two cloudy weeks, is to conduct a thorough load analysis. This means listing every single electrical appliance you plan to use, how many watts it consumes, and for how many hours per day. Don't skip anything, no matter how small it seems. That phone charger, the LED light in the bathroom, the water pump, the refrigerator – everything counts.
Here’s an example: your refrigerator might draw 100 watts, but it only runs for about 8 hours total in a 24-hour period. That’s 100W x 8h = 800 Watt-hours (Wh) per day. Your laptop charger might draw 60W, and you use it for 4 hours: 60W x 4h = 240 Wh. Add up all these individual daily watt-hours, and you’ll get your total average daily energy consumption. This number is your baseline for all further calculations. A solid understanding of Off-Grid Solar Load Calculation Explained will be your best friend here.
Many off-grid hopefuls underestimate this step, often leading to undersized systems and a lot of frustration. Be honest and thorough. If you're planning for a full two weeks of no sun, you need to ensure your "essential loads" list is truly realistic for that period. You might not be running the air conditioner for two weeks straight, but you'll definitely need the fridge, lights, and water pump.
Factoring in Inefficiency and Future Growth
Once you have your average daily energy consumption, you can't just multiply it by 14 days and call it a day. Real-world solar systems aren't 100% efficient. You'll lose power at various stages:
- Inverter efficiency: Converting DC power from batteries to AC power for your appliances always incurs a loss, usually 5-10%.
- Battery efficiency: Charging and discharging batteries isn't perfectly efficient, especially with lead-acid batteries, where losses can be 15-20%. Even LiFePO4 batteries have a small loss, typically 2-5%.
- Wire losses: Longer, thinner wires can lead to voltage drop and power loss, though good design minimizes this.
- Temperature effects: Batteries are less efficient in very cold temperatures, which can be common during cloudy, stormy weather.
A good rule of thumb is to add a buffer of 15-20% to your calculated daily energy needs to account for these inefficiencies. So, if your daily consumption is 5,000 Wh, plan for 5,750 to 6,000 Wh.
Furthermore, it’s wise to consider future growth. Maybe you don’t need a washing machine now, but what about next year? What if you add a new workshop tool or a larger entertainment system? Oversizing your initial system slightly, even just by 10-20%, can save you significant headaches and costs down the line when you decide to expand your system. Thinking about How to Design an Expandable System from the outset is always a smart move.
Sizing Your Battery Bank for Cloud Cover Resilience
The battery bank is the heart of any off-grid system, and when you're planning for two weeks of cloudy weather, it becomes the absolute linchpin. This is where your stored energy reserves live, ready to carry you through the dark times.
Determining Required Amp-Hours and Watt-Hours
To calculate the size of your battery bank for two weeks of autonomy, you'll take your adjusted daily energy consumption (including the inefficiency buffer) and multiply it by 14 days.
Let's say your adjusted daily energy need is 6,000 Wh.
Total Watt-hours needed = 6,000 Wh/day * 14 days = 84,000 Wh.
Now, you need to convert this to Amp-hours (Ah), which is how batteries are typically rated. You'll also need to consider your system voltage (e.g., 12V, 24V, 48V). Higher voltages are generally more efficient for larger systems.
If you're building a 48V system:
Total Amp-hours needed = 84,000 Wh / 48V = 1,750 Ah.
But wait, there's another crucial factor: Depth of Discharge (DoD).
- Lead-acid batteries (like flooded or AGM) should generally not be discharged below 50% to maximize their lifespan. So, if you need 1,750 Ah of usable capacity, you actually need a bank with 3,500 Ah of total capacity.
- Lithium Iron Phosphate (LiFePO4) batteries can safely be discharged to 80-100% regularly, making them much more efficient in terms of usable capacity. If you need 1,750 Ah of usable capacity, you might only need a LiFePO4 bank of around 1,945 Ah (assuming 90% DoD). This difference in DoD is a major reason why LiFePO4 vs Lead-Acid Battery Cost comparisons often favor lithium in the long run, despite a higher upfront price.
So, for a two-week cloudy period, you'd be looking at a very substantial battery bank. For example, if using 100Ah 12V LiFePO4 batteries in a 48V system, you'd need about 18 individual batteries wired correctly to achieve approximately 1,800Ah at 48V usable capacity. This is a considerable investment in both space and finances, as the Cost of an Off-Grid Solar Battery Bank can be a significant portion of your total system expense.
Battery Chemistry and Cold Weather Performance
The type of battery you choose significantly impacts your system's performance during cloudy, cold weeks.
- Lead-Acid Batteries: These are often cheaper upfront but have a shorter lifespan and require more maintenance. Critically, their usable capacity drops significantly in cold temperatures. If you're planning for cold, cloudy weeks, you might need to further oversize your lead-acid bank or ensure it's kept in a heated enclosure. They also don't like deep discharges, which is a problem when you're relying on them for days without sun.
- LiFePO4 Batteries: While more expensive initially, they offer a much longer lifespan, are virtually maintenance-free, and maintain their capacity better in cold weather (though charging them below freezing requires a battery management system (BMS) with low-temperature cutoff or heating elements, which many modern LiFePO4 batteries, like those from Renogy, now include). Their ability to handle deeper discharges also means you need less total capacity for the same usable energy, reducing the overall How Much to Budget for Off-Grid Batteries over the system's lifetime. For systems requiring long days of autonomy, LiFePO4 is almost always the superior choice, despite the higher initial outlay, due to their efficiency and longevity.
Sizing Your Solar Array to Reclaim Charge
Once your substantial battery bank has carried you through a two-week cloudy stretch, the sun will eventually return (we hope!). At that point, your solar array's job isn't just to trickle charge; it needs to rapidly replenish your depleted batteries to prepare for the next potential cloudy spell. This is where your solar panel sizing strategy shifts.
Estimating Reduced Solar Production on Cloudy Days
It's a harsh truth: solar panels don't work as effectively under cloud cover. Even though they still produce some power from diffuse light, it’s nowhere near their full potential. The degree of reduction depends heavily on the cloud density.
Here's a general breakdown:
| Cloud Condition | Typical Power Reduction | Remaining Output |
|---|---|---|
| Light Overcast / Hazy | 30-50% | 50-70% |
| Moderate Overcast | 50-75% | 25-50% |
| Heavy Overcast / Storm | 75-90% | 10-25% |
| Very Dark / Rain/Snow | 90%+ | 0-10% |
This table illustrates why planning for two weeks of this drastically reduced output is so challenging. If your panels are only putting out 10-25% of their rated power, they might not even cover your active daily loads, let alone recharge a heavily depleted battery bank. This is why the focus shifts from charging during the cloudy period to having a massive battery bank for autonomy, and then having an oversized array to recover quickly afterwards. To learn more about how many panels you might need, check out our guide on How Many Solar Panels for Off-Grid Living.
Calculating the Panel Wattage Needed for Recovery
For a two-week autonomy system, your solar array's primary role after the bad weather clears is recovery. You need enough wattage to recharge your massive battery bank, plus power your daily loads, in a reasonable timeframe – ideally within 2-3 sunny days. This means significantly oversizing your array compared to what you might need for daily maintenance in good weather.
Let's revisit our example: you have an 84,000 Wh (or 1,750 Ah @ 48V LiFePO4) usable battery bank that's been discharged to 20% state of charge. You need to put back 80% of that energy, which is about 67,200 Wh.
If you want to do this over three good sun days, you need to put back 22,400 Wh per day, in addition to your 6,000 Wh daily usage. That's a total of 28,400 Wh per day.
Now, consider your "peak sun hours" – the equivalent number of hours per day when the sun's intensity is at its peak. This varies significantly by location and season. In winter, during short, cold, cloudy weeks, your peak sun hours might be as low as 2-3 hours.
If you have 3 peak sun hours:
Required panel wattage = (28,400 Wh / day) / 3 peak sun hours = 9,467 Watts.
That’s nearly a 9.5 kW solar array! This demonstrates the scale required to recover a deeply discharged battery bank after a long period of minimal solar input. This large array will also naturally help offset some of the daily consumption during lighter cloudy days, even if it can't fully charge the batteries. Understanding How Many Watts of Solar You Need is paramount for reliable off-grid living.
Panel Placement and Optimizing for Low Light
Beyond sheer wattage, how your panels are installed makes a huge difference, especially in low-light conditions common during extended cloudy periods.
- Optimal Tilt Angle: For year-round power, a good compromise tilt angle is usually latitude + 15 degrees in winter, or latitude in summer. However, if your primary concern is winter recovery after cloudy weeks, tilting your panels steeper (closer to vertical) can capture more low-angle winter sun.
- Orientation: Facing true south (in the Northern Hemisphere) is crucial. Even a slight deviation can noticeably reduce output in low light.
- Shading: Any shading, even from a thin tree branch, can drastically reduce the output of an entire string of panels. Ensure your panels have an unobstructed view of the sky, especially during the sunniest parts of the day. Consider microinverters or optimizers if shading is unavoidable, though these are less common in traditional off-grid setups.
- Cleaning: Dust, pollen, snow, and even bird droppings can accumulate on panels, reducing their efficiency. Regularly cleaning your panels, especially after a storm, ensures they are ready to maximize every bit of available sunlight once the clouds break. You can often find specialized solar panel cleaning kits or gentle brushes on platforms like Amazon.
Integrating Backup Solutions for Peace of Mind
Even with the most robustly sized solar array and battery bank, planning for truly exceptional weather events, or just for that added layer of security during those two-week cloudy stretches, often involves integrating a backup power source.
The Role of a Backup Generator
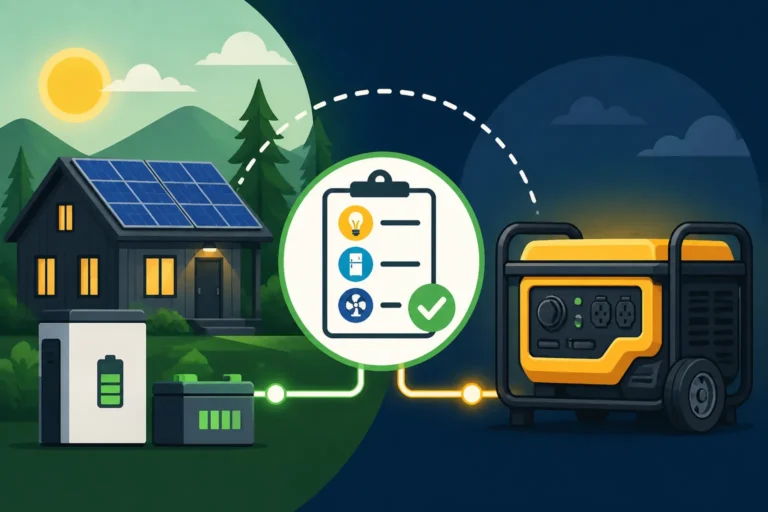
For off-grid systems designed for long periods of cloudy weather, a backup generator moves from being a luxury to an absolute necessity. Imagine you've correctly sized your battery bank for two weeks, but then an unprecedented three-week storm hits, or a critical appliance draws more power than anticipated, or maybe your solar charge controller develops a fault. A generator provides that vital safety net, ensuring you can still power your home and recharge your batteries when all other avenues are exhausted.
When considering a generator:
- Fuel Type: Propane, gasoline, or diesel are the most common. Propane stores well and burns cleaner, but might be more expensive per BTU. Gasoline is readily available but has a shorter shelf life. Diesel generators are often more durable and fuel-efficient for continuous use but have a higher upfront cost.
- Size: Your generator should be sized to handle your largest surge loads (like a well pump or power tools) and provide enough continuous power to run your essential loads while also charging your battery bank at a decent rate. Many off-grid inverters, like those from Victron or Outback, have generator integration features that allow for automatic starting and sophisticated battery charging, which you can learn about in our guide on How to Add a Generator to Your Design.
- Automation: Modern off-grid systems can often be set up to automatically start a generator when battery voltage drops below a certain threshold and shut it off once batteries are recharged. This means less manual intervention and constant monitoring, allowing you to relax even during extended cloudy spells.
While adding a generator means additional maintenance and fuel costs, the peace of mind it offers during extreme weather events, especially those long cloudy weeks, is truly invaluable. It ensures that even when your solar system is pushed to its limits, you still have a reliable source of power.
Practical Tips for Conserving Power During Dips
Even with an expertly sized system, implementing smart energy conservation strategies is crucial, particularly when you know an extended cloudy period is on the horizon. This isn't about deprivation; it's about being mindful and extending your valuable battery life.
- Prioritize Loads: During heavy cloud cover, identify non-essential loads and turn them off. Do you really need that outdoor decorative lighting on? Can you wait to run the washing machine until the sun returns? Focus on vital appliances like your refrigerator, water pump, and essential lighting.
- Efficient Appliances: If you haven't already, invest in energy-efficient appliances. LED lighting, Energy Star rated refrigerators, and efficient water pumps can dramatically reduce your daily energy footprint. For instance, a modern, highly efficient freezer might only draw 50-70 watts, but old models can pull 200 watts or more. The difference really adds up over two weeks.
- Passive Heating/Cooling: During extreme weather, minimize reliance on electric heating or cooling. Utilize passive solar gain, wood stoves, or extra layers for warmth. Open windows at night for cooling if temperatures allow.
- Manual Tasks: Consider doing some tasks manually. Hand washing dishes, air-drying clothes, or even reading a book instead of watching TV can all contribute to significant energy savings.
- Monitor Your Usage: A good battery monitor, which often integrates with systems from brands like Renogy or Victron, will give you real-time feedback on your consumption and remaining battery capacity. This knowledge empowers you to make informed decisions about your power usage and avoid running completely dry. Regularly monitoring How Many Watt-Hours You Use Per Day helps you stay within your system's limits.
By combining a well-designed, oversized battery bank and solar array with a reliable backup generator and smart energy conservation habits, you can confidently face those daunting two-week cloudy spells, knowing your off-grid life will continue uninterrupted.
Disclaimer
This guide provides general information on sizing off-grid solar for cloudy weather. Specific requirements will vary based on your location, individual energy consumption, local regulations, and component choices. Always consult with a qualified solar professional or electrician to ensure your system design is safe, compliant, and meets your unique needs. Working with high-voltage electricity can be dangerous, and proper installation and safety measures are crucial.